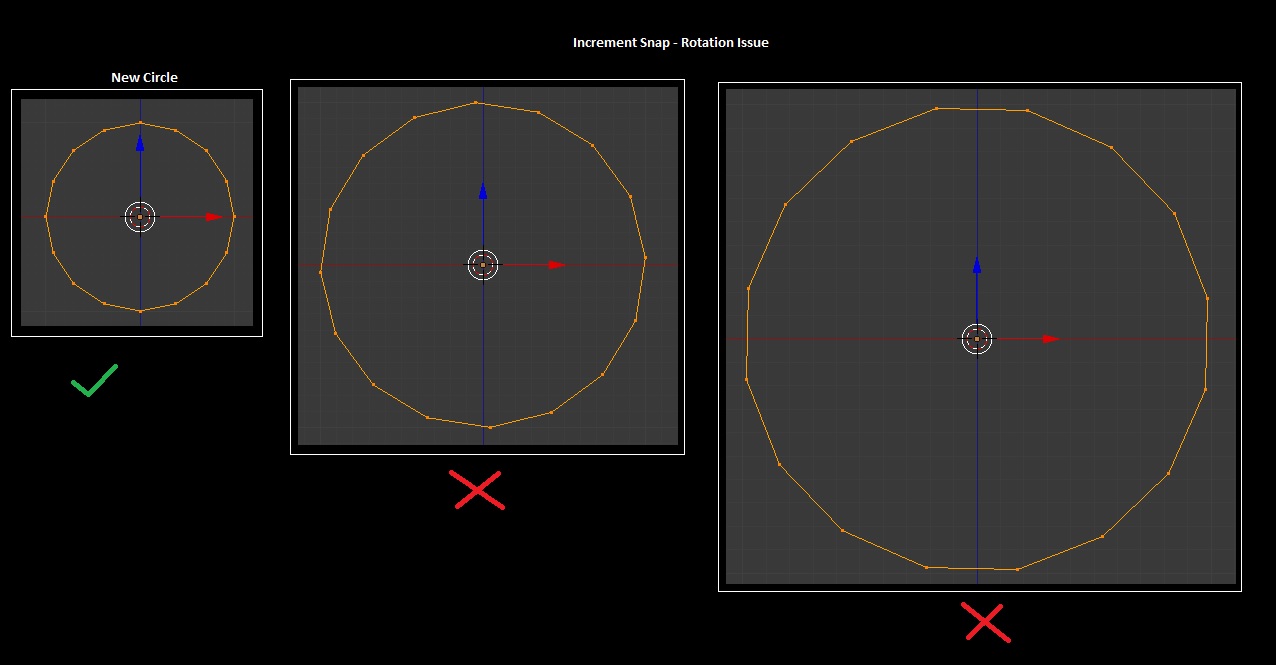
increment snapping happens in 5° increments when the snapping is toggled on (shift+tab). 1° increments with shift, and can slow down the rotation with both. Snapping without toggling snapping on can be done by holding down ctrl. Aligning the sides on a mesh circle with 16 vertices means rotating 11.25° so increment snapping won’t help there
Write 360/16/2 in the rotation field for the object, or the same in edit mode by entering it on the operator panel after rotation, or with python input (numpad_*) during.
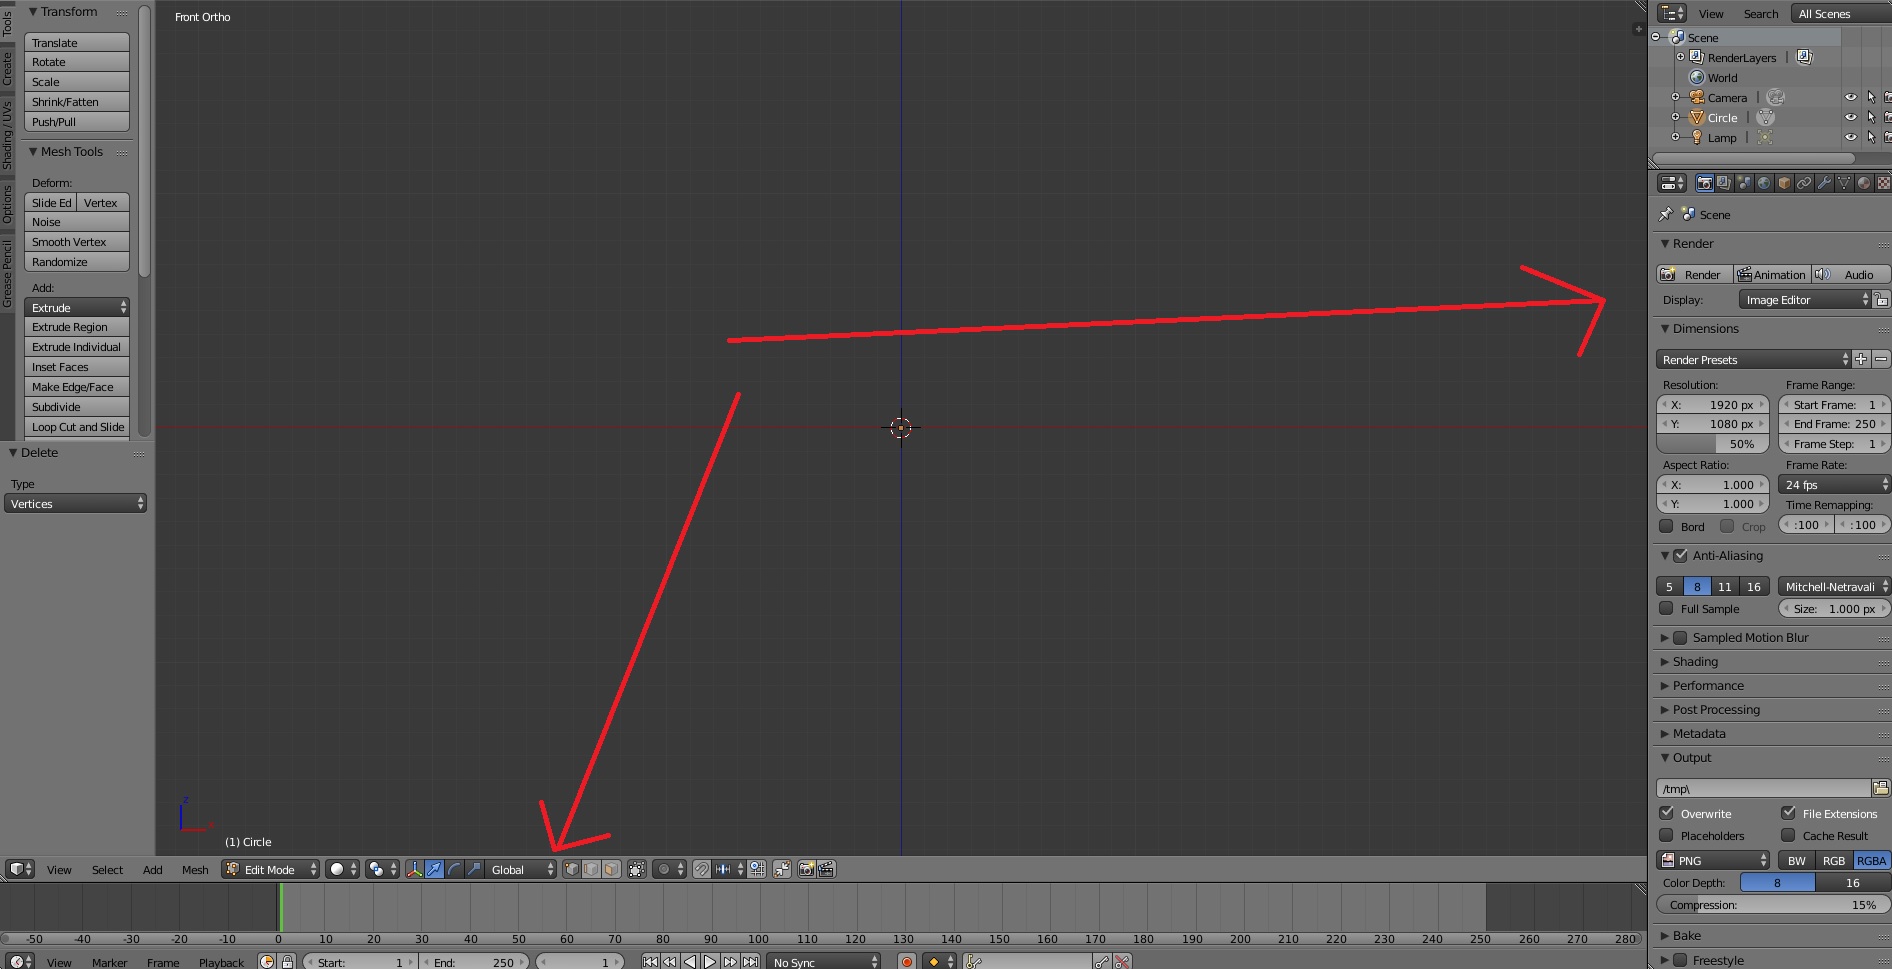
ctrl+o, uncheck load UI before opening the workfile, and stop cropping screenshots.
Ah OK, that makes sense with the increment snapping / rotation. I thought there was a bug but it was my poor maths skills. Looks like I need to brush up on that side of things!
I loaded my model and unchecked ‘load UI’. Work great!
Thanks for replying so quickly and helping out a noob! + I won’t crop my screens in future. I thought it might help if I reduce the size of the image but I suppose a complete screen will show you exactly what I can see at the time of the problem etc…
Yeees. The common trend is to only show one piece of information, often also what is already said in text form. You want people to answer with something that you don’t already know, but the source of that information is within the file when troubleshooting. The interface often has at least something relevant visible, if not the cause of the problem.
The trick is to use images so that you don’t have to write as much. People can see what you show without anyone saying anything. That includes the Blender version, the type/statistics/mode/view settings of the object/scene you’re showing and whatever else manages to be in the shot. If any of that is relevant to your question, it takes less time to not crop a screenshot than writing it down.
Images are great for explaining things but an example .blend is what you want to include for troubleshooting. What information people might need from you? That’s easy, everything you’re working with that relates to the problem. That’s why preparing a .blend is the most effective way to relay information. It works as an exchange file and as a source for visuals when people start replying back to you, and they’re more likely to reply with answers instead of questions and guesses.
Those should help with future questions that might also be more involved.