Hi, I am new to this forum and I am French, so please excuse my english (and maybe my future president, but that’s another story).
I learnt to create 3D models on Maya many years ago, and I’m currently trying to come back to 3D creation with Blender (2.78c) on Windows 10 (if it can change anything) with the objective of creating 3D printable badges and other things.
I have managed to create simple forms, but I’m blocked with two problems when I try to take a SVG picture (created with Inkscape).
I’m sure these problems have already been discussed here and there, but since I don’t know the right words to serach for, I hope you will be able to help me or guide me to the right threads.
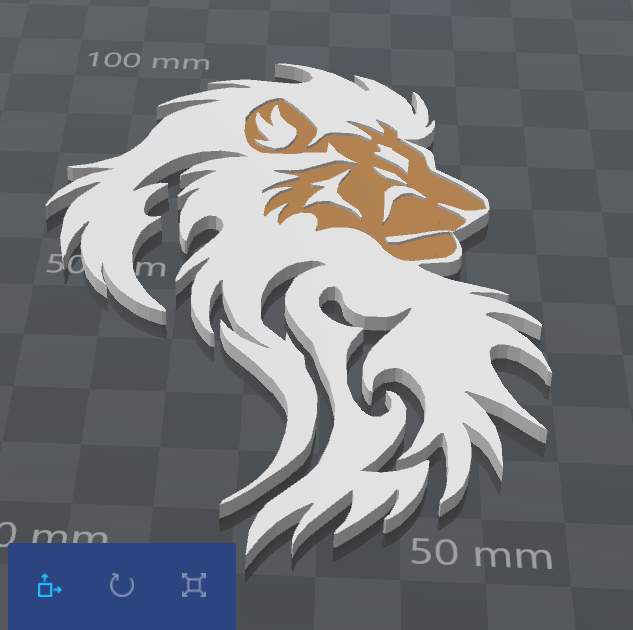
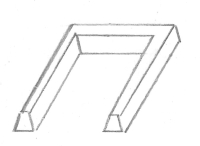
Starting from a SVG (as in picture 1), I want to create a 3D version of it with a trapezoidal “height” as seen in picture 2. I can do a rectangular one, but I can’t make it trapezoidal (I just want to add a slight angle, about 5 to 10°)
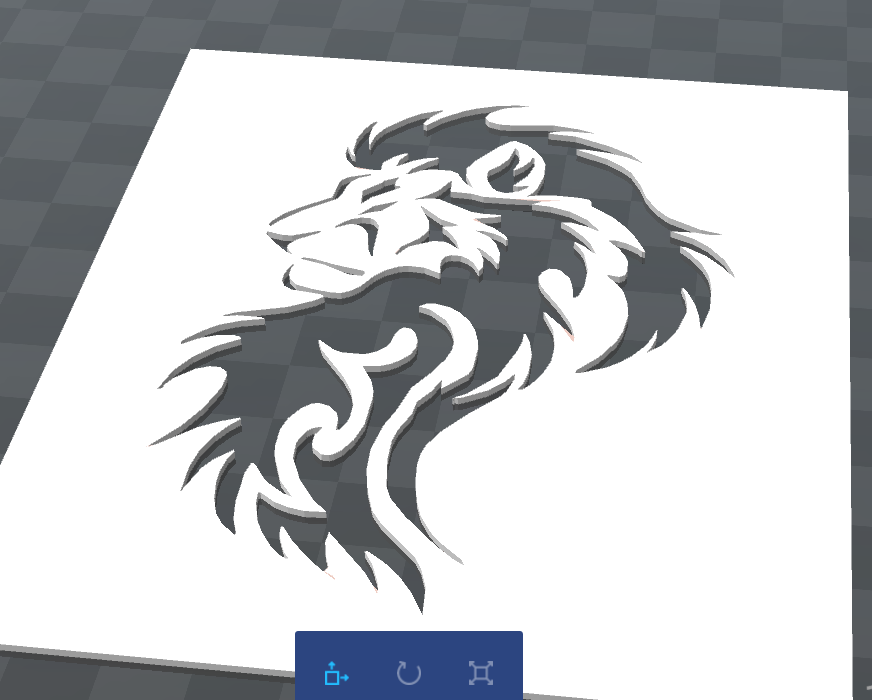
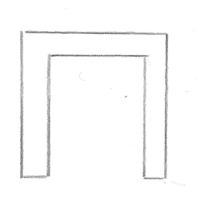
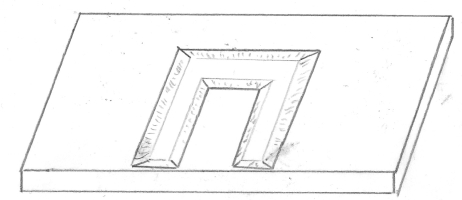
Starting from the same SVG, I want to make a stencil (?) of it as (badly) drawn in picture 3, meaning a larger rectangular form, about 5 mm height, with a hole in the form of the SVG surrounded by about 60° “slopes” to allow painting the SVG on different surfaces.
Of course, the SVG will be quite more complicated, and there will be many of them, so I need a reusable solution.
As I said, don’t hesitate to guide me to other threads, or to ask me for more details. Thank you in advance.
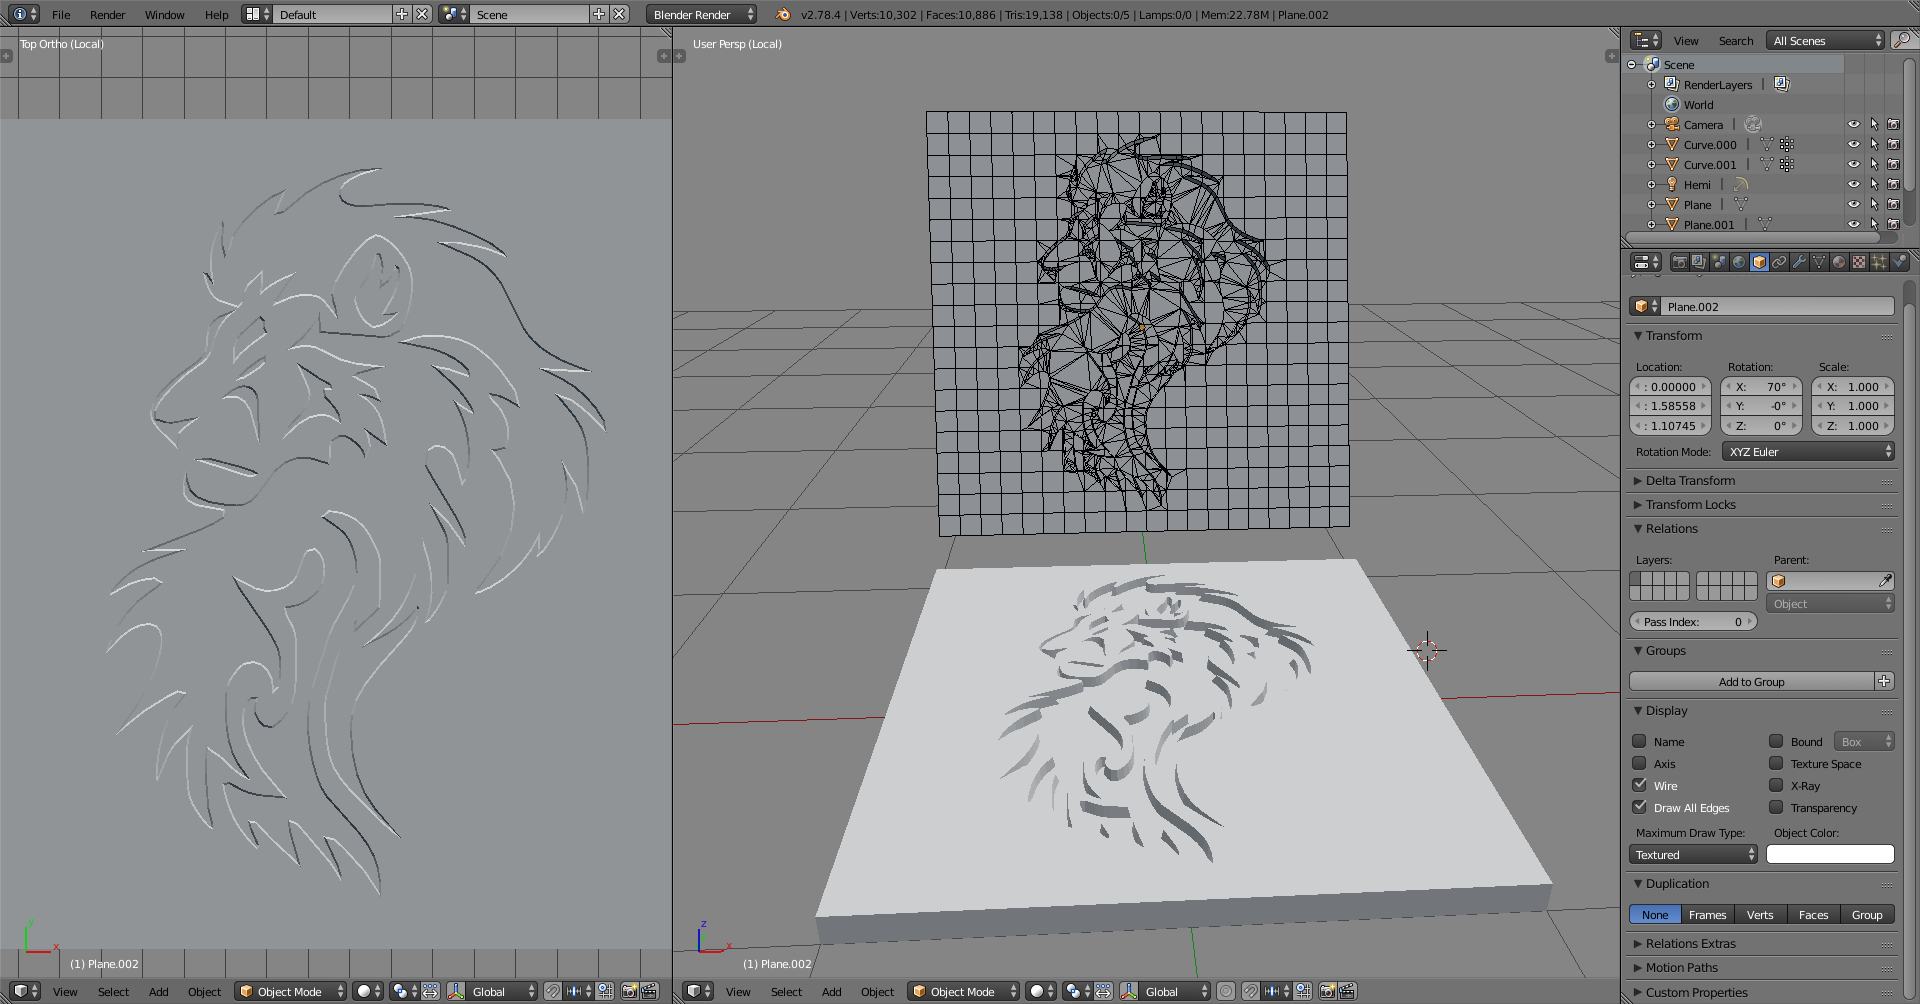
.svg imports as curves in Blender. Can do many things with curves
but they behave in a certain way
Getting the 3rd dimension on there can be tricky especially without planning ahead, because curves often need adjustments before and after converting to mesh. If there are too many handles then those need to be reduced before having good control on the resolution on curved forms, there’s usually double geometry and surfaces get filled with triangles.
As this is polygonal modeling, Blender is mainly a polygonal modeler, the structure is important. Boolean operations introduce problems in the structure, which need care, and if you start with curves then those also need to be prepared for that. Of course if the use case is to not care about the structure then might be able to ignore some of that
Wow, thanks for your quick answer and demonstation, I will to follow this.
My problem is, as you said, that my SVG is waaaay more complex than the one I gave as example :
If I reduce the number of handles, I loose many details. And if I leave it as it is, I get these (in)famous tringles you’re talking about when converting to mesh. Plus the difference boolean operator I tried for getting the stencil took quite a long time to compute and gave nothing as a result.
I will come back once I’ll have tried your example, but if someone see other ways to do things wht a complicated SVG as given (my first example was maybe too simple, I tried to be clear), even if it involves other softwares…
For info, I tried :
Sketchup : convert SVG to DXF, import, combination with a plane or cube - fills all the blank and just gives the silhouette (Galileo will you do the fandango ?)
3D builder : easy way to go from SVG to PNG to 3D (both object and stencil) but no way to “bend” those borders - possibility to export in STL/OBJ/PLY format, which can be imported in blender, maybe a solution here ?
Paint 3D : don’t laugh, with all the advertisement that was made on it, I hoped it would help. Still NO
My typical process when pulling in an SVG is to avoid relying on the default curve filling at all costs… especially if you plan on converting from a curve to a mesh (where there are quite a few more options in terms of modeling).
Here’s a basic run-through on what I do:
Import SVG
Set curve shape to 2D (no real reason other than to ensure that it’s flat)
Set curve fill to None (so Blender doesn’t fill the faces with anything)
Convert to mesh
Select linked vertices and fill with an ngon (add edges if parts of the design have holes)
Clean up geometry as needed (there are bunch of different techniques available here)
Fill is quite easy on a planar surface and simple extrusion. It’s a 3D print and it can take any geometry as long it’s error free. It’s the sharp corners and thin walls which won’t inset very easily since there is nowhere to go if the angle of the sides is steep enough. Insetting the path in inkscape removes the thin walls, in Blender it crosses the edges and faces
Getting the silhouette on a curved surface is yet another play with the structure.
This might be a thing for 3D CAD (Solid Modeling, NURBS) application.
Hey, thanks for all these answers, I will look at all this but it will take some time.
JA12, the picture you show in your second post is what I get in 3D Builder, with 90° angles (and I can’t manage to get with Blender, but I will try of course).
My problem is precisely with the borders that I want to make trapezoidal (or curvy, why not ?).
For now I will try the solutions you gave, by simplifying the PNG if I can, and/or using a cuved surface, and I will come back in a few days to talk about the results (elections this week-end, apocalype monday ? just exagerating, I hope)
Thanks for all !!! (yeah, I know, “Five exclamation marks, the sure sign of an insane mind”)
The reason why I spend the time I do on mesh clean-up is that it makes results nicer when I do things like bevel (in edit mode or with the modifier). If you want to get a shaped edge, beveling is probably the best way for you to go.
")