First of all, sorry if I’m posting this thread in the wrong place, i really don’t know very well, but since i am using the bge (upbge) I thought this is the place.
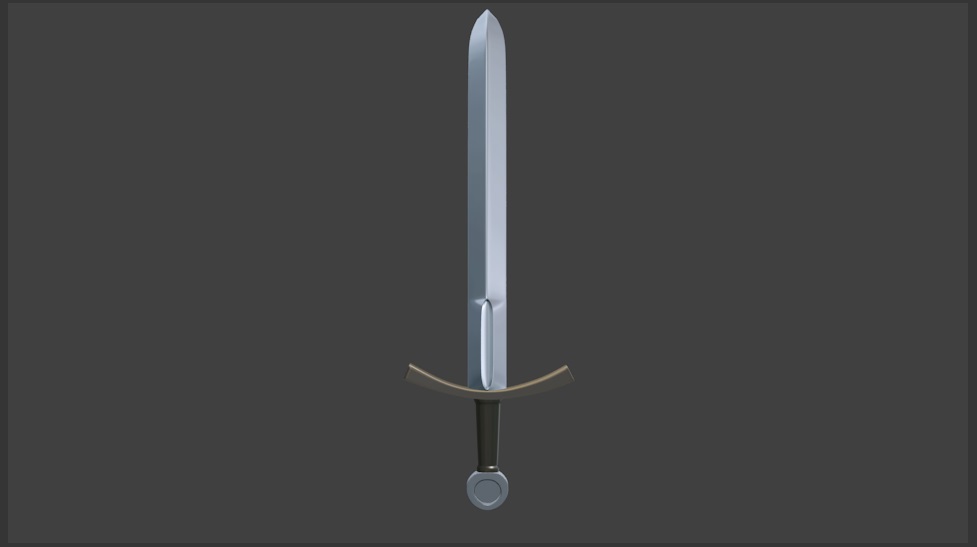
So, I have studied for a long time since the end of the past year, trying to learn the best I can, and now I’ve tried to see what I can do. I tried modelling a sword:
Even without finishing the texturization I felt the sword a little strange, and after finishing it It’s like something not right, like it’s something missing.
I would really appreciate some opinion about it, some thoughts (even tips e.e) because I really don’t have somebody to ask about this, to tell me if I am going in the right way.
Again, sorry if I posted this on the wrong place, I don’t even know if there’s a place to “these things”.
I think it looks a bit too artificial. It has the taste of being somewhere between a design concept and a 3D cartoon. Do not get me wrong - that is just the impression when I see the image.
I can really good imagine a 3D cartoony knight walks in grabs the sword and swings it while moving out for adventures. If that is the target … it is great. If you want to mimic “real knight” it feels too clean. It really depends where you want it to use.
Yes, I imagine too a 3D cartoony knight, also it’s on my plans to make a cartoonized 3D game in the future, I’m studying too how to make Hand Painted textures in blender as well. But it’s like what you said, it feels too clean. I can say beforehand that I used matcaps e change the mapping type to reflection in order to get the reflection on the blade and the handle, but it’s not a “real sword”, i think I should make details on the the sword I don’t know.
I think I don’t know how to mimic to become more real. For this sword I think I want to mimic a real sword. There’s any technique to handle this?
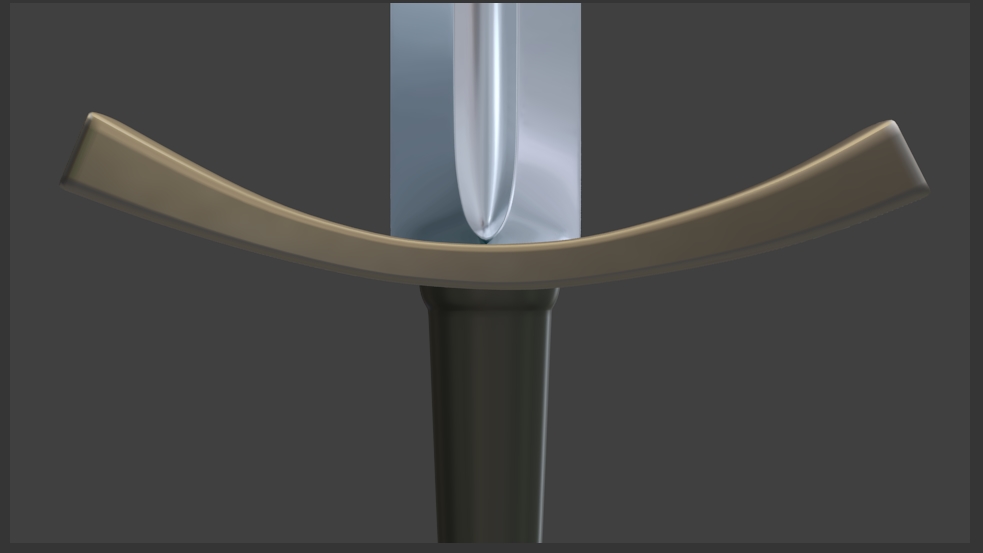
Also, the shape of the… is it called a hilt?
The part in between the handle and blade.
It’s too roundly curvy in my opinion.
Try making it a bit more geometrical, perhaps?
Yes, I am actually remodelling it, and now I’m trying to understand the nodes editor in the BGE deeper (like if we can and how we can to create our own nodes with scripting)
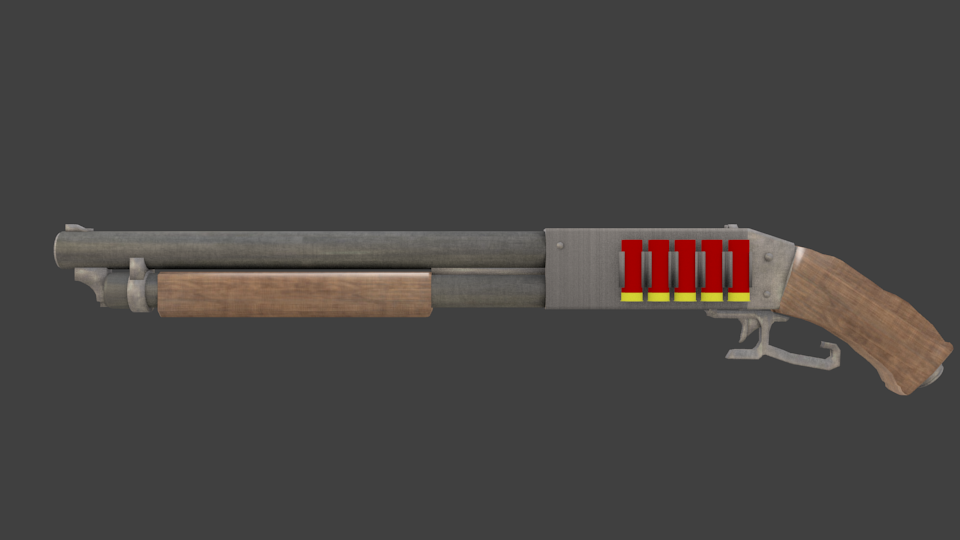
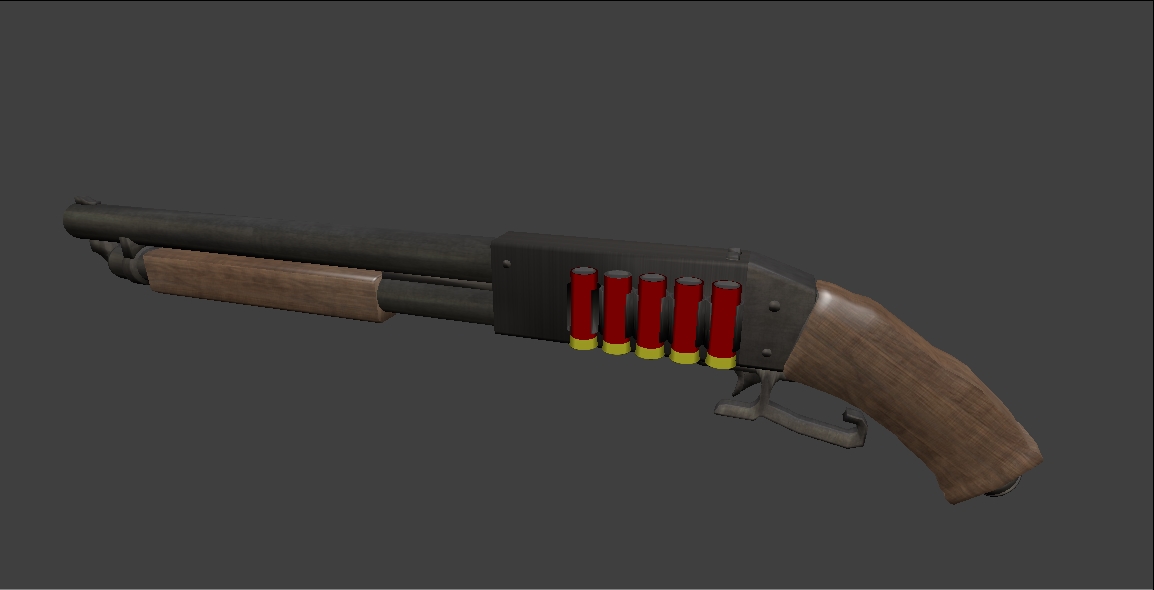
I noticed that the color ramp of the Outliner have some different options that the color ramp of the nodes don’t have. I also noticed that using only the customized nodes (with Layer Weight and math converters) can barely simulate a kind of shiny but in the same way the color becomes too much strong. Using gamma and hue can help, but using textures to fake reflections seems to fits better. It’s easy to see that the shotgun on render it’s nice compared to the one in viewport (I’m using GLSL for the BGE). Just another question: There’s any way to mimic the render grafics without using bake?
I think it’s far from this shotgun from martin upitis:
Use a baked normal map, a wear mask stencil against your reflection, and use a cube map reflection probe (static baked environment map) or realtime in upbge.
Use a mix between tbe geometry normal map (shape) and tbe wear mask normals.
This gets you on your way to fake PBr and it looks pretty nice.
You said about baking normal map, like baking the details of a high poly to a low poly object like this:
if so, it would work very well? Because i tried and I dont know, if think the specularity makes a little bit strange. And I don’t know if you talked about this one sculping and etc, because sometimes even when I was going to bake of simply apply the map blender crashed e.e
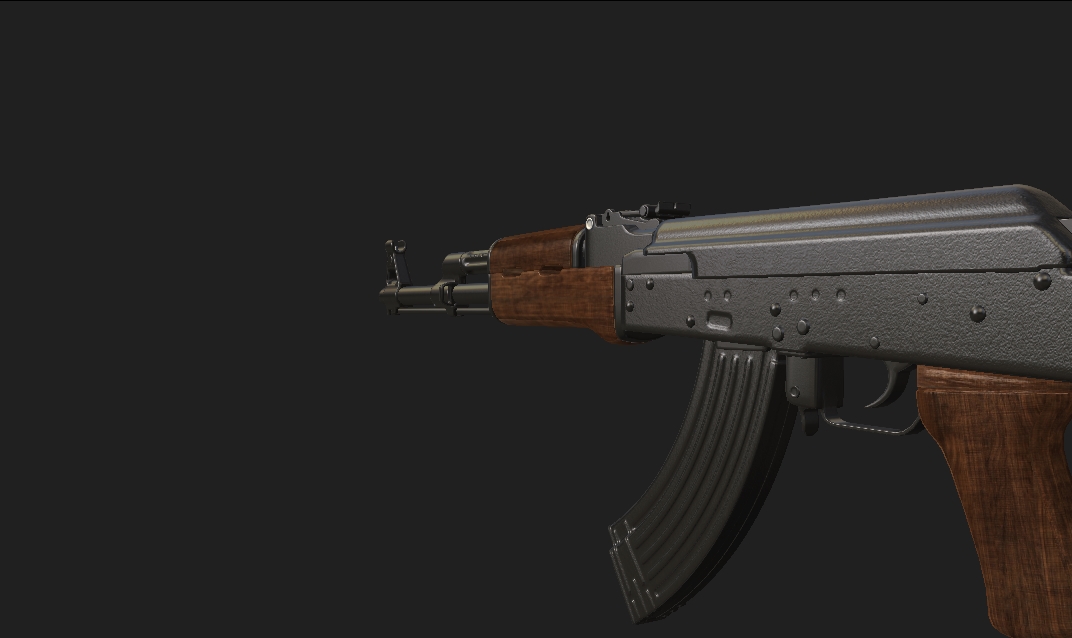
So I also tried using normal map textures, just the normal maps, and this time with an AK-47: