Ah yes… Modeling another funky little car. Maybe I’ll finish this time? Got into some groove doing this one as far as it is now…
[Template mesh image was here, moved to next post.]
So starting out with a template mesh. This is fairly quickly box-modeled. I’m just making this up in this case, however if I was using a reference I’d try to match the main forms at this stage. And a few extra bits just shoved in. No real need to boolean for anything additive, since this is just going to be a snapping surface for the modeling which follows. It’s modeled pretty simply with two or three levels of smoothing modifier to do the rest.
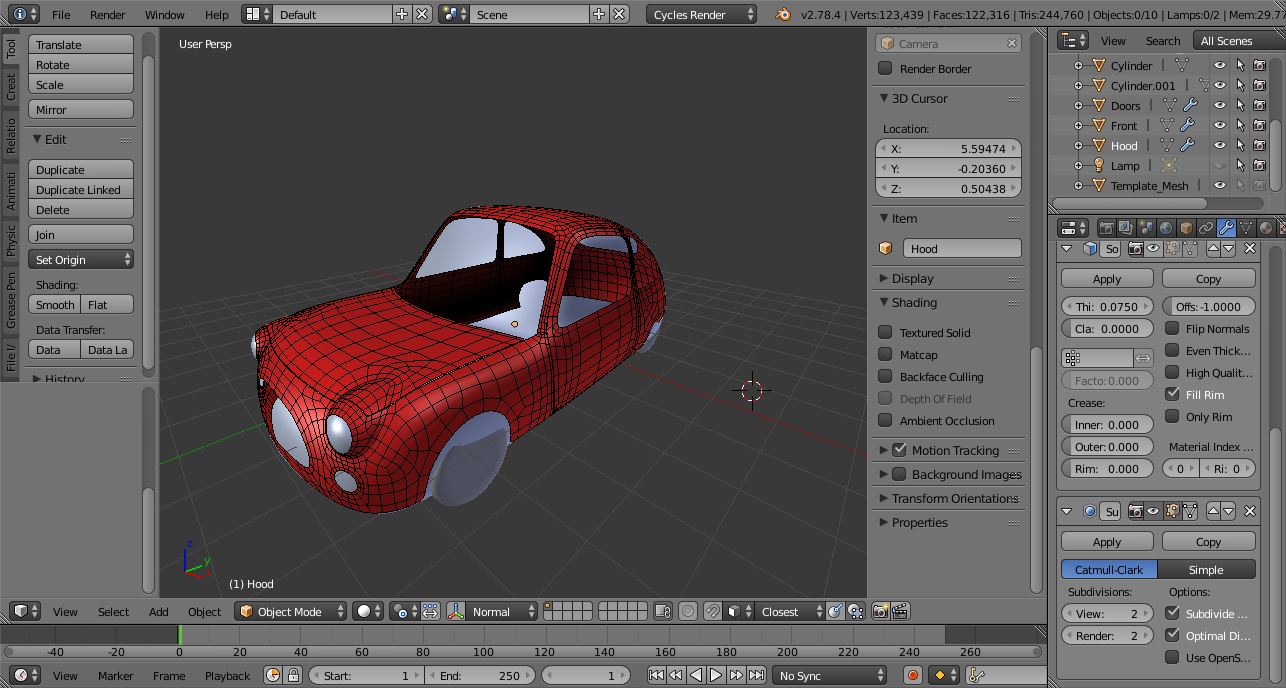
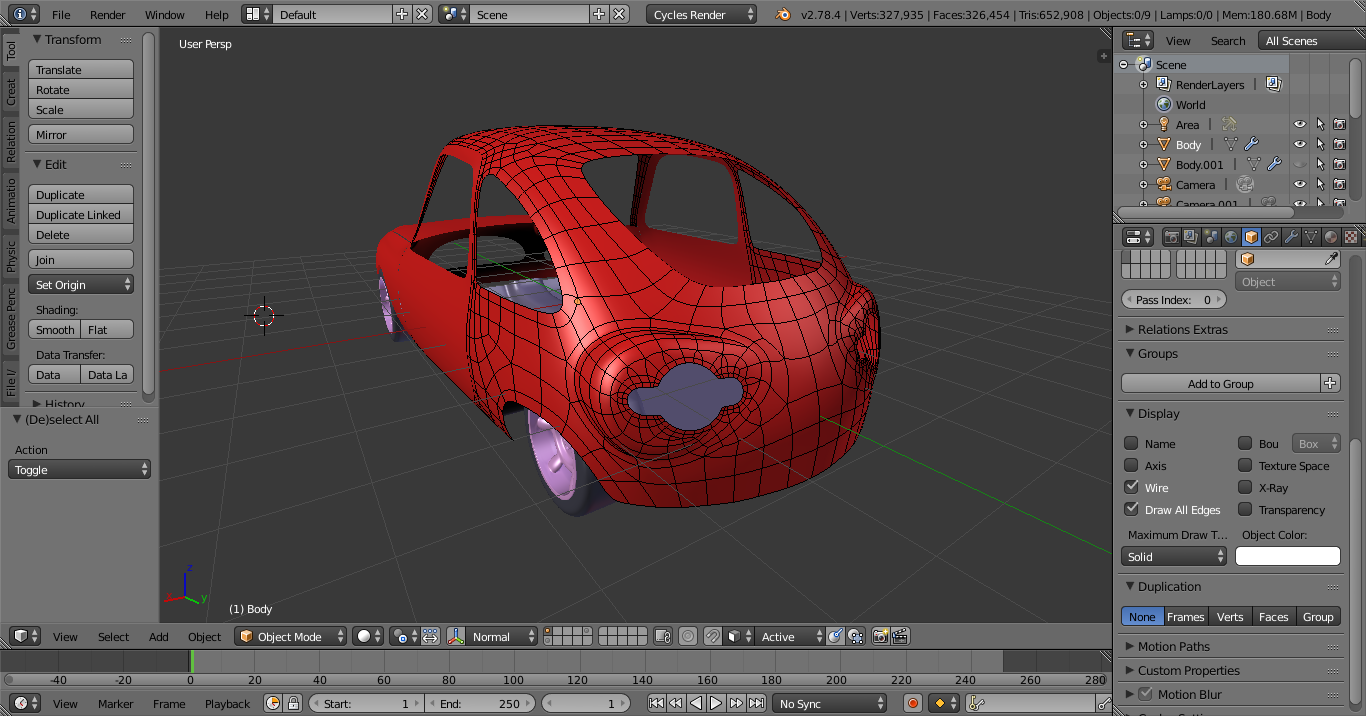
Thus this is what comes next. On top of the template I snap a plane and start drawing/extruding out the panels. Eventually I select and separate sections into separate objects as needed. Face snapping turned on with closest as reference. I haven’t found it necessary to use shrink-wrap, but I suppose it couldn’t hurt. (Seen others do it that way too.) X-ray is turned on for panel parts, a little odd sometimes yet good for seeing the surface over the template. Being able to draw out edge flows makes dealing with and improvising openings somewhat easier than cleaning up booleans - and I can improvise from the start. I found that template snapping gives a lot more leeway in how much vertex alignment is needed to have things flow smoothly together. (Previously I did the “top down” way of cutting models apart, which has some less freedom in re-flowing stuff. Was neat, but sometimes “too neat”.)
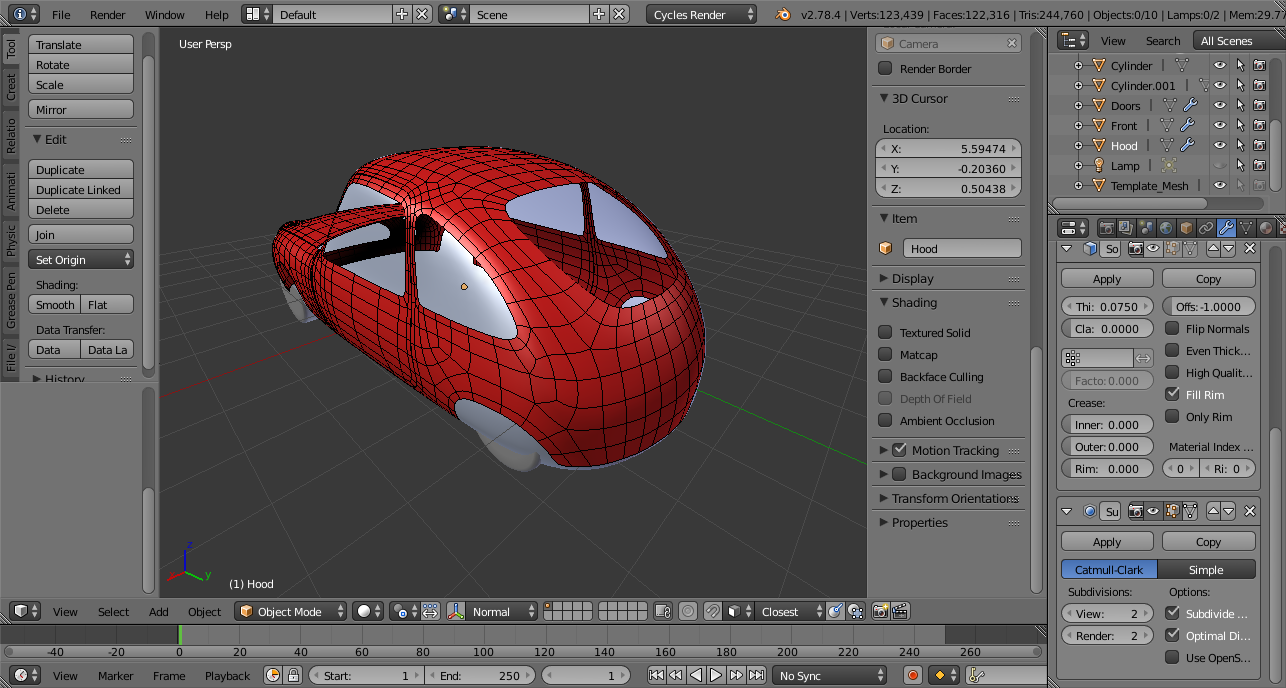
And there’s the back. Not as much detail at this point. I’m planning on poking a few more bits onto the template and remeshing a little. The thing is, doing this way makes it easier to draw loops around openings for reflowing. Normally this kind of approach is used to retopo organic sculpts, but I’m finding it workable for mechanical stuff.
Template mesh… Moved it here as I need the first image to update the thumbnail, and hit the image limit per post. This is what I’m building the body over.
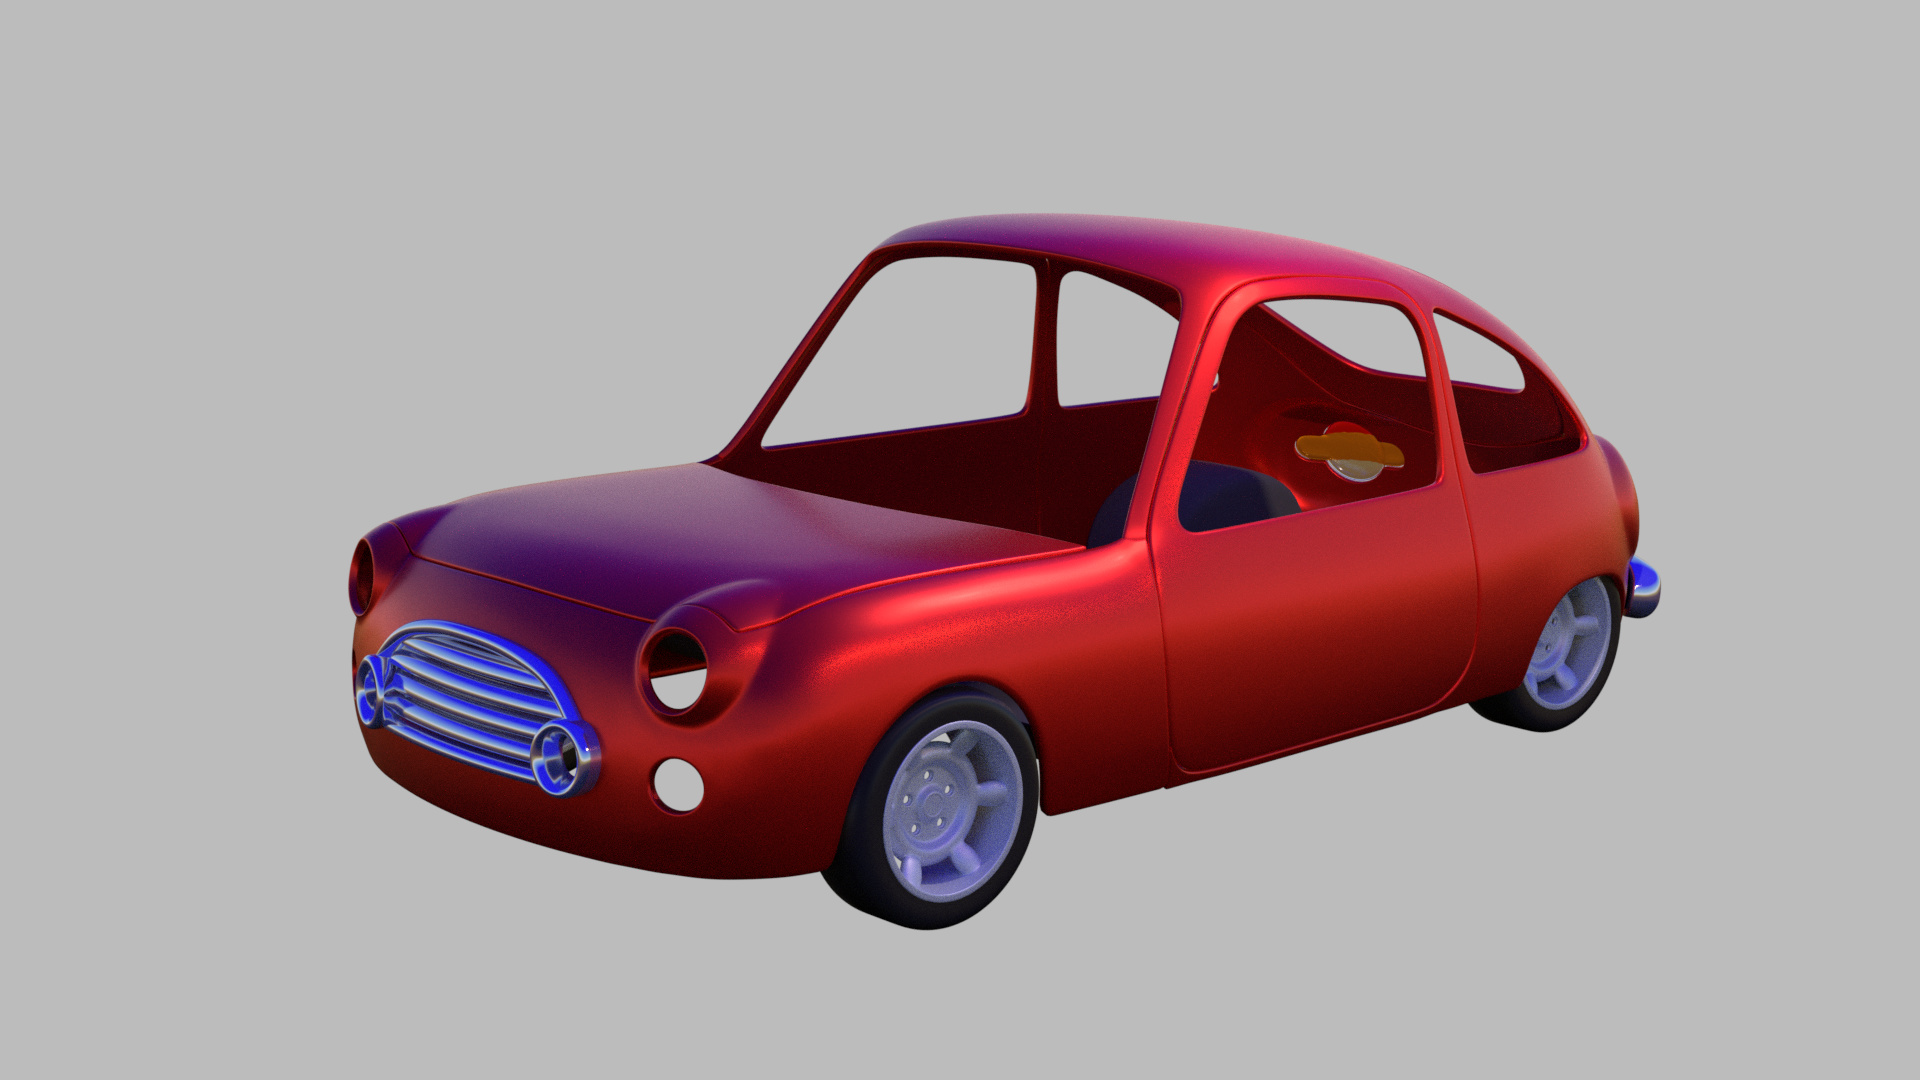
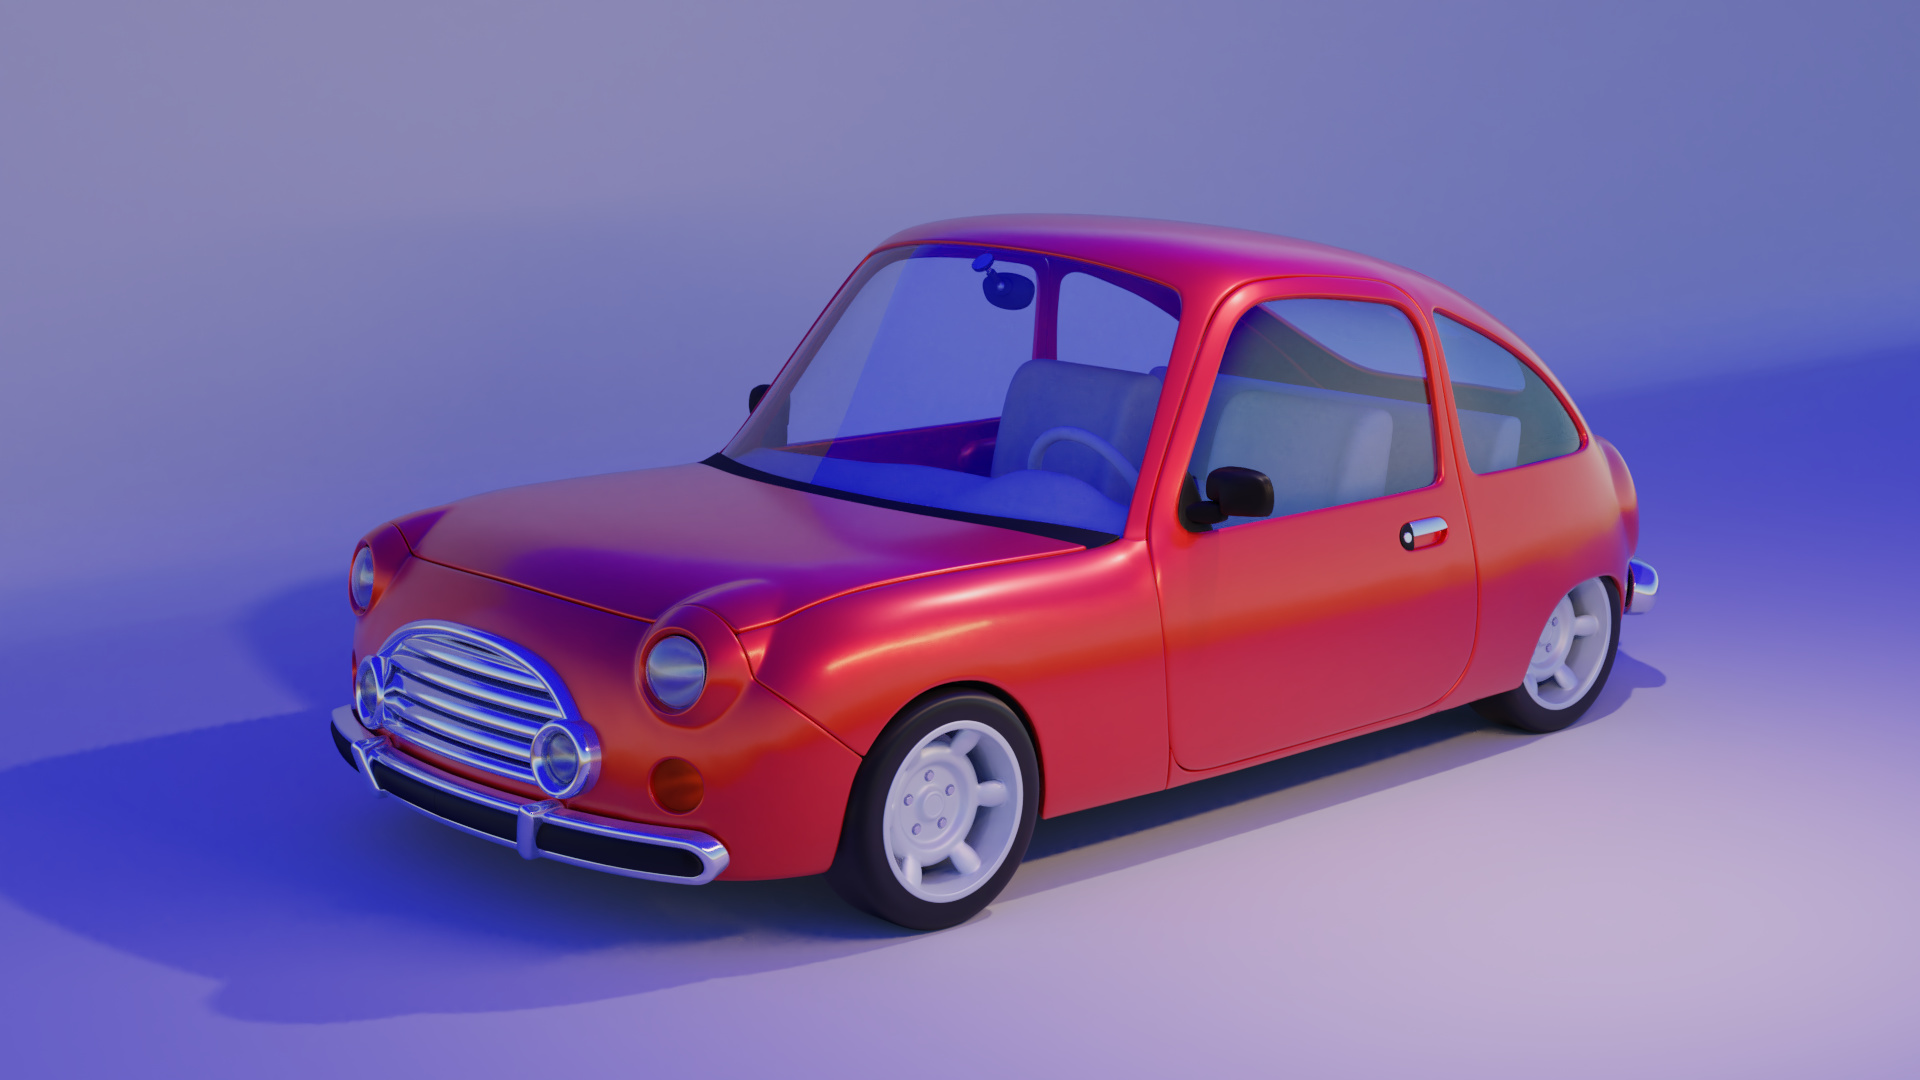
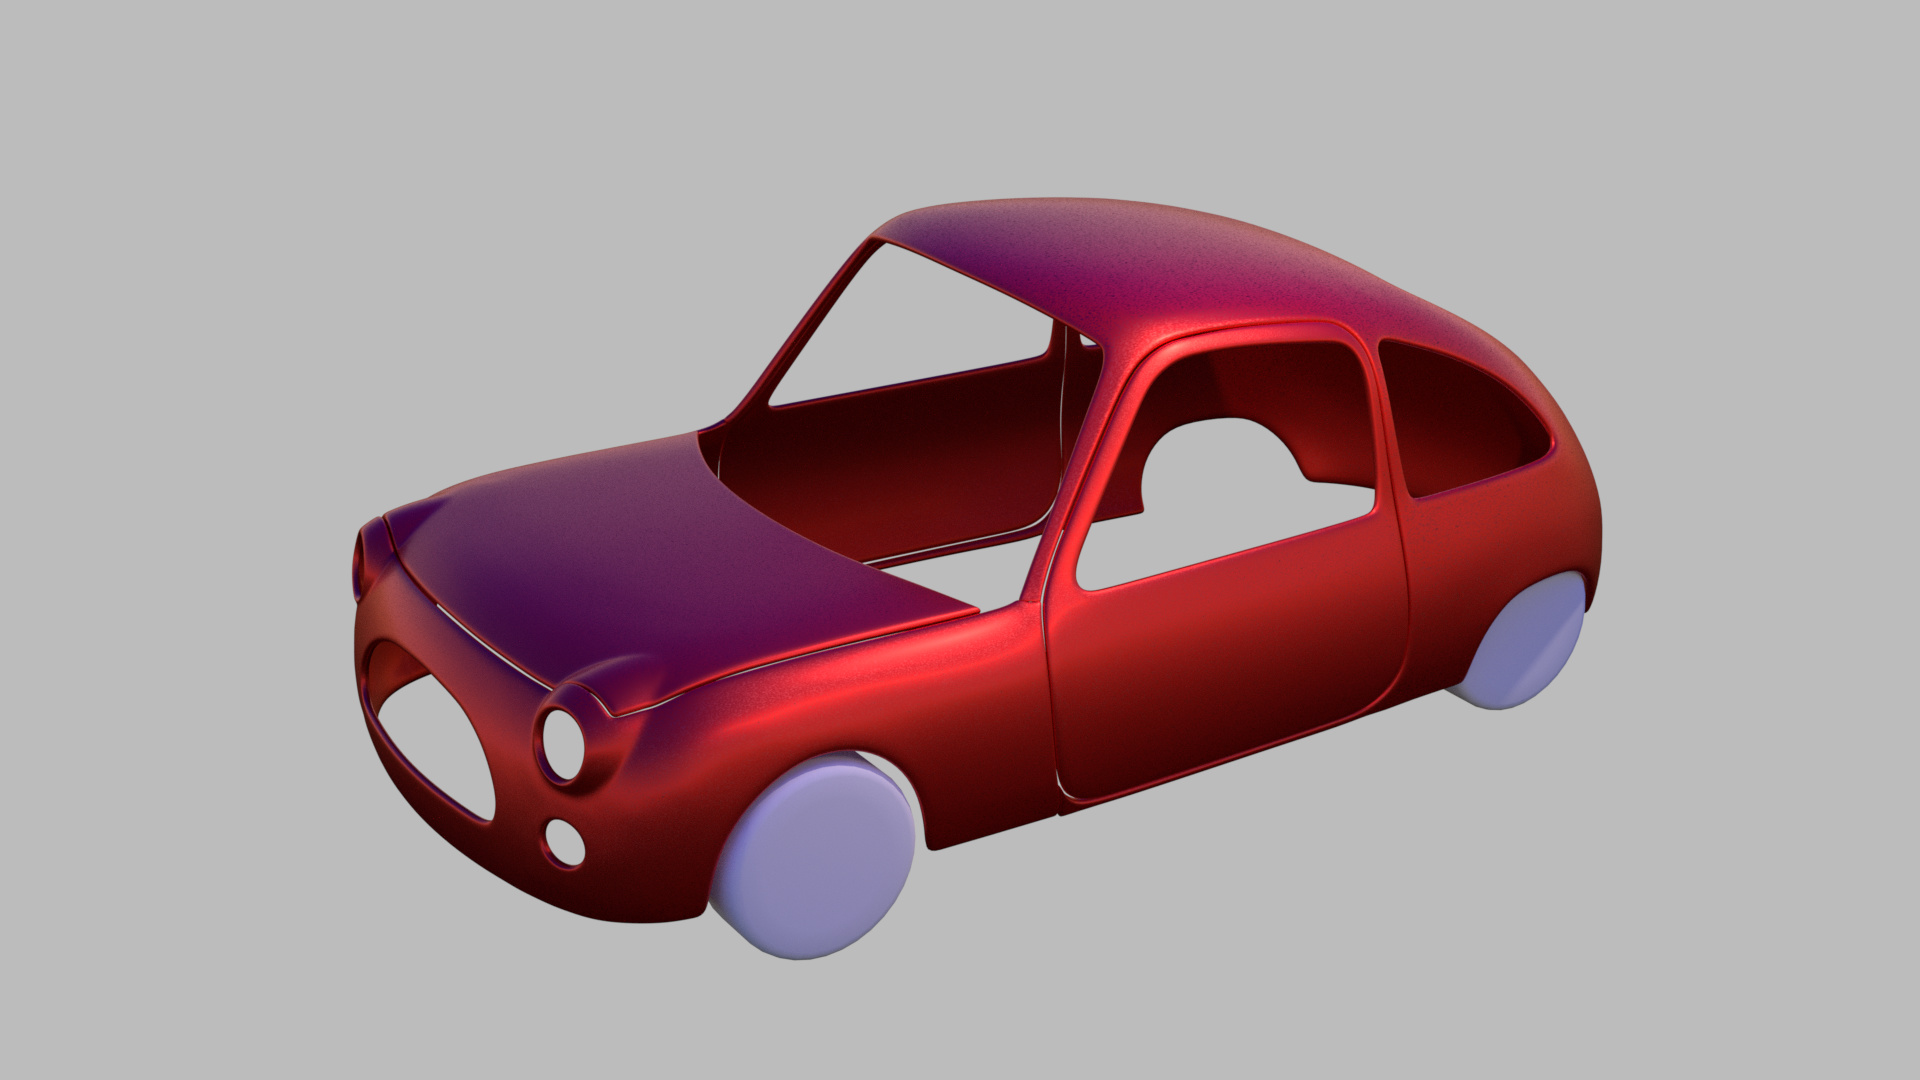
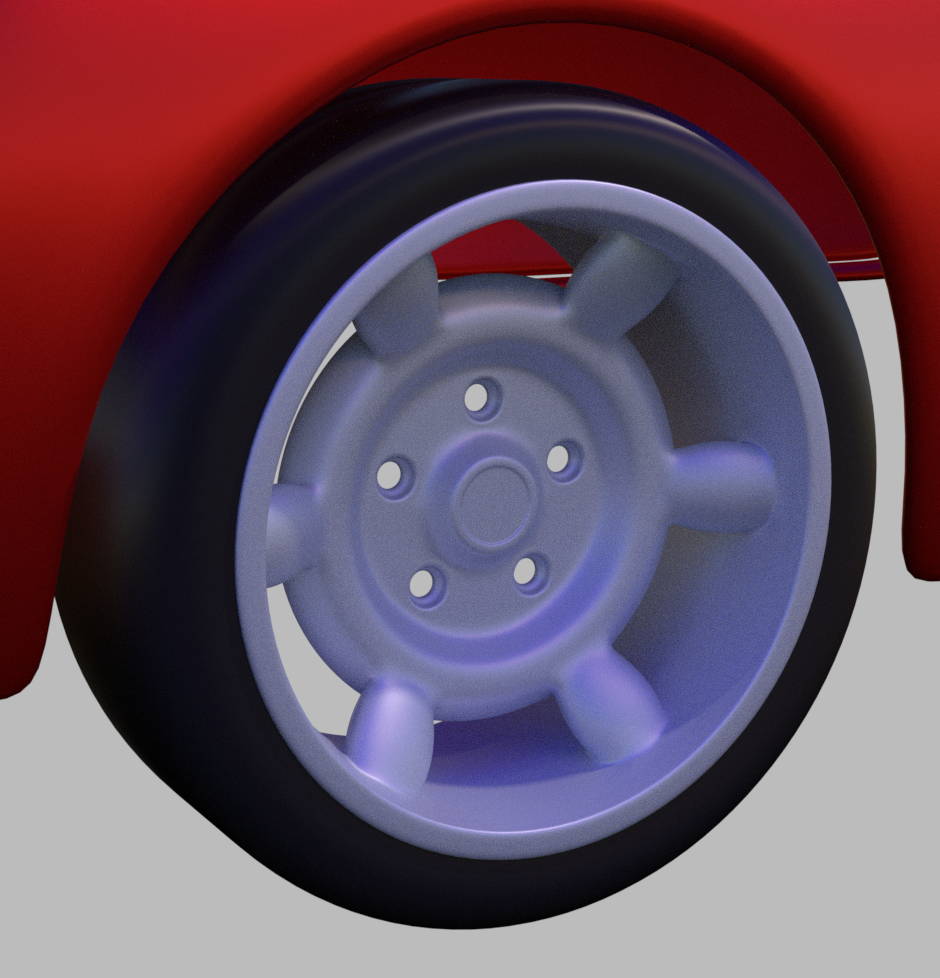
And the render. Playing around with the new built-in uber-shader. Not sure what I’m doing there. But an idea of the kind of look I’m going for. Still a ways to go. I think it’ll be one of those coin-flip decisions for doing the tail light shapes or the wheels next. (Something better than the placeholders currently there.)
It does resemble some other cars, and a bit cartoony proportioned. However that’s all right. Just doing this for fun here.
Honestly I think there’s spots where topology could still be better (a few dints here and there if you look close enough), but it is what it is. Watching edge flows is the main thing, and loops placed to help surface transition is another. Also I go back and forth at times toggling modifiers on/off while editing. Sometimes better to see what’s happening with the real mesh and others better to tweak while seeing what should be close to the finished result.
And another image… Didn’t get to bumpers just yet. But managed to cut out the rear hatch and put in something to fill in the tail-light holes. (The rear lenses aren’t cleaned up yet, but still gives an idea.)
First real bit of brightwork on there, since I think this little car could use some. And I thought I’d share the process…
So there goes the rear bumper. Not exactly as smooth a process as I hoped for, but end result was still what I wanted. (No edits having it all perfect in this case.) That’s how 3D modeling is most of the time. Success usually depends on persistence.
Added the front grille. Might be ripping off the Mini a little bit there, but oh well. That part just fits the style of this fictional made-up car, so that doesn’t matter too much anyways.
Also I’m trying to think up a name for it. Not sure if it’d be more British, French, or Italian, but it certainly has a couple style aspects of their cars. Anybody have some good suggestions?
Very inspiring to see how you go about this.
Beautiful body so far ! Especially like to rear lights.
Though I dont really like how the hood cuts over the headlights.
I think it would be much nicer if it would flow with the shape there.
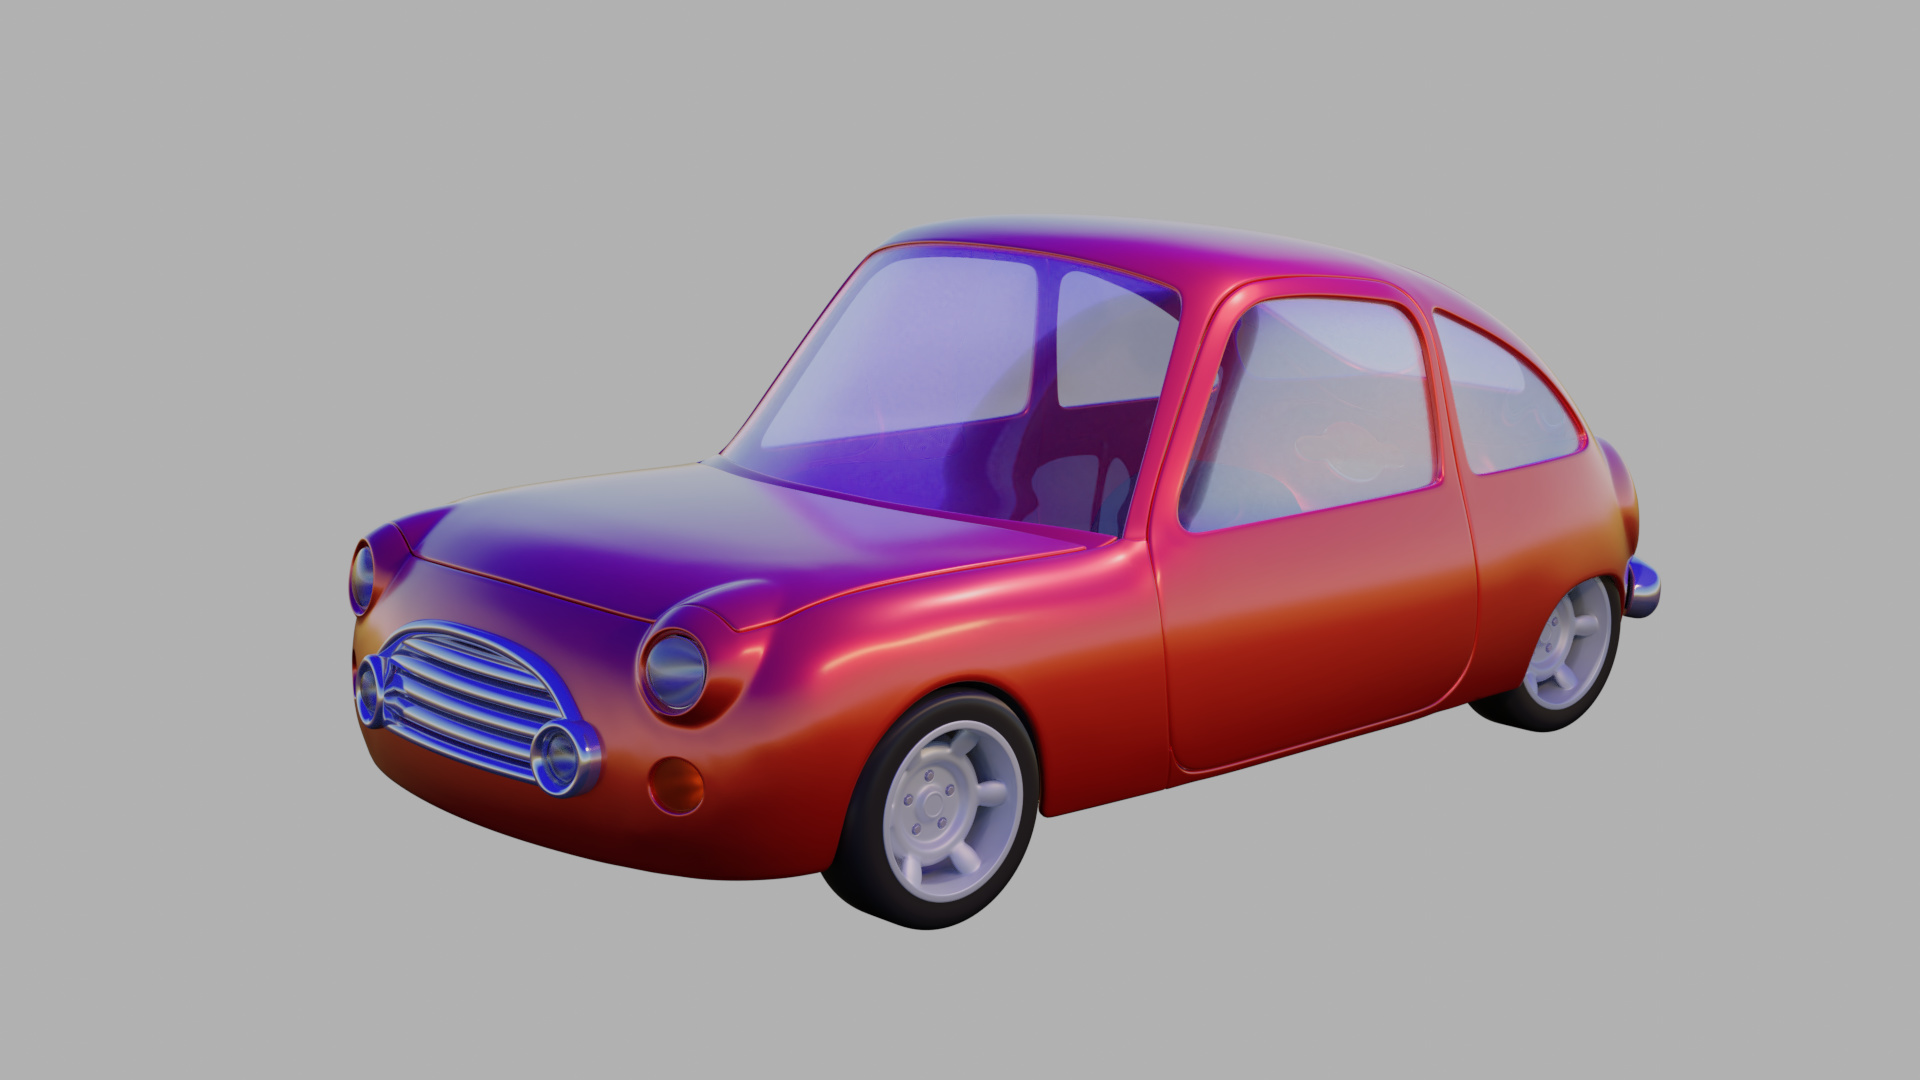
Some more parts added. Window glass and headlights. Nothing too amazing just yet. Still doesn’t have the front bumper, and no real interior yet either.
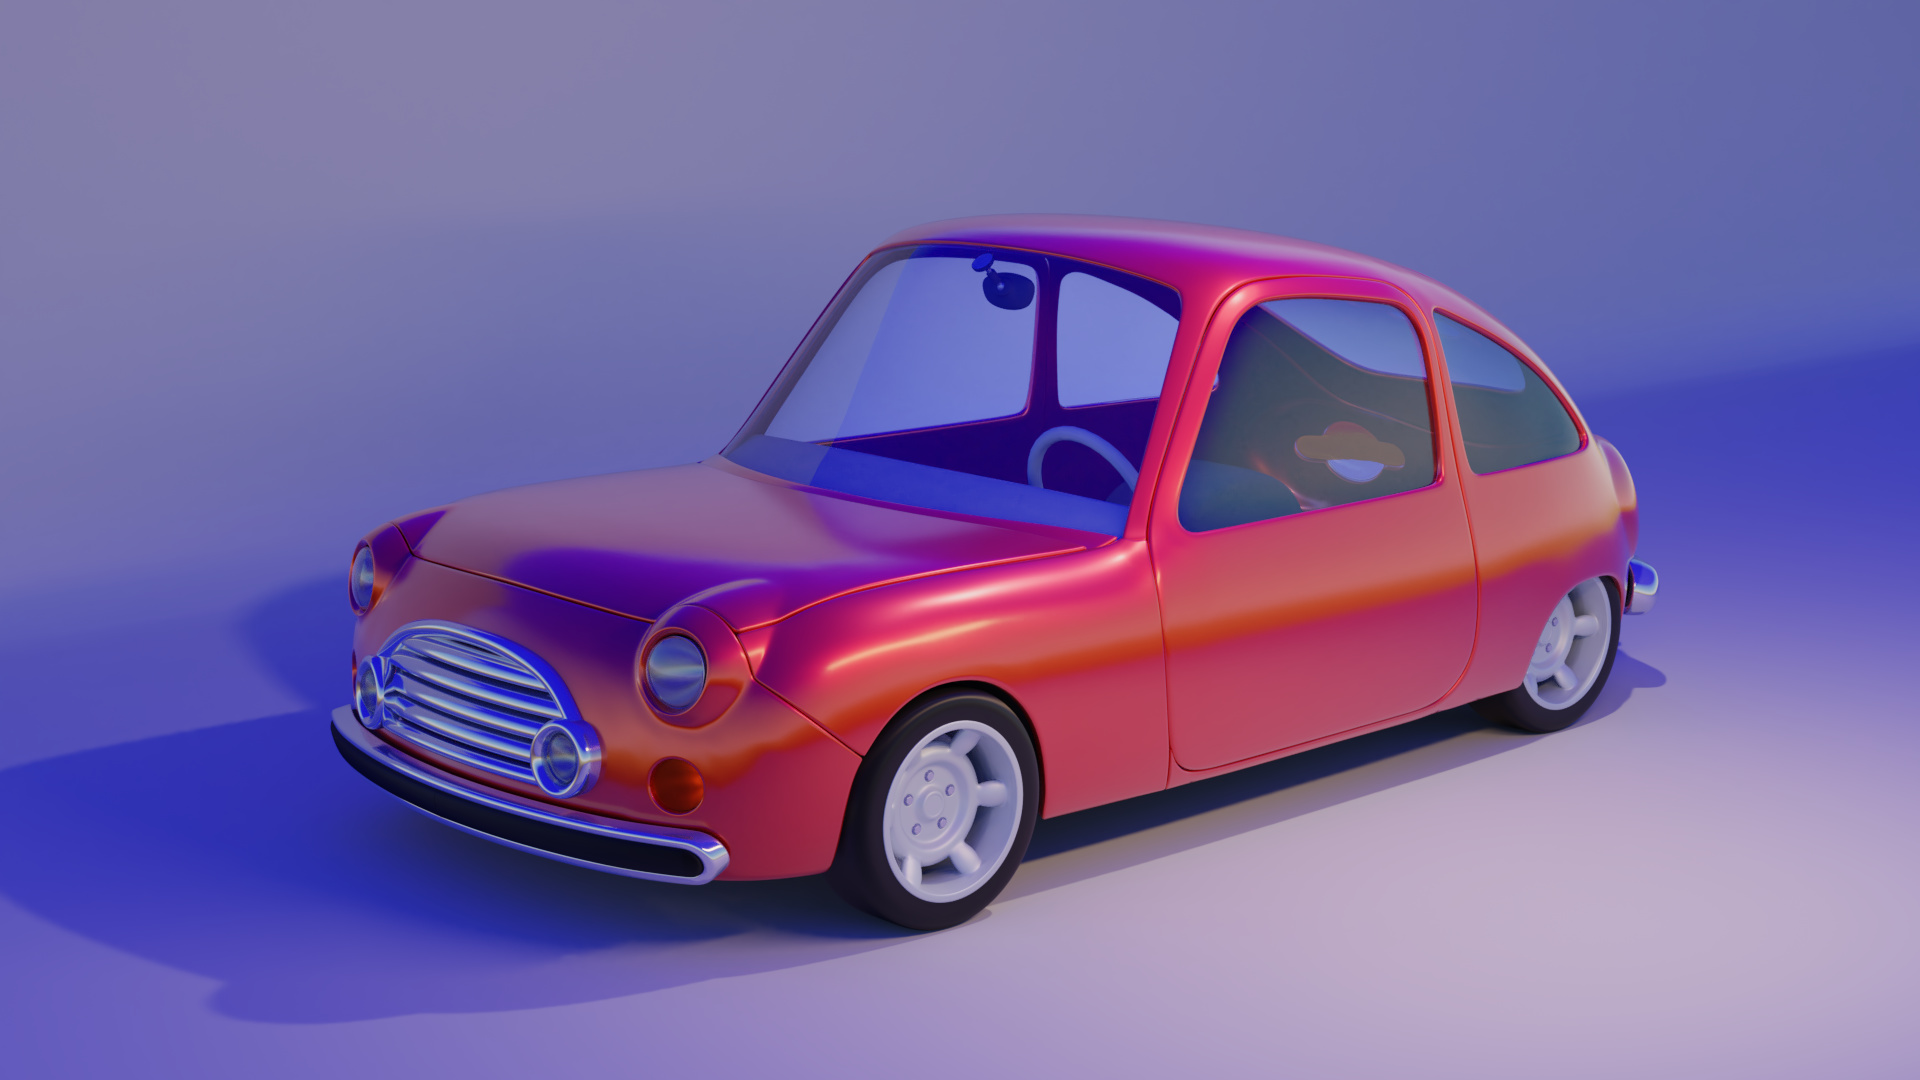
Still not sure if I know exactly what I’m doing, but tweaking as I go along. Added a body panel seam, front bumper. Start of the inside center mirror, and mock-up parts (just place holders) for the dash and steering wheel. Also adjusted the window glass material again and threw in a basic backdrop mesh.
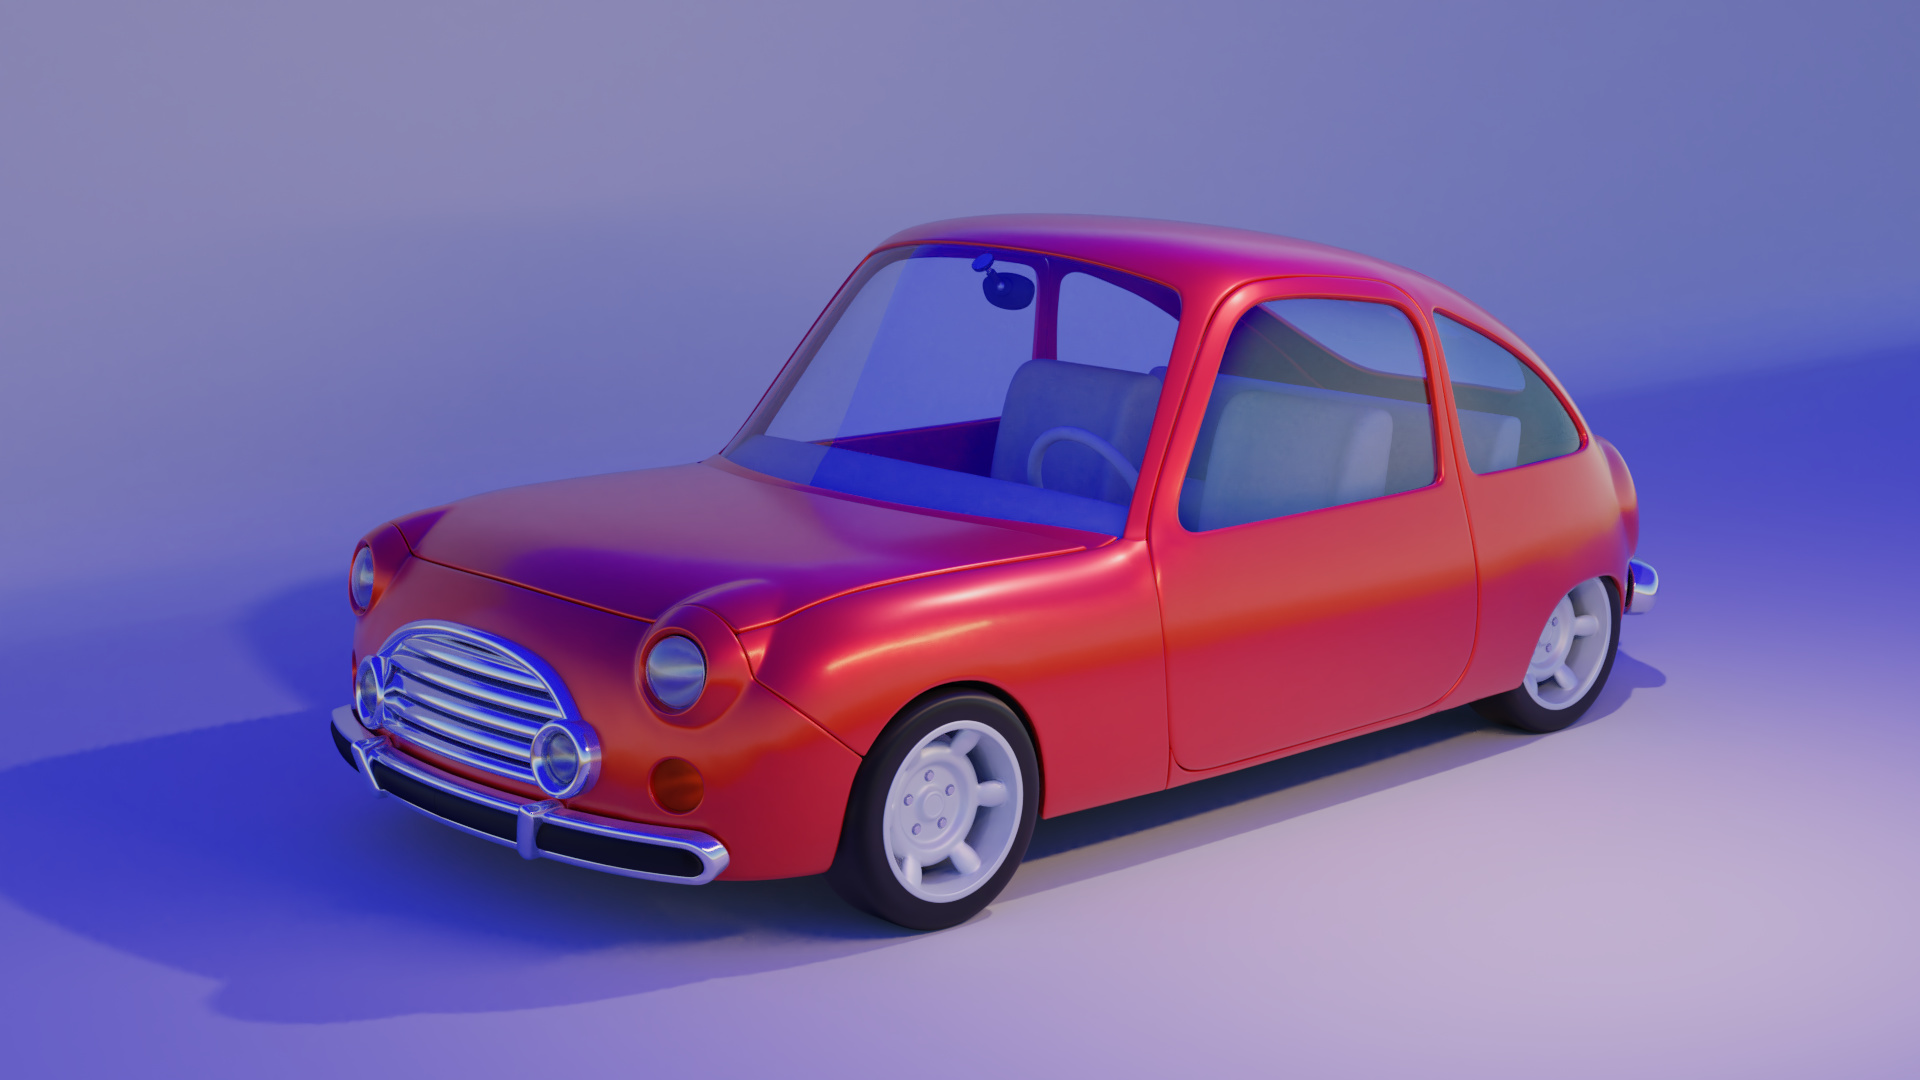
Dusted this off again, modeled some rough seats for the interior. Mostly to get an idea of sizing and such. Also added another trim piece to the front bumper to complement how the rear bumper looks. Not that exciting at the moment but it’s something. Thinking of doing the side mirrors and door handles next.
Just another little bit. Seems like baby steps at this stage. Not sure I like the side mirrors as they are, but who knows? Might move on to the wiper blades next, just so they’re on there to make the outside look more complete.

 But managed to cut out the rear hatch and put in something to fill in the tail-light holes. (The rear lenses aren’t cleaned up yet, but still gives an idea.)
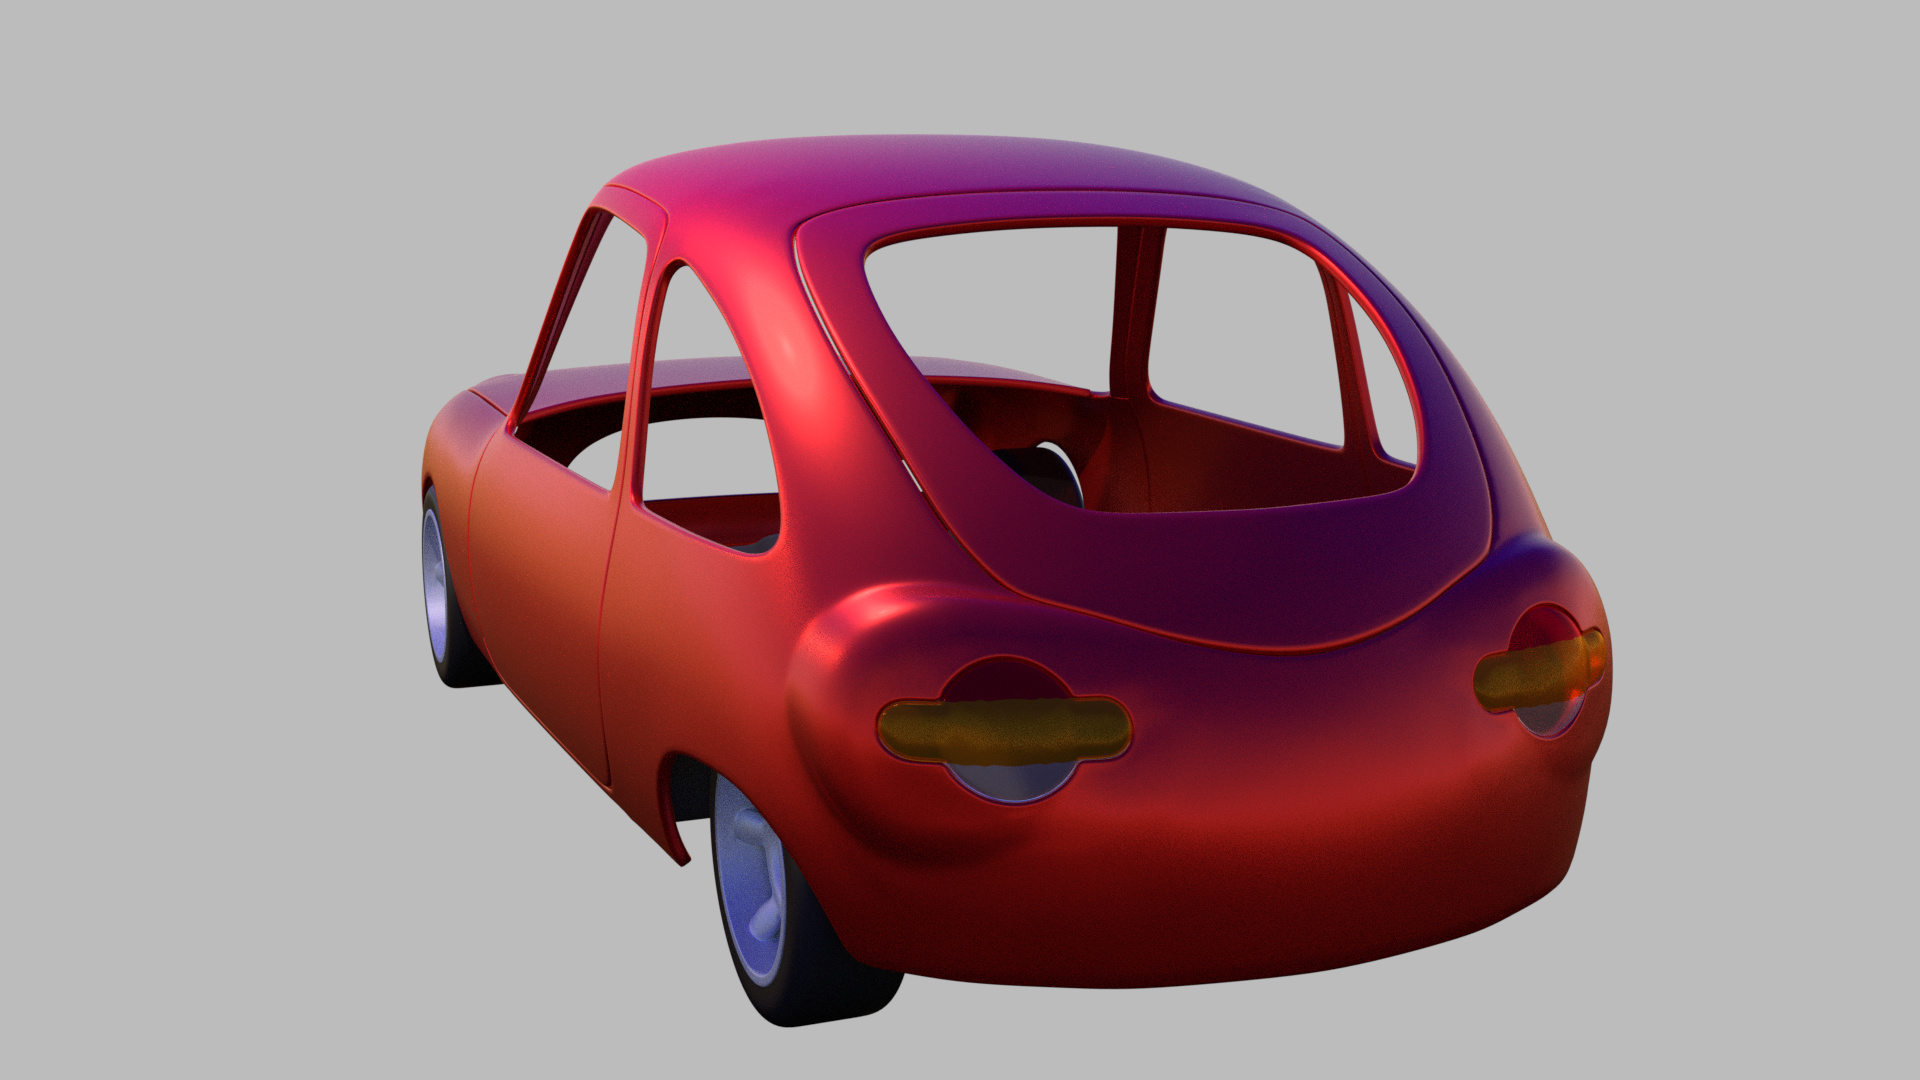
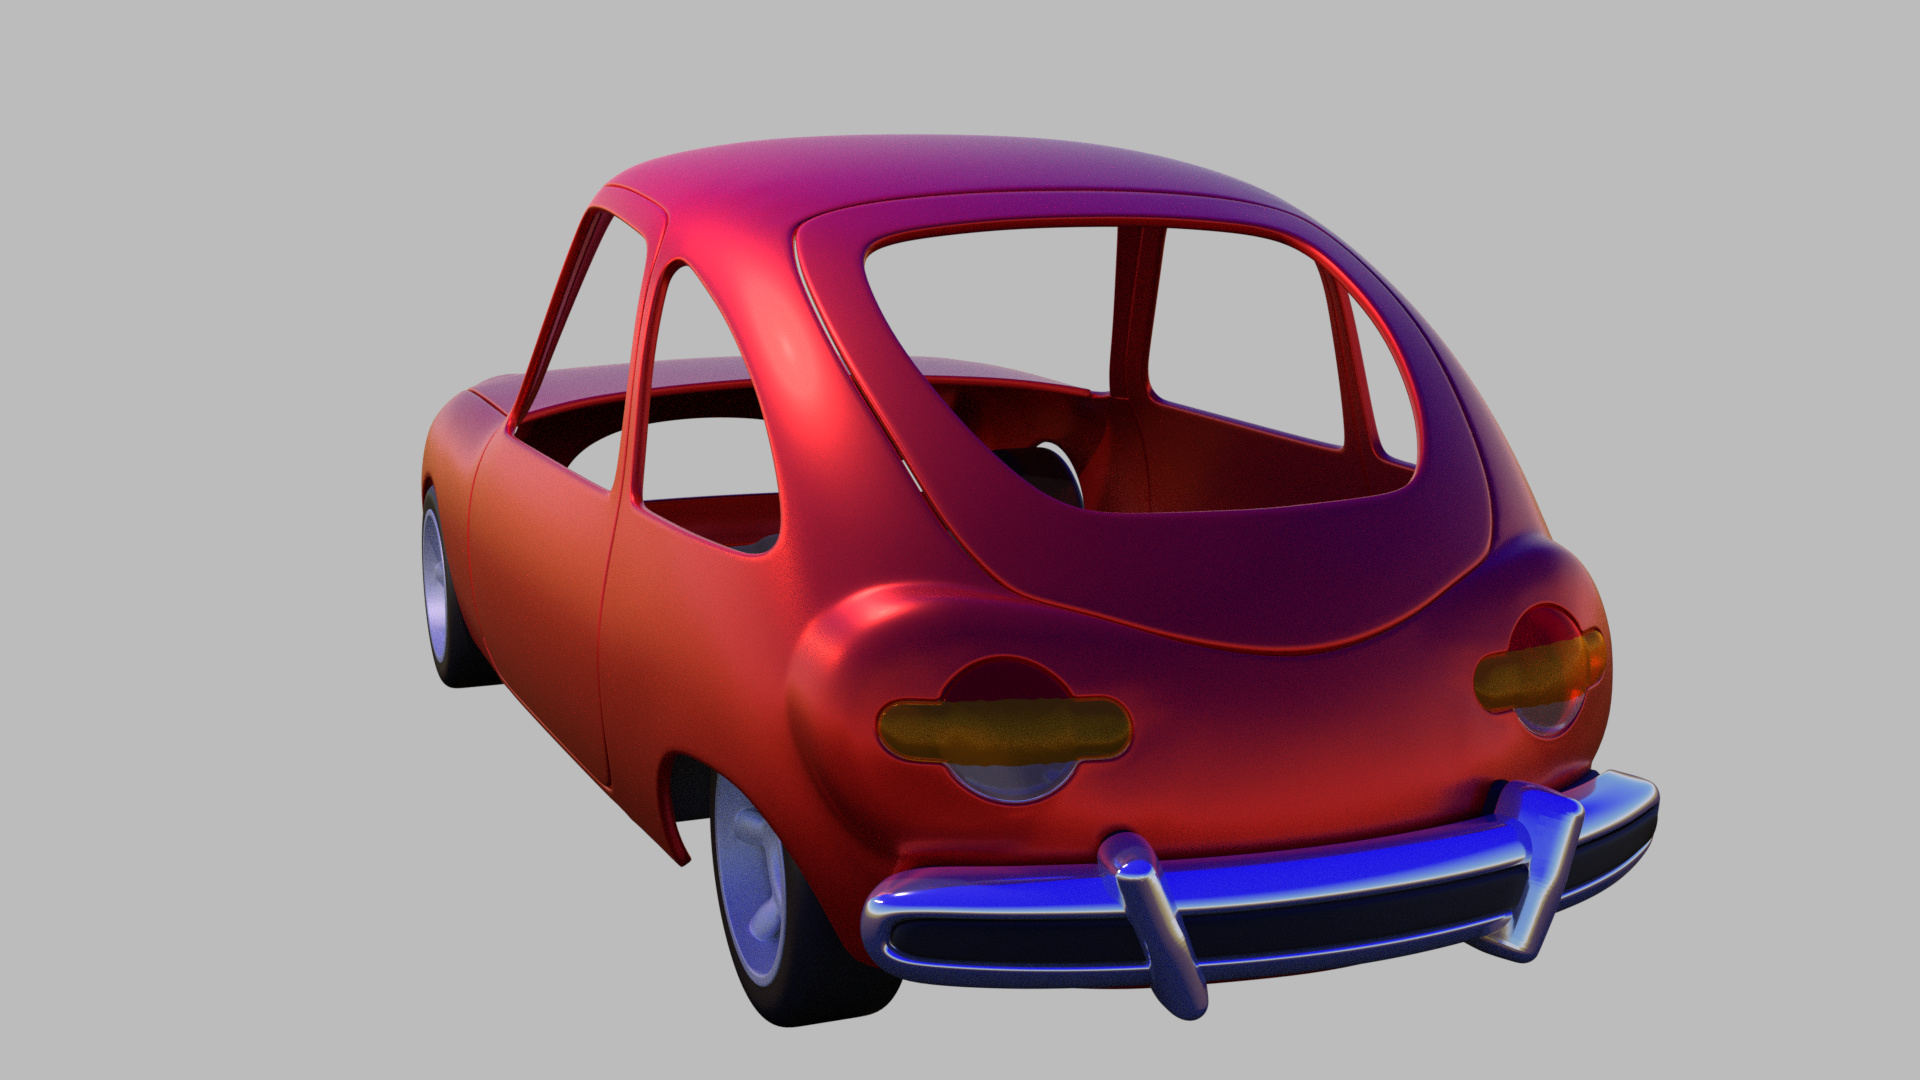
 Not exactly as smooth a process as I hoped for, but end result was still what I wanted. (No edits having it all perfect in this case.) That’s how 3D modeling is most of the time. Success usually depends on persistence.