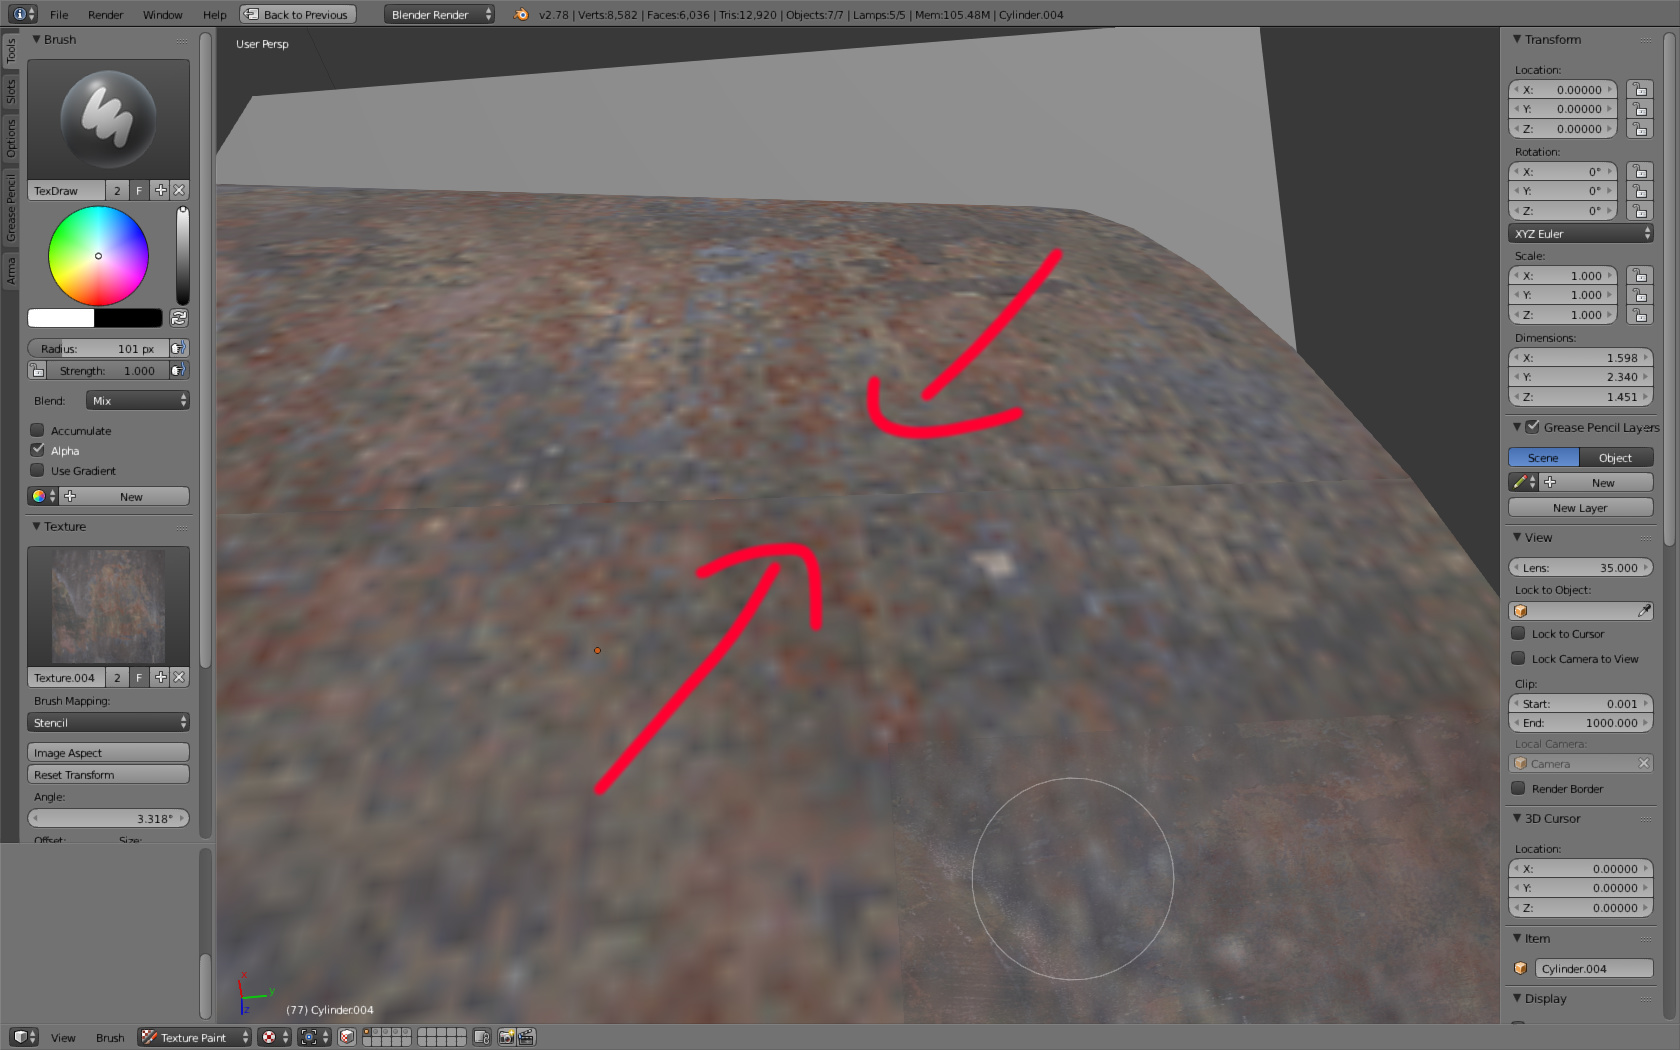
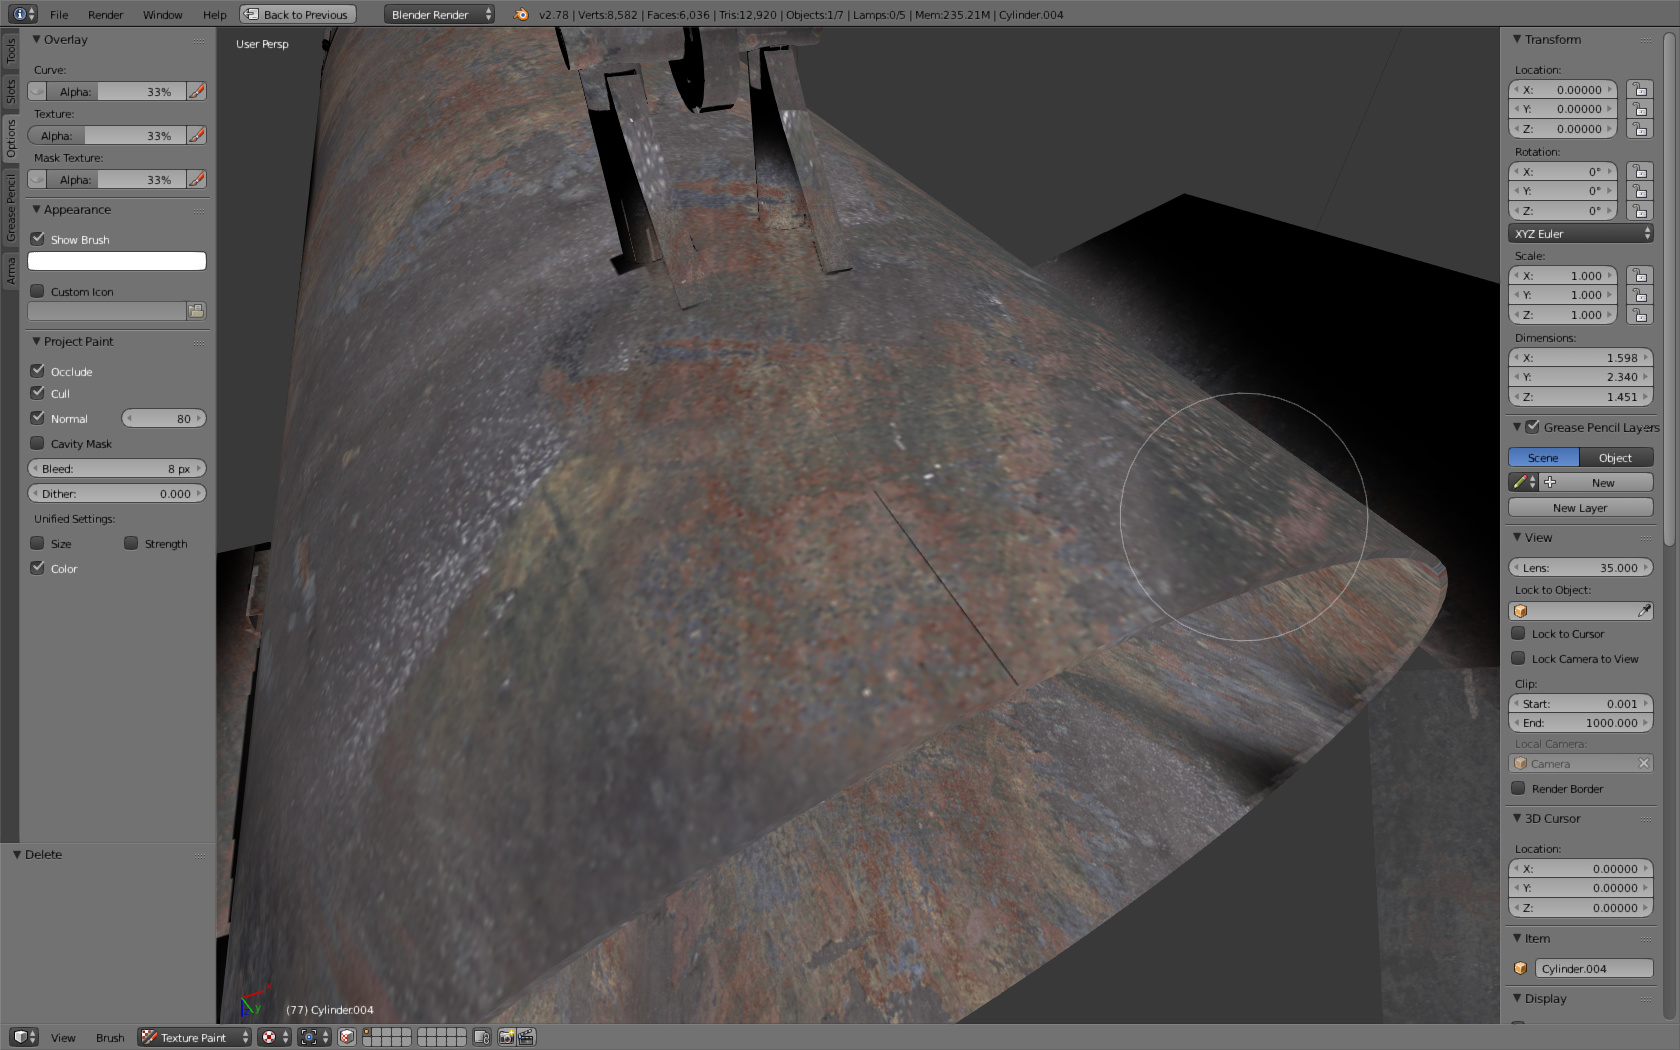
I am very new to 3d modeling and to this forum. I want to create a small mod for a game. So that i can learn more about the process to modding stuff and modeling my own 3d objects. I got my object work properly ingame, but when I try to paint textures on it, on some seams this ugly borders appear. Even if I try to paint the area near the seams in only one color :
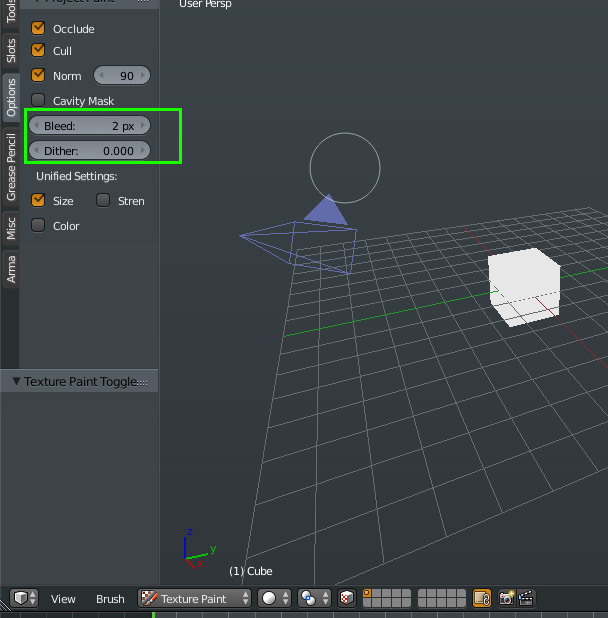
Have you tried bringing up the bleed value in options? That allows the brush to go outside the boundary of the uv shells by the specified amount. 5 and above usually suits me fine. But obviously it shouldn’t exceed the margin value between the uv shells(islands). Pyro is right about the margin. I know it cuts down a little on pixel density for each piece, but it’s better to have some space between them to allow for bleed when painting. The same goes for baking.
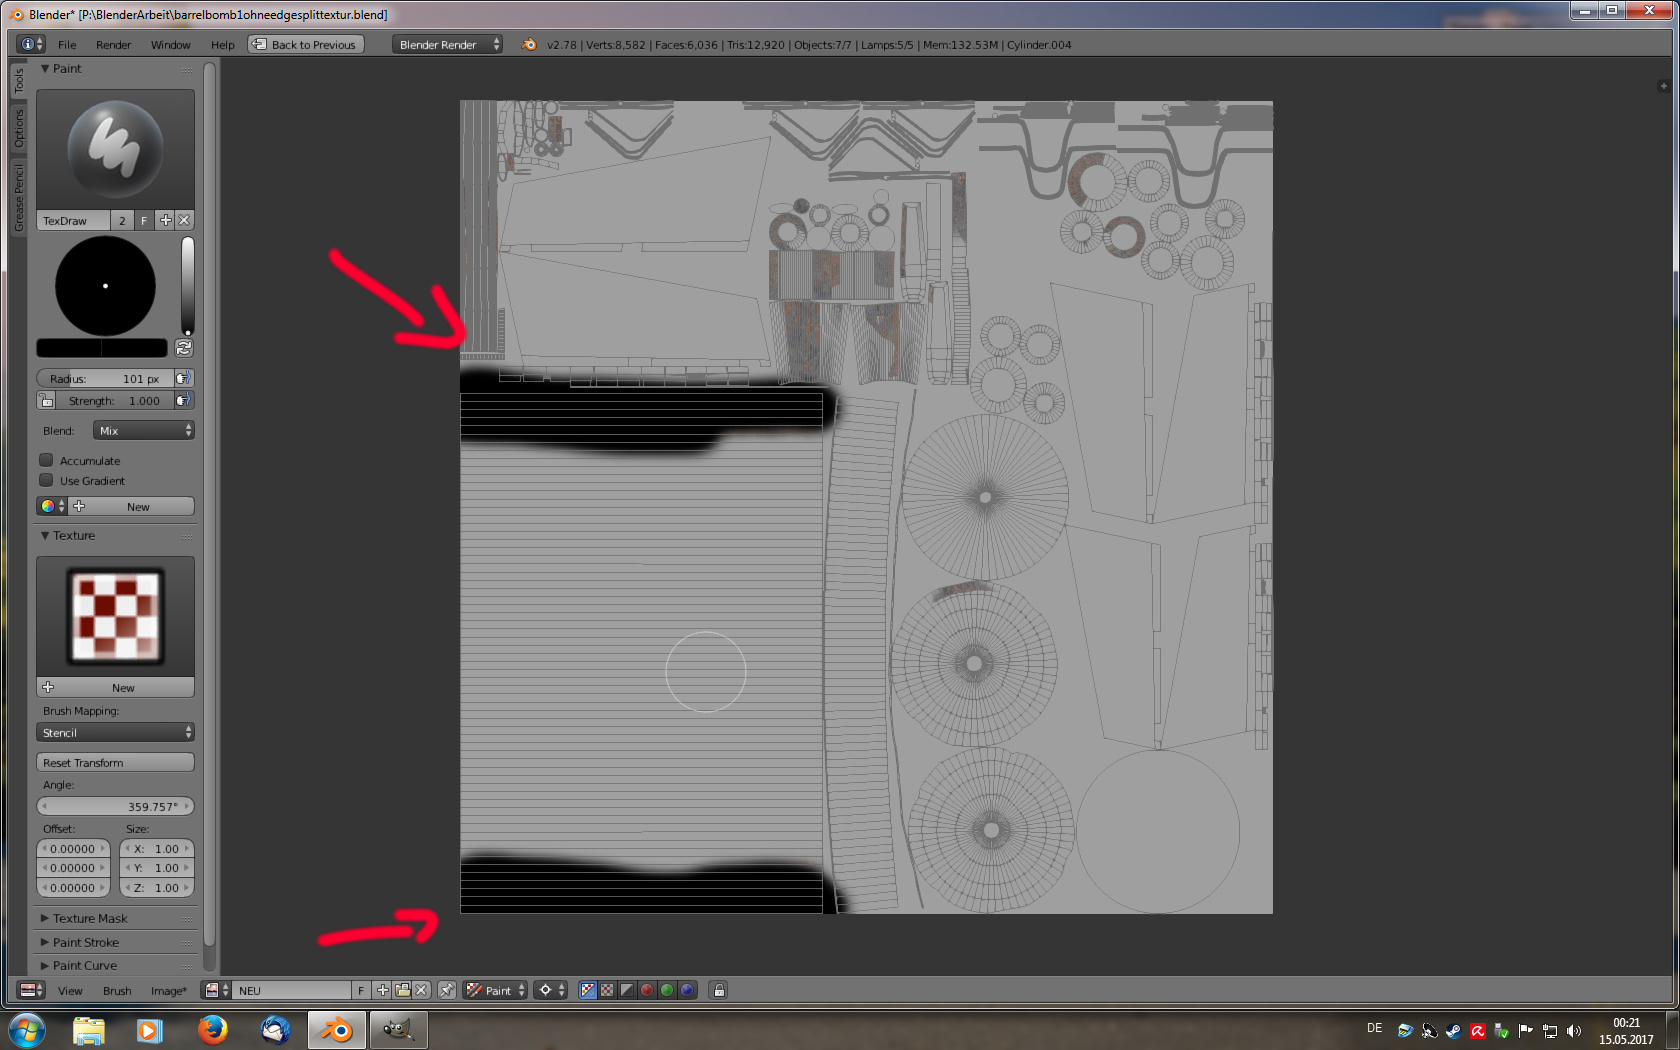
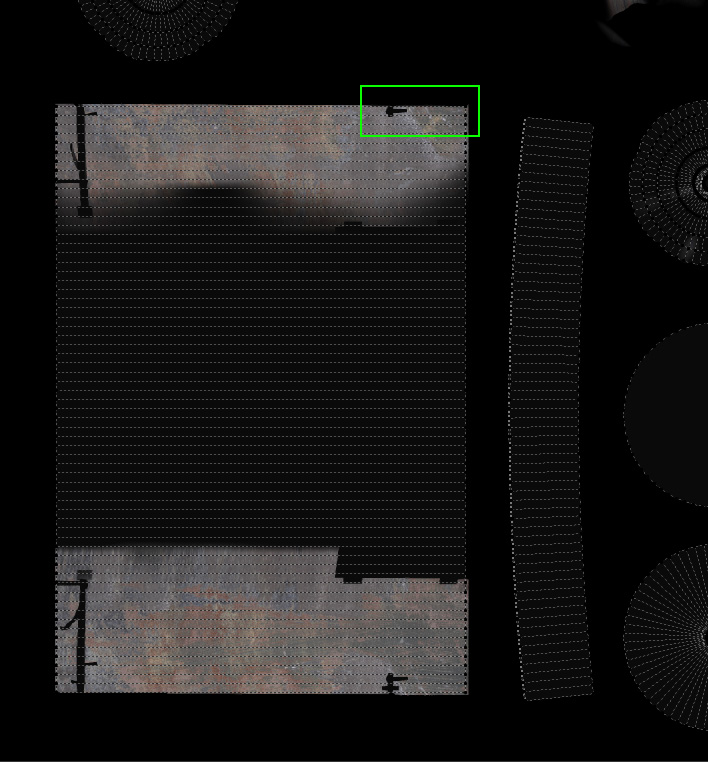
Looking at the uv image editor, the section where the seams are causing issues is still close to the border of the uv shell. The colour needs to be extending out beyond it slightly. I’ve pointed out the area where you could push out the colour a bit more. As it’s such a small area, I’d do it from the uv image editor itself.
What you use for the bleed value can be dependent on the overall texture resolution. The higher the resolution the more you may need to push it beyond the seams.
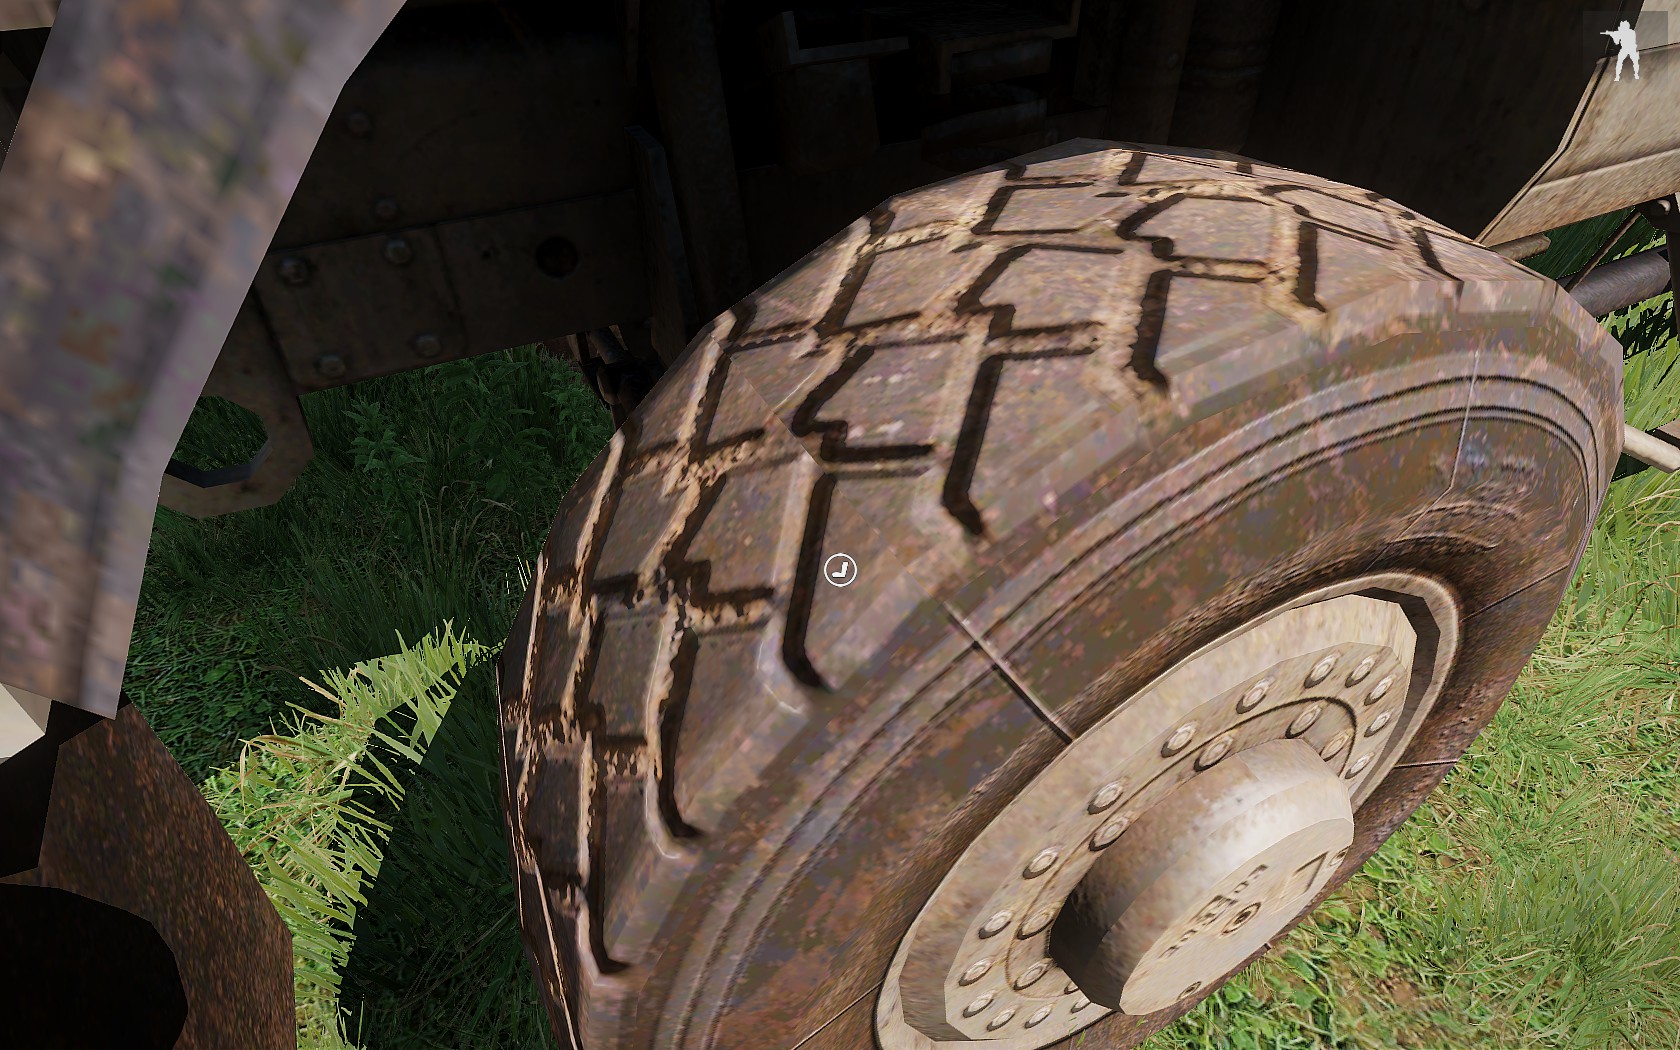
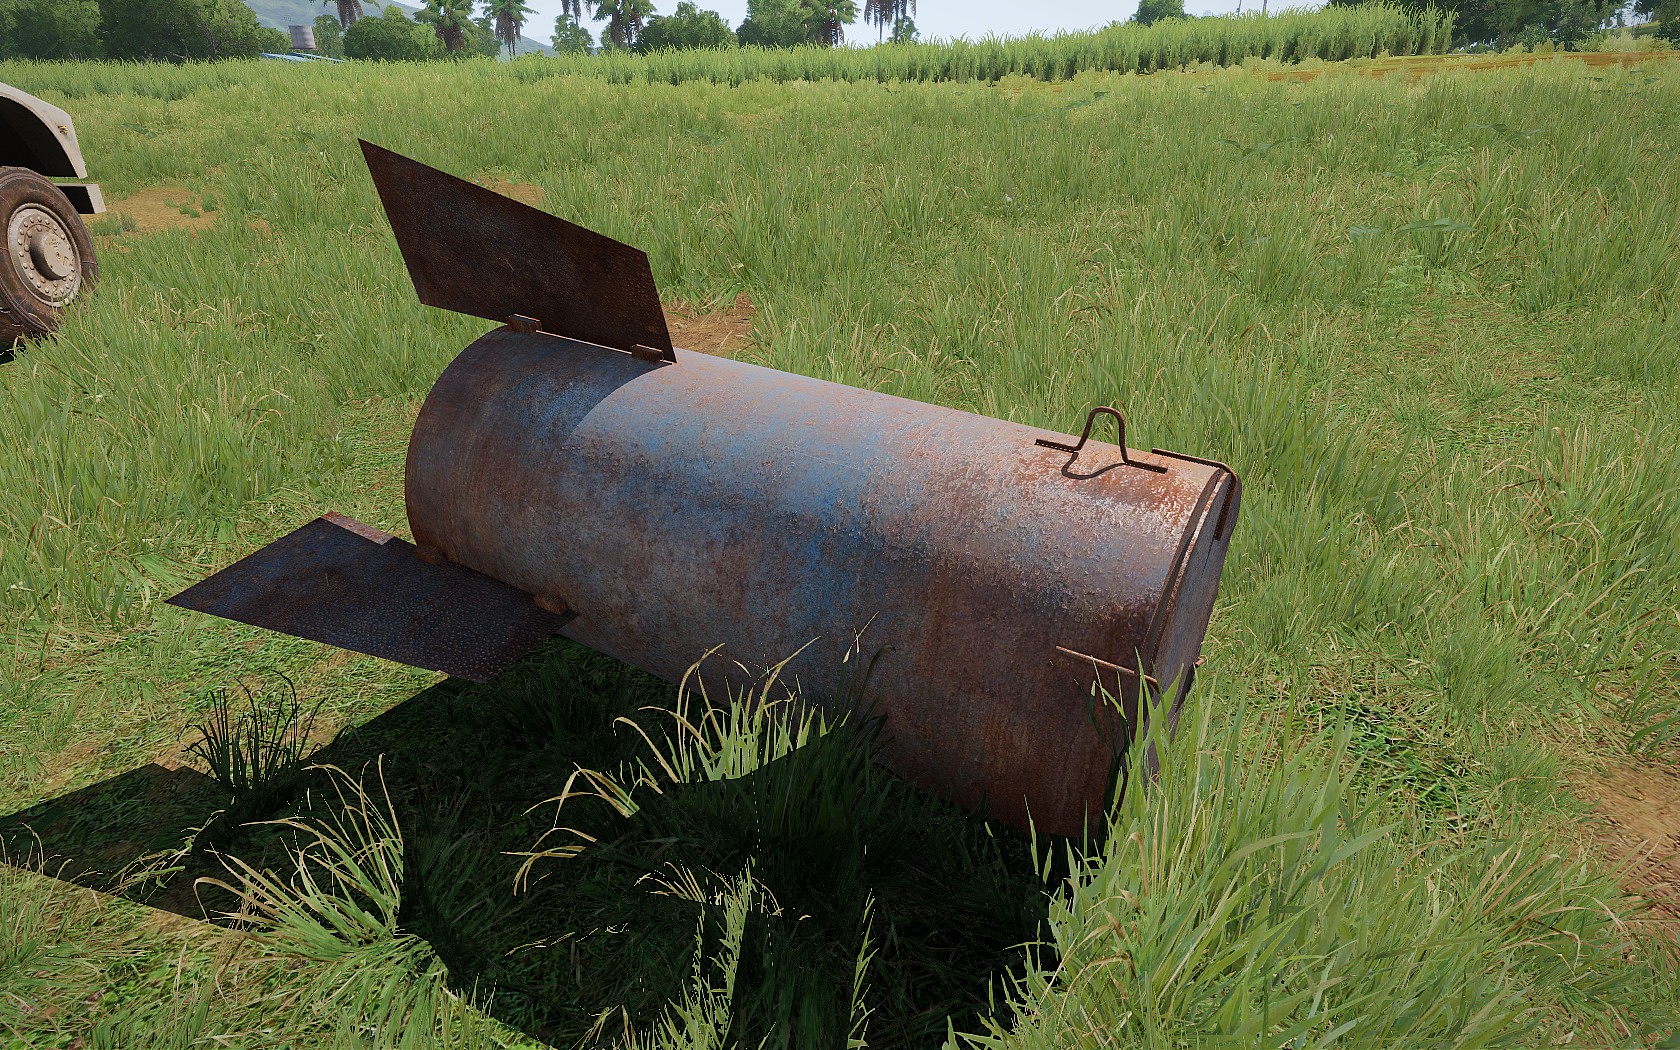
When I increase the value it gets better, but it doesnt disappear. I have noticed when I look close at objects in arma 3 (vanilla) or in mods you can see this seams too. I guess the trick is to put the seams at a location where its hard to see:
Glad you made some progress. Looks good in game. I’d recommend you set the normal angle to 90 degrees too. That’s in the same section where you adjust bleed. And yes. When ever you get the chance, put the seams out of the way. It’s possible the seam in the screen grab is visible on the normal map as opposed to the diffuse. Or at least makes it more obvious.
Yes, but for this I only used now the color, specular and the normal map. I guess that is enough for the first models. Moreover i had so much problems to get my rvmat working, because i m really bad at scripts, codes etc. I guess If i proceed with simple objects first I can learn the basics. And then I should try bigger, complex stuff. And also thank you for the hint!
 :
: