Hi,
I know compositing, edit meshes, UV-mapping and all that, but now I’m going for learning how to create nature and characters by sculpting. Totally new for me. I’m a noob again and feel lost in the workflow.
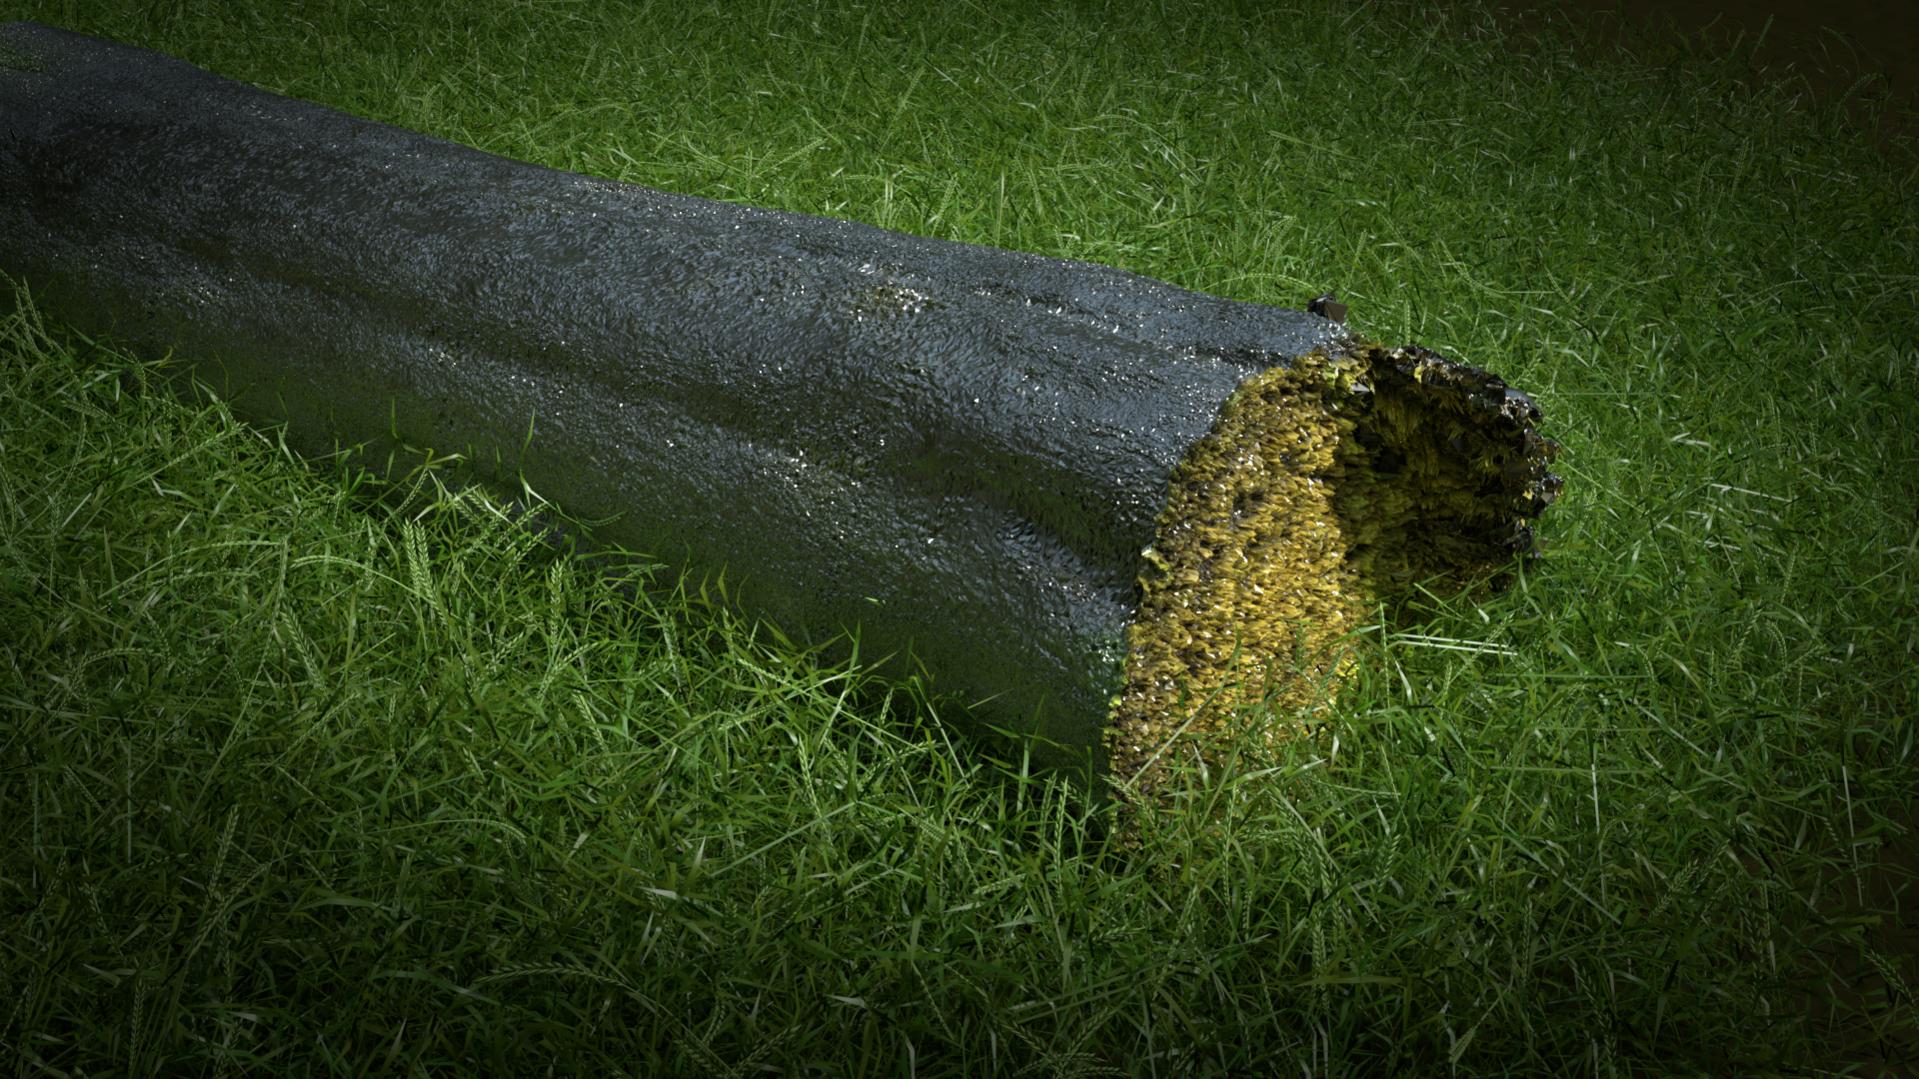
I have made this piece of log that you can see below.
This I made the following way:
- Went straight in to sculpting, “dynotopo on” and started sculpting away. Feels that I understand the basic here and have got a few tip from the net as well.
- When I felt that the log looked ok I went out and thought of UV-mapping, but then again I saw quickly that this should not be possible, so… yes… now I understand why I should learn retopology as well. (Have not though yet).
- So, I handpainted the log (and yes, you have to do some UV-mapping there as well, but not the same thing)
- To get more physical bumps I did subdivide the log twice and then added displacement, using my handpainted image.
Now the questions:
- Is this an ok way to go or am I totally lost here?
- In my log below I subdivided and added bumps using displacment. Should I instead sculpture that as well (using texture htat matches the bumps I would like to produce)?
- If I would like to UV-map using a finished image and not handpaint, could I UV-map before sculpting and get a good result in the end? In this case it’s a fairly simple cylinder, so the changes are not that big compared to the end result. Then I have all the seams and everything from start… or is this the wrong way to go?
Is the result below ok or did I miss anything vital (don’t mind the grass… focus on the log). Only 150 samples, so it’s more so you get a grip of what I’m trying to achieve.
I know I can google and YouTube it all, but I found it hard to get all question answered. Either they show sculpting or they show UV-mapping or retopology, but I have not found a good place to get the complete flow, so I’ll try here and see if you have any directions or pointers for me.