So I’m pretty new to blender and was on my first real attempt to make a decent model when the mirror modifier strated acting weird.
Basically, it’s acting as if I changed the direction of the mirror axis, but I don’t know if it is even possible.
I tried to do the exact same process in a different file and it worked just fine, so I’m even more lost.
Here is what I did :
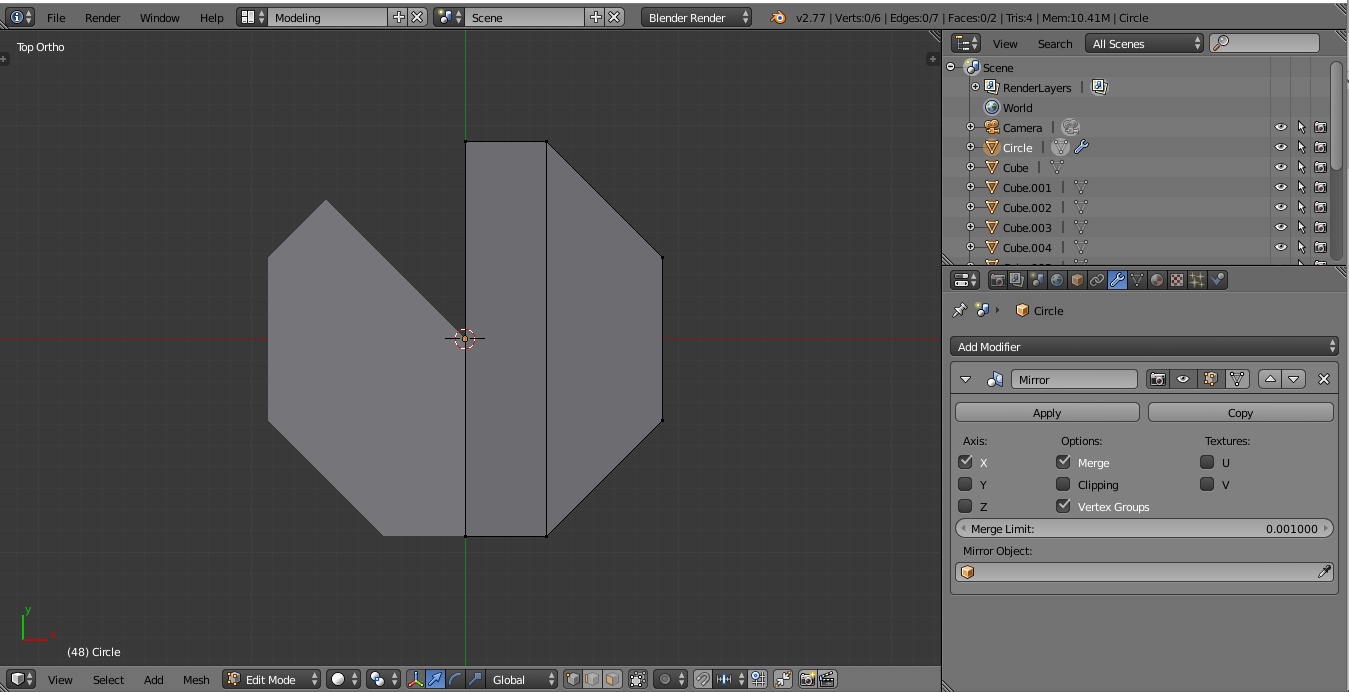
1 - I created a circle with 8 vertices using the menu opened with the “T” button
2 - I rotated it from 22.5° on his axis
3 - I pressed mirror and… I got a pac-man ^^
Here are some photos of what it looked like with the modifier:
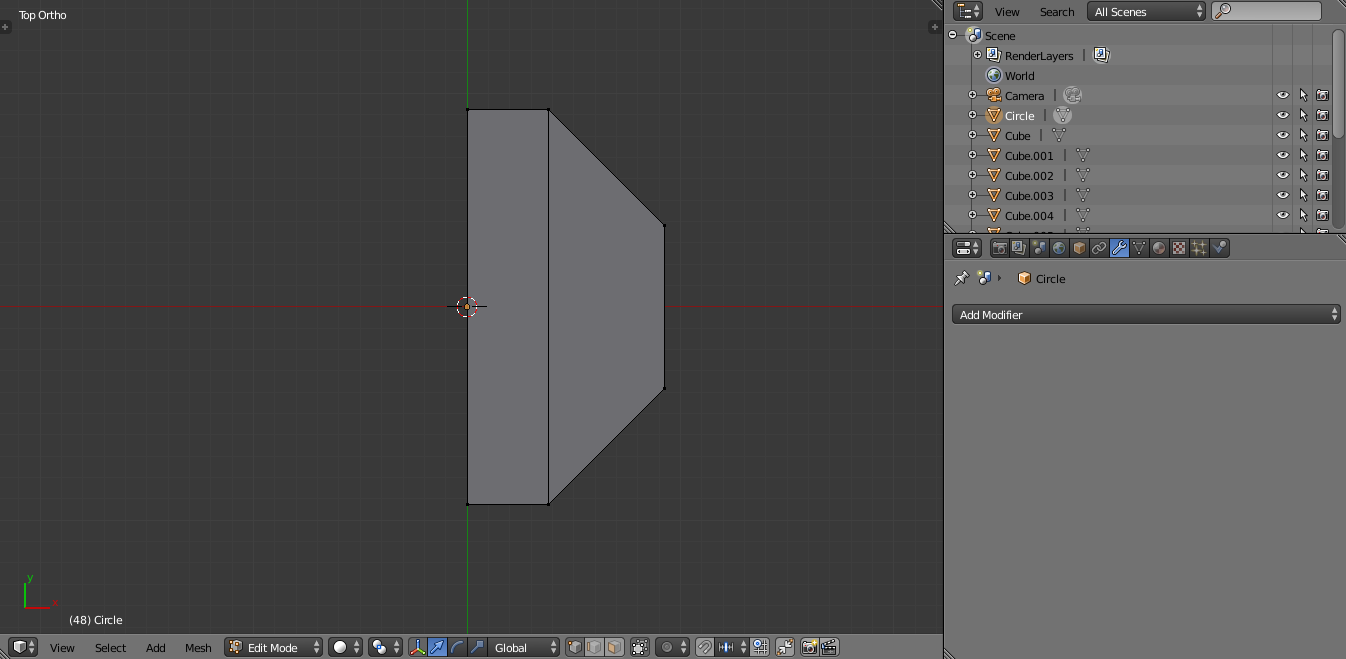
While in Object Mode (as opposed to Edit Mode as shown in your screenshots) go to the Object menu, then select Apply > Rotation.
What you’ve done is rotated the object (22 degrees) and now the mirror is off-axis. In other words, the mirror modifier assumes a zero rotation. Once the rotation has been applied, things will go back to normal.
Any time some weirdness like this happens with an object modifier, check to make sure you haven’t scaled or rotated your object and then not applied it.
Yes, the mirror is always set up along the object’s local axis (whichever you select from: x, y or z) and NOT the global axis of the scene. I didn’t use the word ‘apply’ because that’s an action you take as stated in my first reply. I know, it’s tricky to learn all this lingo.
The Object menu is at the bottom of the 3D View window. Click it and you’ll see the Apply submenu and in that submenu, you’ll see a list of things you can apply: Location, Rotation, Scale and Rotation/Scale (this last one applies both at once).
As for the word ‘apply,’ you could think of it as ‘make it permanent’ or perhaps ‘make this the default.’ When you create an object, it has a 0 rotation and a scale of 1in all three axes. Rotating the object in (for instance) the x axis by 45 degrees means the object is rotated by that much in that axis. This is reflected in the numeric properties panel on the right-hand side of the 3D View (hit the ‘N’ key to toggle this panel on or off). Look for the Transform section of this panel and you’ll see grids for Location, Rotation and Scale and that’s where you’ll see the effects of what you’ve done.
If you then use the menu item Object > Apply > Rotation, the Transform > Rotation will go back to ‘0’ and this becomes the new 0-rotation of the object.
The same goes for scale. If you scale your object up to twice its size, the Transform > Scale grid will show ‘2’ instead of ‘1.’ Apply the scale and it goes back to ‘1’ and this is the new defaut size of your object.
Hope that’s made it more clear for you. If not, let me know.