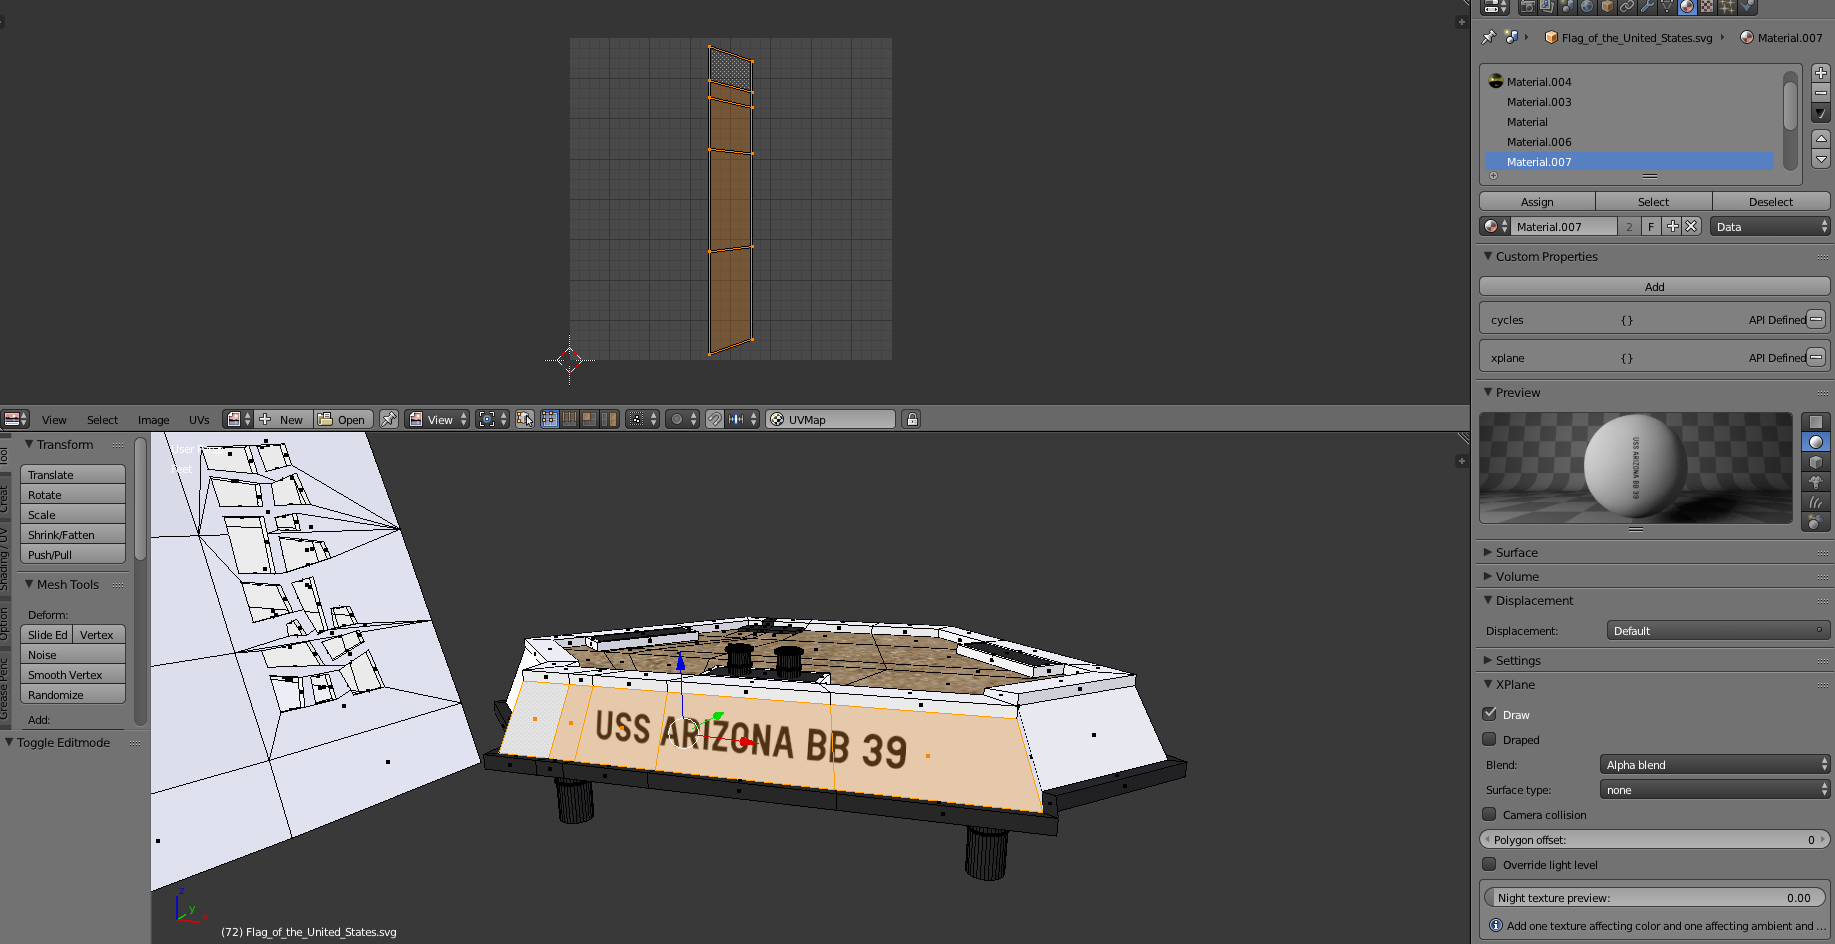
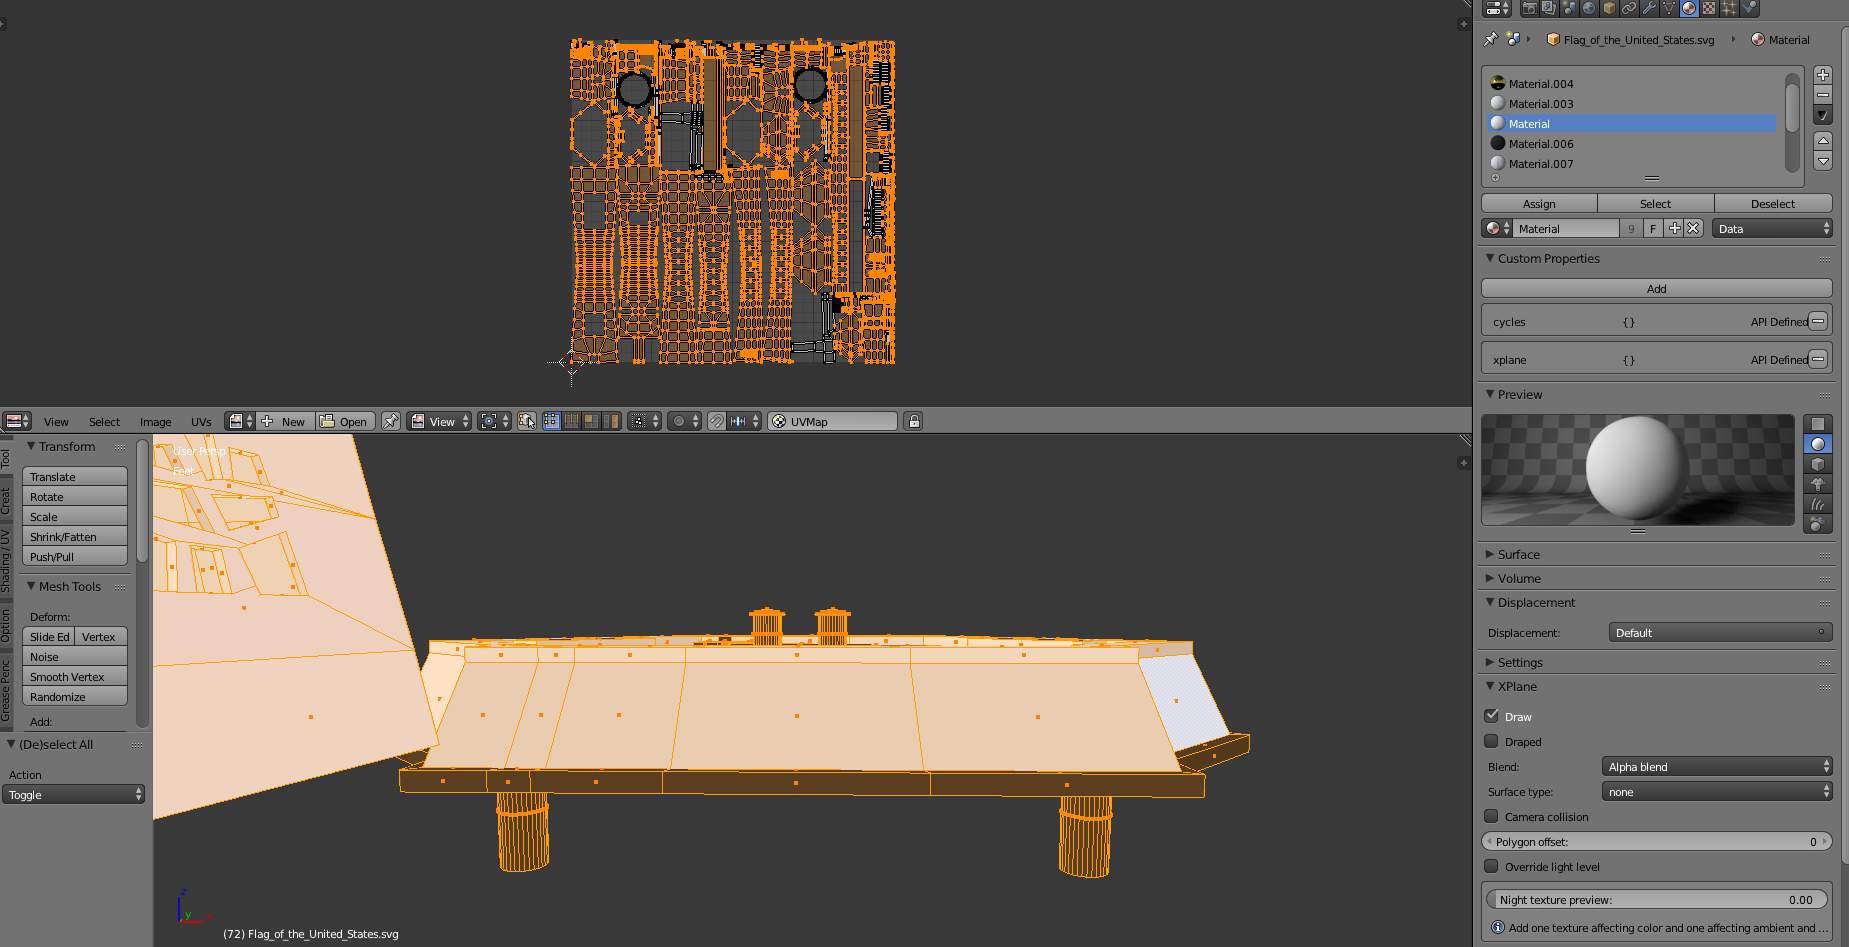
So, I’m trying to bring a model into XPlane, and the program wants ONE PNG for the entire model, so I’m going through the process of getting one UV map for all the objects in my model. But I’ve run into a problem. I used a “quick and dirty” way to apply a texture of some writing to one of the objects.
I know the smartest course of action would be to take that UV and just add the lettering to it, but I was wondering if there’s any way to automatically get the lettering in the right spot (there are other spots where I used the “quick and dirty” way, so I’d have to rearrange those too).
I know that, in hindsight, I should’ve unwrapped them properly, but I’ve learned my lesson and I’m looking to see if theres a quick fix for my mistake. I’d greatly appreciate some help.
I can only go on what I’ve seen in your post. So anything I reply with is based on that.
I don’t know of any automatic method of tackling your problem. Any solutions at this point, may well be destructive. But I don’t see any detail or shading in the image. A few minutes in an image editor could get that text into the right location after an unwrap.
Here’s something you might try. It worked for me. I created a 512x512 texture for an unwrapped cube. I changed the canvas size to 1024x1024. But I want to keep some text in a particular location. So when I reimport the image the uvs automatically scale up to suit. Messing up the location of the text. I know the texture is twice as big in either direction. So I scale down the uvs by half. That’s the S key followed by .5. Now I have the text in the right location with space around it for the other elements. Probably not a very elegant solution. But I only spent a few minutes on it.
Quick and dirty methods are handy for demonstration or a mess around. But not if you’re trying to create something decent. You just end up having to sort it out later.
You need to manually select the image related to the material. It could well be you have several images for the material so Blender wouldn’t know which one you actually want. (e.g. Colour, spec, normal, etc)