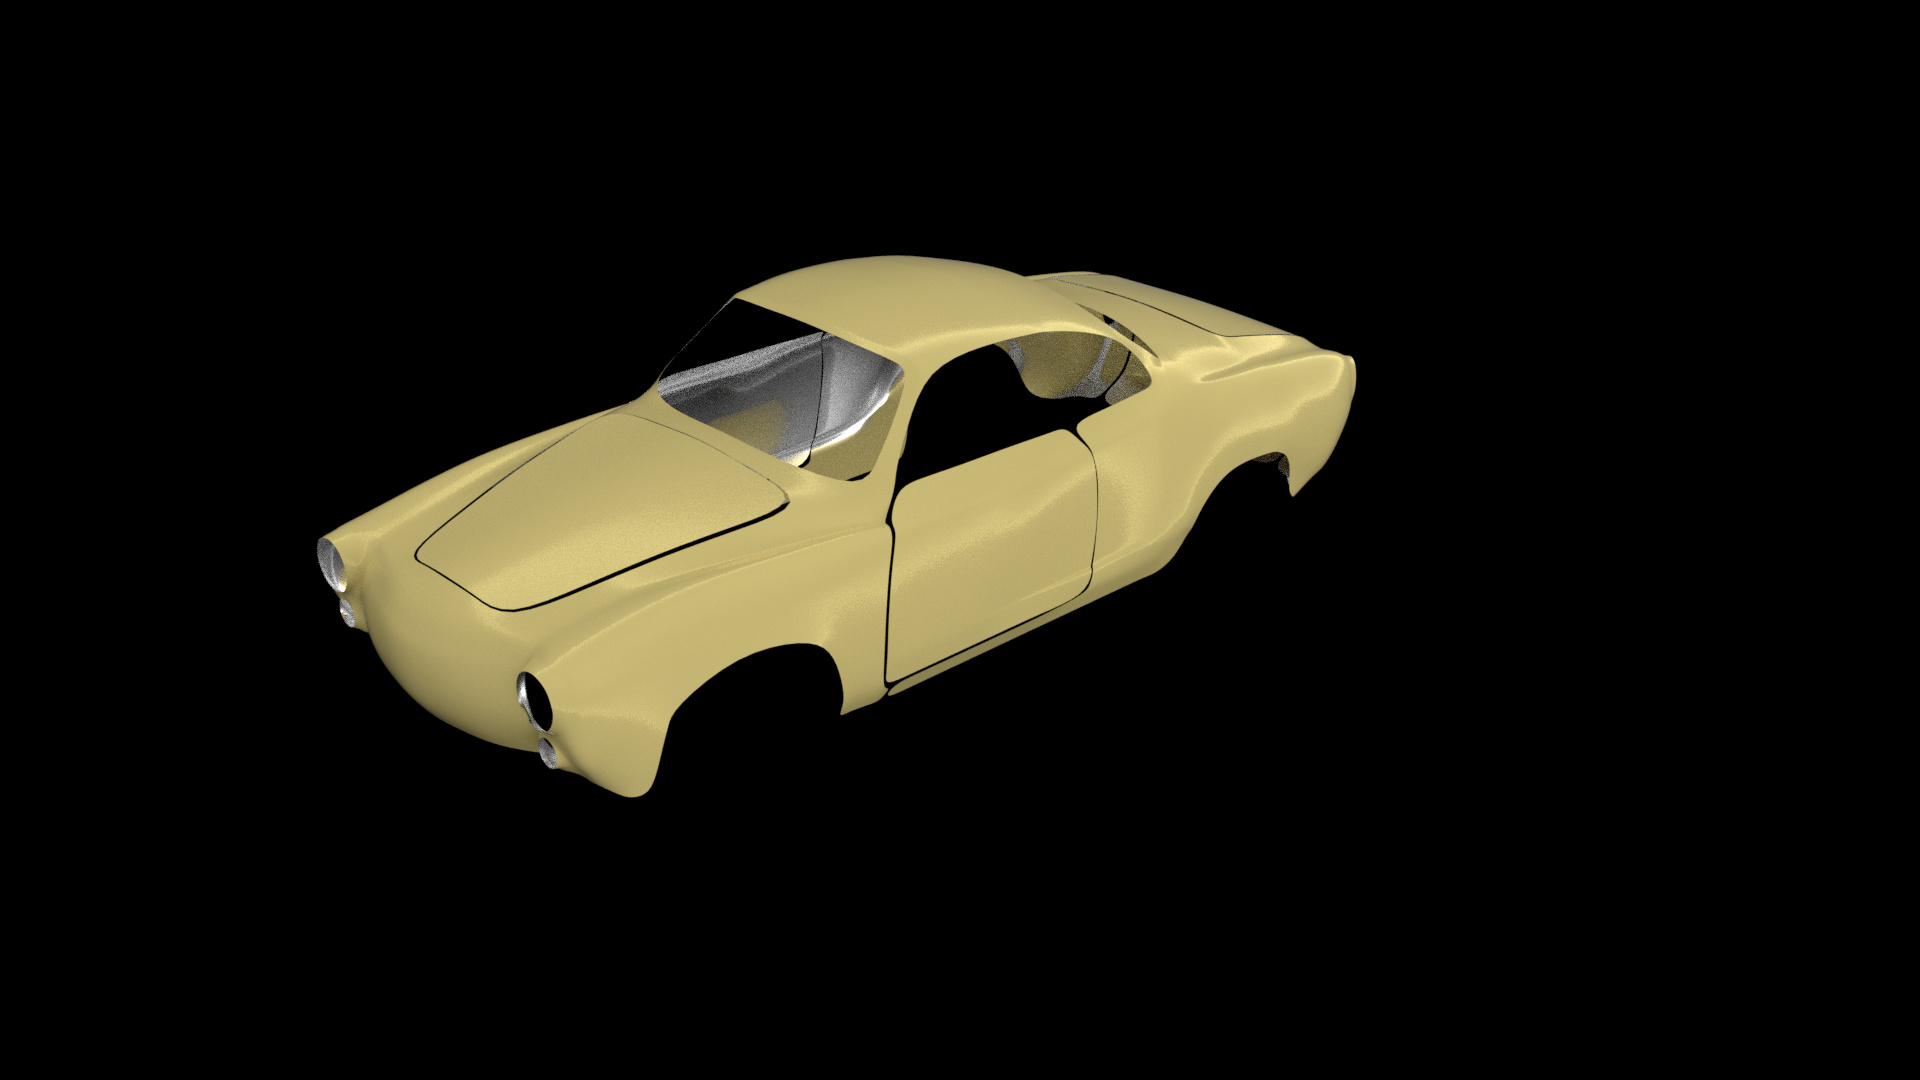
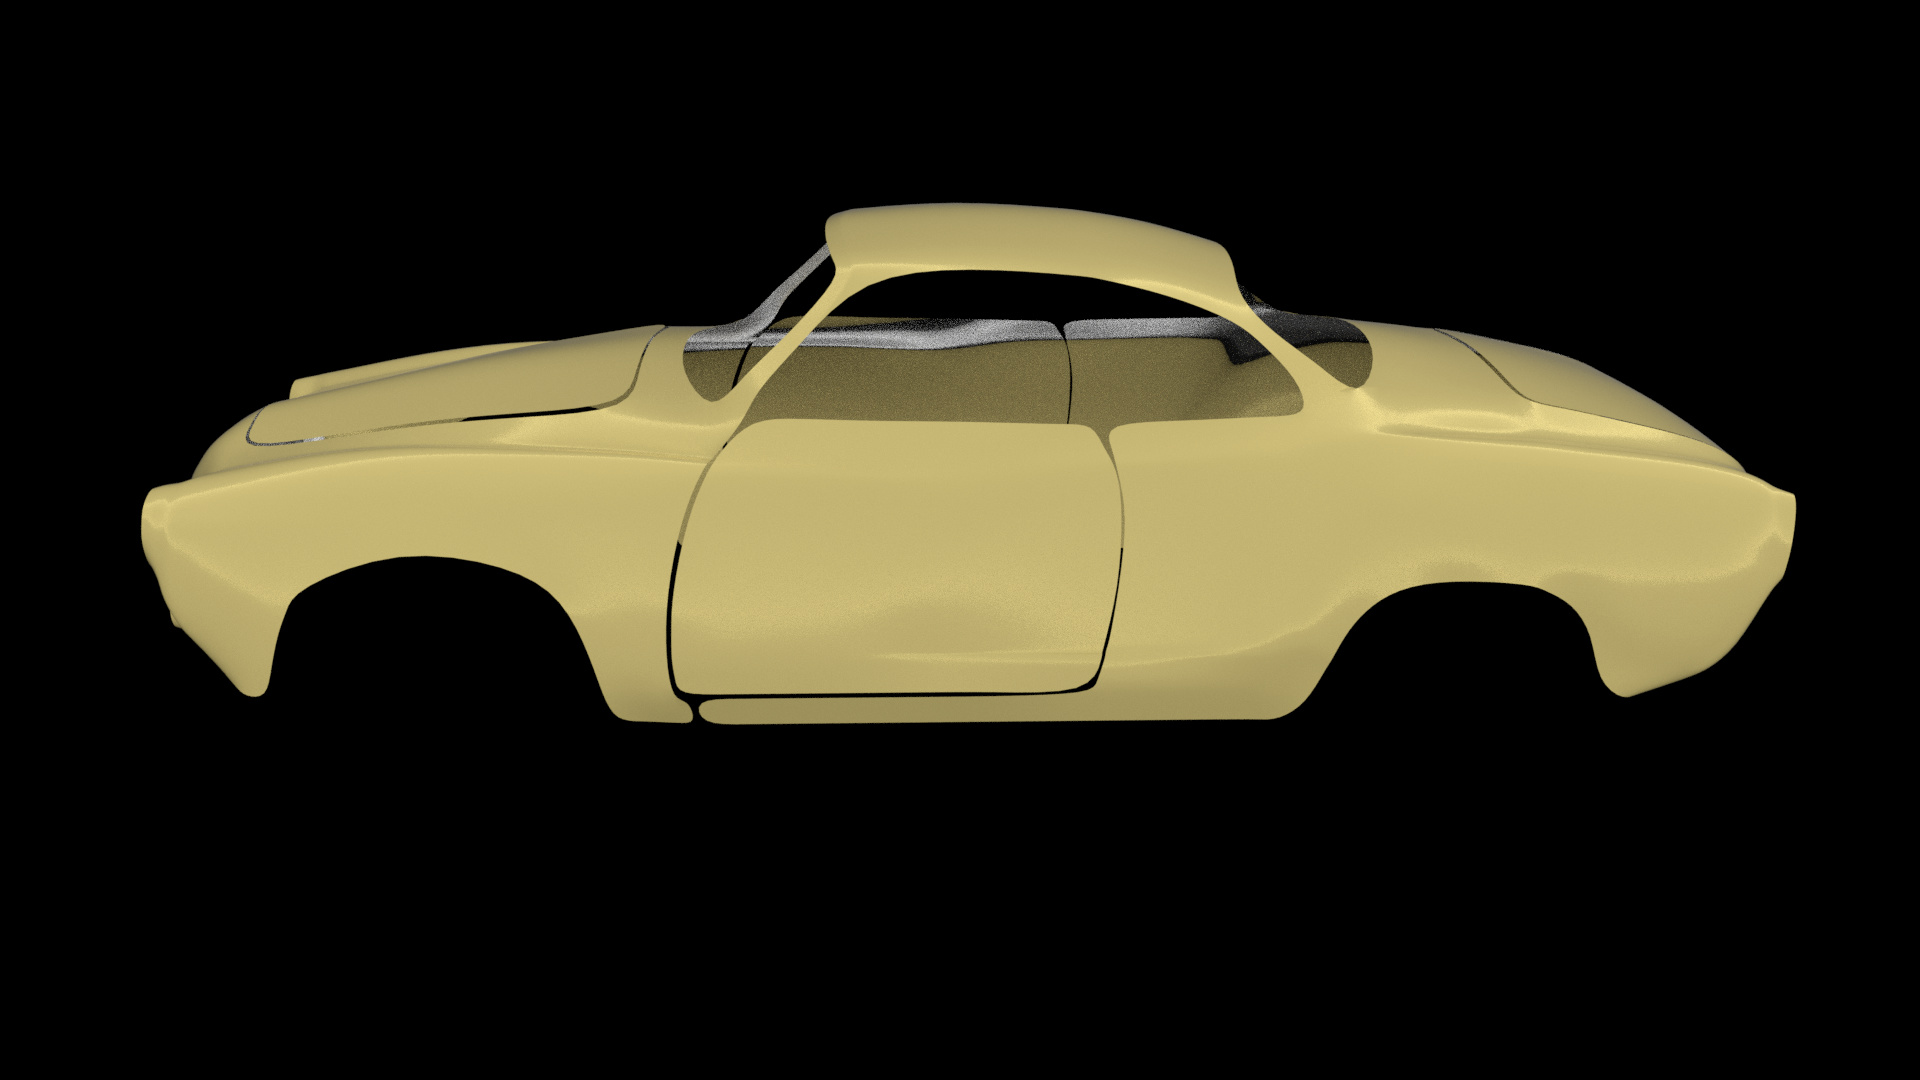
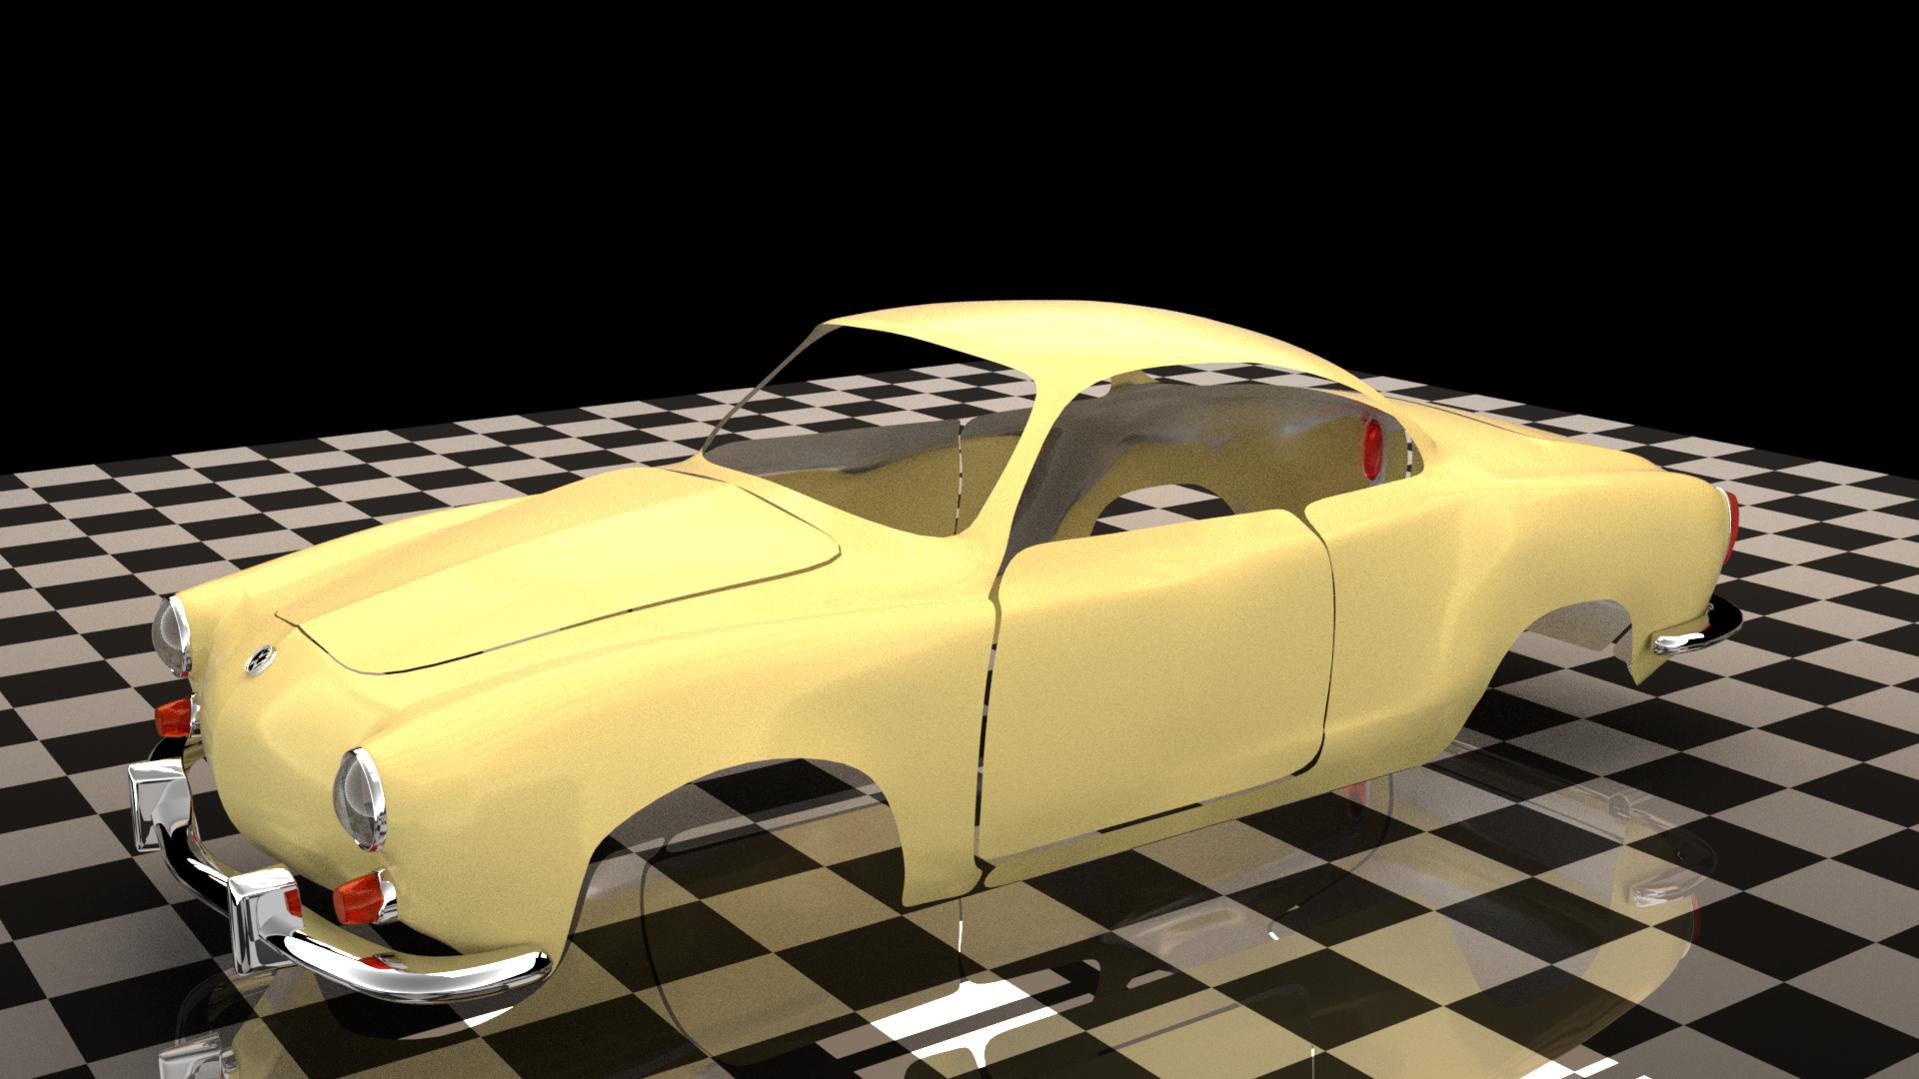
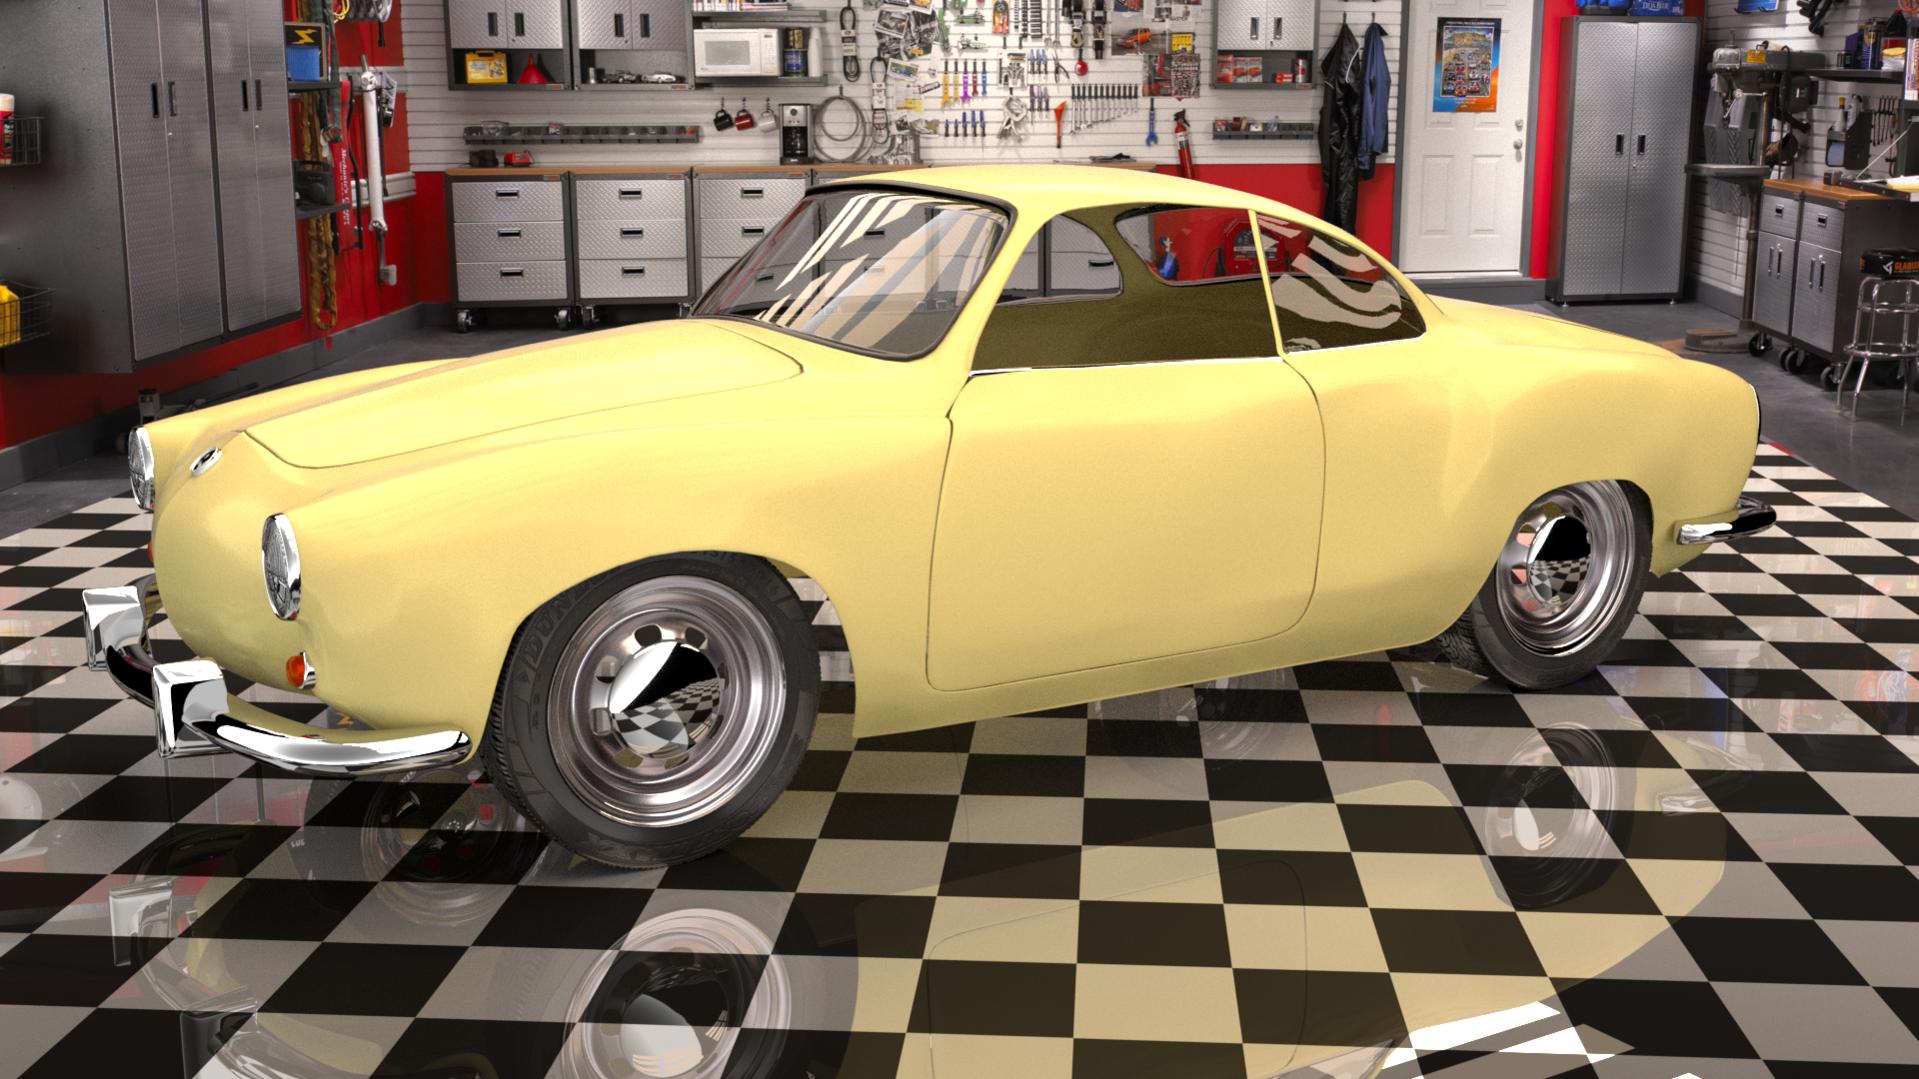
So I started this up yesterday and I found that after the first attempt ever on a corvette that had me going nuts trying to learn how to model a car and what was all involved and a lengthy period of time getting it to at least resemble a corvette. This however seemed to go so much quicker to this stage than I would have figured. Now there is more fine tuning and tweaking to the shapes and such around the front and rear fenders to get the curves right but I feel it is coming along well for only a second attempt at a vehicle. But any and all input is welcomed. Thank you for viewing it.
Back when I was a teenager I always wanted to get one of these, throw away the back seats, and convert it to mid-engined with a Porsche Turbo donk. Any chance of you doing that? 
Hahaha actually a had at one point in my younger days a full blown naturally aspirated 2700c drag Ghia not street legal  It was mainly geared for 1/8 mile but did run it in the 1/4 a few times got down to the low 10s with it. Then finances kicked in and I couldn’t keep up with it anymore and had to let it go. Sure the guy that bought it had some work to get done to it cause he was only about 5’8" tall I am 6’3" and the seat was welded into place for me. But this render is going to be more of a classic Ghia, however I may use the shell of it and do something more drastic with it in another project.
  Used to love thinking there was a Porsche coming up behind me then as it passed it was just a Ghia LOL
Hey Banana,
very good progress compared to your last car.
looks much cleaner, and you’re so fast! You just started this thread yesterday
greets,
Bernhard
very good progress compared to your last car.
looks much cleaner, and you’re so fast! You just started this thread yesterday
Thank you, and yes I feel it is better than the previous car as well and it was a lot easier and quicker to do as well. Not sure if thats cause the car is that much easier to do to begin with or if because something finally clicked in my head and previous works have allowed me to now understand better. LOL @ being fast. I actually started this about 2 days before I posted anything on it so not really fast, just extended lengths of boredom. Thank you again for your kind words, and help.
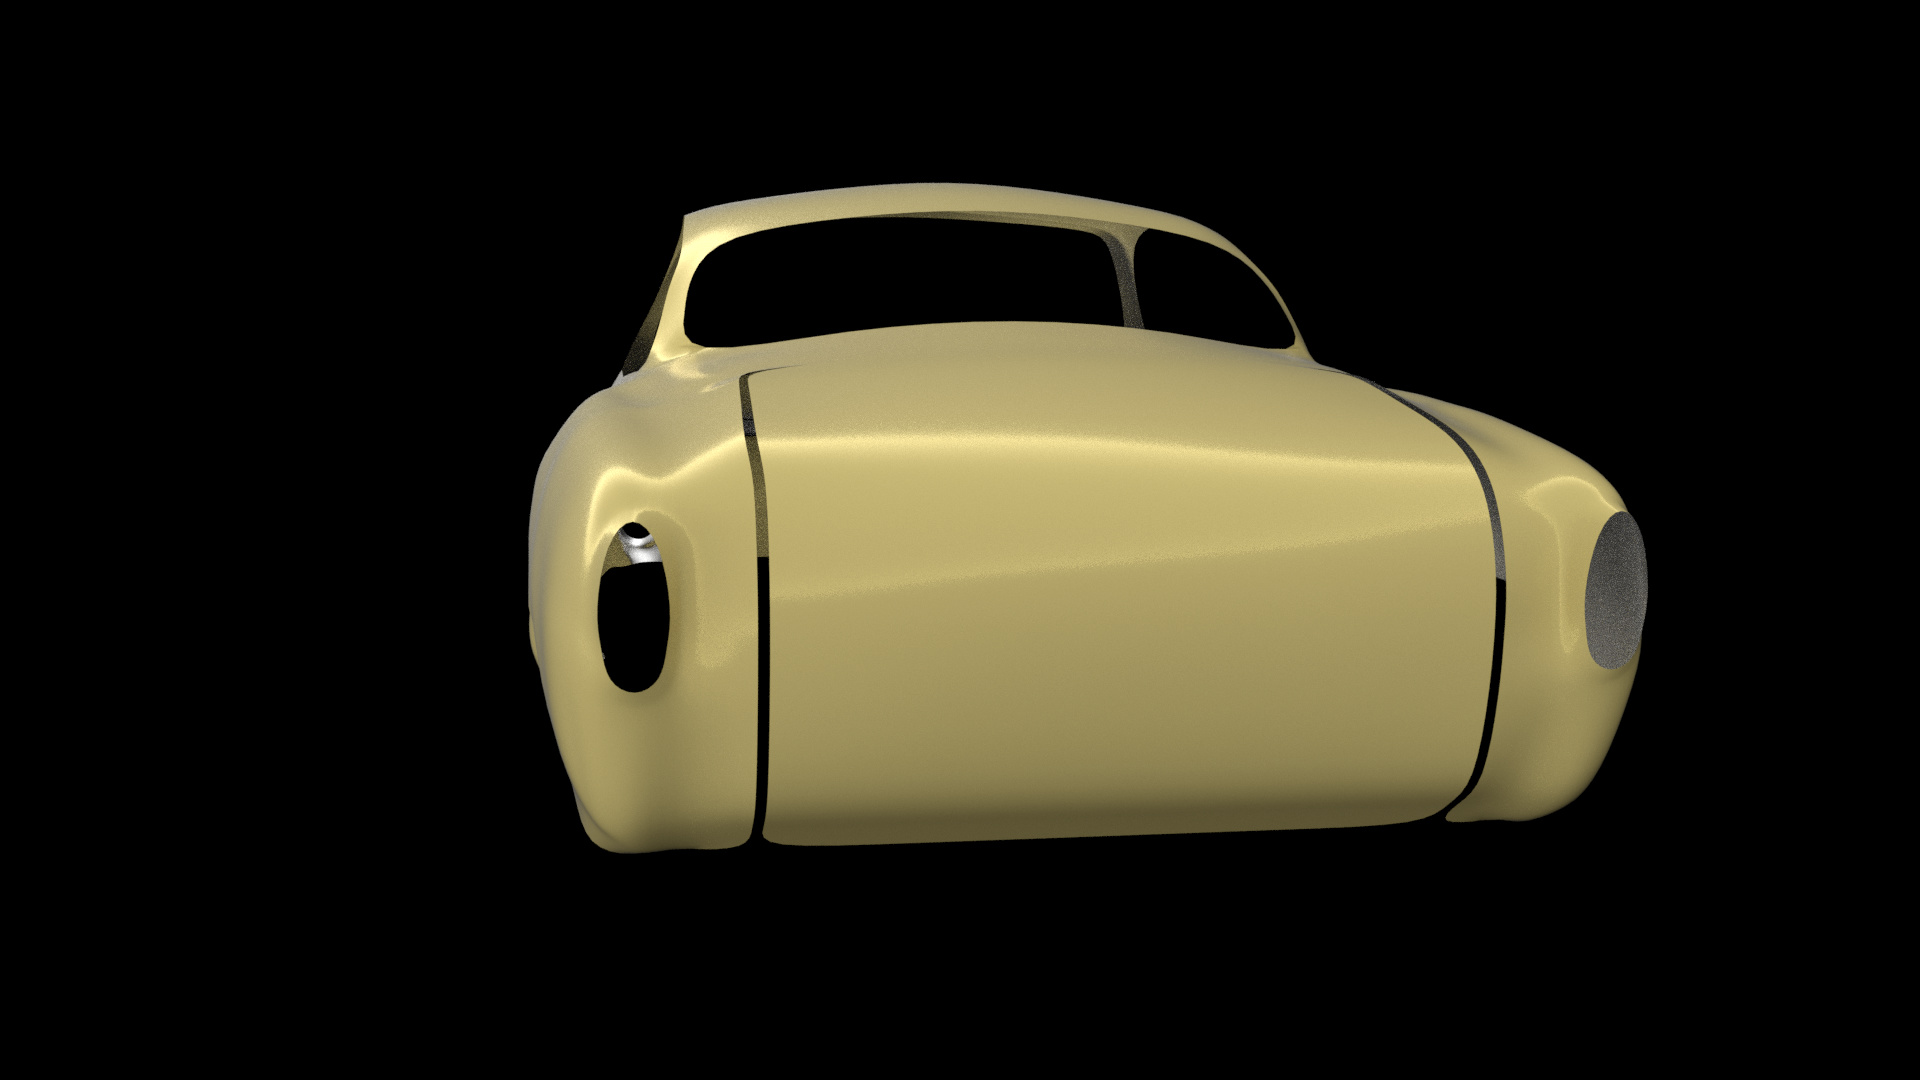
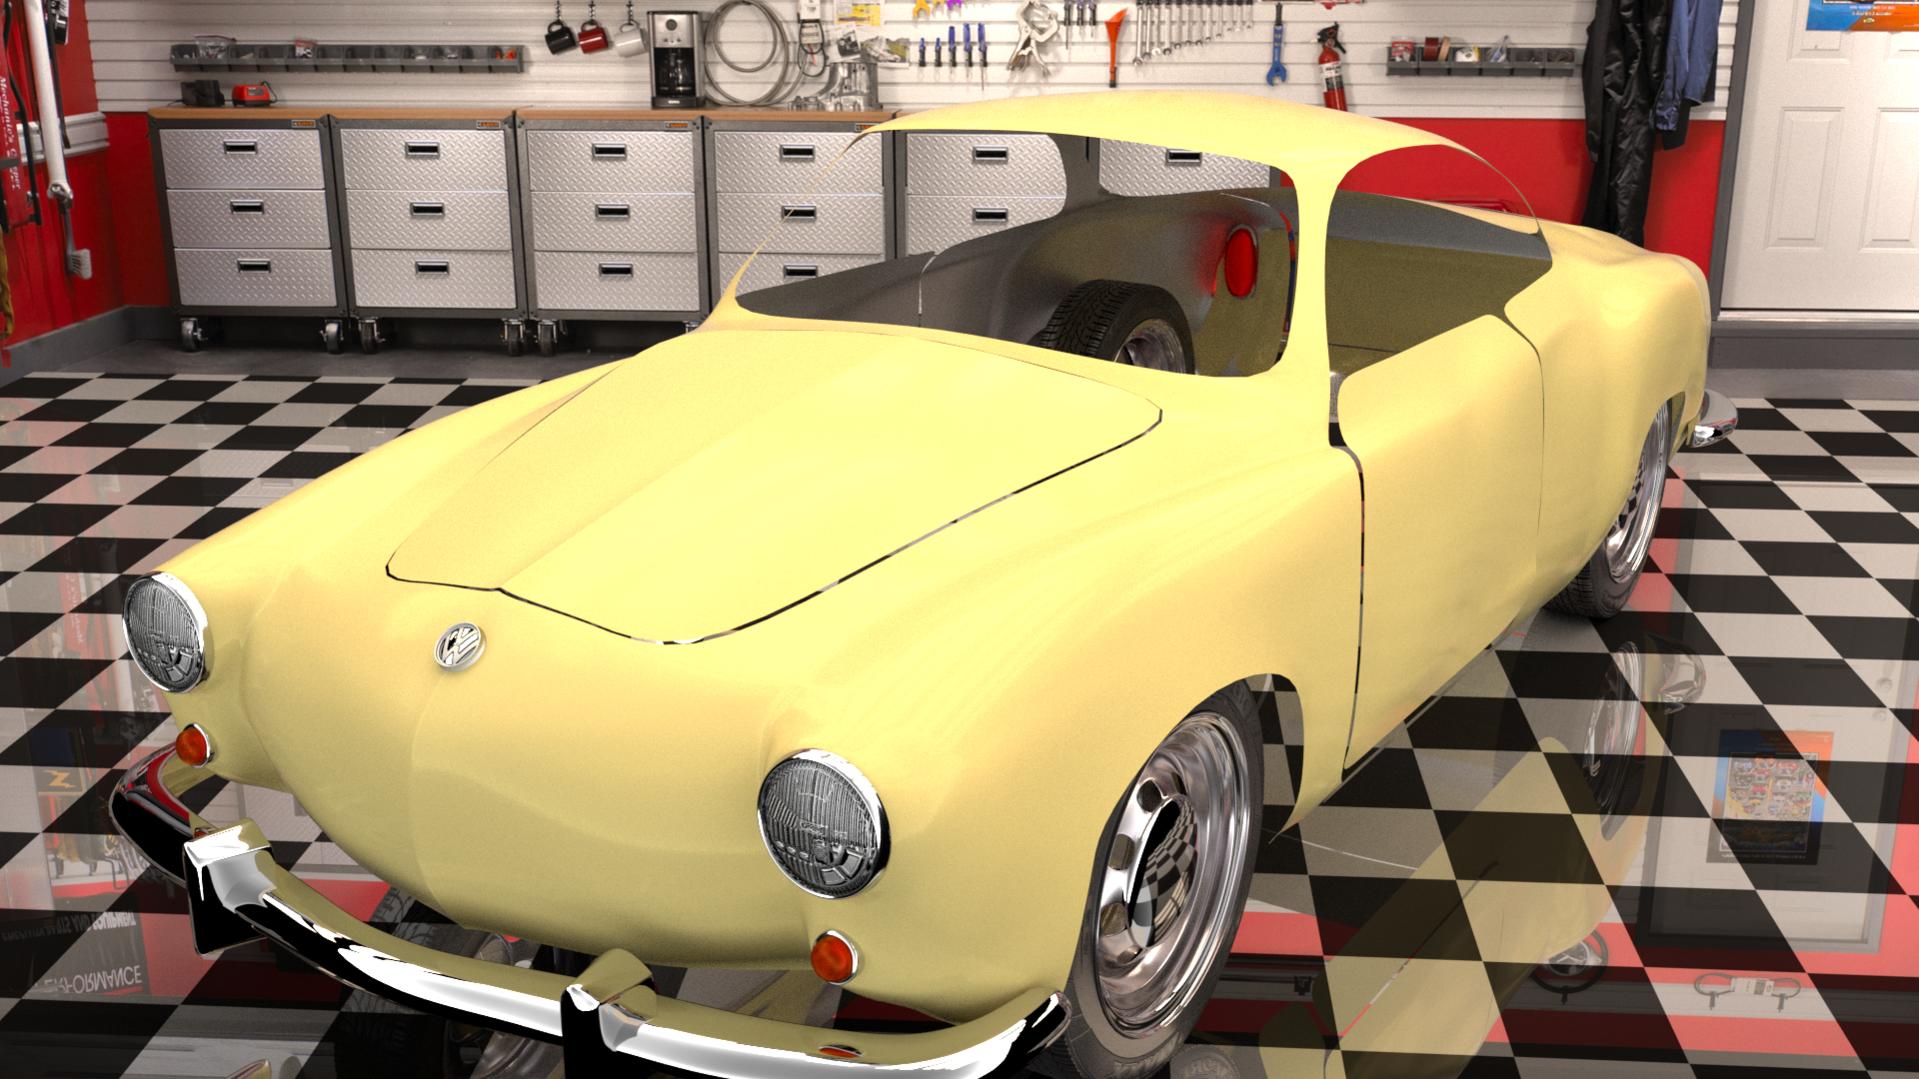
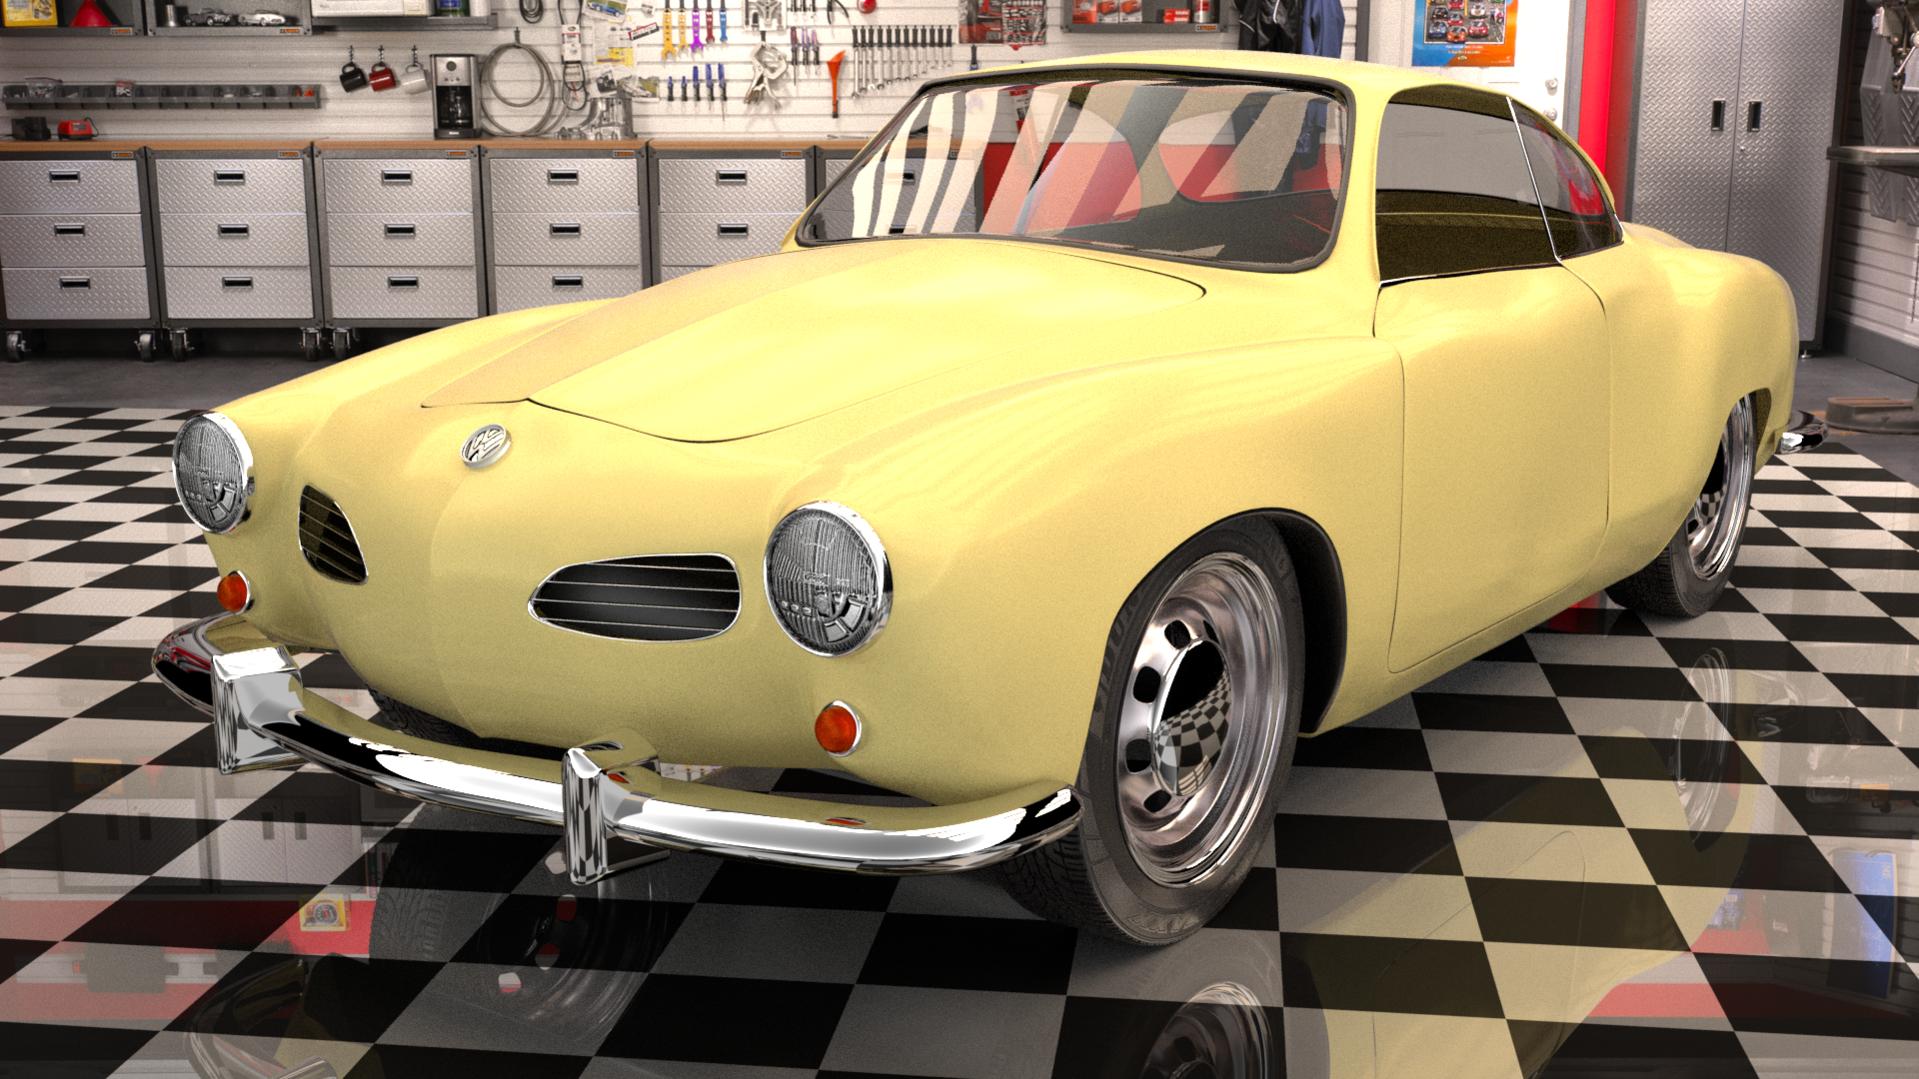
Coming along nicely. If it helps, I found some pics of a '62 here and here. I noticed that the front bumper uprights are less blocky than on your model. The indicators also appear to be a bit smaller, and the headlight lenses not quite as domed.
Wiki also has a good shot of the '60-'69 taillights. They appear to be a bit more pointed than what you currently have.
Thank you for your reply. One can never have too many references. And I did happen to notice the size of that giant turn indicator on mine at the render and for some reason as well the bumper blocks after render seemed a lot larger than they looked in the viewport. Maybe for some reason I was viewing it though a perspective view and it was skewed. Oh and the headlamps were temporary till I get a texture drawn up for the glass lens. But thanks again any and all info is appreciated and welcomed as this is only my second attempt at a car.
Will post more updated fixes/renders soon once I get back to working on it again.
Made some suggested changes and cleaned a few things up in the topology. Still more to do to it though 
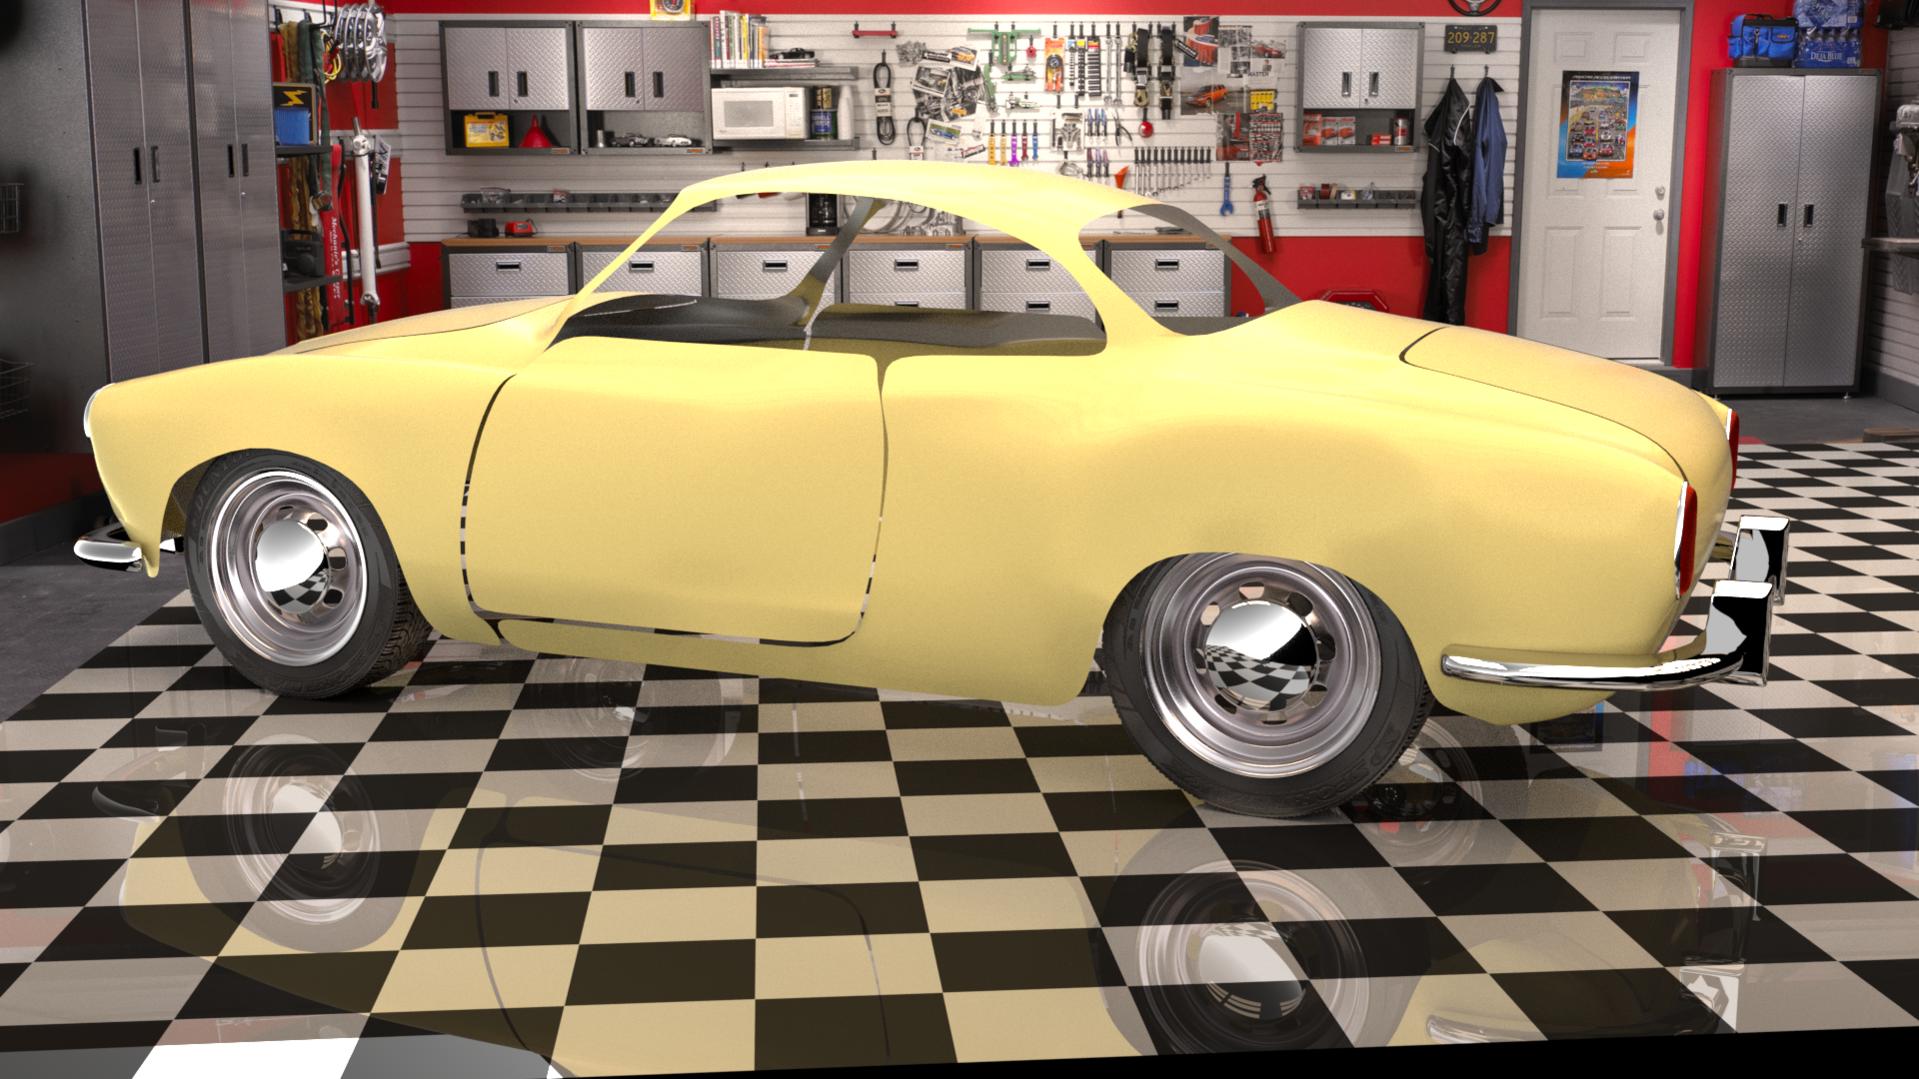
After seeing this last picture I need to also adjust those bumper blocks in the rear as well. But calling it a night for now. All blender no play makes Jack a dull boy.
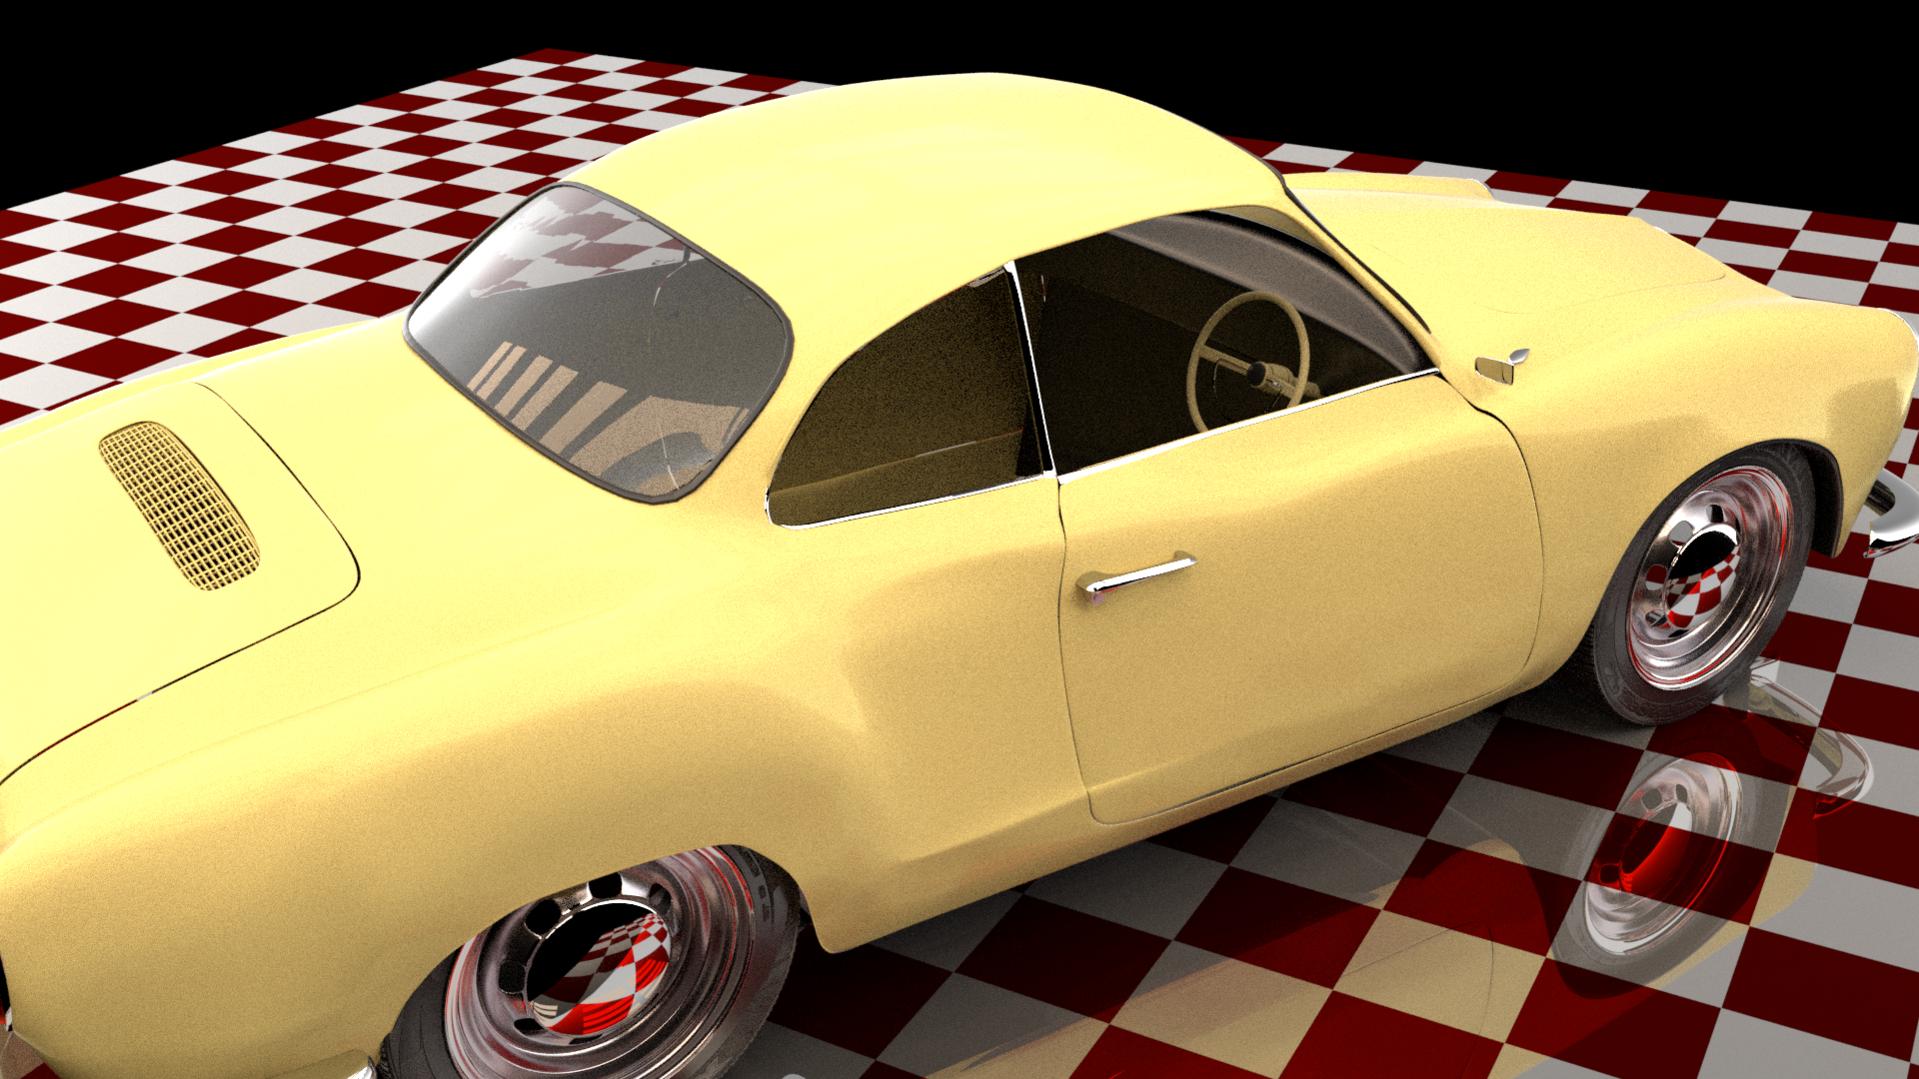
Just some slight updates, and I am going to have to double check that left rear fender to make sure that odd look to it is just from reflection or not but wasn’t there with a matcap or in viewport renderings so possibly just reflection causing a bad look. But as it is just a wip render no biggie.
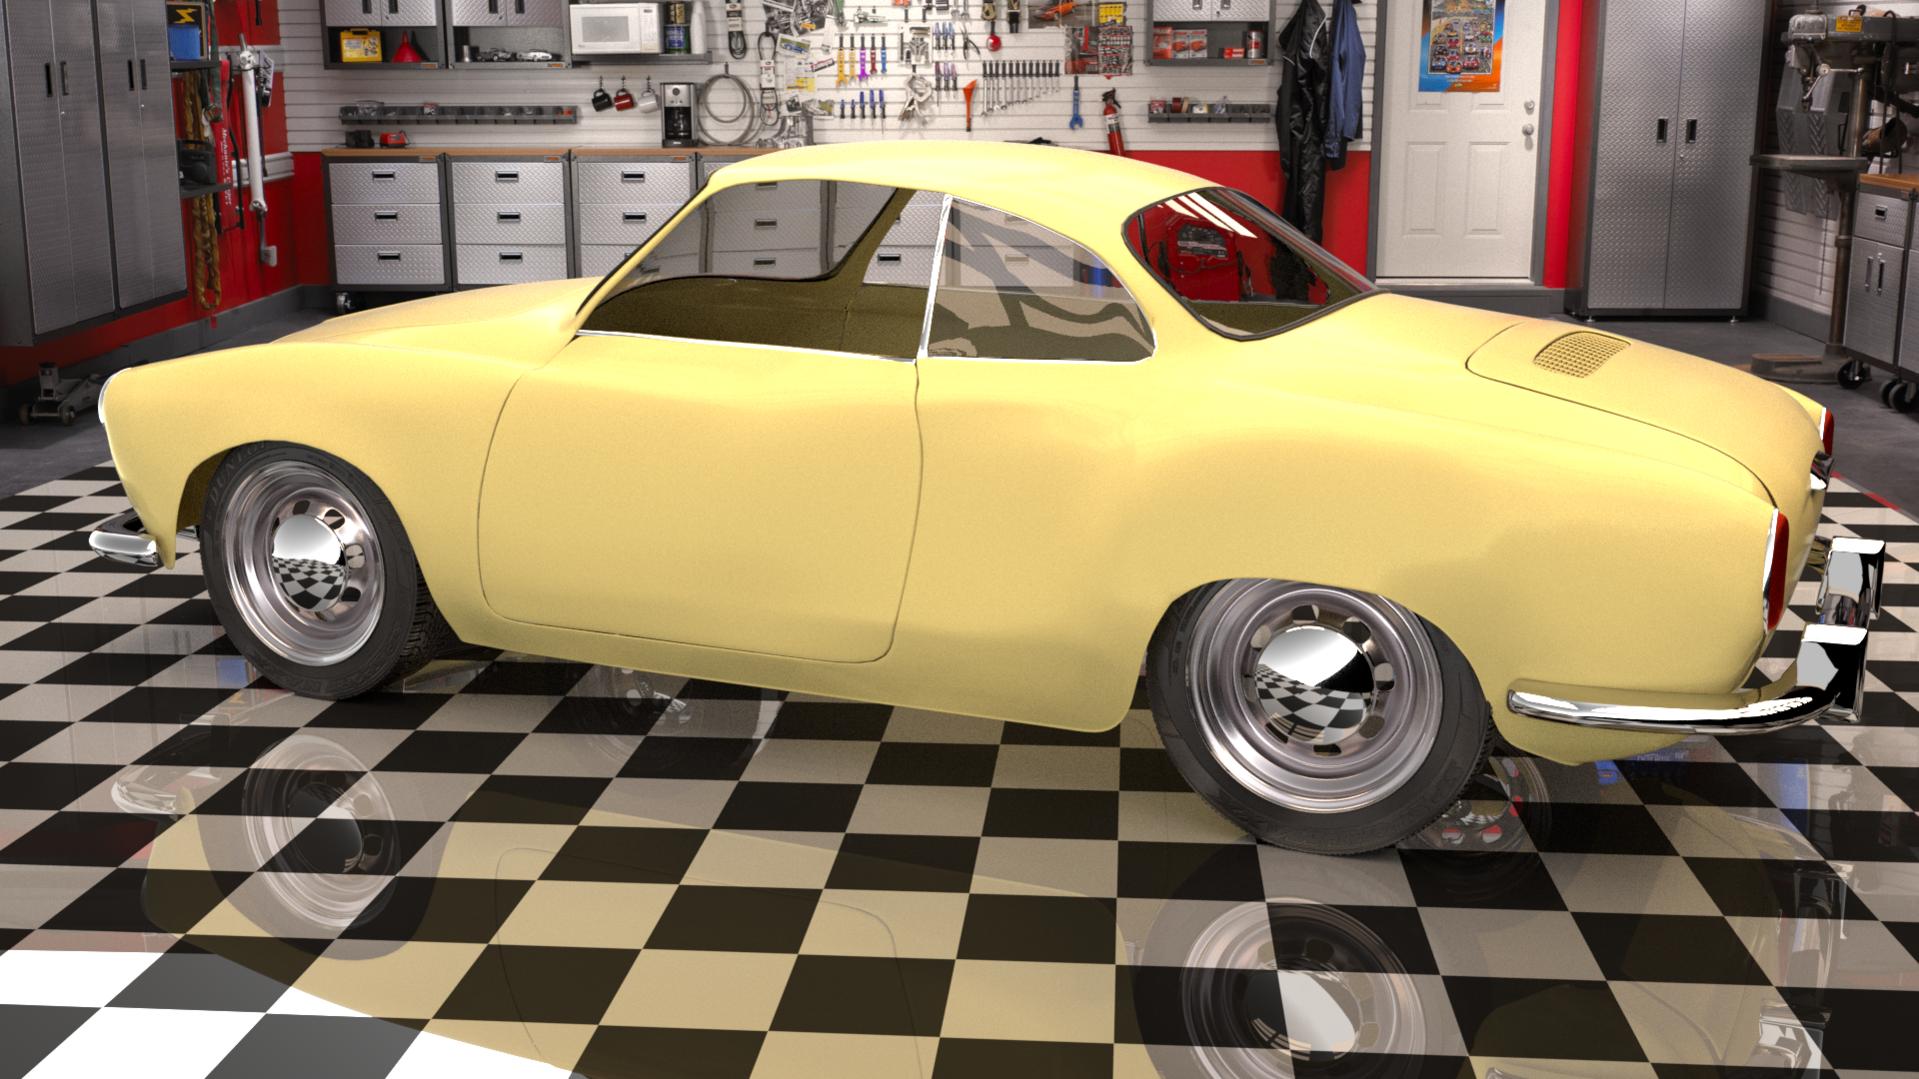
Just some additional progress that has been made. Still got the mirrors and I think I am going to do a partial interior like I did for the vette I attempted. Also add in some other details like the wipers and blades along with an antenna. Also glad to know that weird dark spot on the rear fender was in fact just a strange reflection bounce. Might have some more images coming soon.
nice evolution , it s taking form nicely !
definitely a good progress!
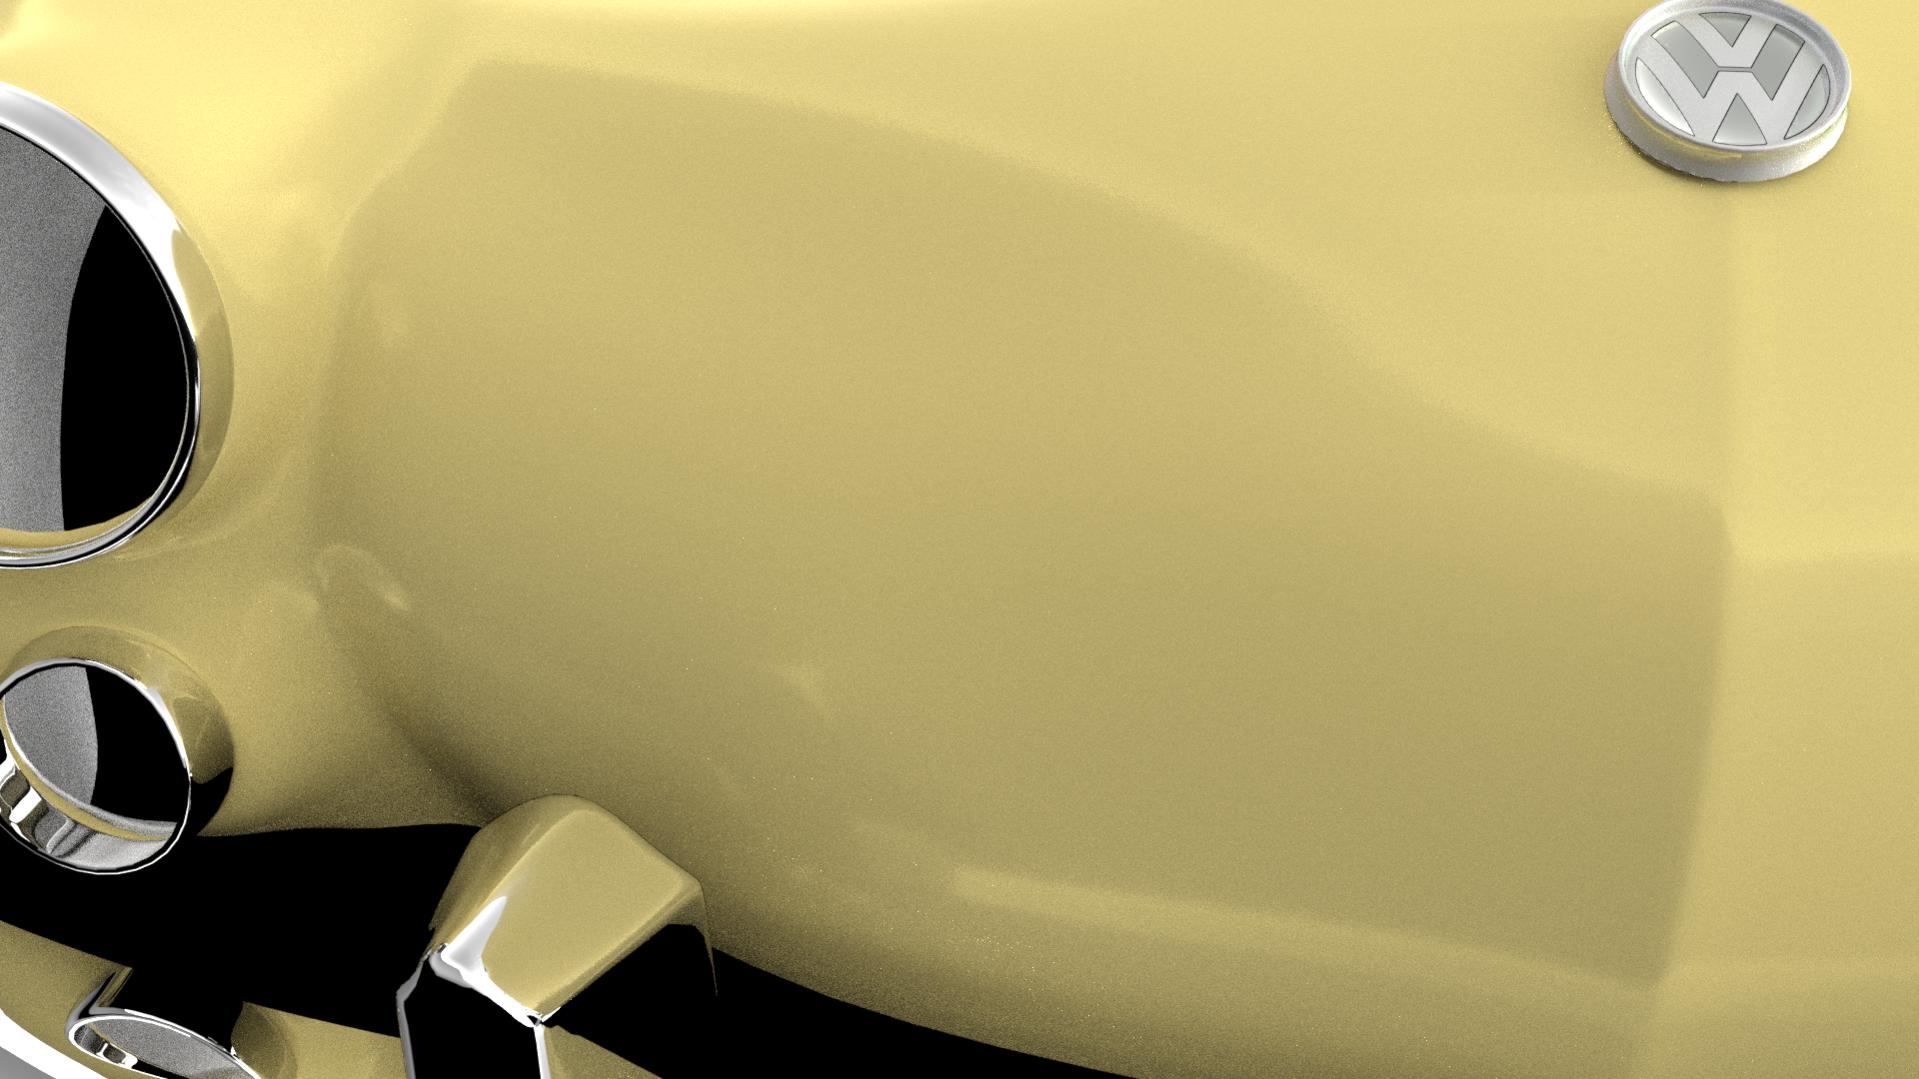
Seems we’ve chosen the same normal map from google for our headlights
I first thought of creating my own normal map, but I somehow felt it was not worth the time 
personally i modeled my headlight…i agree with u its a pain in the ***
Thank you again for your ever so kind words ![]()
Seems we’ve chosen the same normal map from google for our headlights
I believe we sure did. And I was thinking along those same lines. “hmmmm open up Gimp and start drawing and laying out a texture map? Naaaa, found one on the web already”
Thank you very much, this is only my second attempt at a car. strapazie can vouche for me on that LOL. But thank you again for the comment. Hopefully once all the chrome trimmings are done then I get to attempt an interior.
Just a quick render update, might be the stopping line for this project as it is getting a little too intense for my laptop to handle. So once I get around to dragging the files over to the desktop I will probably be back cooking with steam again. Or I might just work on items here and there on the laptop but just disable all the additional objects and such. Then drag it back over to the desktop for a test rendering again.
Started on trying a first time interior. I pulled the dash up and out modeled the steering wheel put the center hump in the floorboards for the shifter, probably going to work on some seats for it. This is actually turning out to be a fun little project.
P.S. this is only a 64 sample render so it looks grainy and kind of bleh but thats cause the laptop was yelling “MERCY!!” so I dropped the samples to make it happy so I could post something here and put the laptop to rest.
Door edges are a bit wonky, but apart from that it looks pretty good.
Thanks for the input, I guess I been staring at it too much as of late and forgot that I did some pulling/pushing/tweaking around the door area and also pulling on the floorboards and it must have slipped my mind that I didn’t bother to check the door before putting that render up of the progress. Will be fixed, I also noticed I had a pinched bundle of verts that need addressed as well. And thanks for the kind words ![]()
Hey Banana, I dont know If I already showed you this video tutorial I stumbled across some days ago. I think it shows a really good technique of getting rid of dents. Maybe not for your current project, but maybe helpful for your next one ![]()
