OK, so now you have had a good night’s sleep and your brain has recovered, here is the MkII version:
And Blend file: spaceship.blend (475 KB) 
Just press Play again and watch from the camera view, as the file is setup. :spin:
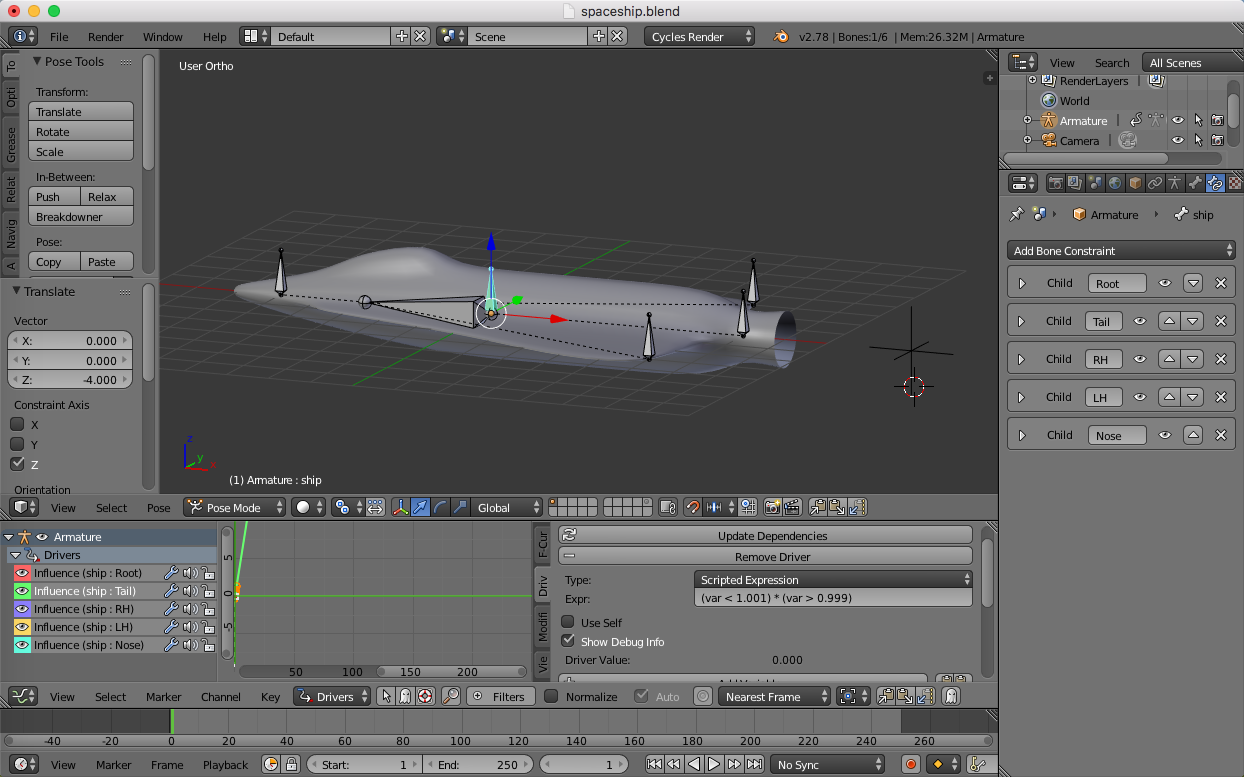
You will note the ship rises up, rotates about its vertical axis a little, then moves off and banks over - so during the animation I am using the root bone as the ship bone’s parent - then the tail-tilt bone - then back to the root bone, by simply moving the controlling empty using two keyframes next to each other to instantly switch the parenting over.
It’s just a case of deciding where the rotation point is going to be - then moving the rotation centre bone to that point while the “ship” bone constraint to the pivot is NOT active (Influence is 0 for inactive - 1 for active for constraints) then make the constraint active and keyframe movements of the pivot bone. I did not do that just yet, that will be the next phase.
You can also just have the “ship” bone in play - then move it up and sideways then rotate it - this has the same effect but is harder to keyframe accurately, hence why I use this principles I have outlined here.
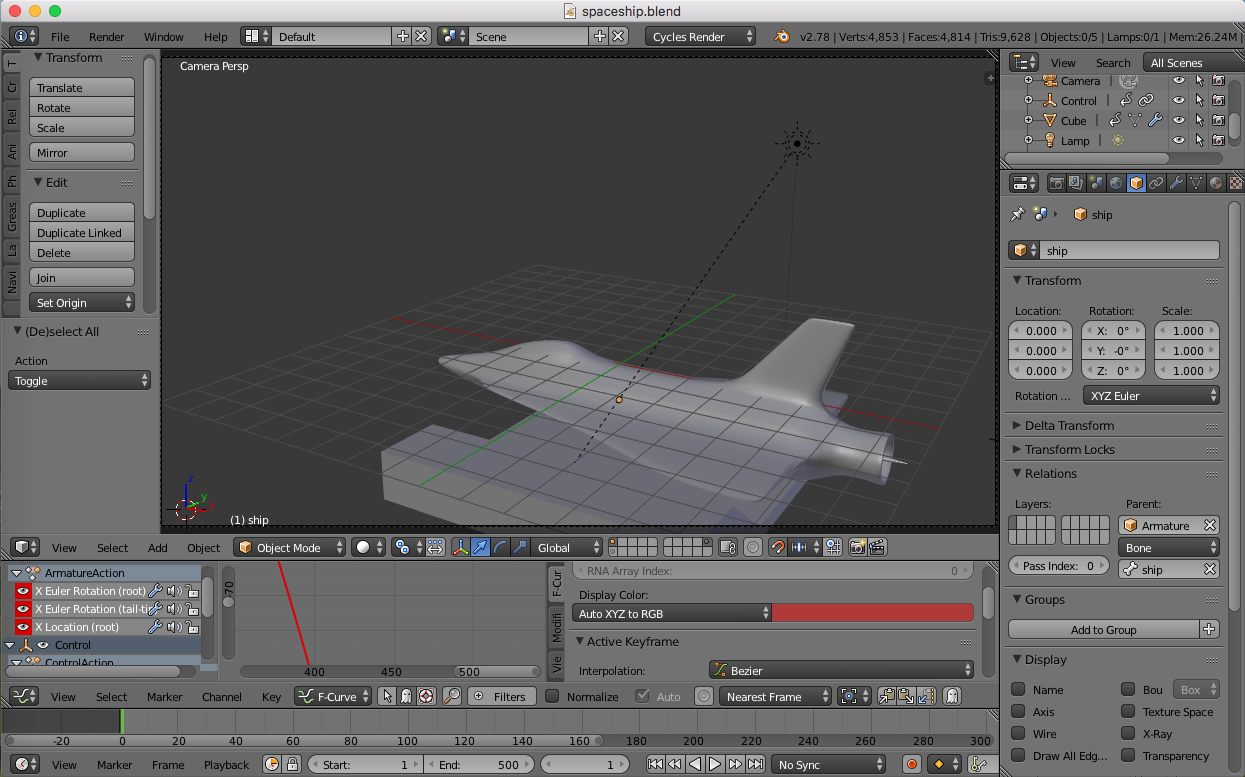
It is possible to just do all this with one pivot bone and keep moving it around while it’s constraint is inactive - then keyframe movements. What I have done is to parent the armature (3 Axis Parent) to the little cube on layer 11 (invisible as the file is saved), so as I move the cube (which has a curve modifier to the curve) the whole things flies as I want it. You will note that the curve only describes the first part of the ship’s, course at the end of the curve it continues to travel in the vector as set by the end of the curve and it disappears off into the great black yonder.
This is a far better way to proceed than to try to add the thrusters as influence points and get the ship to respond to them - cyclic dependancies are a nightmare - a cyclic dependancy is where one object is parented to another that is by any route dependant upon the movement of the first - so things go around in a loop. Also it is almost impossible to control this since we are animating the EFFECT of the thruster, not the thruster itself. So the effect of a thruster pointing down on the left side of an unconstrained object will cause it to lift and tilt to the right, eventually, assuming no gravity, it will go around in a circle with the centre off to the right of the object, unless countered by an equal and opposite thruster on the right, in which case it will revolve around it’s own C of G - simple to animate, just place a bone at the C of G and rotate it.
In Blender we use a lot of what are called “Inverse Kinematics” (there is even a constraint for this - more reading for you I am afraid to say) - so on a digger for example in real life the hydraulic cylinders drive the arms, in Blender the arms drive the cylinders - Inverse to real life - understanding this principle will make animation much easier for you.
Feel free to ask any questions on how it works, or why Moeen Ali and others decided to spoon dolly catches straight to the Proteas’ fielders - those however, I cannot understand! 
Hope all this drivel helps you!
Cheers, Clock. 
EDIT:
I’ll look at your file tomorrow evening - off gliding tomorrow…