Exactly what it says on the Subject line. I was wondering if it was at all possible to apply Diffuse, Normal, and Specular map textures(all 3 types) to a single model without having to use Nodes or the Cycles renderer. Because I’ve looked all over the internet for assistance, and just about every tutorial I found only talks about using nodes and/or the Cycles Renderer.
Below is a link to a .blend file for a video game character model that I managed to put together a little over a month ago. It includes all the textures from the game files, although none of them have been applied yet.
No it doesn’t. There were no packed images in the file.
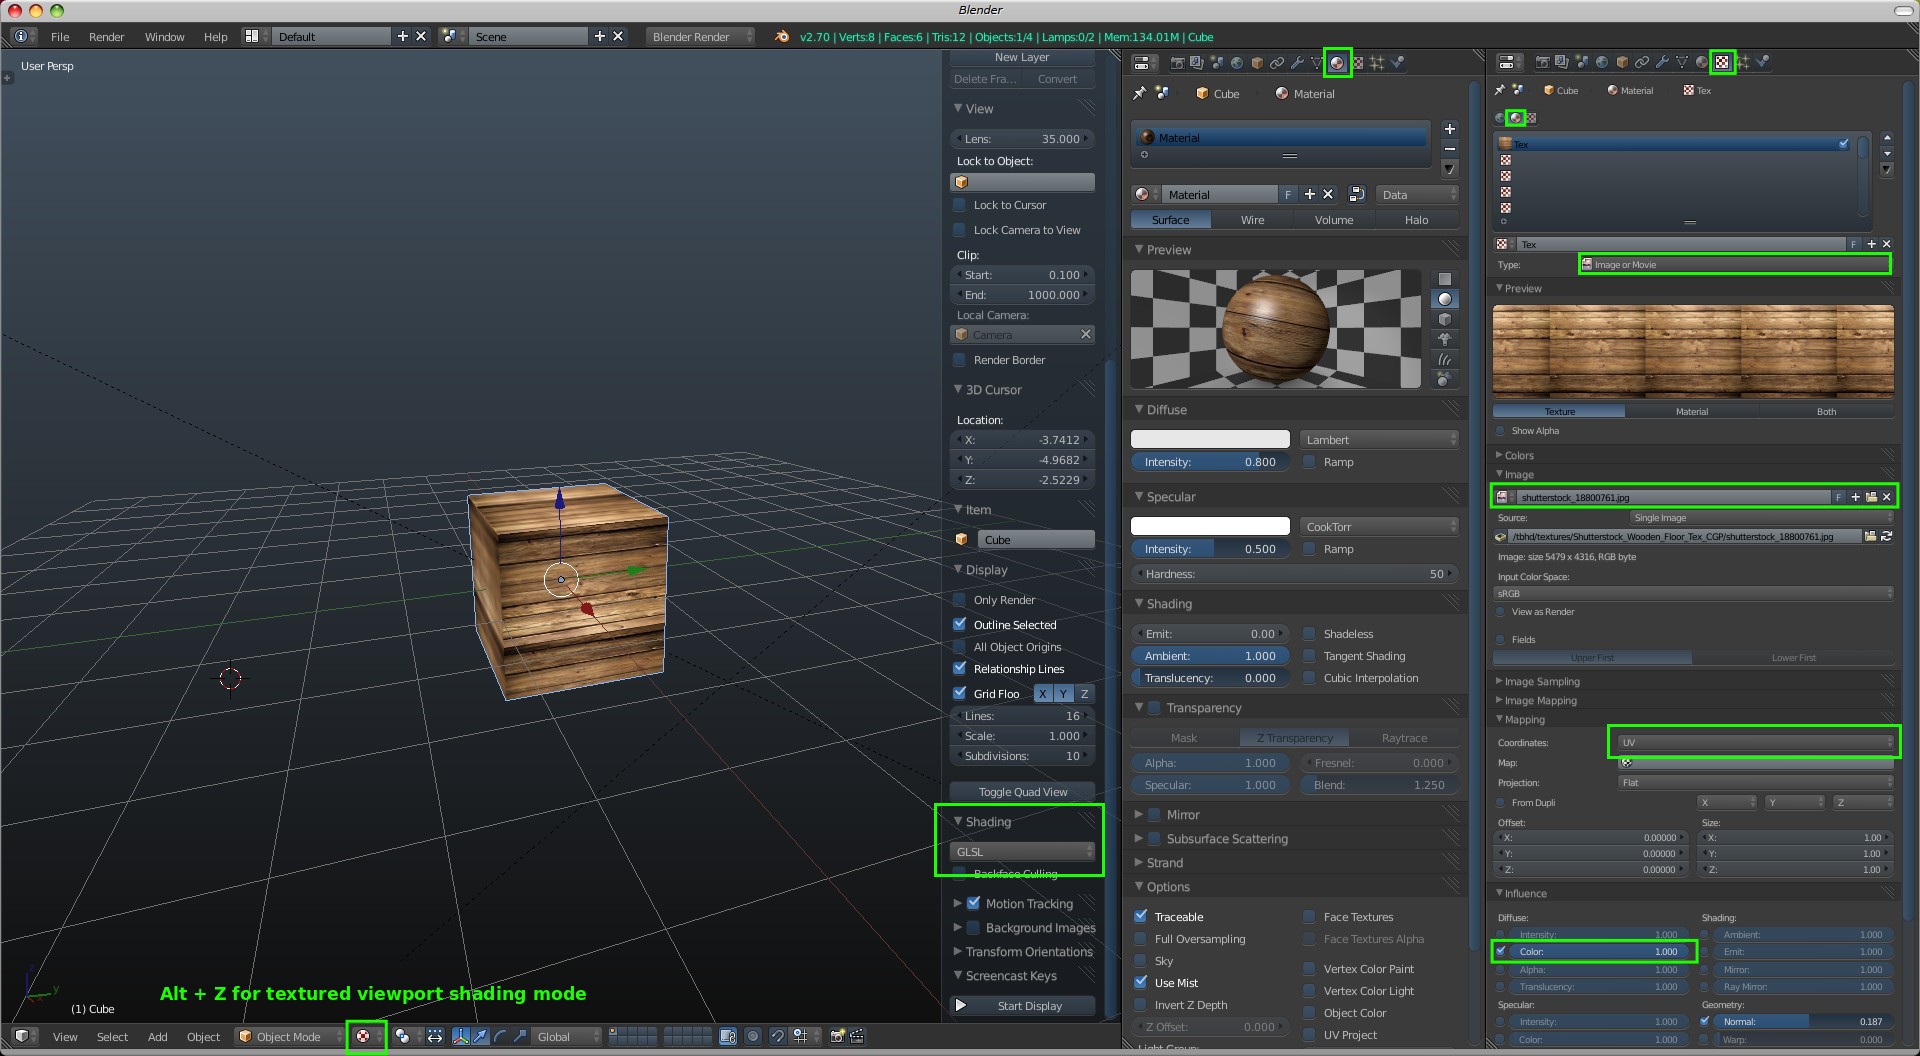
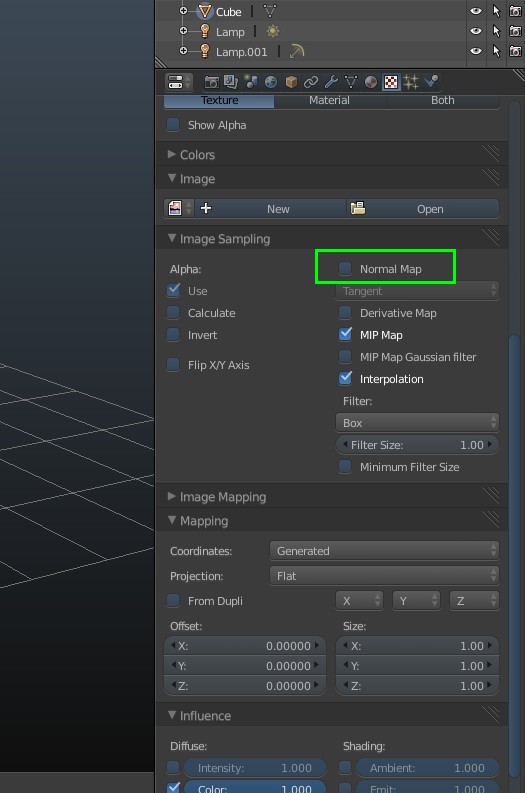
Blender render materials aren’t that difficult. You set up a material and use textures to influence material properties, just like every other material system.
Ok. Here is another .blend file for the same character model, but this one does have all the Textures packed in it(I double-triple-checked everything).
You could prepare one material with the most texture maps as a base, copy that material to everything else which also copies the textures, then make the materials and textures as single user. That gives a unique material with unique textures for all of them, and you only have to switch the maps for each.
Of course, could give the material and textures a better name before copying them over. After the maps are placed, could then fine tune the settings for each of them. The lights have a big effect on how those show up.
Many thanks, JA12! Your video helped me immensely. The only thing I want to point out was that the texture that you applied to the Star’s(the name of the character) swords in your video was actually intended to be used for his shoulder armor. But that was easily fixed.
Now I’ve got a few more textures whose types I need help identifying(which belong to a few other models from the same video game), and also, how to apply them to a model, but I’m going to save this issue for another topic.

 The only thing I want to point out was that the texture that you applied to the Star’s(the name of the character) swords in your video was actually intended to be used for his shoulder armor. But that was easily fixed.