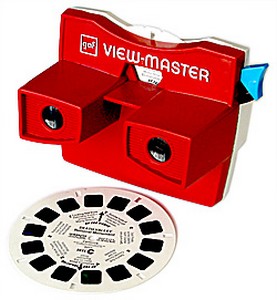
does anyone remember a viewmaster?
anyway, it has a series of pictures on a disc.
as each one appears at the top the viewer can see it.
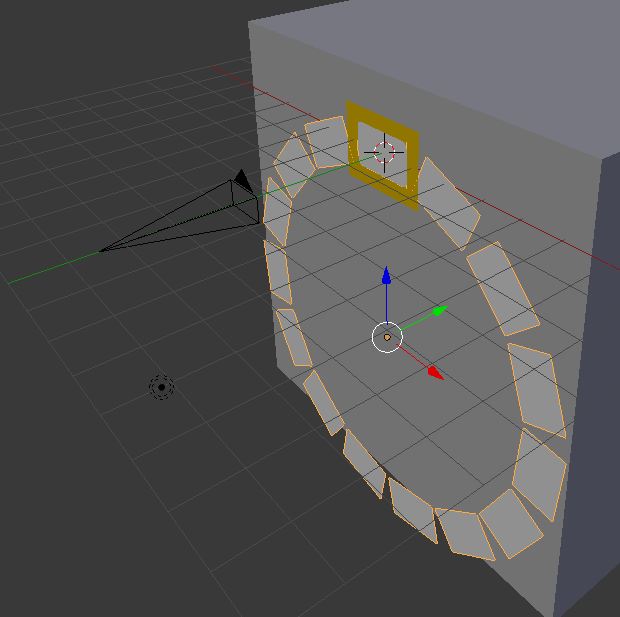
well with help from the forum i made a series of planes.
now i need to put a bunch of pictures on the planes.
so that they are the right way up when seen by the camera.
my first pic, view1 was aslant 0r crooked, and when i tried to put a second one on, well that did not work.
Even tho the pictures were cropped to fit the shape of the planes. they are waaaay to big!
download and have a look.
thanks for your help
PS i never us UV to put images on planes - never seems to work!
Hehe, yeah, I actually had one when I was a kid. With my limited knowledge and always struggle with UVs, here is how I would approach it (haven’t looked at your file, computer is busy).
Alternative 1:
Merge all planes to a single mesh.
Fill in the gaps with new faces to get a disk of connected faces.
Mark a seam, select a face and unwrap it to fill the UV space.
Select all faces and unwrap to selected quad.
In UV editor, should now be easy to select and align the strip of (slightly curved?) faces.
Alternative 2:
Make sure origo of all planes are at the center.
Use nodes to create disk mapping coordinates (same as cylindrical coords but with some swapped components), and apply images based on some modulo. This will cause distortions to images will either be clipped in the bottom or stretched in photoshop to compensate.
Alternative 3:
Some tricks using the brick texture addon. I believe it could generate those kind of coordinates. Not sure where I’d go from there though, would have to spend time with trial and error.
Alternative 4:
If resolution and swap/reusability is not important, I’d prefer doing it all with a single texture. So scan the plate and mask areas, and space and warp the image textures to fit into the space messing around in photoshop instead of nodes.
Only if I absolutely needed the accuracy would I spend time on the first alternative. If making a game asset I would definitely go with alternative 4 (other spaces outside the disk could hold some texture info as well, such as labels etc).
Edit:
I’ll let the above stay for amusement. Here is how I would actually approach it
Delete all but the top rectangle.
UV Unwrap (from view?) it to fill the UV space, use the limiting switches (inside, pixels).
Now do the duplicate, rotate around origo, repeat as needed.
All rectangles now has the same defined UV space, it’s up to you how to proceed; either assigning different materials or using a single material where you move US’s about in a lookup fashion. Search for my name and domino(es?) - damn forum search prevents me from finding it myself.
thanks. all the planes are one item made with the spin control.
it only spins cubes so i then i deleted the backs.
need very sharp pics on the viewmaster
thanks
Your ring is incorrect though, it should have 14 rectangles (7 split images) instead of 15 (unsplittable).
360/14 = 25.714285.
So start from scratch placing top rectangle and UV unwrap it (view from bounds). It should fill the UV space.
Place cursor at center of disk.
Shift D to duplicate, rotate by said amount (make sure around cursor is selected).
Repeat until all done.
Merge the planes to a single mesh.
Assign a different material to each face.
This method creates more materials to handle, but less complex nodes and no UV editing.