I’m trying to WRAP my head around UV mapping more and would love to get some suggestions from the more skilled texture junkies here.
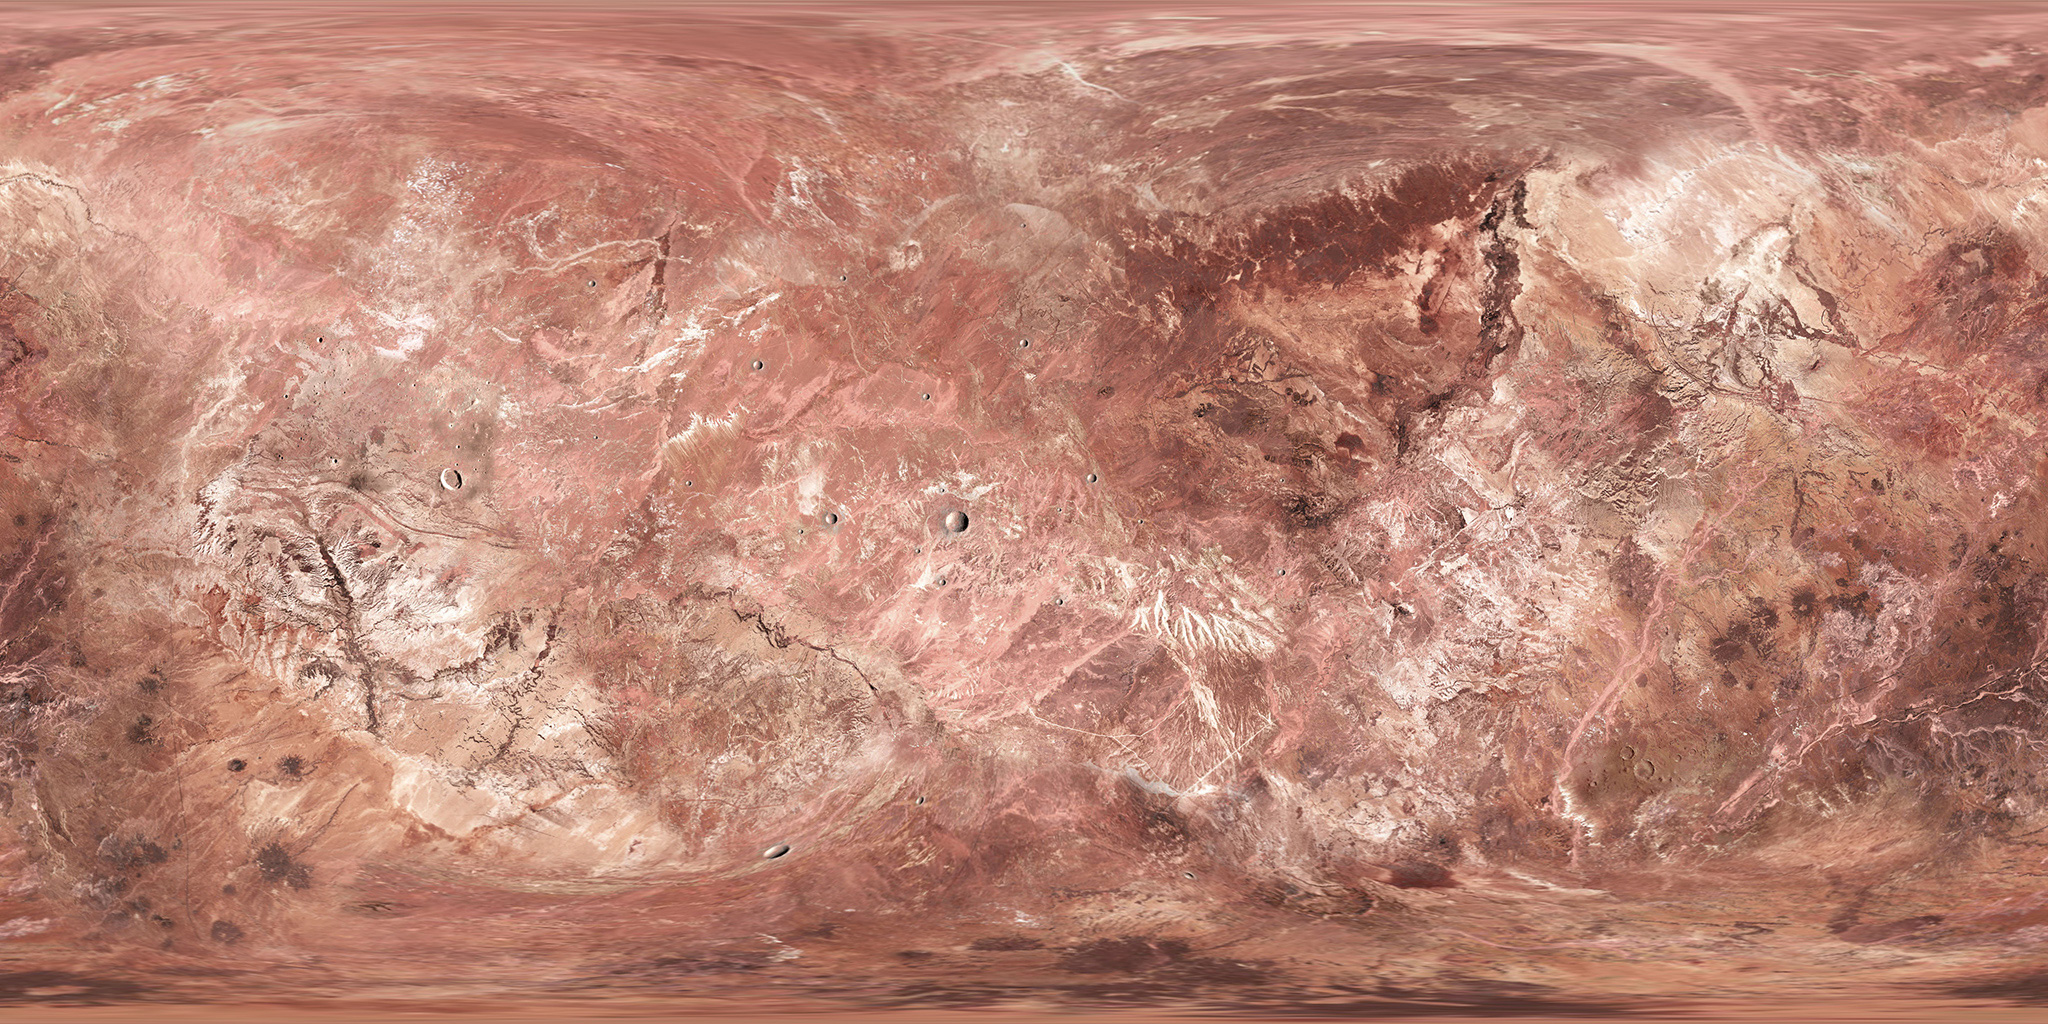
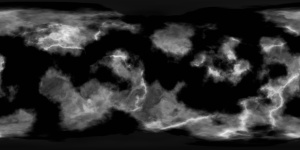
I make a lot of planets and have come across some planet maps that are made like the attached image. What kind of mapping mode is used that distorts the poles along the entire row on top and bottom of the image?
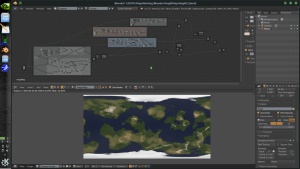
More importantly how can I make my own textures in to seamless planet textures in this format? I’m skilled with photoshop but would love to know if there’s a way in PS or Blender to paint on a sphere or make my own planet textures in high res like the attached map image.
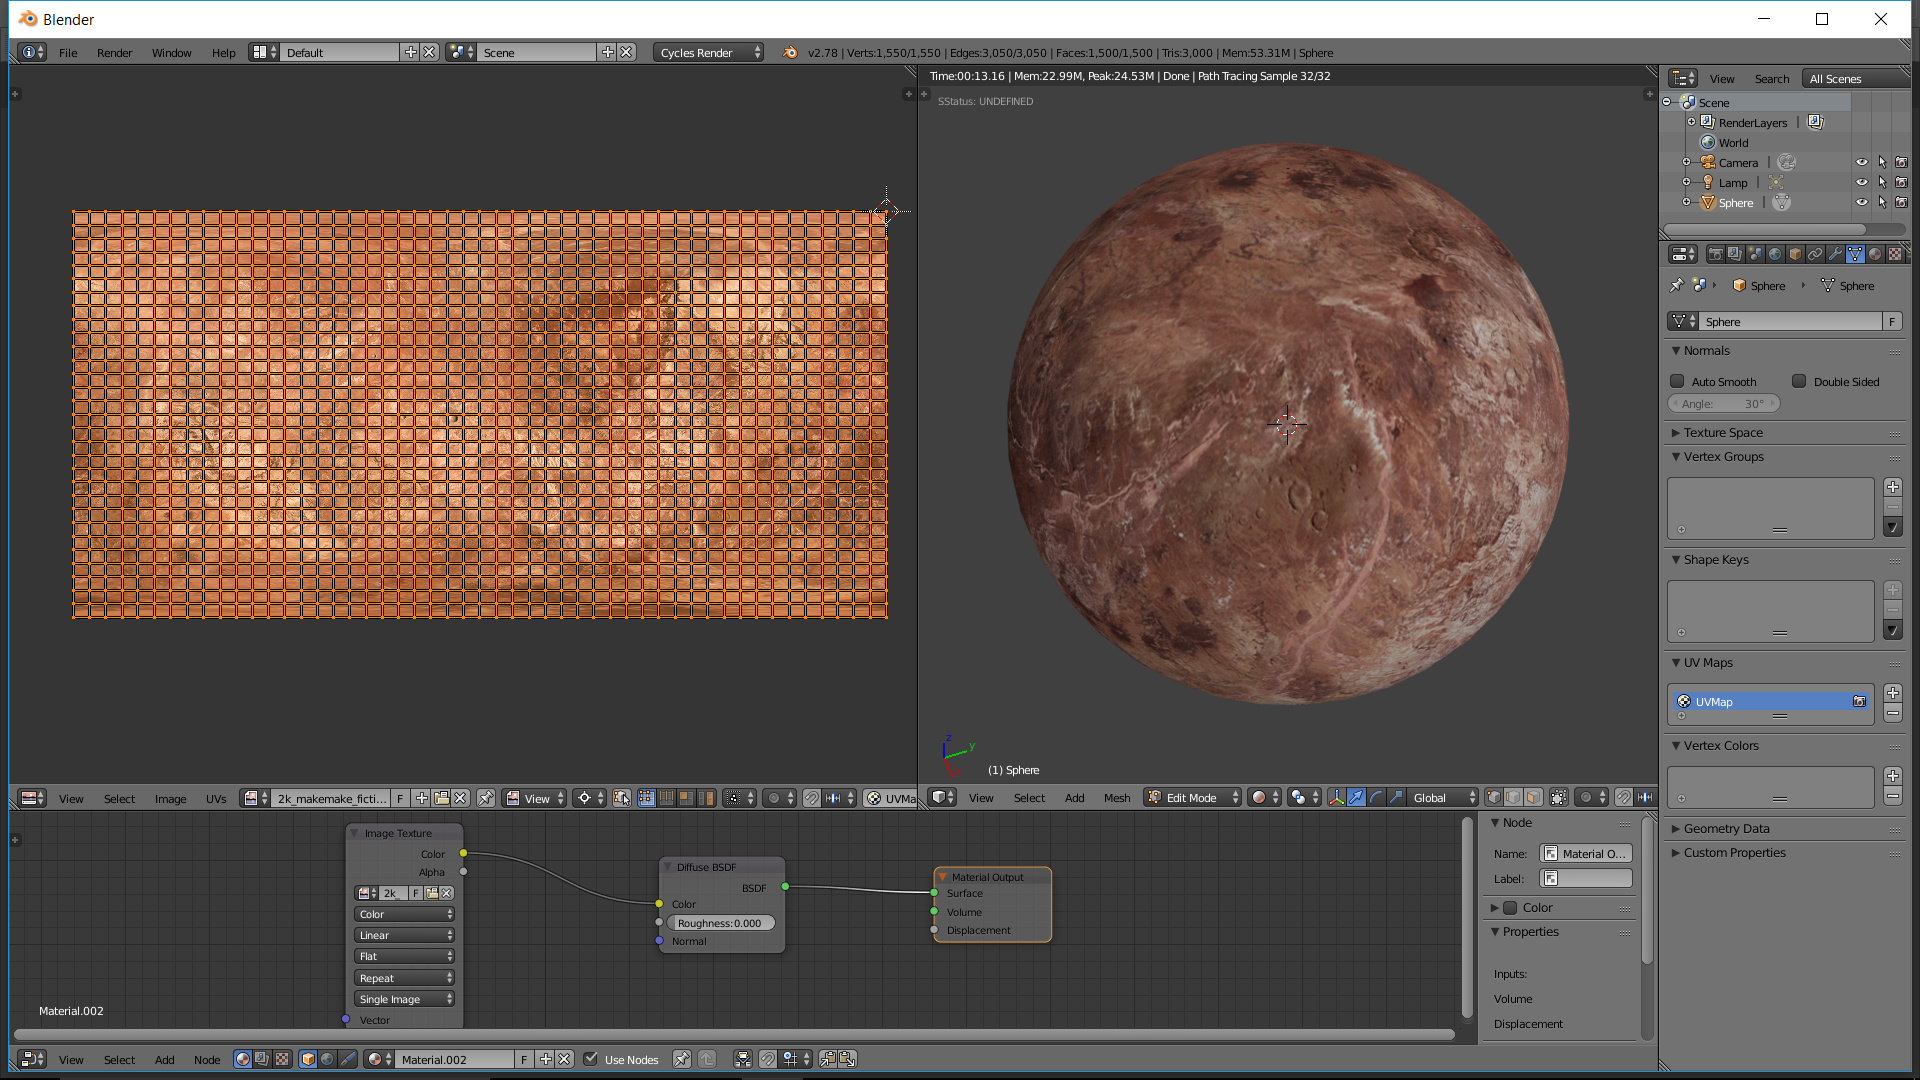
If you already have the UV properly laid out like that, all you need to do is start painting and it will stretch automatically. Since detail is lost near the poles, I guess you cover the poles with some conical projection like maps and blend between them.
For seamless random stuff, use generated or object based coords instead of UVs (musgrave, noise combos, whatever). When happy with the procedural creation, bake out the result and that stretched format should come automatically.
There are tutorials out there how to make that kind of UV layout for a “sphere”.
What I typically do is take half of the texture (any square texture will work, but use something that matches the rest of the planet) and use the Polar Coordinates filter to remap it from polar to rectangular. Position and scale it to cover the pole, and use the eraser or healing brush (spot healing sometimes works) to remove the seam. To fix the vertical seam, offset the texture horizontally by half its length and use the healing brush on the seam.
Its called “equirectangular projection”, the same kind of projection is used in HDRI for ambient light, so that is the reason if you use an “environment map” instead of a texture map node you will not have problems with the poles since the environment map is already prepared to use equirectangular projection by default and corrects any stretching problem.
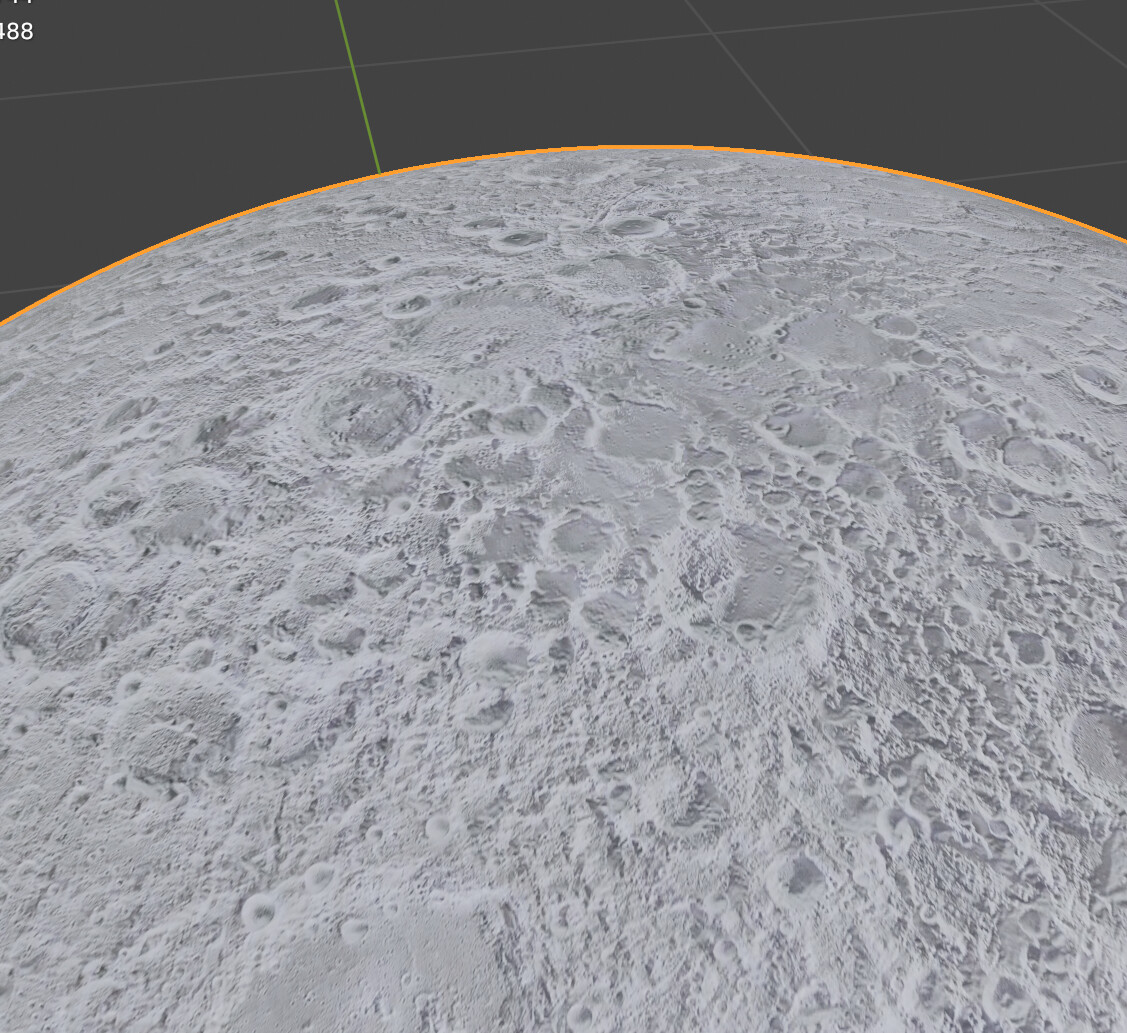
Moon NP equirectangular projection:
As you can see, there’s no need to be painting anything to solve problems on the poles if you use the “environment map” node as a texture. As Nazarii said before.