I am having some trouble to understand how to “properly” create seams for my model. On the default cube it seems simple. On the cylinder too. But when I start modelling and creating objects like tables, I work a lot of time trying to create the correct seam to fit well the texture.
here some exemples:
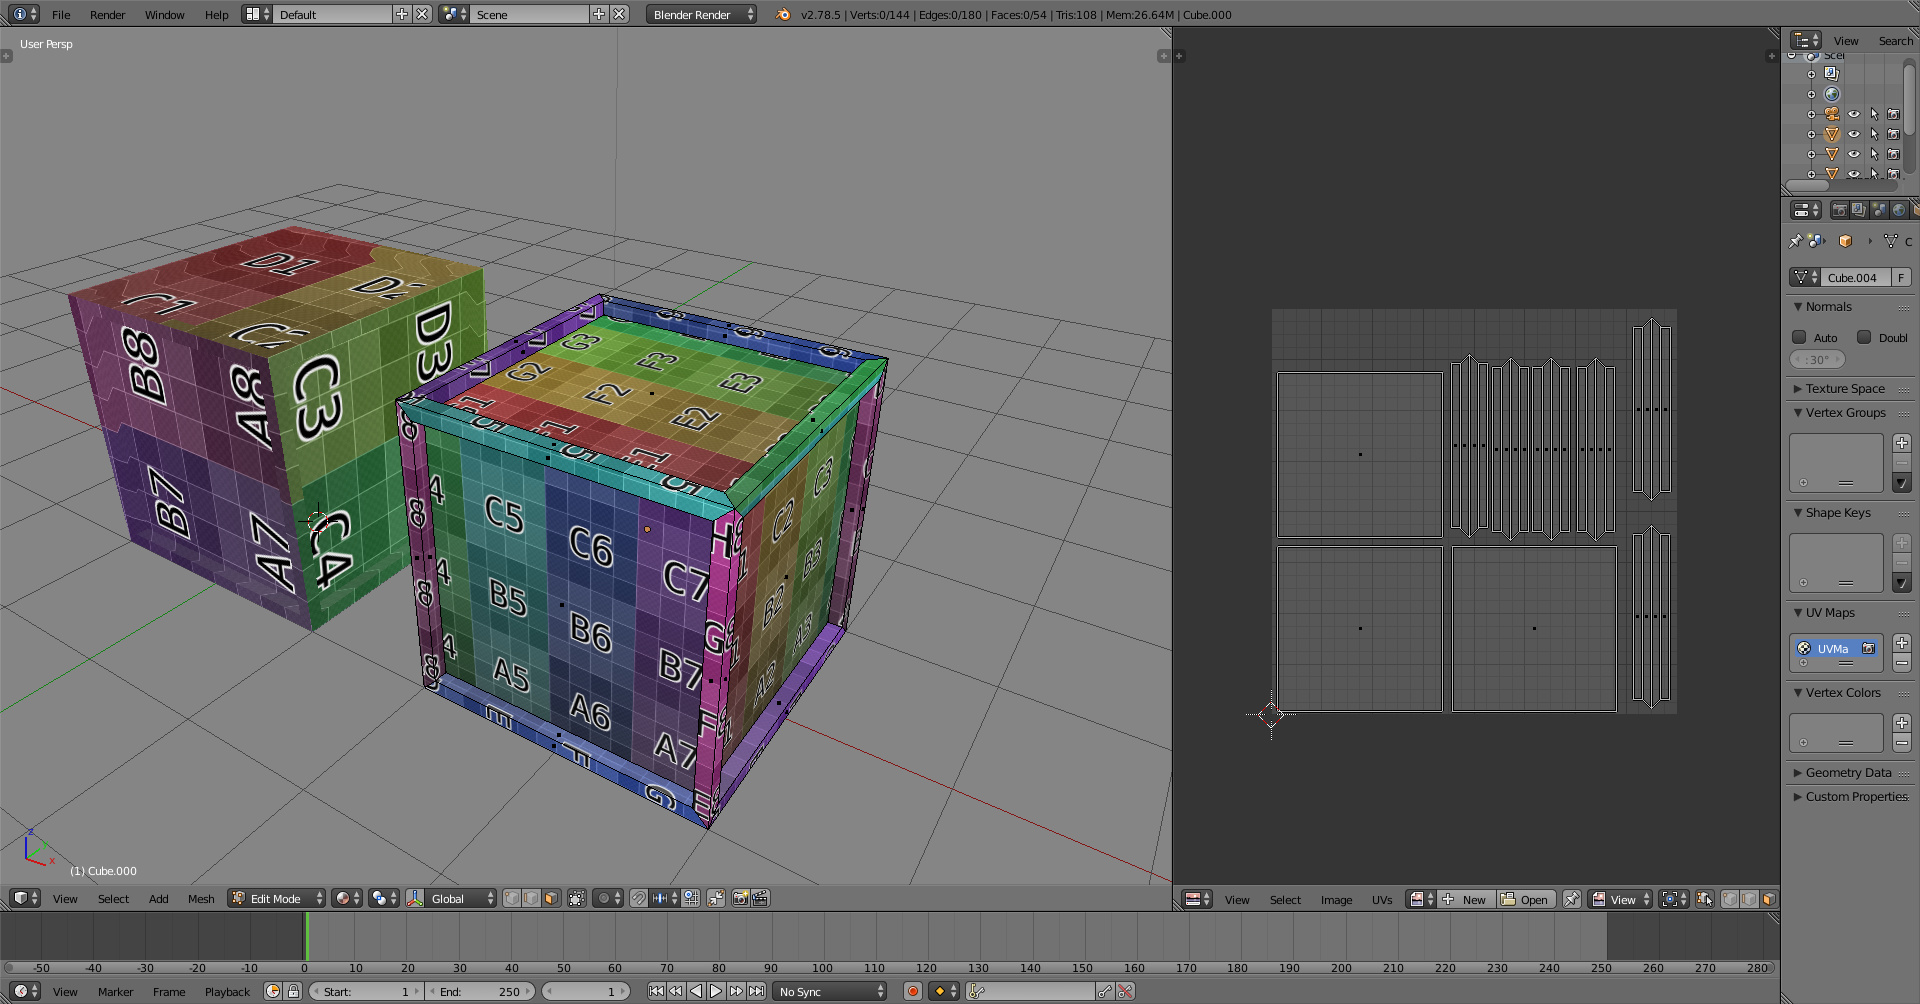
This was my first attempt messing with the seams. teste_uv_unwrap.blend (514 KB)
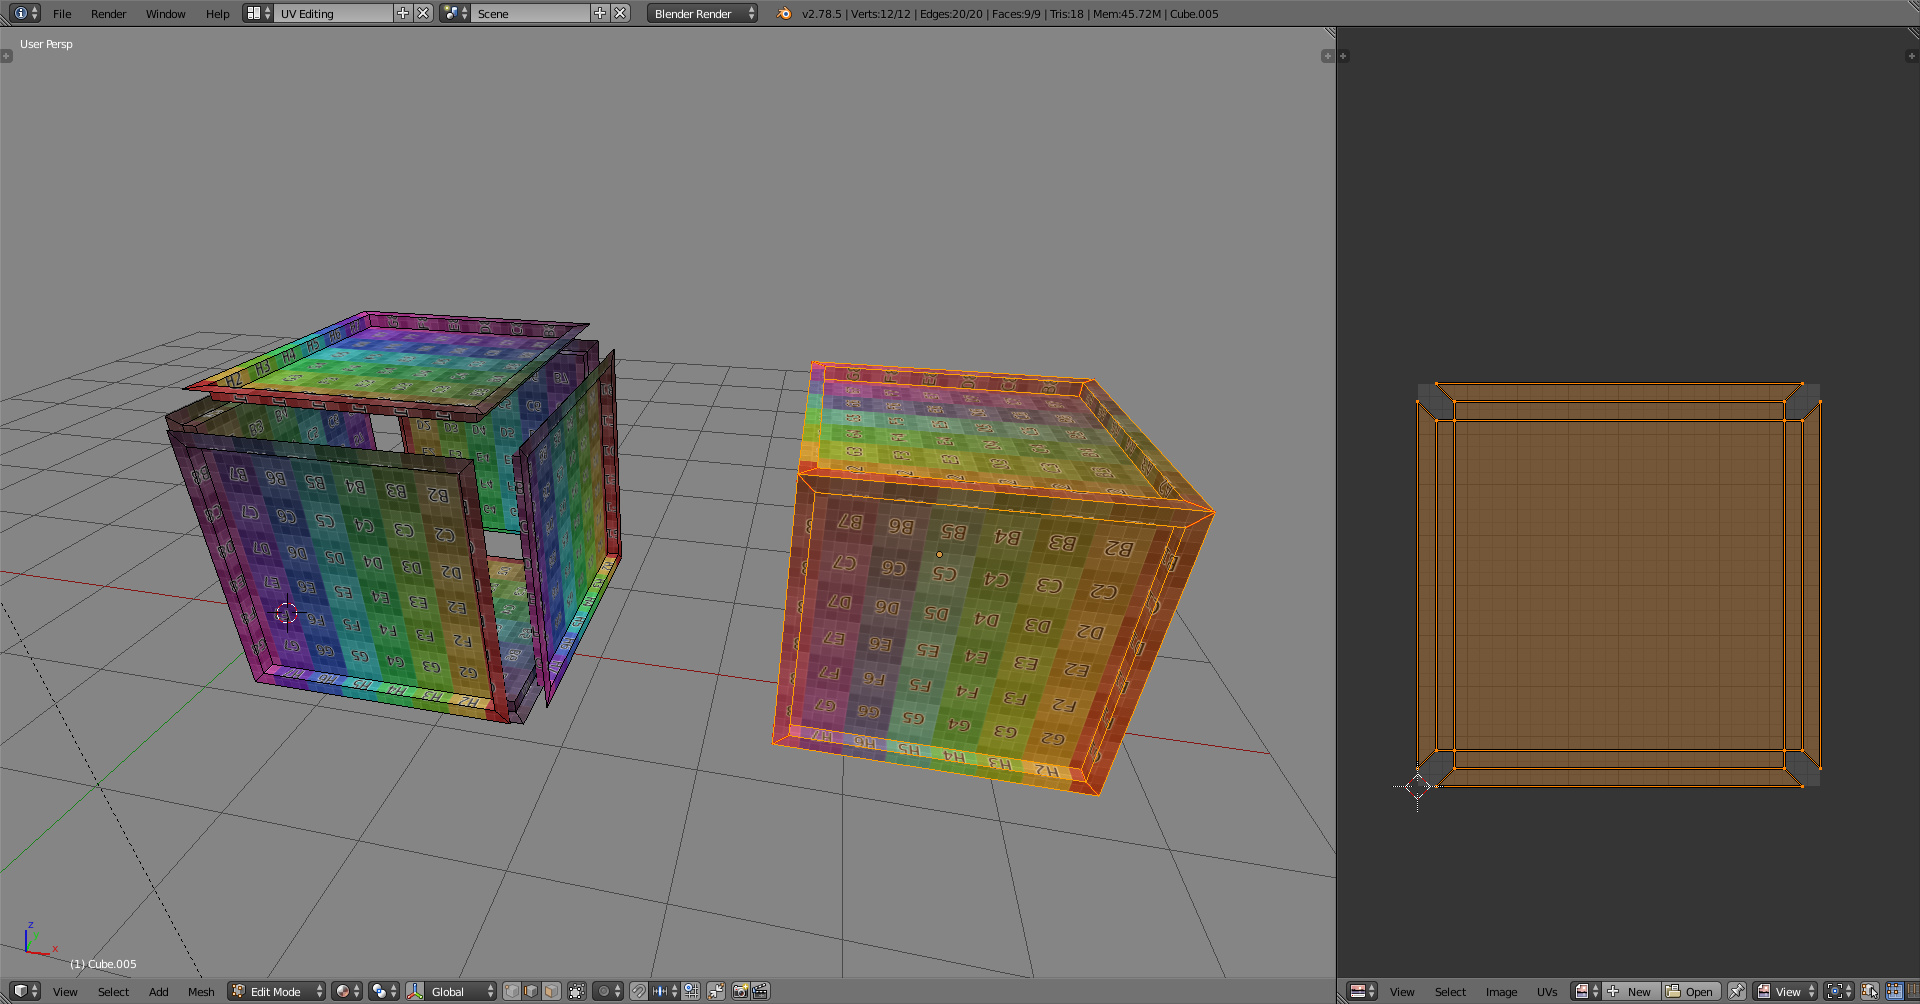
This here I used seams, scale the island in the Uv editor. And also there’s something I get trying the seams: on the curves/edges the texture become some kind of crooked, distorted. teste_uv_unwrap2.blend (521 KB)
I don’t know if depend on the object and the way I create the seams, because some of them above are interesting but I don’t know if they are right. I would appreciate any help to make me understande this.
UV’s are 2-dimensional, the UV’s are flat. If the seams are only on outside edges, it needs to either scale the inside face in or push the bezel faces out to have area on all faces.
Have to open up the form so it can lay flat without distortion. One way to do that
is to build one panel, unwarp that, and have other sides consist of linked duplicates (alt+D). That way each side takes the same texture space, and you could join the objects to one (ctrl+J) and merge the open edges. UV’s would remain, or you could use pack to have them spread out on their unique UV area with ctrl+P in UV editor.
Another way is to think the model as a wooden box. If you were to build it, the square faces in the model would be separate, plywood maybe. The outside supports would be made by cutting many pieces, 45 degree angles on each end, and maybe also on one side, then glued together.
Could add the UV seams to mark the separate pieces, and the seams would be visible and left there. Again, the UV’s could use the same UV space, or you could spread them out more.
One reason to spread the UV’s a bit is to have unique look and/or avoid detail to repeat on a texture and have that show up on the model. Could still save UV space
by sharing the UV space on parts that are opposite sides of each other, which saves half of the UV space, and that saved space can be used to double the texture density. The texture is still unique from a viewpoint.