Hi there,
thanks for all the positive feedback!
I promised to speak about how the scene was done. Let my try.
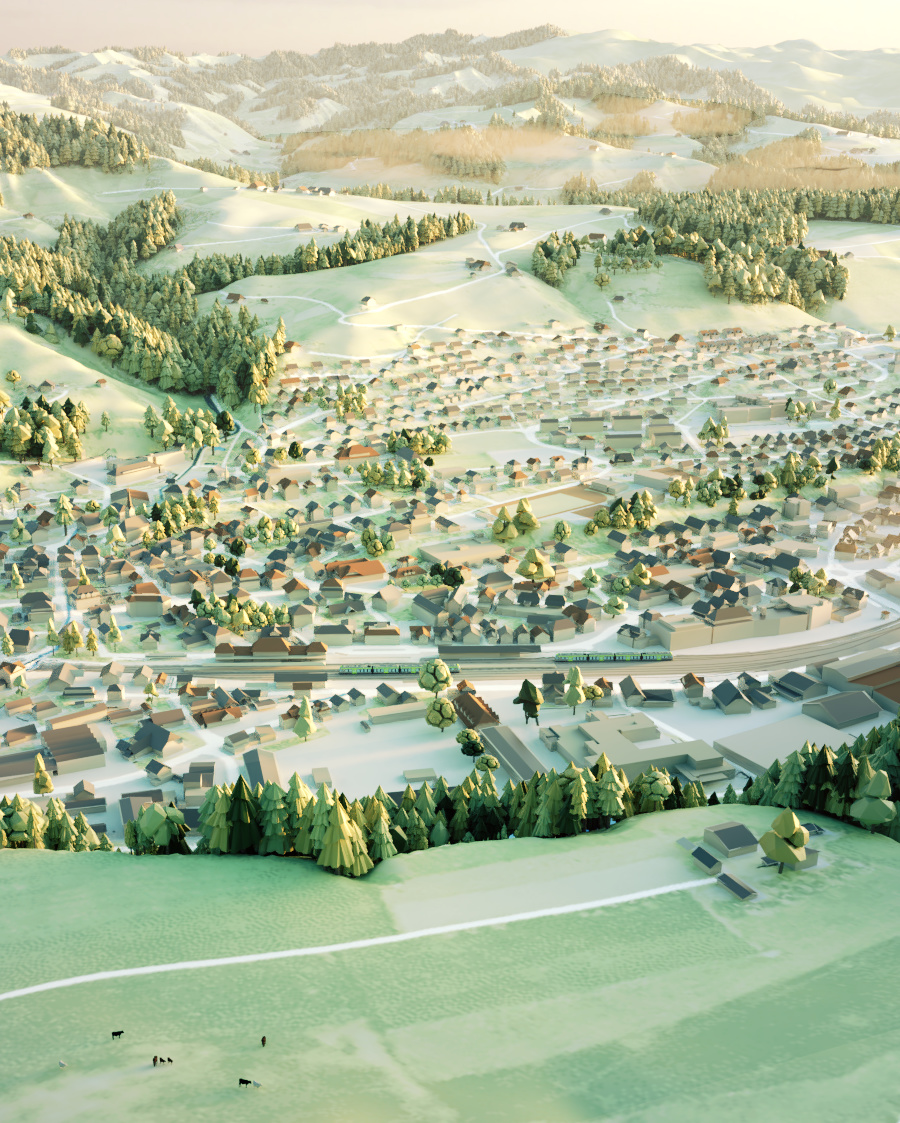
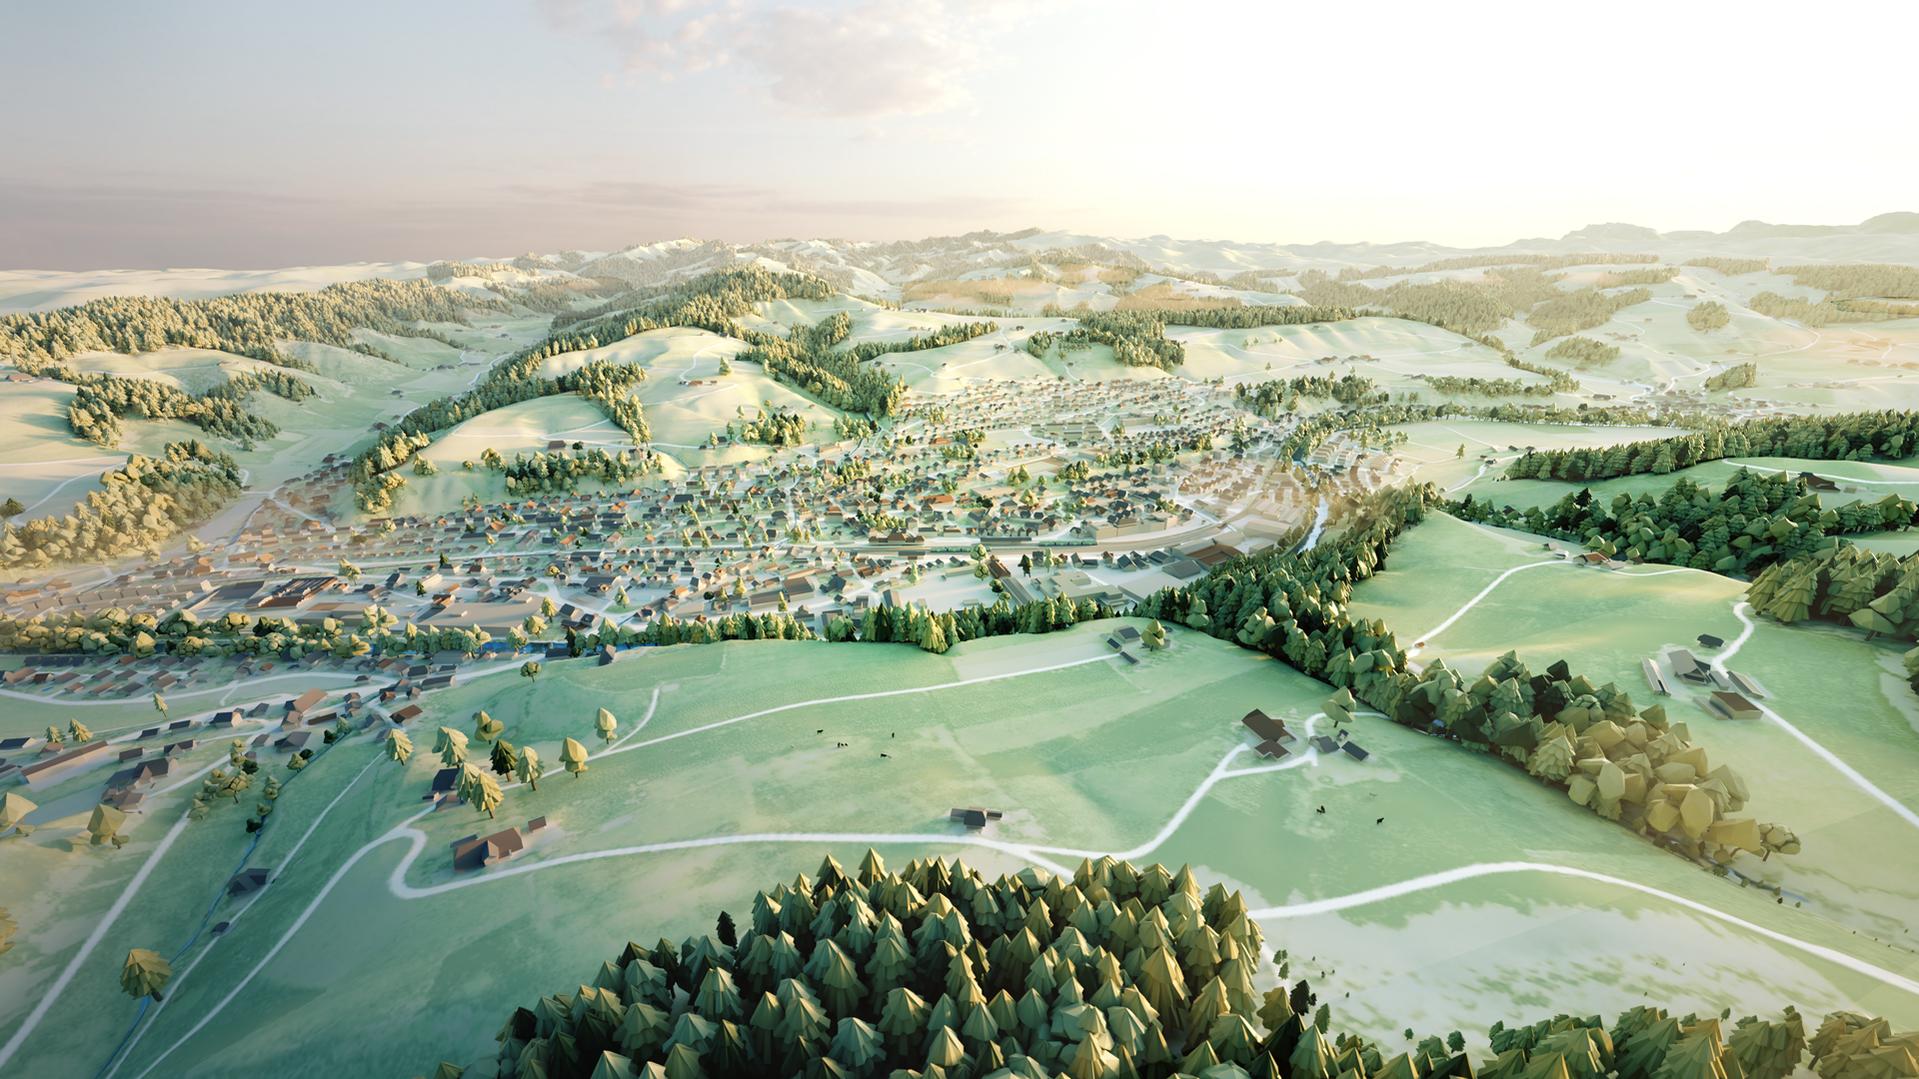
First of all i got a good knowledge of CAD, Illustrator and GIS. This helped me a lot during this project. As i already said in the WIP thread, i used a product of the Swiss federal office of topology. The product i used was swissBUILDINGS3D 2.0. It’s a vector based dataset which describes buildings as 3D-models with roof geometries and roof overhangs. The high level of detail in all three dimensions, high coverage and the realistic rendering of the building volume bodies make this product a valuable basic dataset. Because they keep the data up to date, its a paid product. You can check it out here. I separated the roofs and walls via a normal selection, gave the roofs a material with random colors.
For the ground i got a height-map from Nasa’s Shuttle Radar Topography Mission (SRTM). I could just used this height-map as it is, but i wanted to keep everything referenced and i the exact size. This is where QGis come into place. I imported the height-map. The data includes the CRS (Coordinate Reference System). Since i’m working in the Swiss CRS, it was pretty easy to reproject the data. I exported the model as an stl file, which had to be converted into a dae. For the material i needed some more information. Luckily i already got a referenced terrain i QGis. So i just needed to get some data from Opensteetmap (aviable as shp file). Boom, i had everything there. I exported maps for the forests, rivers, streets, parks and so on. These maps where used for creating the material and defining where the particle system should place my trees. The maps got quite large (6543px wide). Because everything was in the same CRS, i just used the “project from view (bounds)” for unwrapping.
So everything there, i had a very good base for the work in blender. With the help of the exported maps, i could put together the terrain material quite easy. Because data from Openstreetmap didn’t covered all the forests, i used a satellite image to place them. With the help of the snapping tool i could do this fairly fast.
I experimented a lot with the lighting. But as set up this morning HDRI and got the right angle i was set. (by the way, i used Pro Lighting Skies by Andrew Price). All that was left was to find the right camera angle, which i think was the hardest part. Because the client wanted to show the whole town/village at one render. I tested a lot of settings and focal lengths. In the end, i choose a very wide angle shot instead of zooming all the way out and loosing details.
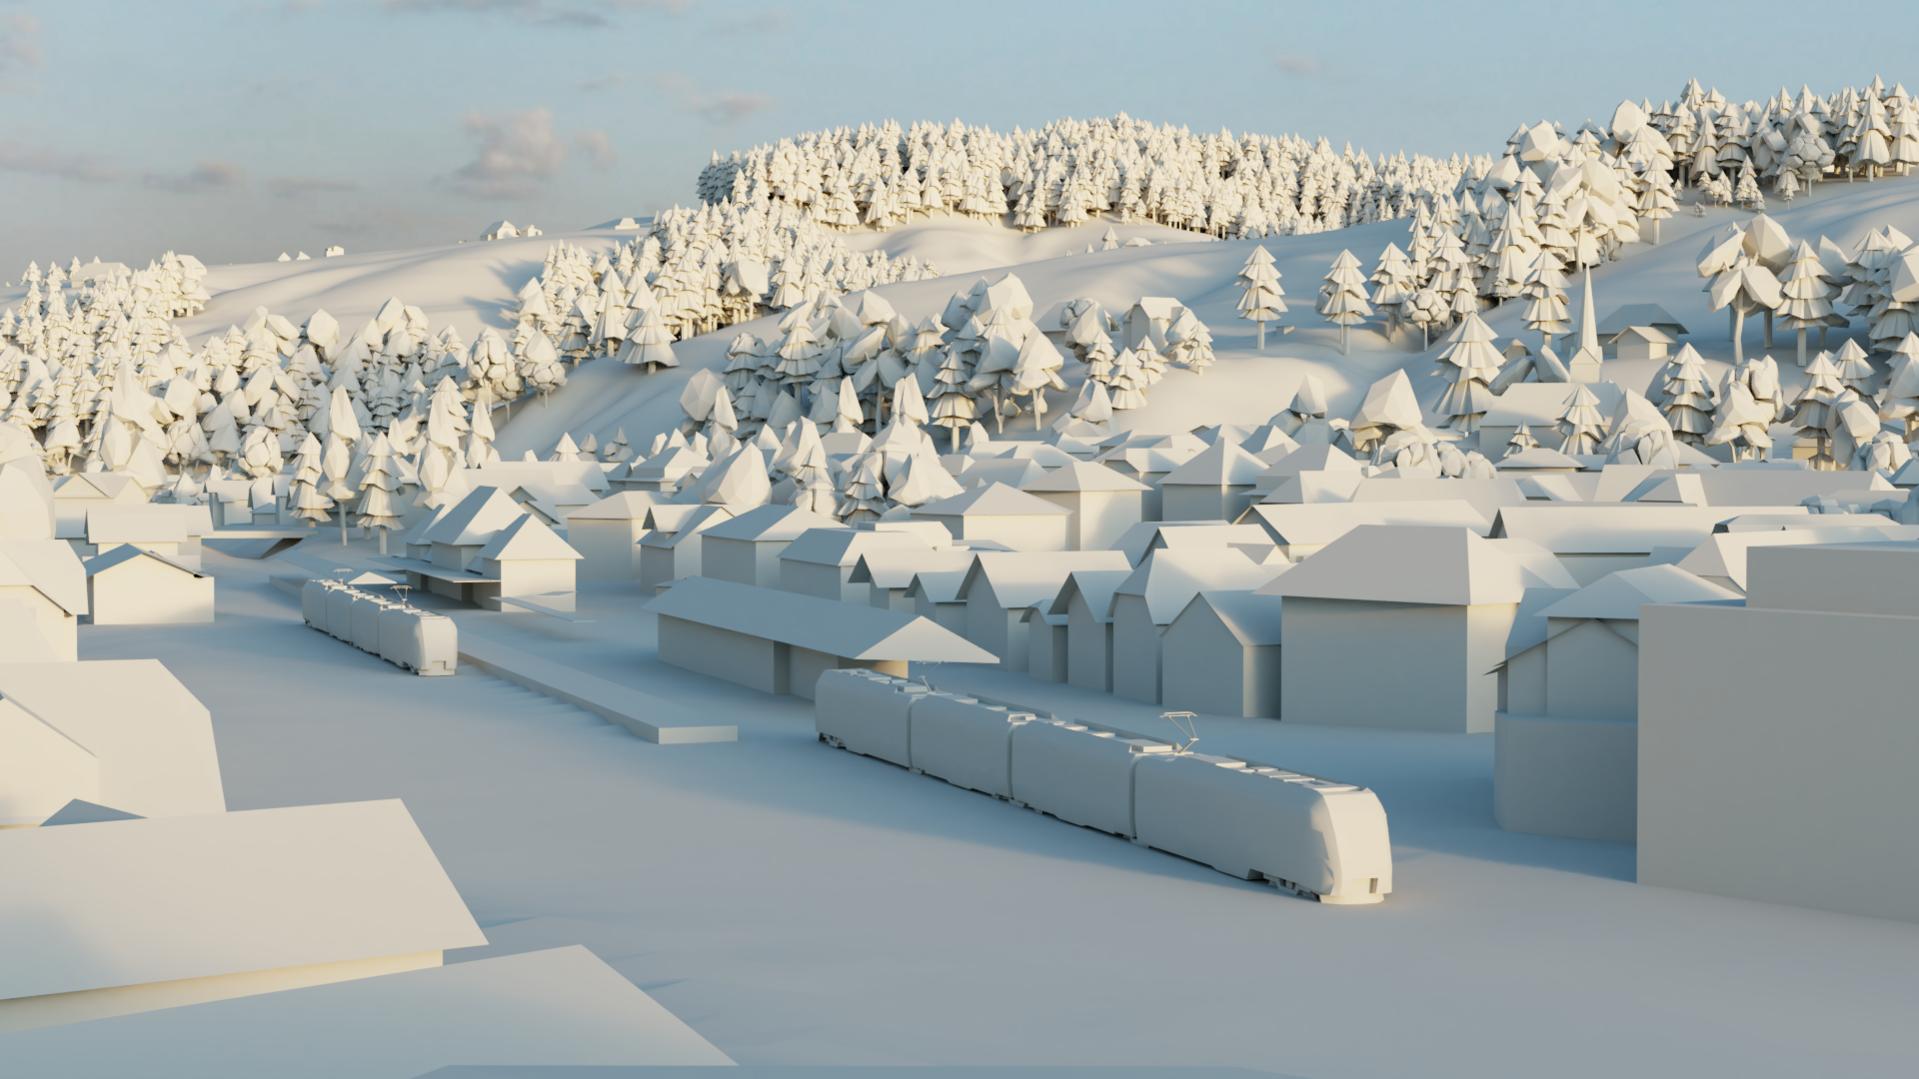
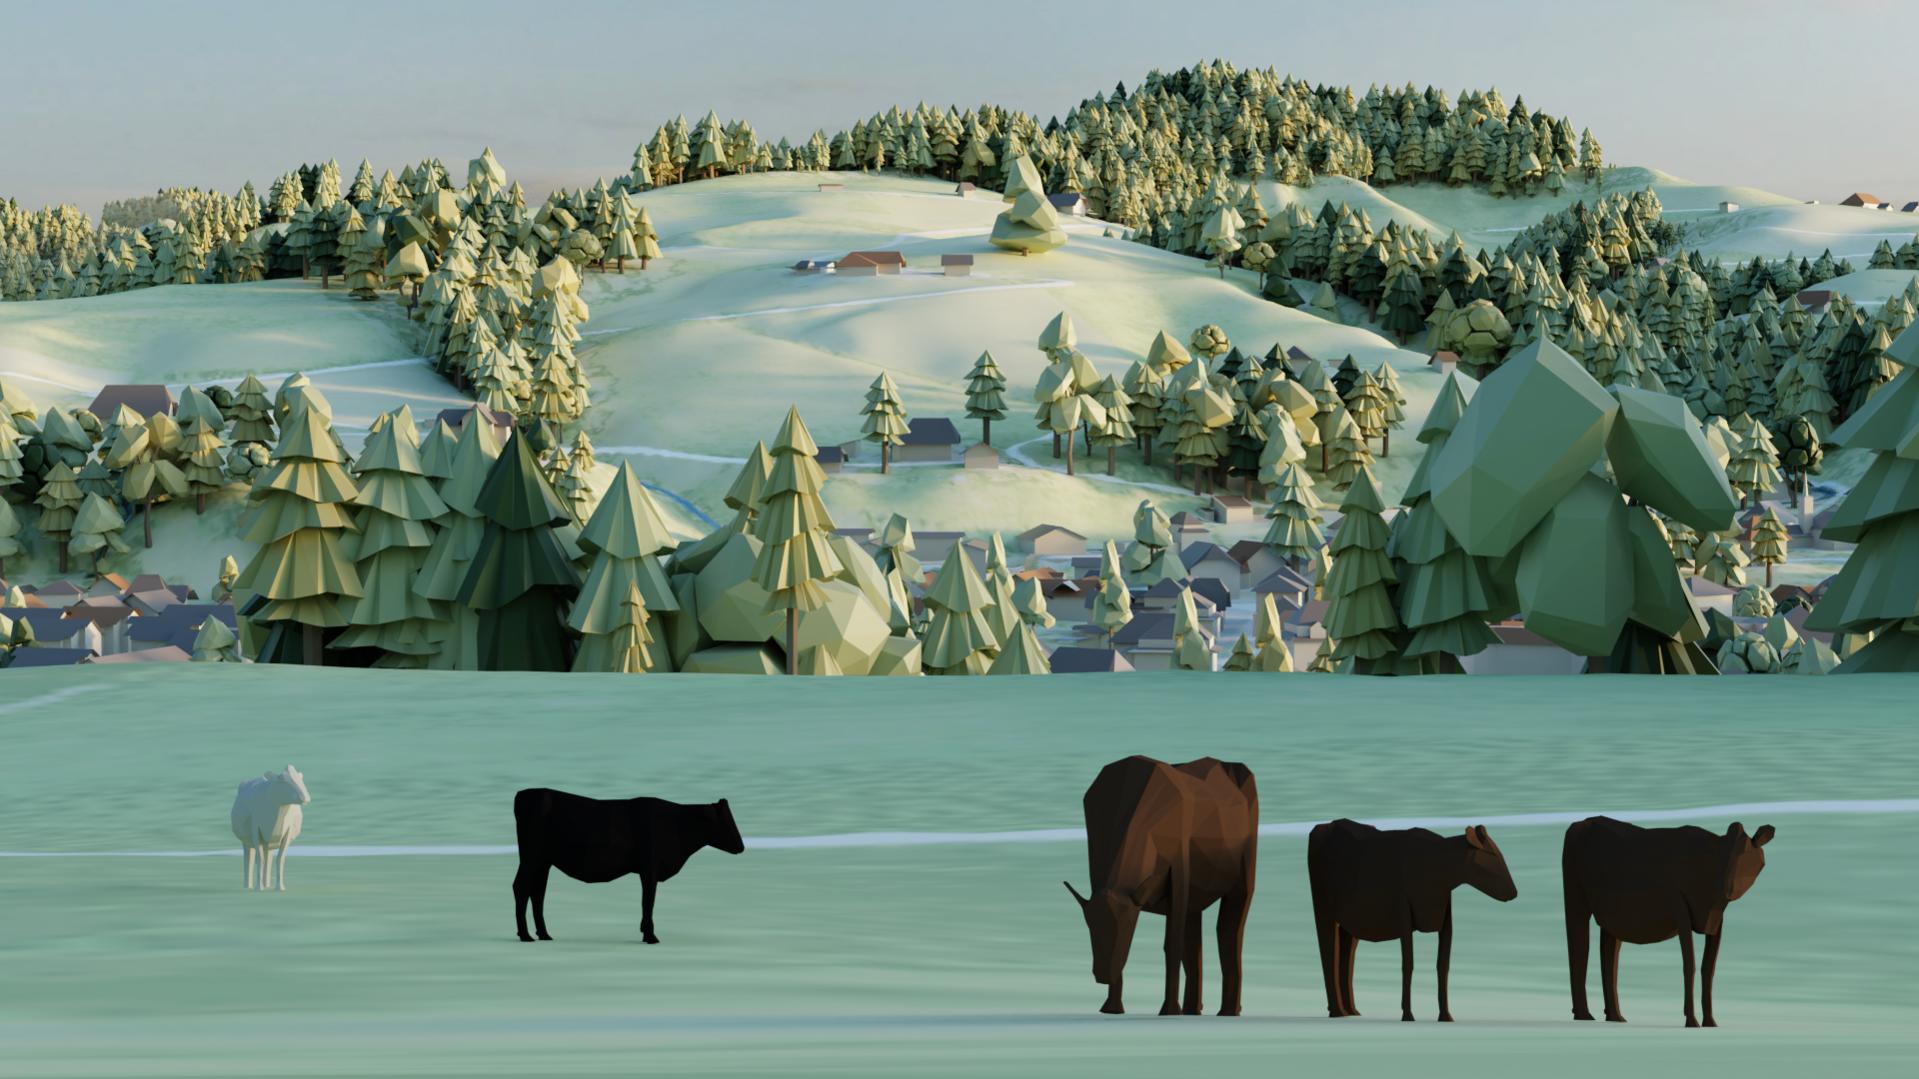
Everything was set and i got some time left. So i created some details, like the cows in front (created one lowpoly cow, rigged and posed it) or the train in the station. The render will be printed on a large board, so i hope some will get the details. As last step i added the clouds and since the denoising feature is so cool, the volumetrics are no pain in the ass anymore.
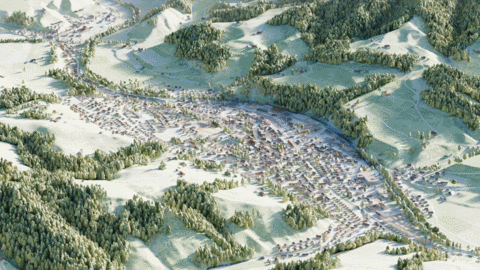
Phew, a lot of technical stuff, but i hope you could follow along. So that’s it. If you have any questions, feel free to ask. Because there’s to much text in this post, i added some more pictures.
Best regards