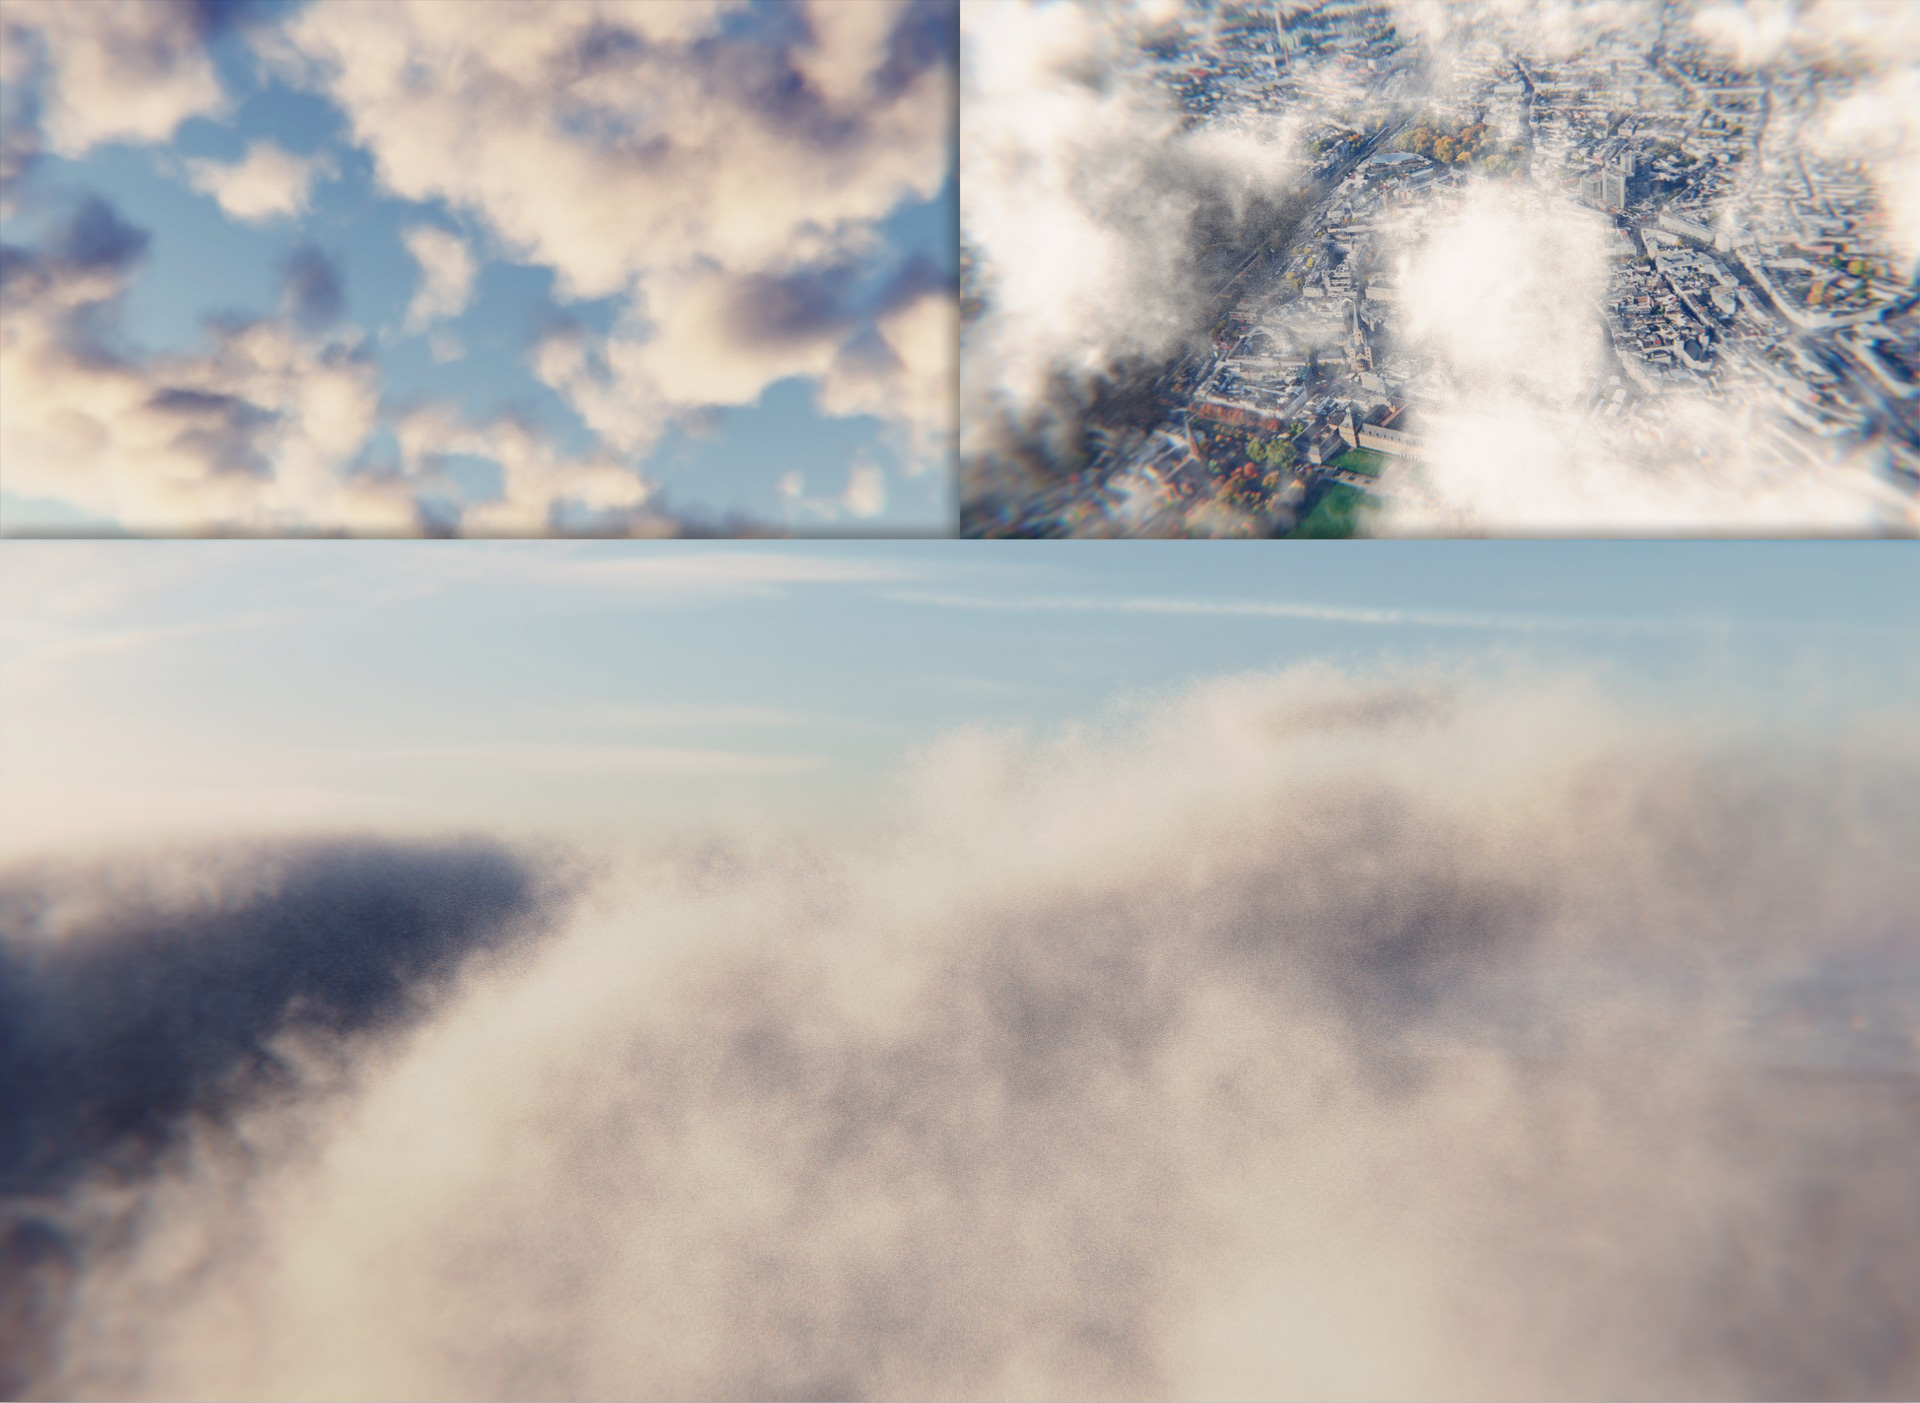
I stumbled across this quite simple method to create pretty realistic looking cloudscapes in Blender - Cycles - without doing any modeling or simulation at all. (View a few shots I took on Artstation: https://www.artstation.com/artwork/wdOOg)
This is more like a quick test setup but I think it might be worth digging more into it.
At the moment I am setting up the different parameters for easy control. After that, it would be interesting to implement different cloud types and formations but that’ll be more complicated.
One downfall is definitely that you cannot see the shape of the clouds in the viewport. Even more of a hangup is probably, that it is pretty heavy on the machine power the larger the area gets. It is perfectly fine for small areas though. (Don’t get me wrong, the rendering is still slow as hell.)
There is not really that much to setup yet but here is the early Version of it if you want to give it a try and play around with it a little bit: ProceduralCloudscapev0.2.blend (839 KB)
Some Tipps:
I highly suggest that you exchange the sun lamp for an hdri
Set the Volume bounces (Light Path render settings) to at least 1 for more realistic lighting with thicker, darker clouds
if you (like me) experience a CUDA Error on GPU, try a lower Tile Size
Feel free to use the .blend for any purpose whatsoever (except killing baby seals…don’t do that).
I’d be glad to hear from you guys what you think. Do you think it’s useful? Is it too render heavy? Is it worth putting a ton of effort into it?
Wow I did not expect this thread to get revived thanks for the replies you guys @3pointEdit you could model a basic shape for it, but there would be a whole lot of clipping going on the way I implemented it. If there where a way to get a falloff in normal space (like 1 to 0 from the surface inwards) in cycles, this would be perfectly doable without clipping. I couldn’t think of a way to get that though.
A workaround for that would be to use multiple basic cube objects to build the desired cloud shape, I guess… which might look dumb… not sure
@pixelshatter I tried to get the geometry field with point density derived from particles in a shape volume. Then I made a bounding volume that has the shader. If you turn off the physics for the particles then you can apply modifiers to distort it
@3pointEdit
Yea I guess you could use a particle system, that should work fine with the shader as well. It just kind of defeats the purpose of what I was going for specifically, which is a completely shader based cloudscape with easy to use parameter inputs.
If you want full control and spend more time to get the right shape, particles are probably the way to go. I have seen that being used but didn’t play around with it myself though, thanks for the input.
I think I’m gonna grab the file again soon and try some more stuff
I want to revive this topic once more now that I finally played around with the shader again. I have to admit that my interest in this 1y old project got triggered by that new real sky add-on that just came out on the blender market.
Honestly I made no changes to the shader itself yet. I threw it into 2.8 and eevee is definitely bringing its power to the next level. It works really well with real-time.
Here is an animation I rendered in HD with a render time of only 4s per frame:
You have to know that this sequence would have most likely not even rendered in cycles (my GTX 1070 crashed when i tried). So that is a big deal for the viability of this method, even though it’s ‘only’ working well in Eevee.
Here’s a quick demonstration of the real-time behavior:
With Eevee I can really imagine picking this up again and making this into a polished shader with decent documentation.
Let me know if you are interested
Make sure you turn on volumetrics for eevee and get familiar with the settings. The tile size is a handy parameter for convenient navigation for preview.
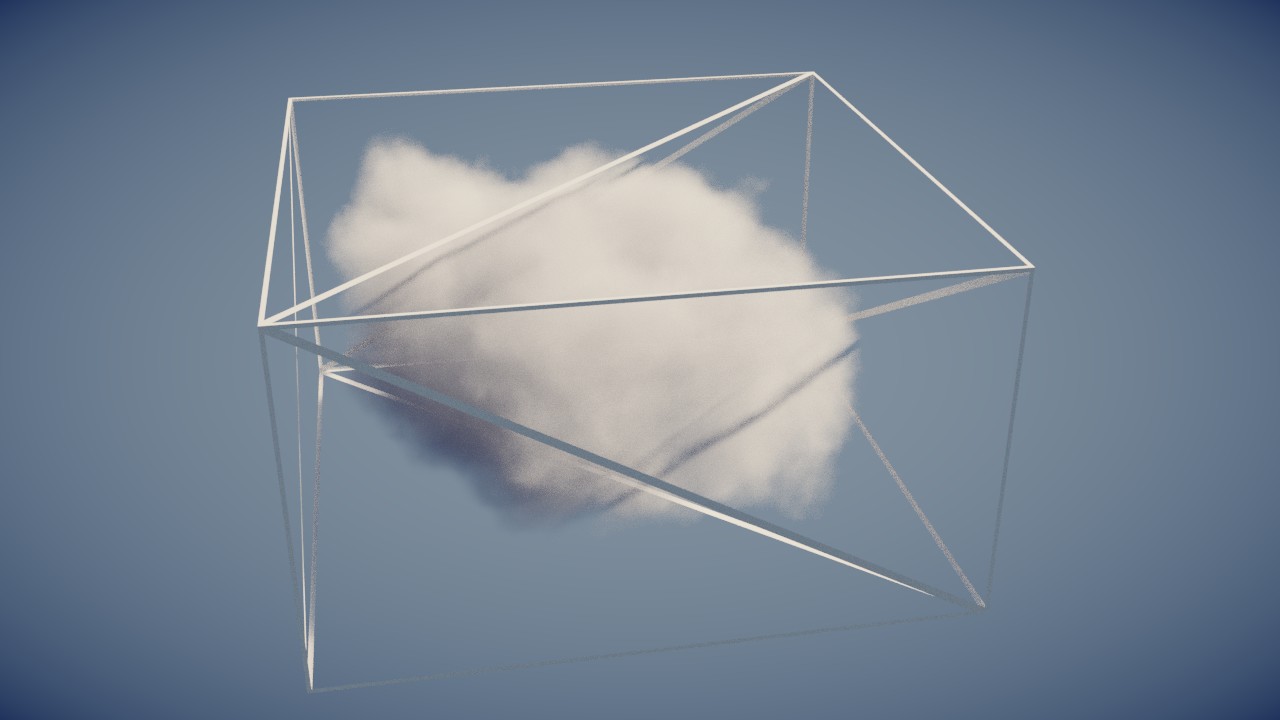
You will notice that the clouds will be generated in the bounding box of an object, so its best to just use cubes and scale/rotate them.
For painted distribution you have to use a plane with a solidify modifier
I’m planning to do a short tutorial where I show setup / parameters / tips. That might not happen before a later release though. But I’m sure you can figure it out with ease.
I hope you enjoy it, definitely show me what you create with it!
You can tweet me @simonthommes or just post it here
I haven’t really thought about licensing yet, but… almost…
Use it however you like (even commercially)
However, it would still be nice if you would credit me / this thread (if the shader is prominently displayed in you work) and give me a heads-up.
BUT if you want to modify/improve the shader itself, ask me before you distribute that modified shader

 thanks for the replies you guys