as promised , here is my second Blender project. I tried to apply some of the tips you gave me in the Mustang thread, although I didn´t use any shrinkwrapping. Might be a better practice to try modelling without any “cheats” for the beginning
I hope you can see some progress in comparison to the Mustang.
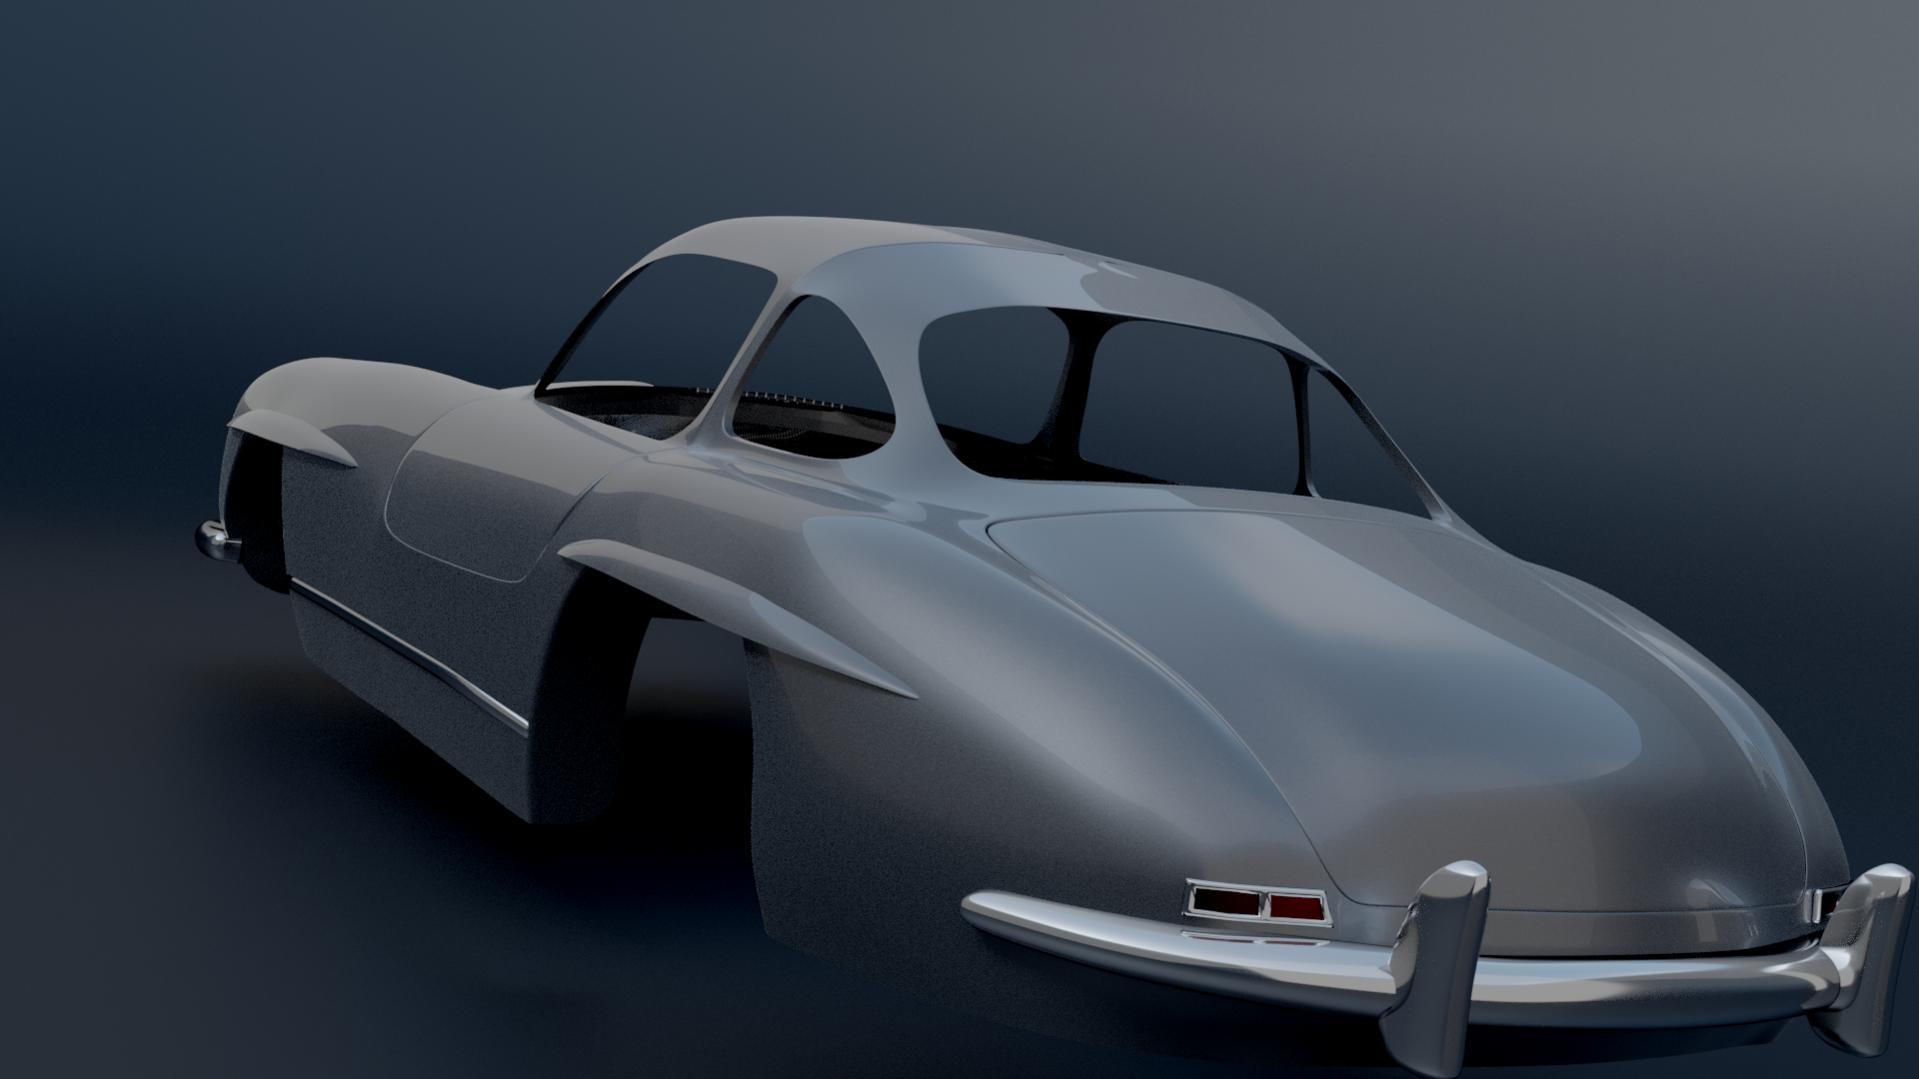
After the first Renders I noticed some dents and bumps, I´ll fix them as soon as I´ve got the overall look and “feel” done.
Feel free to criticize, I´m happy for every Feedback!
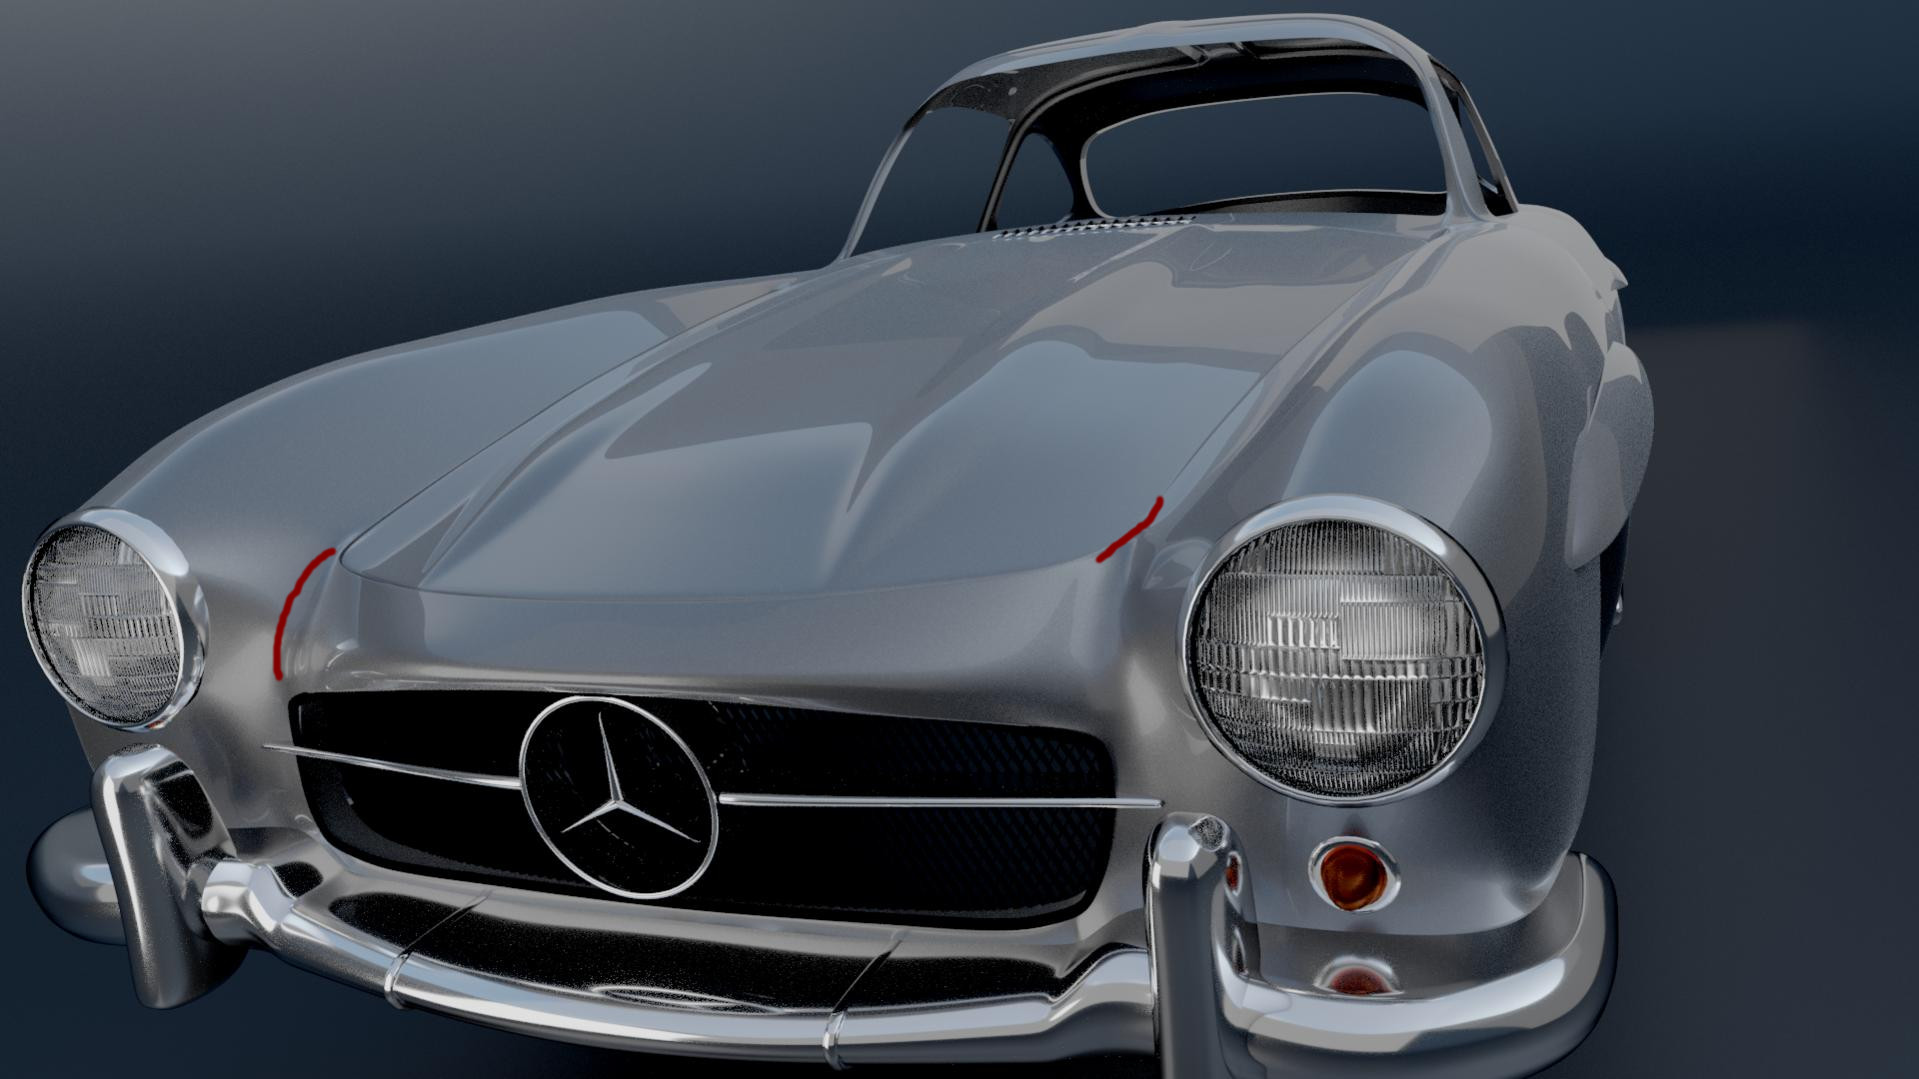
Some progress. Tried to fix the hood, thank you for the hint. I haven´t even noticed that before
The tires are just a quick test, I will improve them later. The window “encirclements” took quite some time, they turned out to be the most painful part to model so far. I used a black plane for the inside to prevent strange reflections in the windows, maybe I´ll give the interior a try later on
hey!
Defintely great improvement compared to your first attempt of car modeling.
I wish I was progressing that fast
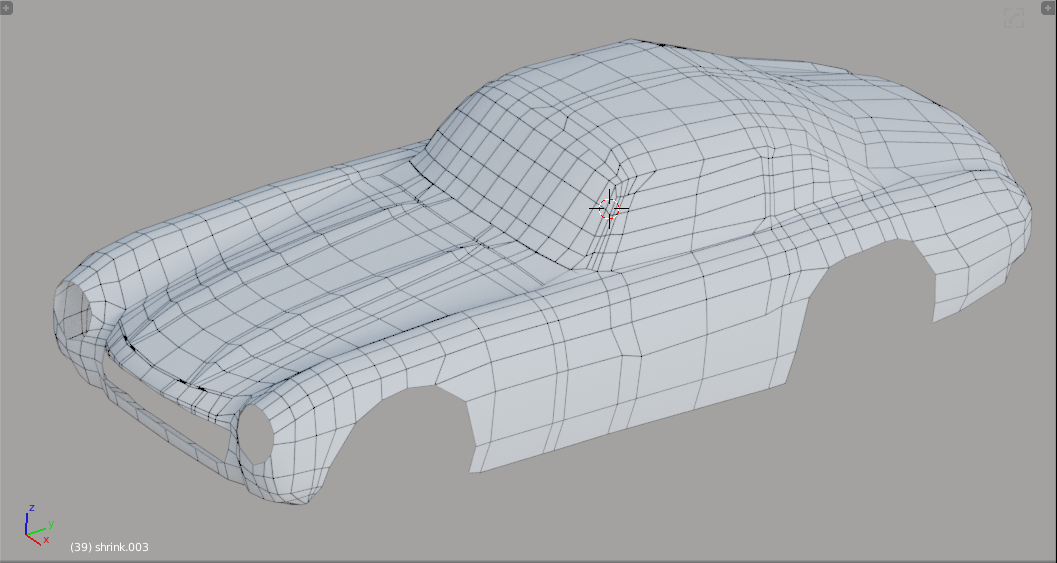
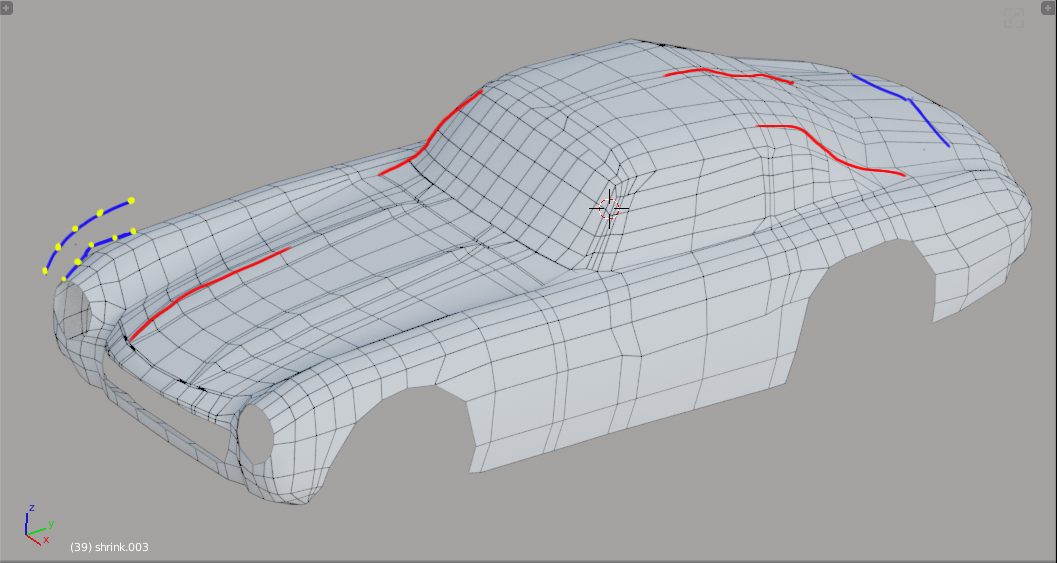
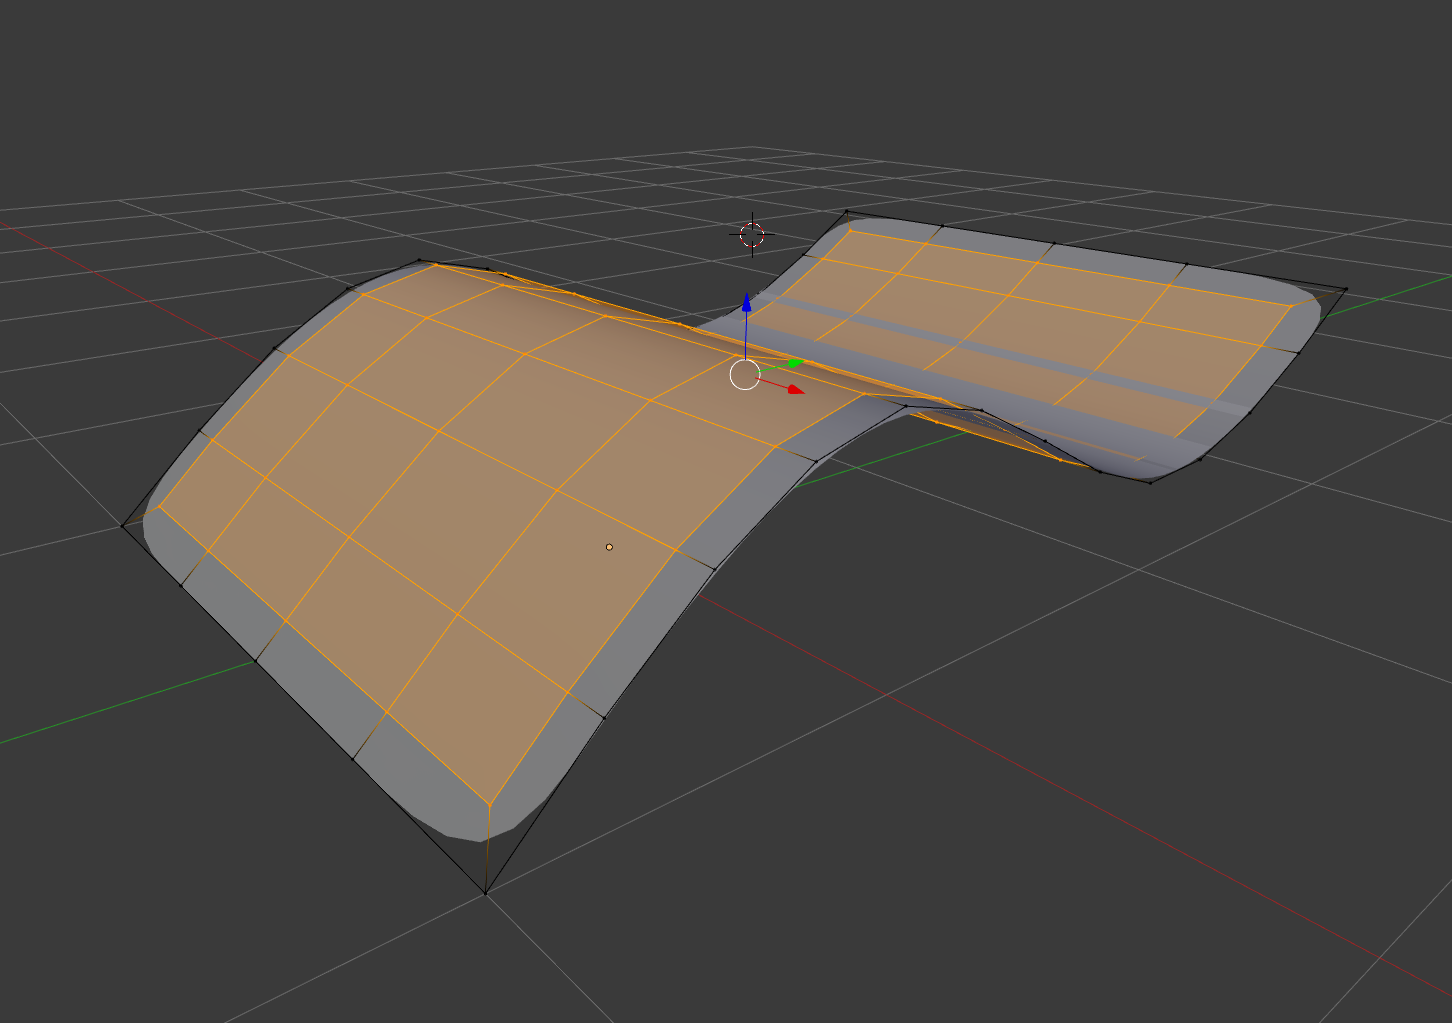
What I noticed when looking at your wireframe ist, that you need to tweak every vertex of the edge loop you added, otherwise it will leave you with an harder curve than you might wanted. ( I tried to picture it with the blue line and the yellow dots^^)
The parts marked in red may also need some tweaking.
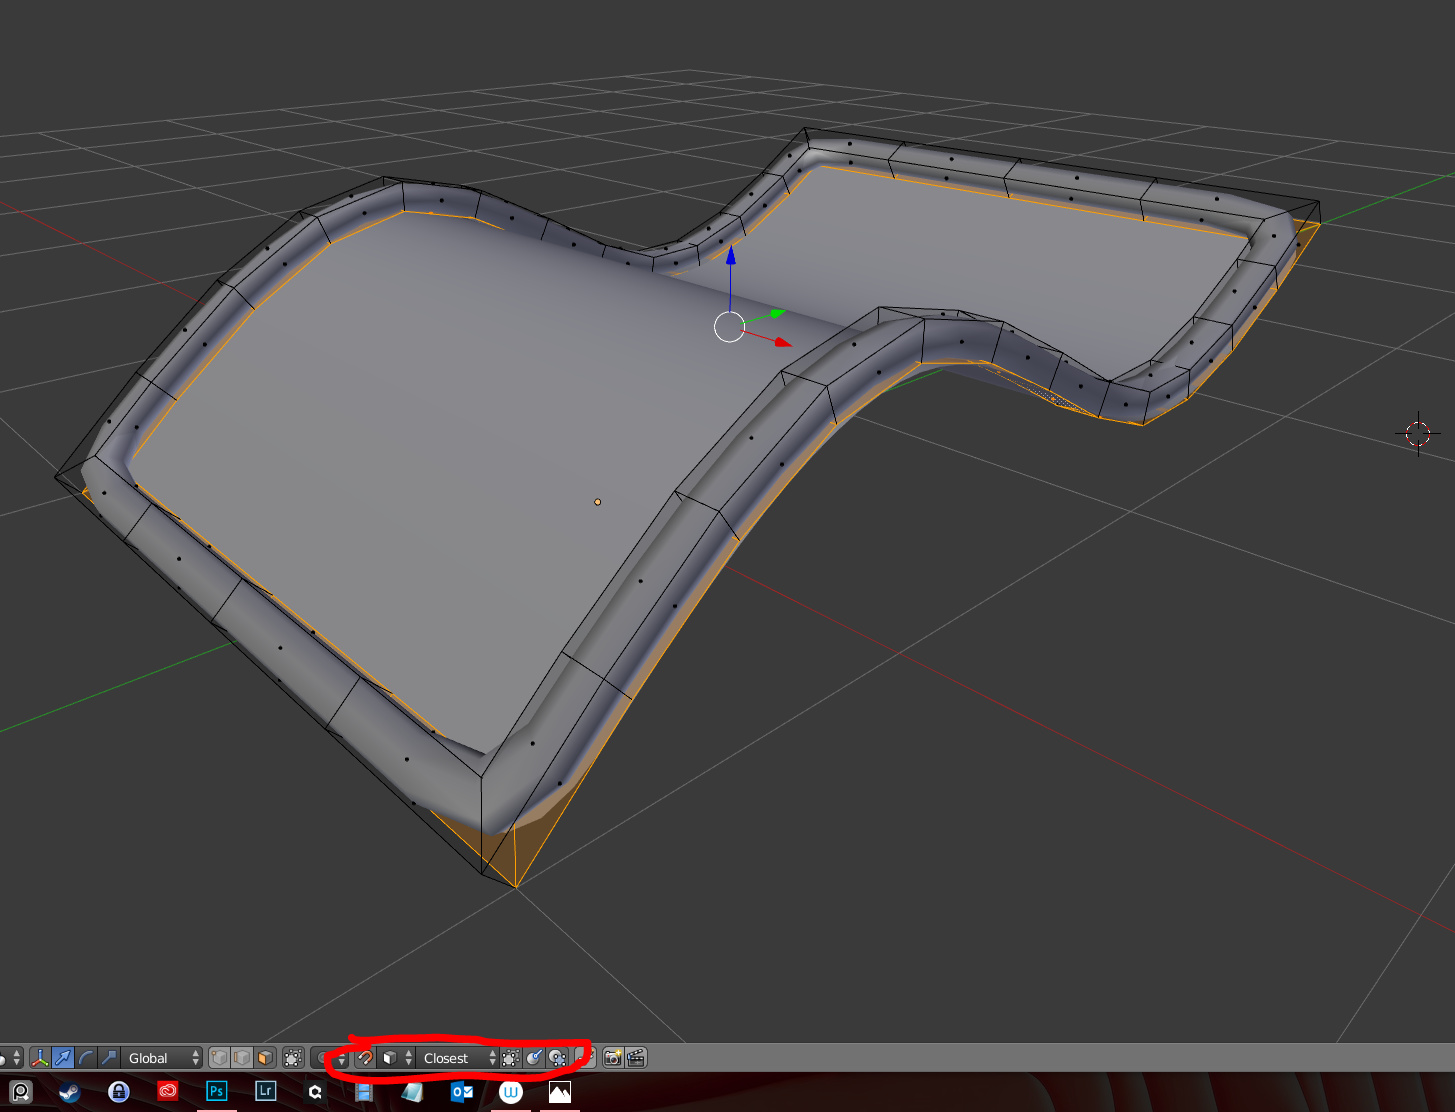
Add a Solidify modifier, change the settings to your liking and apply it.
Remove the faces as shown in the Screenshot, or add an edge loop to make the edge sharper, so it sits tight to the window and doesnt look like a noodle
If you want to tweak manually you can enable snapping by pressing the “magnet”, “snap to faces” and “project individual elemets” (circled in red).
The selected vertices will then “snap” to next face, depending to the point of view.
maybe there is an easier method, but this gave me the best results for now.
Sounds like a good method! I think I chose the most uncomfortable way : Add a cylinder, cut it in half, shape it , extrude extrude extrude and then tweak,move and rotate the single parts until they fit
Any other things that come to your mind which I should Change/improve?
I will have a look on the marked Areas , but I´m pretty sure that I already fixed some of them. The wireframe I posted was a very Basic shape to begin with. I cut out the single parts like doors, Windows, Hood and worked on them seperatly. I will post an updated wireframe later.
And I forgot to mention it early, thank you Strapazie for the Paint Shader!
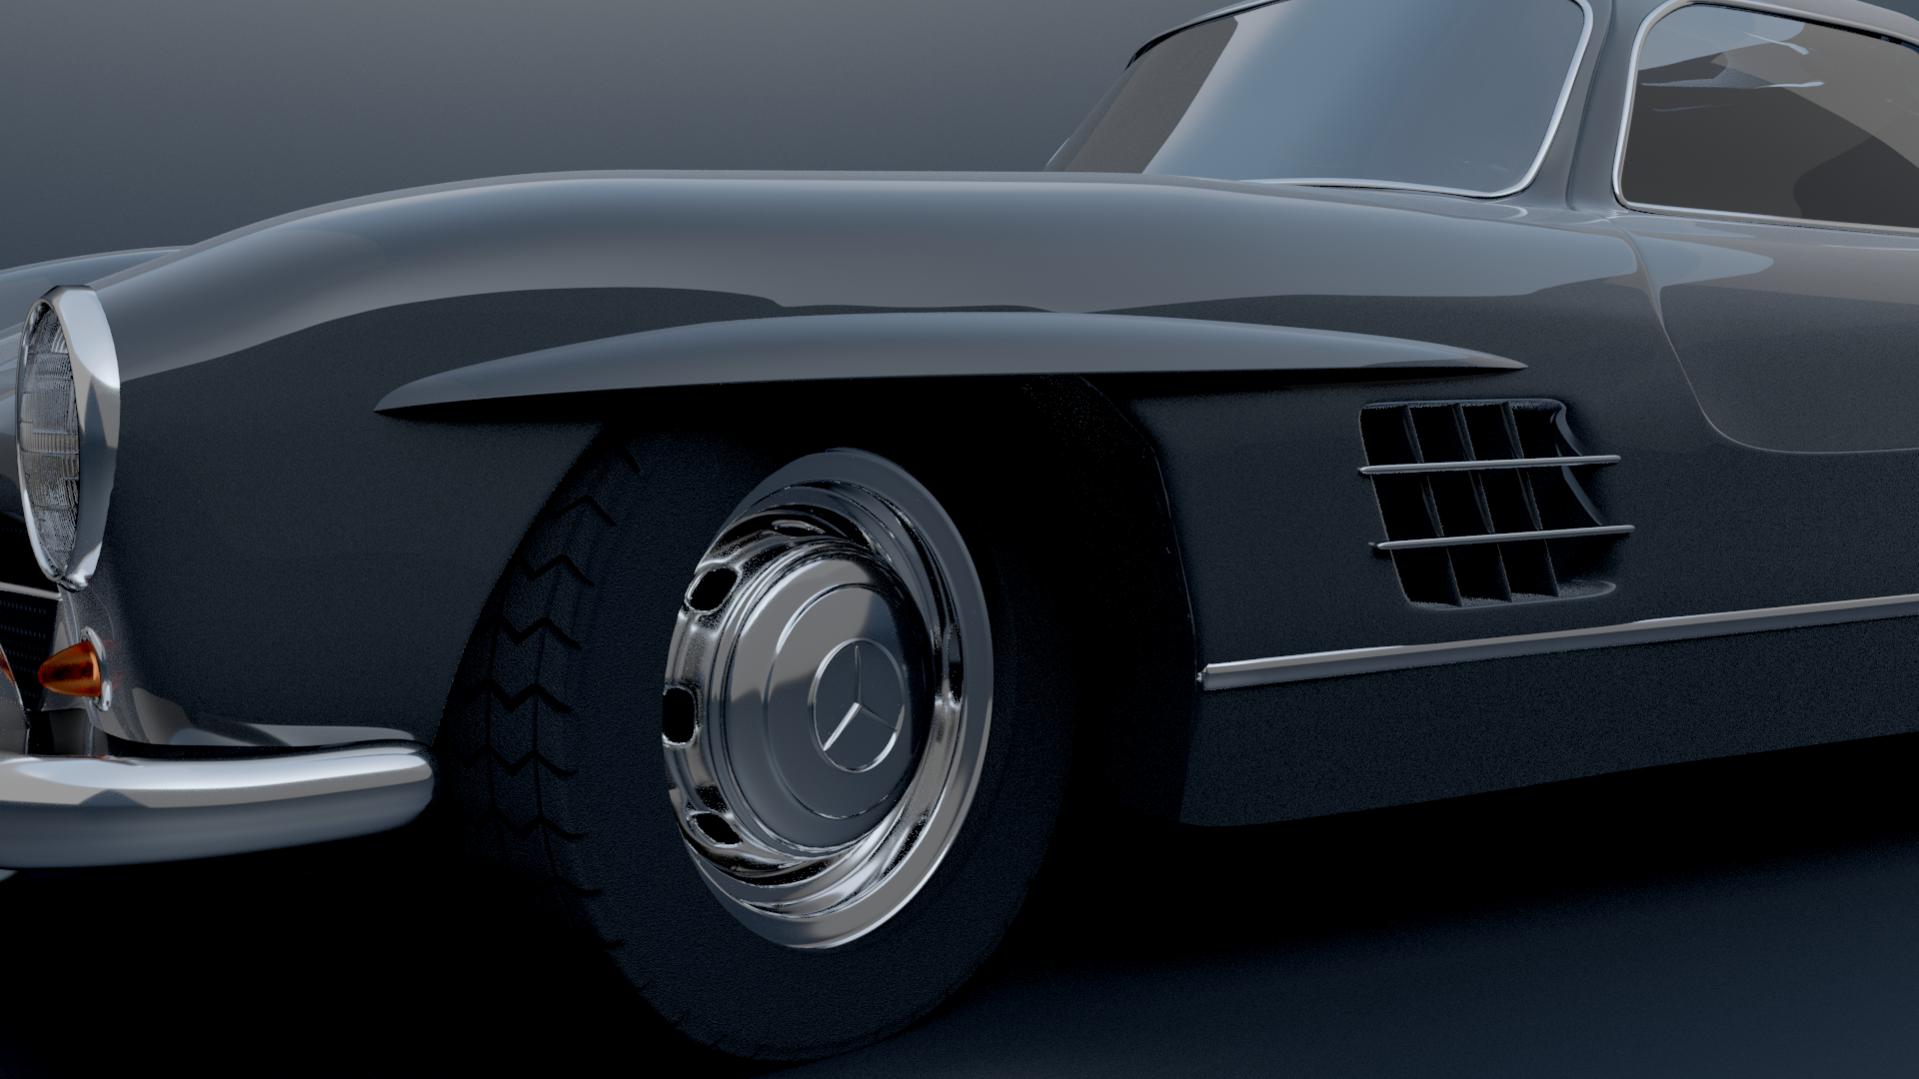
Just a minor Updated, added some details and changed the color slightly. First time working with Booleans on those side openings, turns out they can be quite some pain