Hi everyone, I am Clive and I am a 67 year old retired curtain making teacher.
I am completely new to Blender. I have some experience with Photoshop and a little experience with Adobe After Effects. I carry out graphics support for my ex students when they wish me to add pictures of curtains to pictures of windows and add furniture to rooms for interior designers. I am a specialist in pleating curtains to the design of the fabric but the problem I have is that I can not draw 3D images of the 4 pleats which are most common nor can I get the fabric itself to fold into the pleating arrangements.
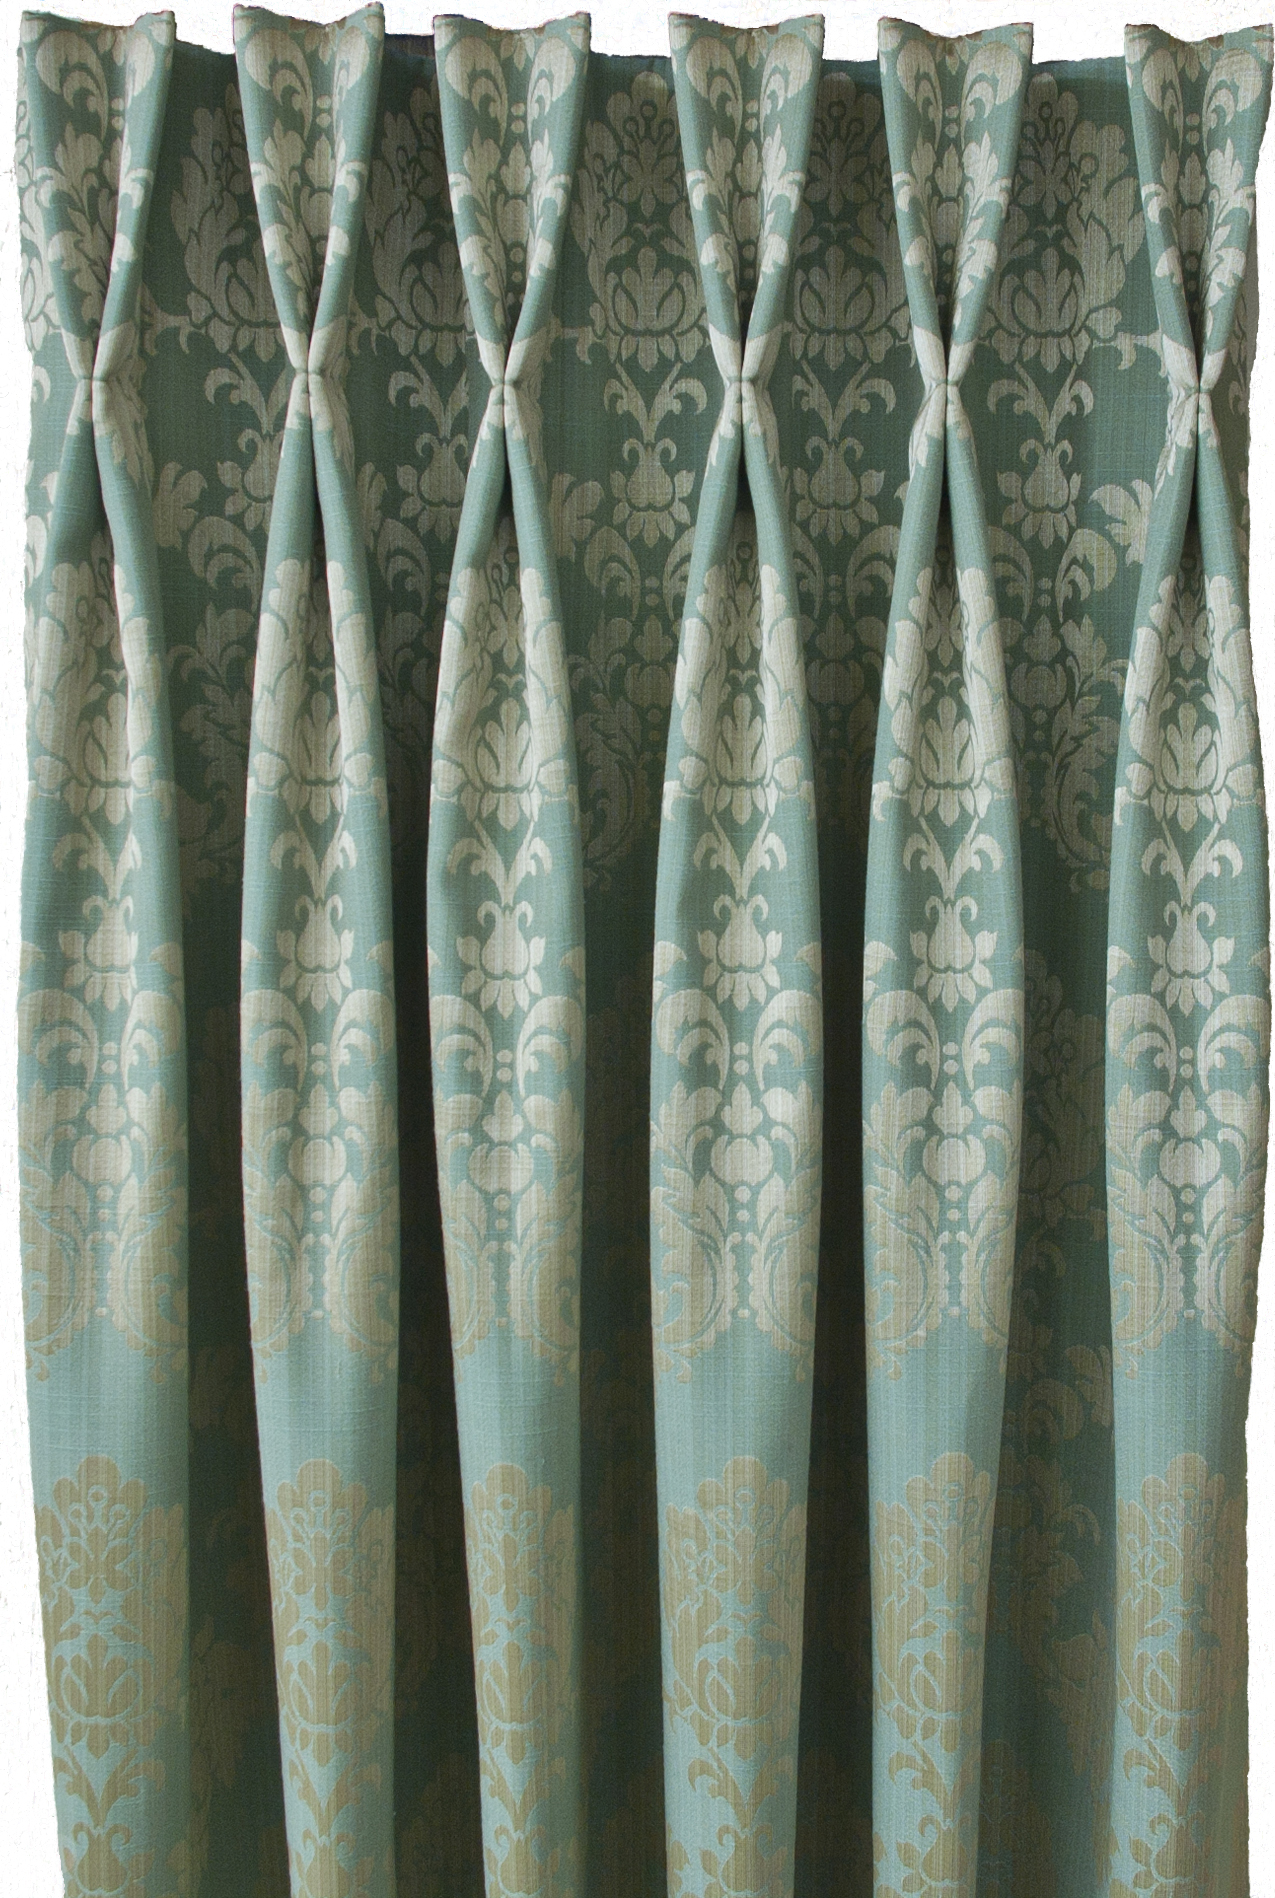
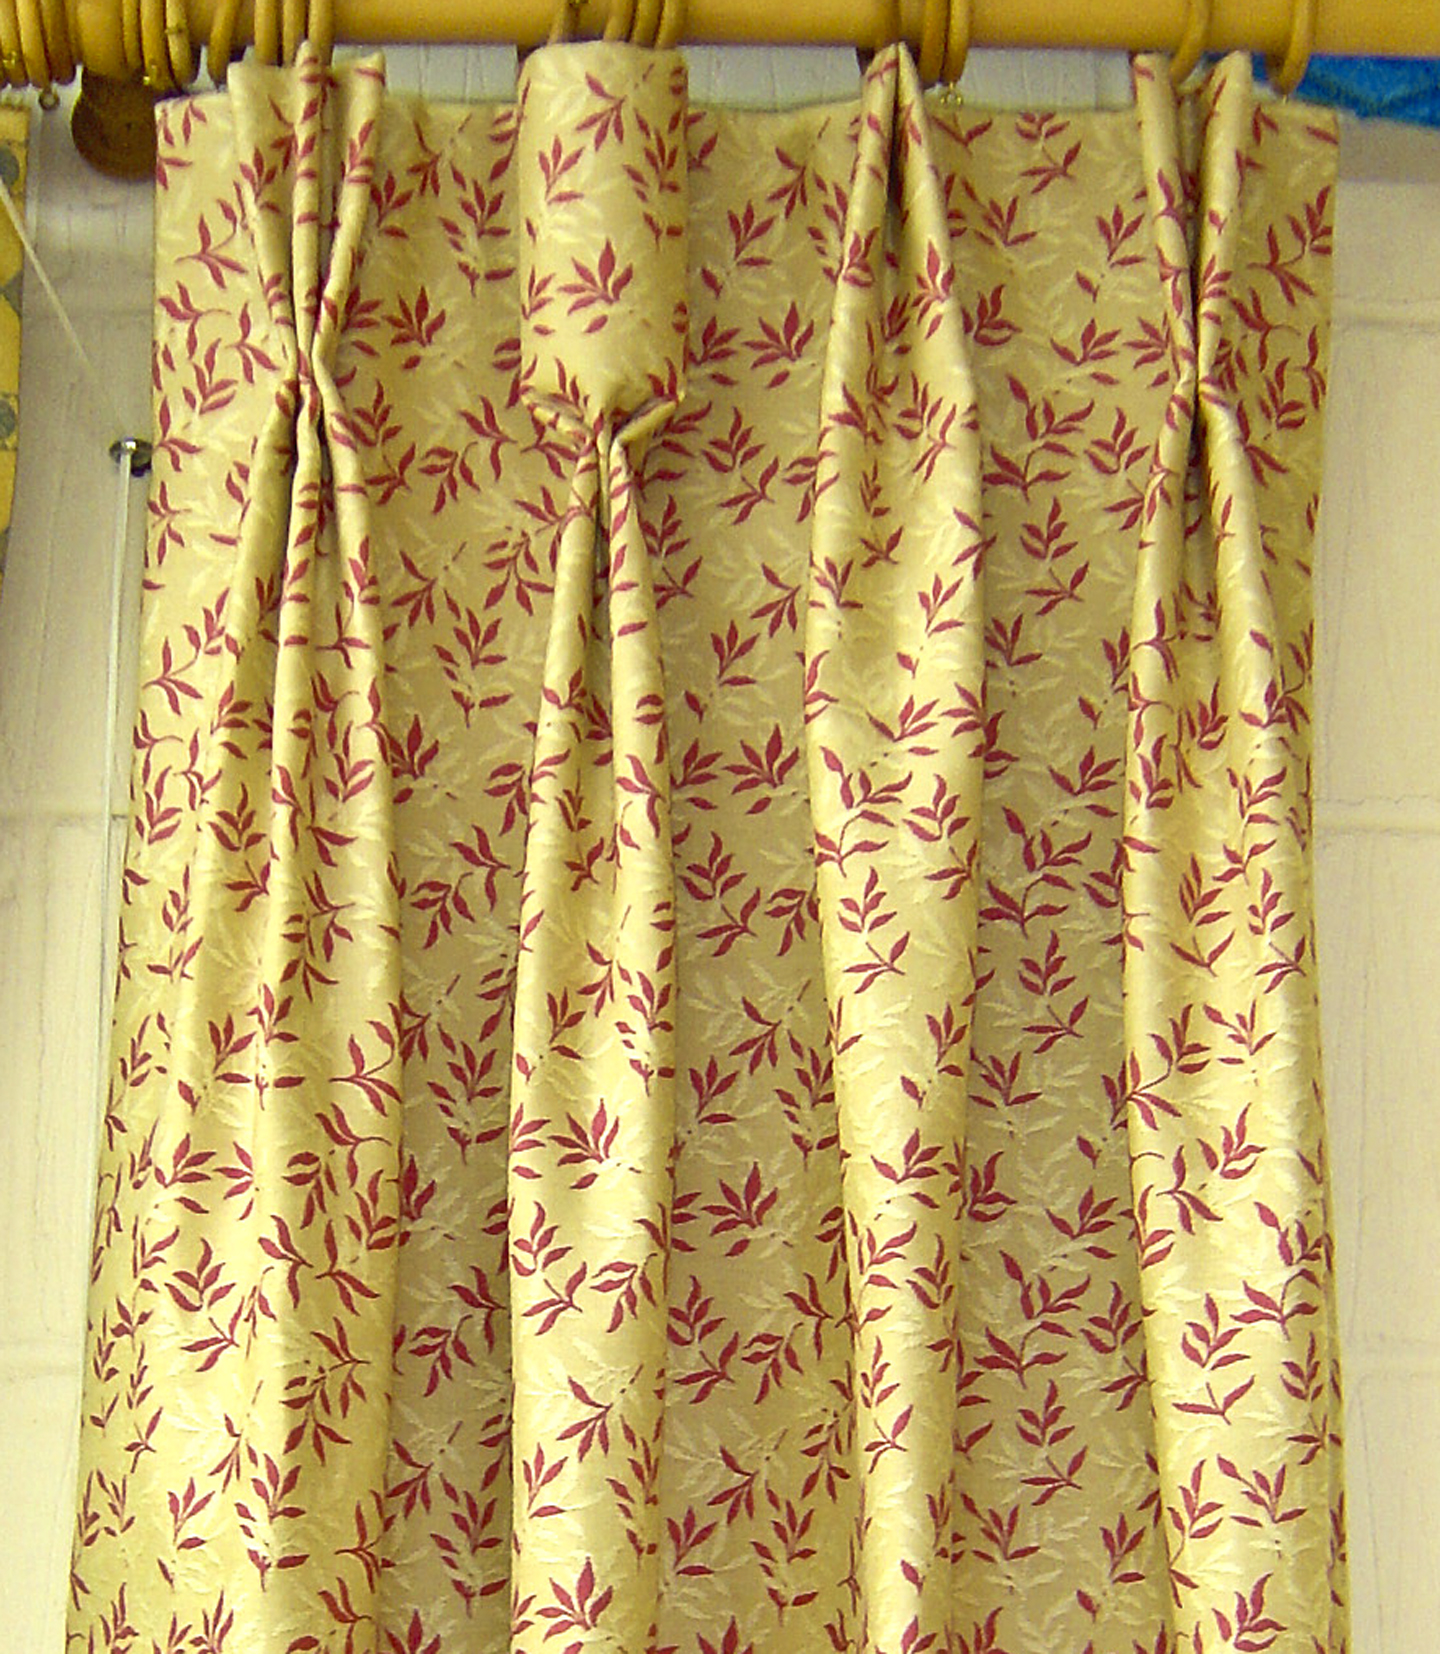
The first two pictures below show what I mean by pleating to the design of the fabric and the four most common pleats which I need to depict in these images. The third is simply a composite of JPEG images to show the simple work that I do to help people. I would like to get much better and really the images need to be in 3D, rotated and scaled/warped to fit into the windows in the pictures I am supplied with from my students.
If anyone can help then I would be very grateful. Thank you ~ Clive
One way to model those is to use curves and produce key profile elements, adjust curve resolution and convert to mesh, and then bridge those profiles to a surface.
I added planes to those spots and used curve draw, which is curve editing feature, to draw the profiles on each plane from the top view. Adjusted afterwards, and also made sure every profile had same amount of handles. Duplicated, adjusted curve resolution, converted to mesh (alt+C).
Used W -> bridge edge loops for the mesh to make the surface, and then enabled smooth shading. Subdivision level 1 gives more definition to the surfaces but that’s not needed yet
Could then use array modifier to put multiple meshes in a sequence, and a curve modifier to deform those along another curve. The mesh needs to be prepared so that each side is straight along X and Y, and that they’re on the same Y plane. It’s so that array can merge the pieces together
The array could be applied for UV unwrapping. UV coordinates are used to map an image on the surface, which in turn can be used in a texture to influence the material properties.
All of this might be difficult to a new user, and it’s just the modeling part. There is a lot more to it when going through needed parts of these
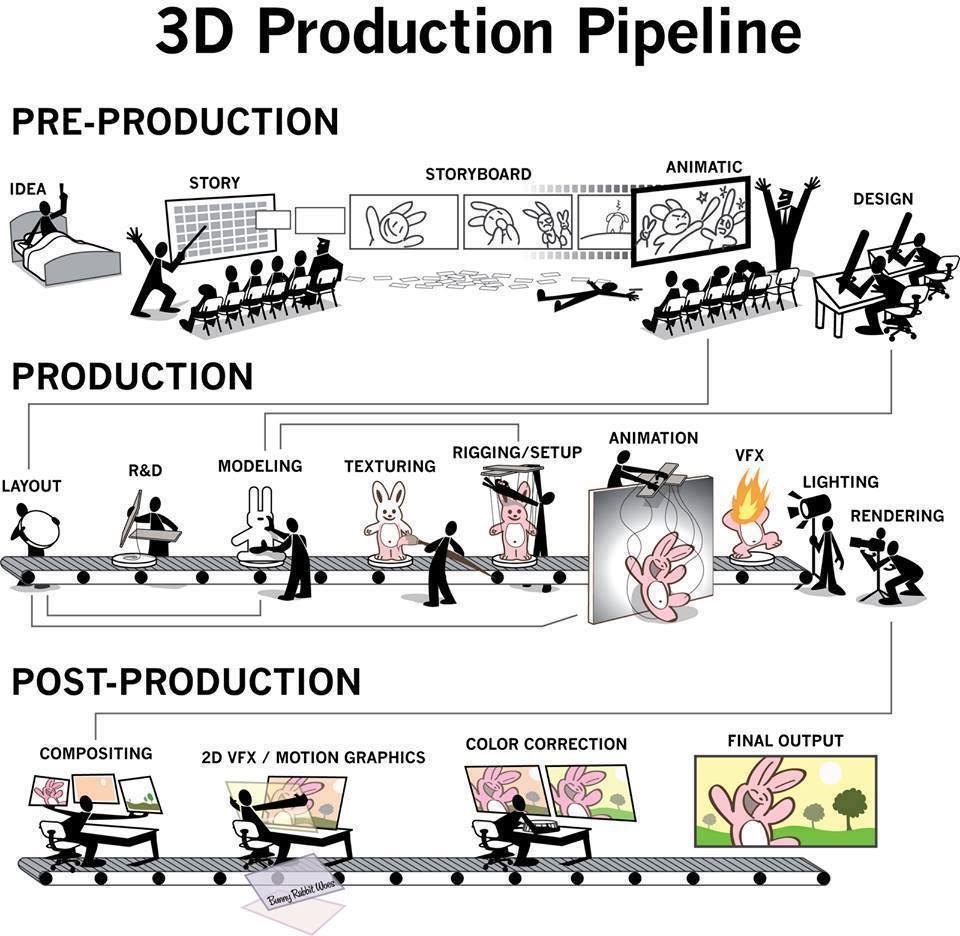
Getting 3D objects to match the perspective in a photo is called camera matching, since the virtual camera orientation and focal length need to match. There is an addon called BLAM that helps sometimes https://github.com/stuffmatic/blam/wiki/User's-guide and Blender camera tracker might also help
Getting different elements in a photo on 3D objects is often done for matte painting. It’s called camera projection, or projection painting
Whew. Lucky for me I was thinking along the same lines as @JA12 with regards to curves. I use a slightly different approach with a curve deform modifier to create a line that follows the curve, then joining lines to form a mesh. This short bit outlines the steps needed just to get the “fabric” through the single pinch point at the top.
I’ve created 2 curves, the top for the top part (“relaxed”) and another for the pinched part (“gathered”). Get used to navigating both the 3D viewer as well as the outliner. Double-click names in the outliner to name them. Make sure the object center of your curve is the far left end. If not,
tab to edit mode, select the far left point
snap the 3D cursor to that point (shift-s -> Cursor to Selected)
tab to object mode and transform the object center to the cursor (Object -> Transform -> Origin to 3D cursor)
Convert the curves to meshes:
add a plane (Shift-a -> Plane)
tab to edit mode and select all (ctrl-a) vertices
merge (alt-m) to a single vertex
extrude (e) along the x-axis (with only the keyboard, e x 4, will extrude a line 4 units long.
open the tool shelf (t), select the entire line (ctrl-a) and subdivide until you have the number of vertices you want (I stopped at 17 for this demo)
tab to object mode, and duplicate the line (shift-d) and move it aside
select one line and add a curve modifier, assign one of the curves as its Object. Apply the modifier, delete the curve (or move it another layer) so it is out of the way.
Do the same with the other line and curve.
The lines are separate objects, join them into a single object by selecting both lines, then use Mesh -> Join (ctrl-j). Align them by selecting one, snapping the cursor to it, then select the other and snap it to the cursor. After the “gathered” line is on top of the other move it on the z-axis (g z 2). Select all vertices (ctrl-a) and bridge the lines together (w -> Bridge Edge Loops)
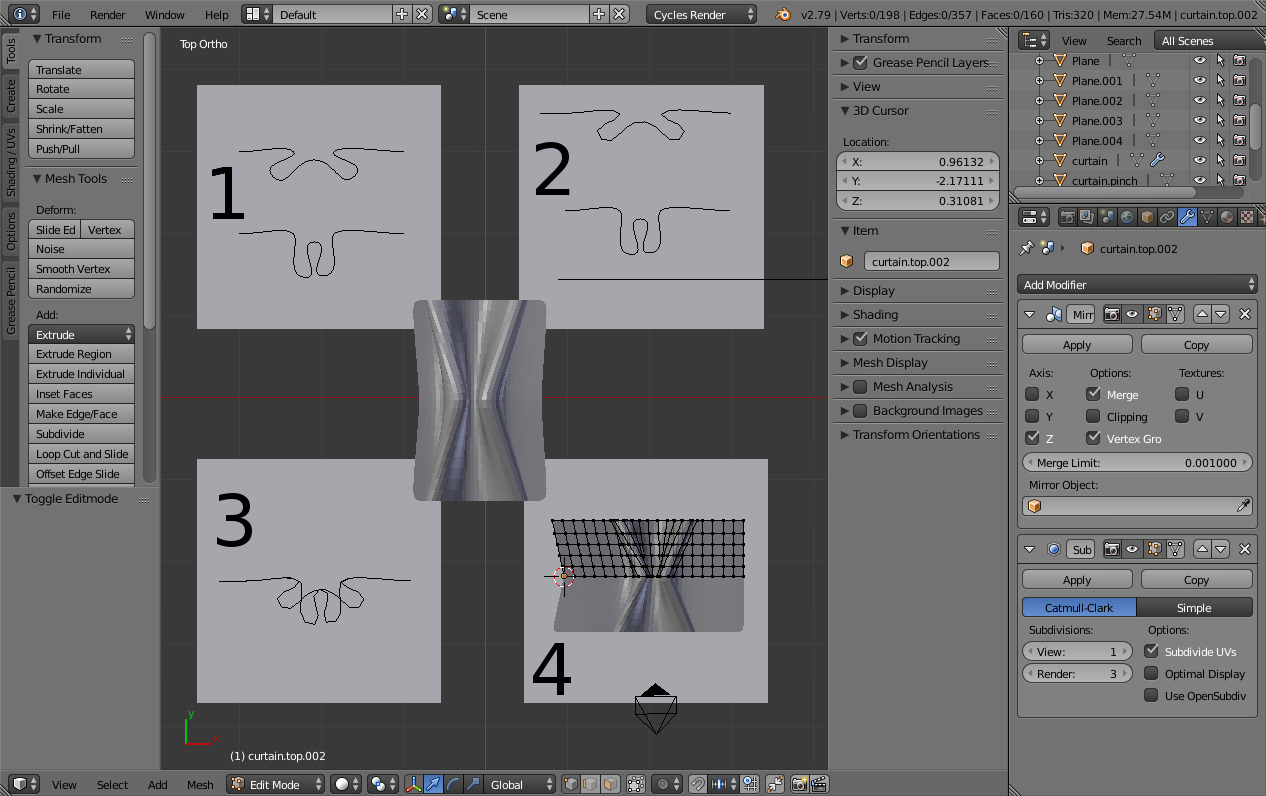
To get to the last image,
add several loop cuts (ctrl-r)
transform the 3d origin to a vertex on the lowest edge of the mesh
add a mirror modifier to flip the mesh vertically.
The image in the center has a subdivide surface modifier applied to it so the center is not so pinched. This sounds like a lot of steps and very complicated but it is typical tool usage for 3d modeling. Transitioning from the 2d editing world to 3d comes with another order of complication in the interface. I have these suggestions as you start:
learn what gets done in object mode and edit mode
understand scaling
learn how to navigate in the 3d-viewer as well as the outliner
learn how to use modifiers, particularly array, curve, lattice, solidify, subsurf
And, yeah, you still have texturing, lighting, and compositing to go.


