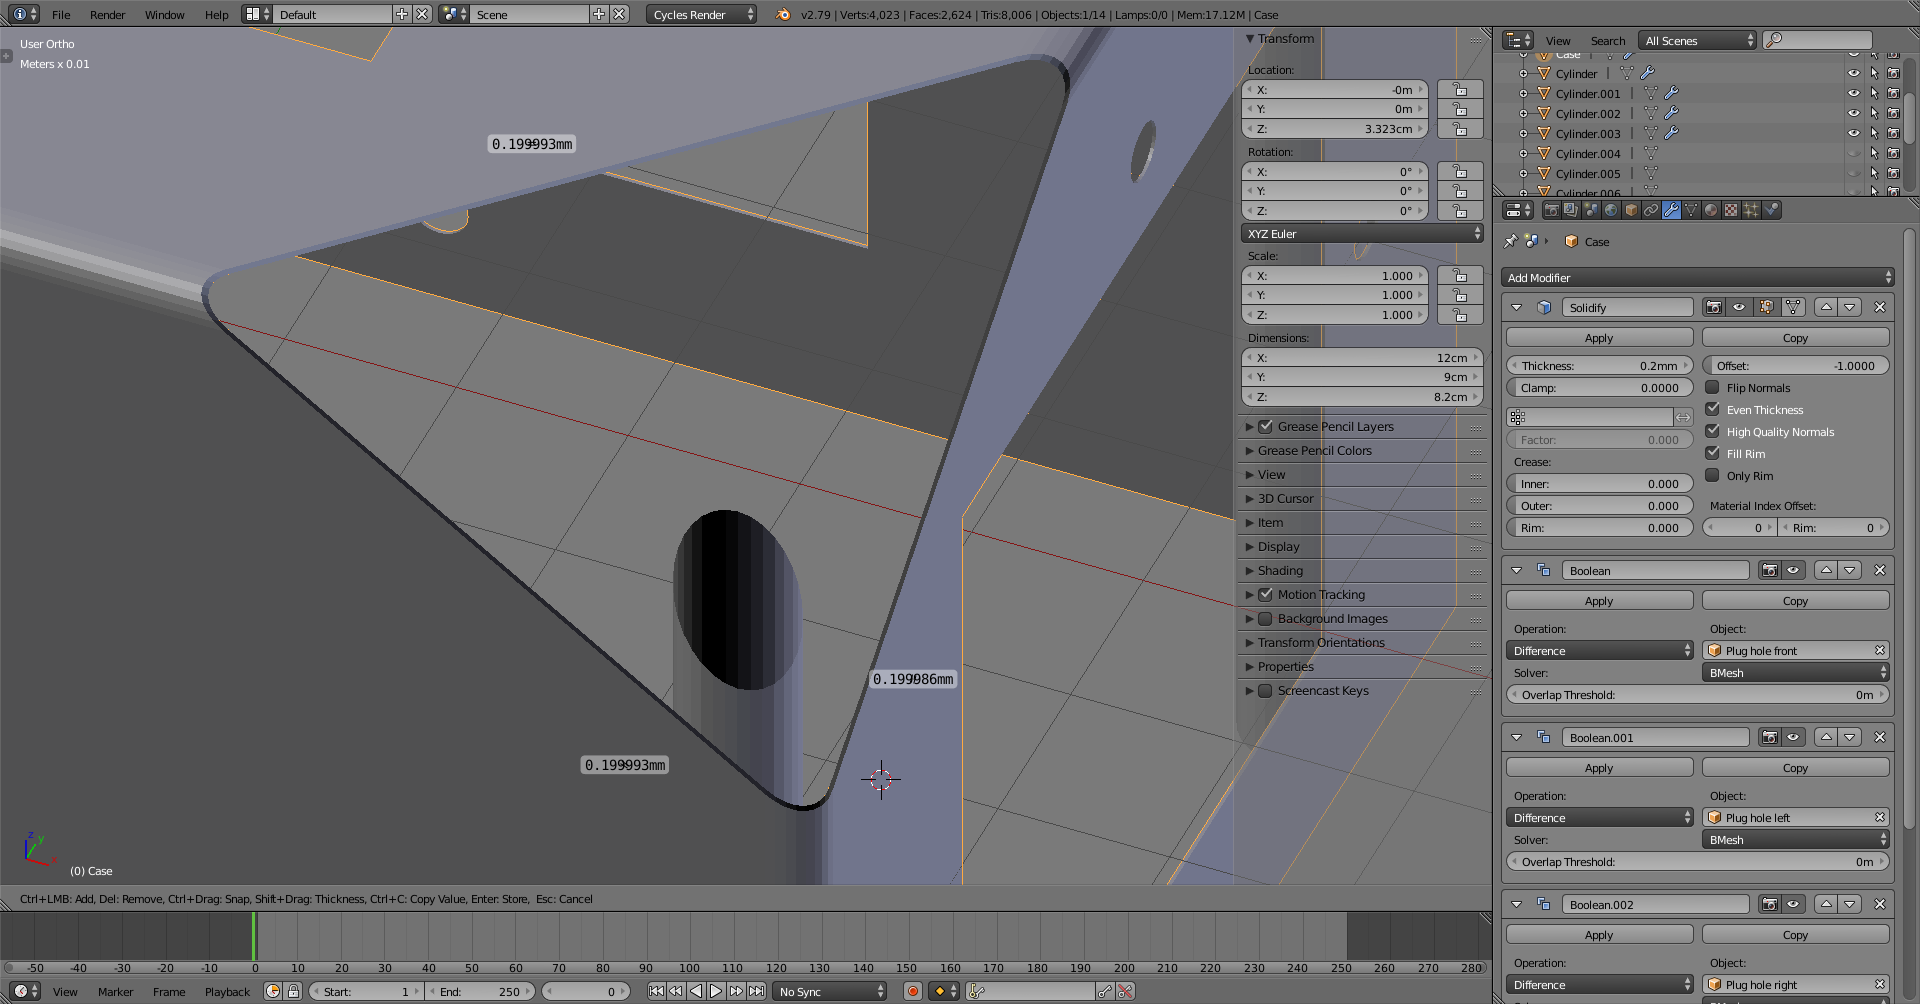
I’m trying to model something for 3D printing for a change. It’s a box for smarthome switches. Everything worked out fine so far until I exported the first ready draft to STL and checked it in the slicer. I made the walls of the box way too thin. The way I created the walls was with the solidify modifier - which I for some reason applied - so no changing params any more… Is there an easy way to increase the wall thickness or is it deleting all inner faces and solidifying again?
Yes, could select and shrink/fatten with even option on. But you probably have to do the solidify again because the object scale is unapplied, and you’ve made the walls with uneven thickness before
After applying scale, could select one of the bottom faces and either select linked flat faces, or co-planar, and then delete them. Then the inside surface is selectable with linked selection. If one is just adjusting the inside surface, could hide the bottom faces and then select linked to move them in/out with shrink/fatten
Wow, so much work to explain… Thank you very much!
Few questions:
How do you get Blender to display the scale (top left under “User Ortho”)?
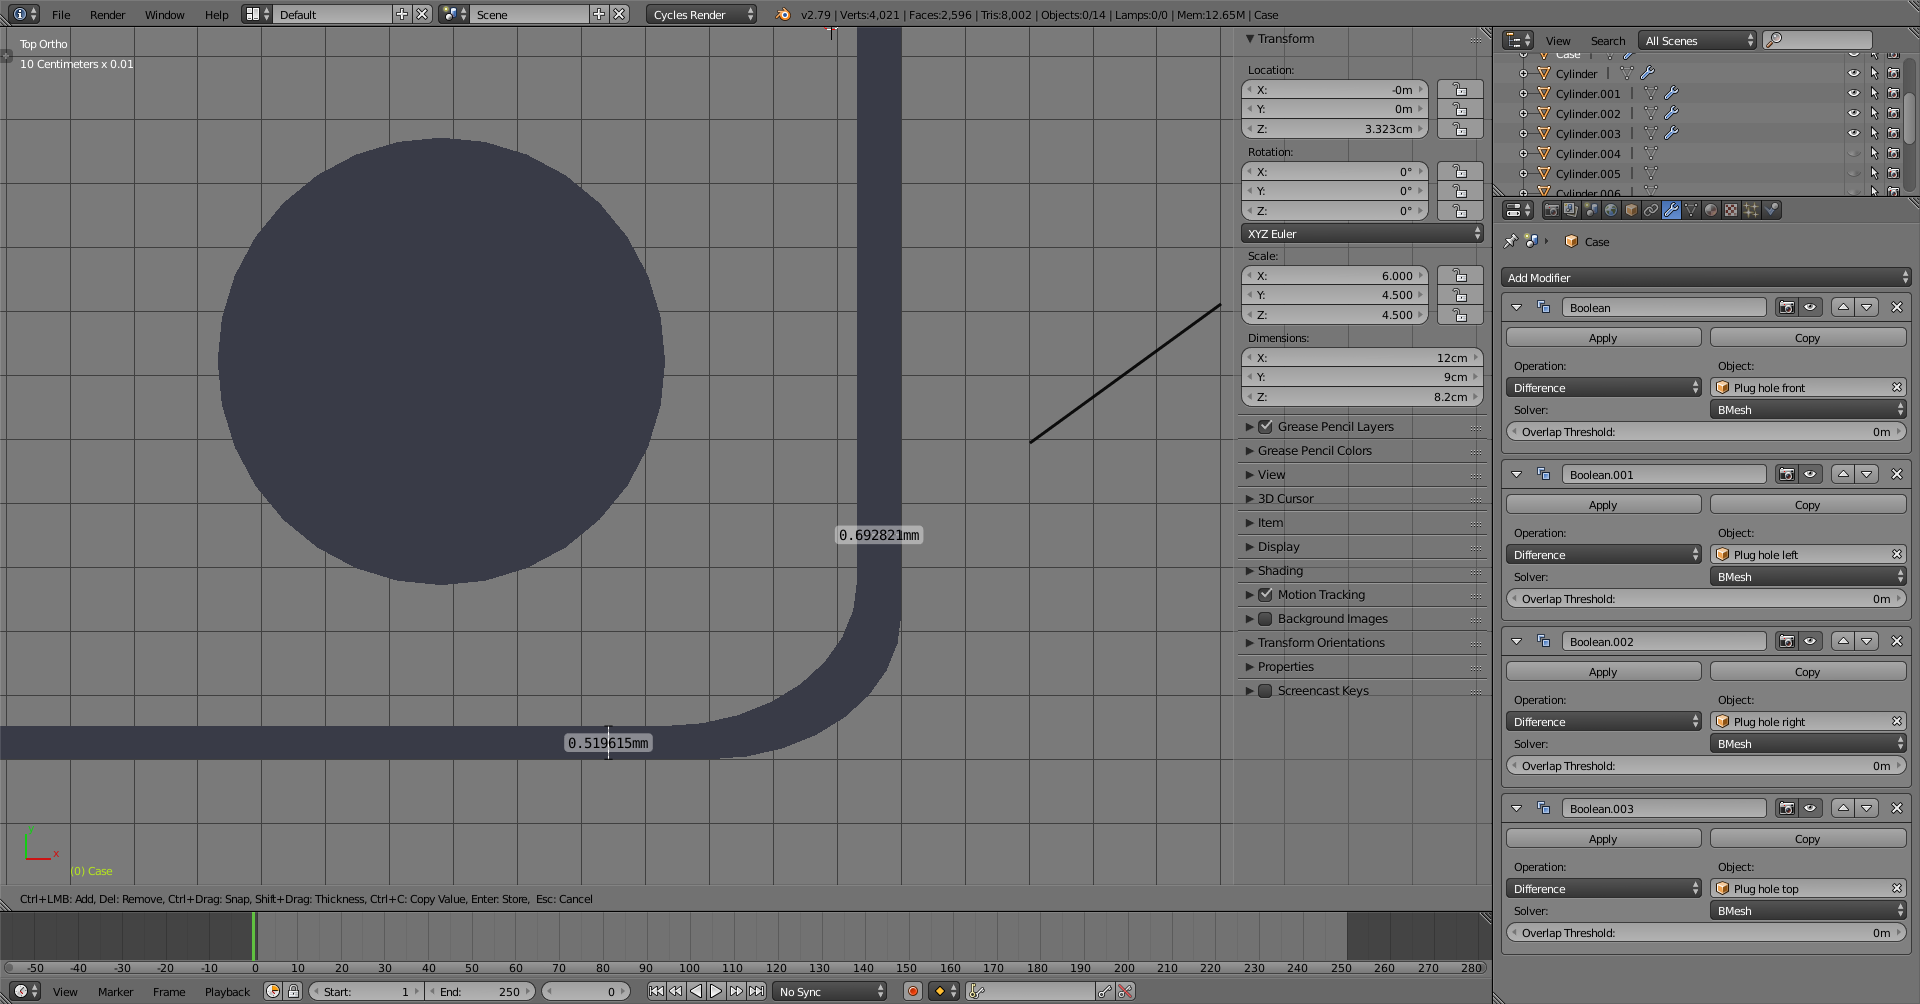
How did you get the measurement of the wall thickness?
And at the end of the video, how did you do the boolean modifiers all at once and then display the modifying objects as frame only?
It displays it when the grid is scaled from the 3d view properties, which it were when I opened the file.
Used ruler/protractor tool which is on the tool shelf along with grease pencil tools. It measures thickness when dragging the handle and holding down shift
I used Bool Tool addon, which helps to manage boolean operations. The modifier order needed to be solidify on top and booleans after, and didn’t want to keep chasing the up arrow for the solidify to place it correctly. So instead I removed the boolean modifiers and after adding solidify I selected the boolean objects, the target was already active, and hit ctrl+numpad_- which puts boolean difference for all of them. By default the addon also switches maximum draw type to bounding box for the boolean objects, which can be set or changed from object properties -> display.
It actually displays on my screen too… I was just too blind :D. Damned 4K screen :D. The bool tool looks very helpful for modelling cases and other printing stuff! Didn’t know that yet! Normally I use Blender for titles and VFX. Thanks again!
I had to do some more changes to the box also in size. Looks good in Cura and is printing now. I’ll post photos when it’s successfully printed :).