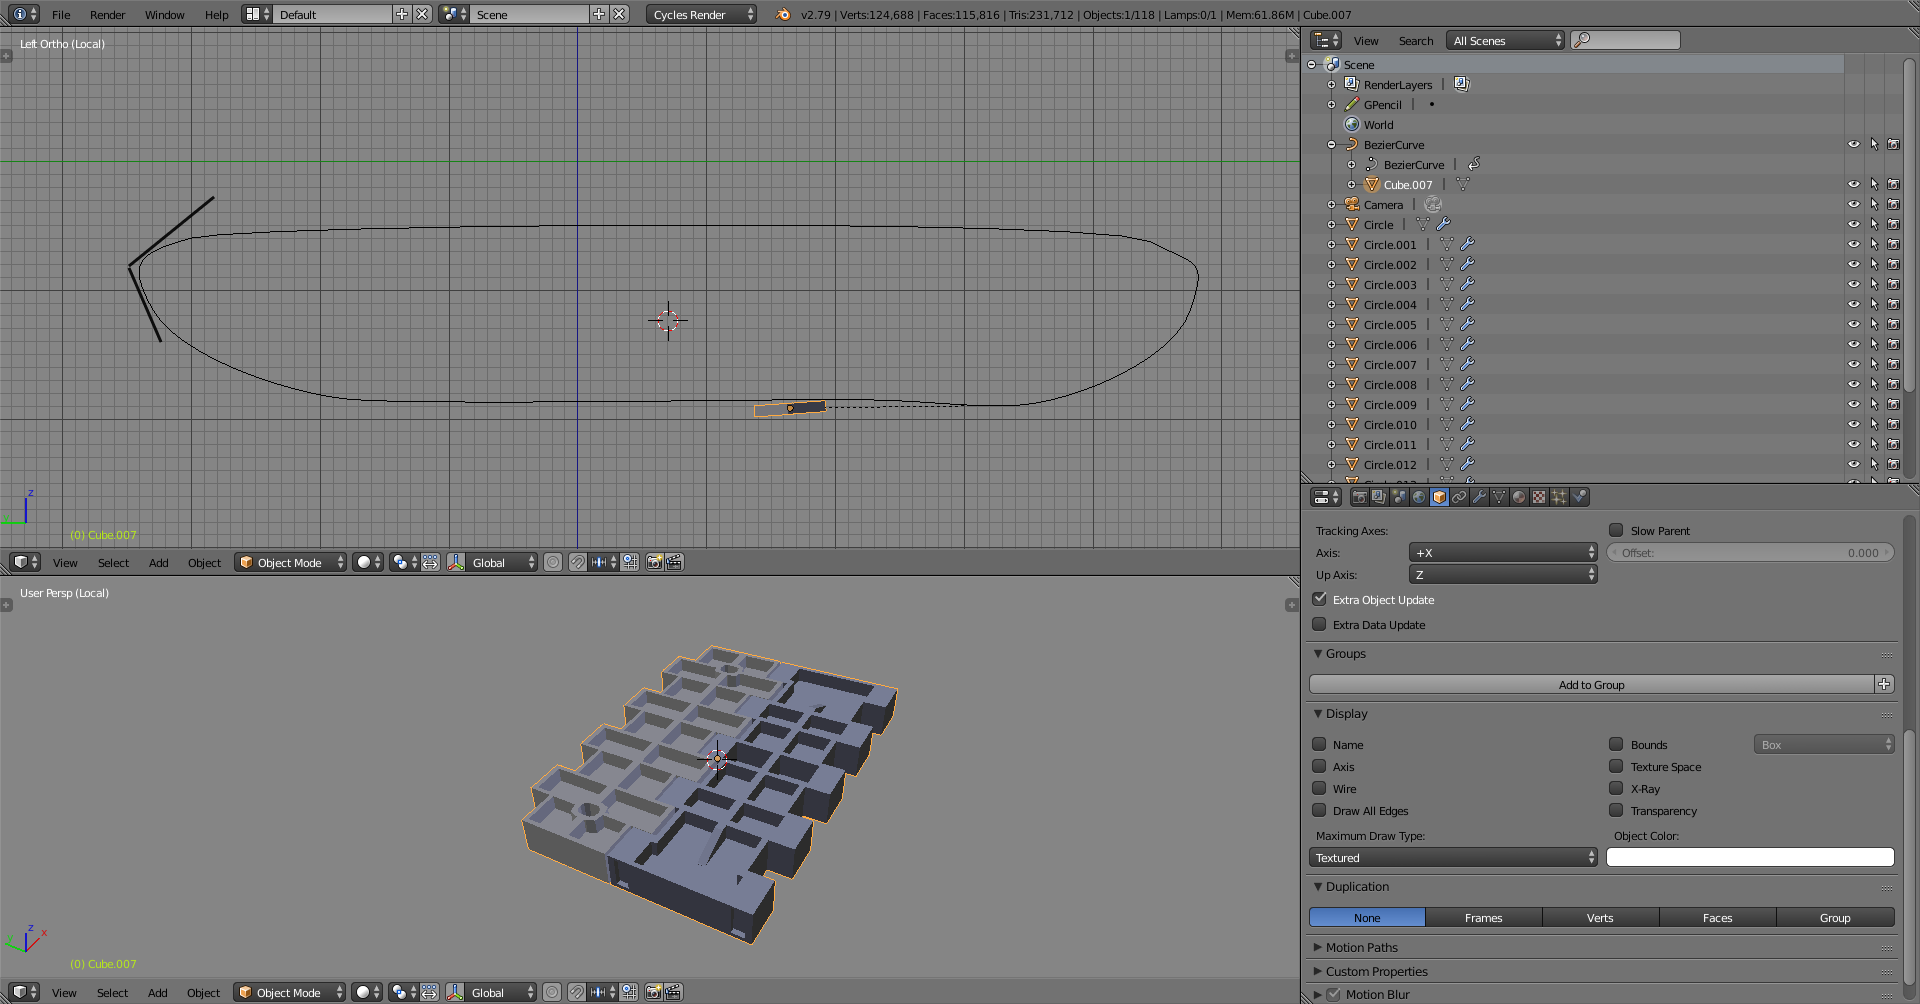
That was using an array modifier and a curve modifier following a BezierCircle that I have bended to resemble a track.
Well, as you can see, it is not right: The individual parts of the track are now bending, but the bending should be happening only between the parts as they are rigid.
What is the best way to do this?
Also, an important remark; Even though I tried to model the track part as simply as I could, I still have an enormous amount of vertecies; Even with subserf level of only 1 already 500.000 and I don’t have anything done but the track! I am very new to modelling, but that is much much too many verticies, right? What should I do?
Fortunately I am not doing animation, just a static.
Seems though that the track blocks are still distorting with the videos method too, mine was kind of similar. I guess that manual placement of the track blocks is one option, but a lot of work.
I have to experiment with the edge split, I haven’t been using it before…
Both are really good answers and probably solves the thing, but unfortunately I can’t reproduce them.
I watched the dupliframes video, and true, the track bits don’t deform, but otherwise they are seriously deformed in my model; I am sure that it is some thingy with the rotation or scale or orientation or some other blender voodoo witchcraft, but I can’t get it to workby applying scales and rotations etc…
Also thank you GrimZA for the example file: Your track bits don’t seem to bend along the curve. But unfortunately, when I try to reproduce it within my model, it starts immediately and immensily to bend. In fact, my original solution seems to be quite similar to the array/curve system You have setup in the file.
The only difference I can spot, is that your base curve is a plane, and I can only get it to work with bezier curves. I tried it with a mesh circle, but it produces an error message.
I think I don’t yet have privileges to post my .blend here, I am sure my problem is something very trivial and You guys could sort it out in two secs.
But I think I can manually duplicate the track bits and then just place them one by one to their right locations. There are not so many of them and I am doing a static.
Everyone can post a .blend. For users with <10 posts those go in moderation first. Tutorial linked in my signature shows how to prepare the file for upload and how to upload. I suggest you upload one every time your questions involve one, even if it takes a bit of work to prepare. A .blend is more valuable communication tool for troubleshooting than what you know to show and write.
First one is the object itself which has both parts. The object is too wide for the size of the curve that makes a tight turn. There’s no deformation with duplication so those have to be separated and both objects distributed along the curve. Frame duplication is set on the child object, enabling it on the parent (the curve) it won’t render at all.
One part is set to start from 1 and the second from 2, placing one of the two sequentally. Even number of frames is divisible by 2, so they should line up
You didn’t read the instructions. Compress wasn’t enabled in your uploaded file.
Might be easier to follow the frame duplication process from the beginning, maybe use a new scene to experiment with it with simple objects. The manual has a description of the workflow iirc. It’s not that difficult, but a bit special case because unlike other procedural duplication methods, frame duplication is set for the child and the parent curve path animation values need to be adjusted.
The thread links you had modeled are interlocking but only with the two parts. Those don’t deform as one object, so had to separate the two. Assigning a number to each, 1 and 2. Neither interlock to themselves, instead have to put them in 12121212121212 chain, and if you have an even number of them, the chain ends meet at different numbers 2 and 1 which completes the track.
I noticed I first put a wrong frame number for the curve in the video, but only after recording the screen.
hi there, i have created this using the hair particle system. you need to activate the loop tools in the user preferences to get the same distance between each emitting vertex.
workflow:
first of all create the wheels where the track is running on.
add a circle, lay it around the wheels .
in editmode select all vertices and press w and use loop tools space. this will calculate the same distance for all vertices.
now extrude the circle to get some sort of band that emmits the track objects.
loop cut and slide it along the long side. you will get a loop in the middle. assign this loop to a vertexgroup. this will be your emmiting vertexgroup.
build a cube or use your trackplates as the object that will be emited by the particlesystem.
add a hairparticlesystem to the circle.
reduce the ammount of particles to the amount of plates you want to emit more might look strange, less will produce a gap.
emit from verts, not faces or volume. turn of random. in particles renderpanel activate rotation
now rotate your trackplate to give it the right direction. change in 90 degree steps. tada. you got your tracks.