My school has 3D printers and I wanted to design something so that I try them out! I’m a big chess player so i wanted to make a chess set. Specifically, I would like to make a chess set that incorporates music legends into each piece.
King: Michael Jackson, Queen: Freddy Mercury, Dark Bishop: Jimi Hendrix, Light Bishop: Jimmy Page, etc.
This will require some artistic expertise, which I do not have. Obviously, for someone with no experience, this project will take quite a while. I may start with traditional chess pieces and then move on to human-like models next.
I just wanted to know, how do you guys make models that have all the correct proportions and features? So many people’s projects are picture perfect and I don’t even know how that’s possible. Like … I’m only going to have pictures to go off of, so is it just trial and error? Or is there some secret? I can’t imagine that 3d designing something as complex as a human from a bunch of geometric shapes is easy.
For the moment I’m doing the “Blender Basics” tutorial, and plan on doing the “Learn to Sculpt” tutorial next. This forum looks really useful!
Thanks,
Neil
P.S. if this belongs in a different subforum, please let me know so I can move it… I thought Modeling might be best?
There is a feature in Blender, where you can set a background image where the model is. Then it is easy to trace edges and the shape of the object.
You would want to find blueprints and flattened designs of it. Here is a quick link to google: https://www.google.com.au/search?q=chess+pieces+blueprints
Save the images to your computer, then go to Blender.
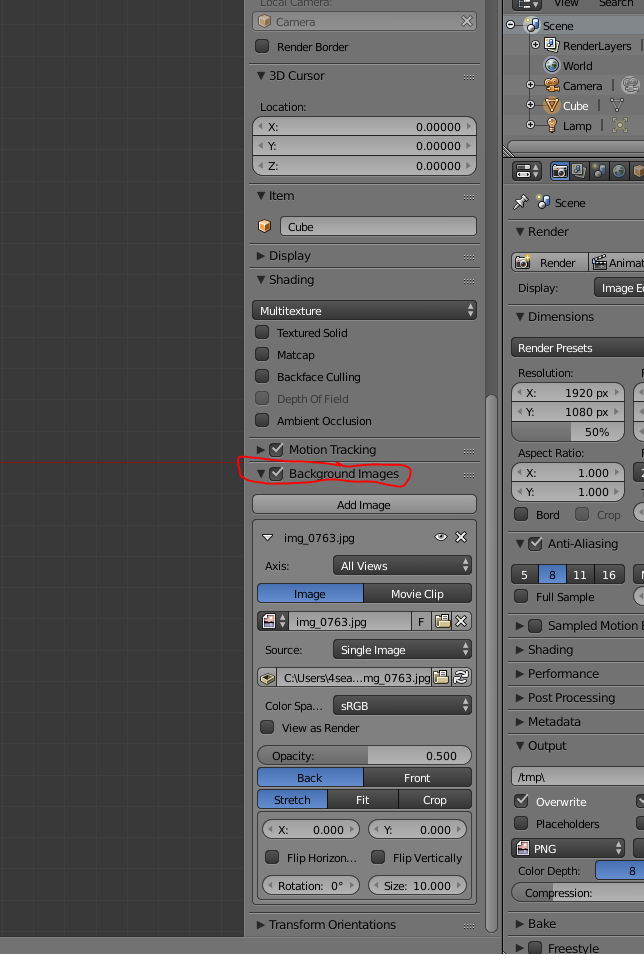
Open the properties panel with N, and go down to the Background images section. Turn it on, press add image, then open the image of the blueprint.
Press the 5 on the numpad to go into orthogonal view, then navigate with 1,7,3 and 9 to see the image.
You will be able to see the blueprint, and easily model the pieces to it.
In addition to the background image advice (you can just drag-and-drop images into the view BTW) here are a few more tips:
If you are modeling a person, I advise to always start with the base armature. That way the gross proportions are nailed down. Then the auto-skinner is a good next step. Or use MakeHuman or some other stock human geometry. You don’t have to make everything from scratch, so the closer you can start to the finished product, the better.
For your project specifically, I’d expect the accessories and pose to be more important than the face and body. You could probably use the same low-poly human figure for all of them, and just pose and outfit them differently.
Don’t mix CAD applications with Blender. The modeling paradigms used in those are fundamentally different, and they’re for a different purpose.
All in all polygonal modeling is about interpreting forms and proportions, structures for those forms, and workflows to build them. Any reference data helps to have correct proportions. With humans it’s a lot about anatomy, proportion guidelines, and finding features that contribute to likeness (usually from photos).
If you only need the geometry to print, 3D printing doesn’t care about pretty mesh structures as long they’re manifold, which means that you could also sculpt it. Could use dynamic topology sculpting in Blender to do it. Sculpting is more of a freeform tool and you can concentrate on forms and proportions. Would help to avoid adding detail at first and work from big -> medium -> small size forms, which also helps to keep the proportions in check. Of course, starting from a human basemesh could help save time.