Newbie here on the forum… I hope to get some insight on a little model I am fidgeting with.
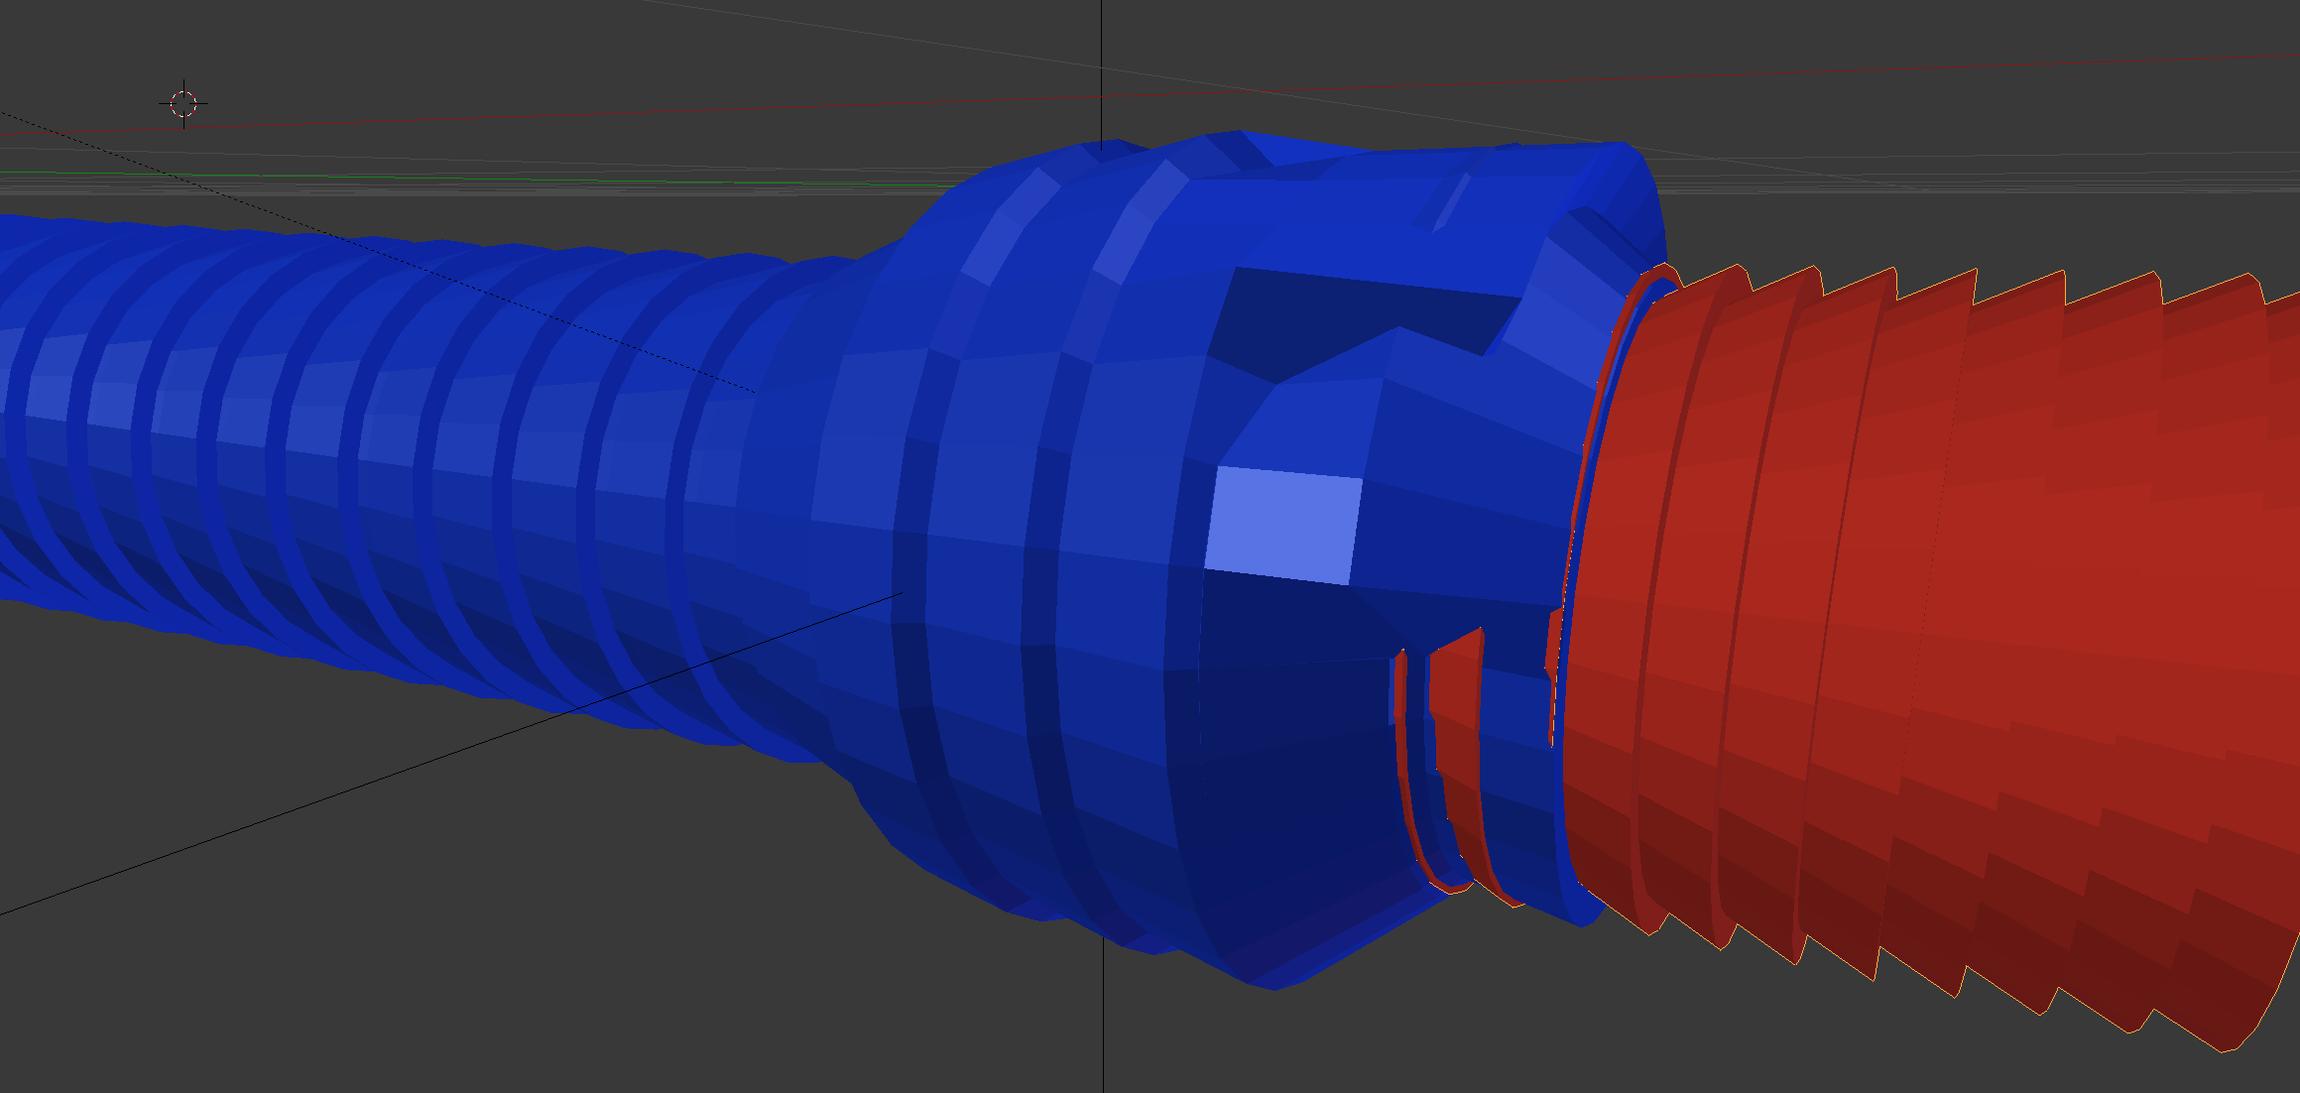
I have a (cylinder) blue tube and have a (cone)red rocket that I want to fly through bulging it
I would like it to look like skin-on-skin.
I have used shrinkrwap and it looks nasty and not at all smooth.
I am fairly new to blender and I want to attempt to make a video in the future using something similar and want to well get fairly good with modeling the objects which well rub against each other…
The cylinders are repeated on a bezier line, and cone is also connected to said same bezier line to align them together best I could.
maybe because the cones are repeated may infact be causing the cylinder mesh to go nuts!!
If you use X axis on the cone object go make it drive through the blue tunnel its so NOT smooth haha…
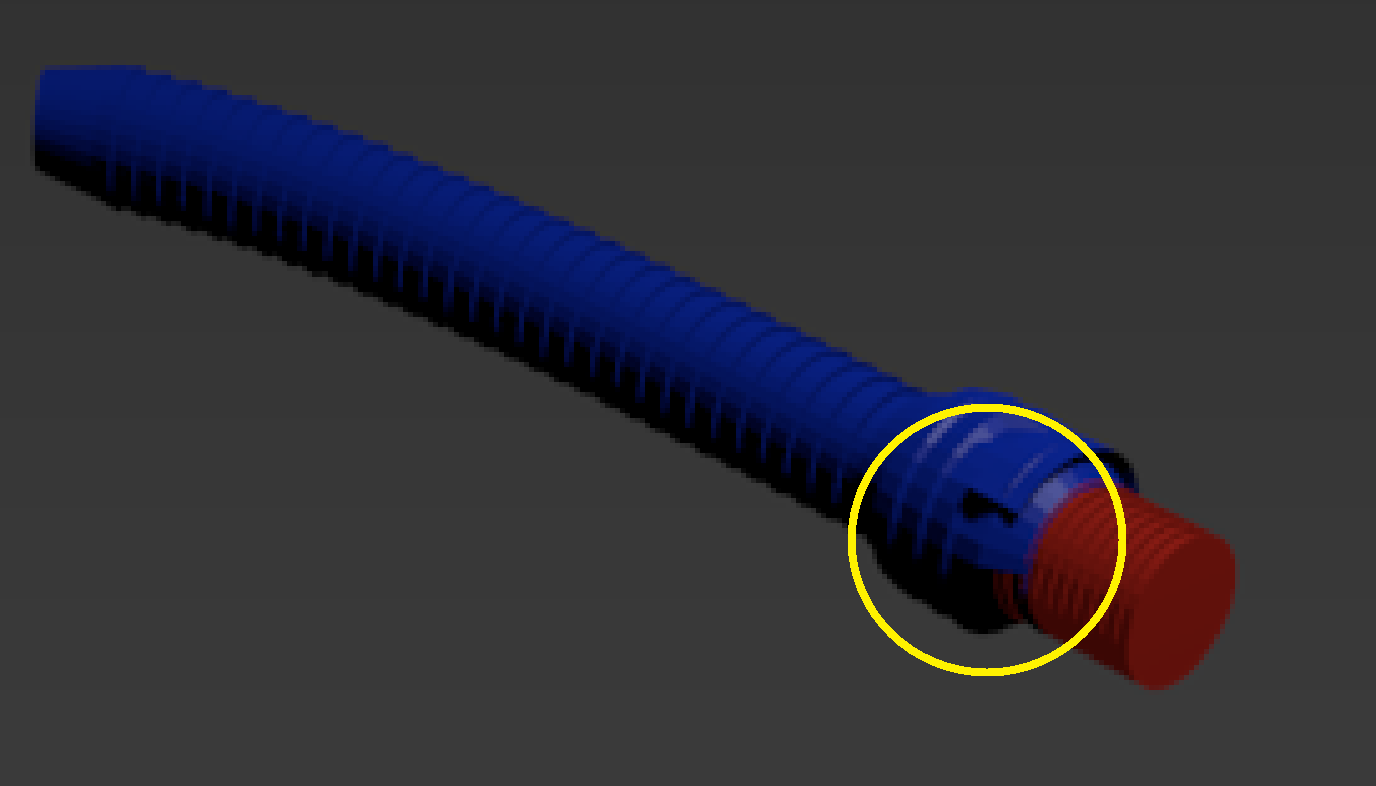
This setup contains a simplified pipe that is used for offsetting more complex one, and a plug
the pipe is the canvas for dynamic paint, and vertex weights get painted with the brush
the plug is the brush for dynamic paint
the pipe surface is displaced with displace modifier, based on those weights
More complex pipe gets deformed based on the other one, and then it has given thickness and more geometry for smoother result. Could refine the offset pipe instead of making a new one, but did it this way to have the separation, and less modifiers on each
Thank you kindly for the reply with the tube and plug.
Your demo shows much better option to my demo.
I have been experimenting with ideas and how you made the tube 1 piece etc…
… Anyway
I have a question with the offset mesh you made
The mesh is used to help grow out the tube when the plug passes through.?
Can you explain more about that and how to make a offset mesh as you did in the demo.
And
If the tube was to stay the same size… But if I had two plugs going through the tunnel 2nd of the plugs say 20% bigger…
How do I best make it now show outside the tube? I want the tube to bludge more…
Would I want to be modelling with idea that need to make the objects handle one another…
Or can it be done so the tube will bulge anything even a 2x bulge?
Anyways to solve the 20% bulge
Currently playing I added a second displace modifier to the tube which has bulged the tube some to allow the larger plug.
Can you recommend another way?
Making the tube is rather basic modeling. Cuts, scaling along two axes. The plug I made by adding cuts, selecting all edge loops around, rip connected (alt+V) and scaling along Y and Z.
Yes, the displacement is for one specific plug. Might be able to combine the weights and displacement for multiple plugs by playing around with the weights that get painted. Influence scale for the canvas was one such setting.
Used displacement modifier instead of displacement in dynamic paint itself. That didn’t give a nice result.