So I’m in the process of retopologizing a model. But I’m kinda stuck with my topology. I will eventually be 3d printing this model, but I need to do some work to it detail wise, and the models original topology (triangles) doesn’t allow for this, so I’m remodelling it, to give me better control of the model to add the details I need.
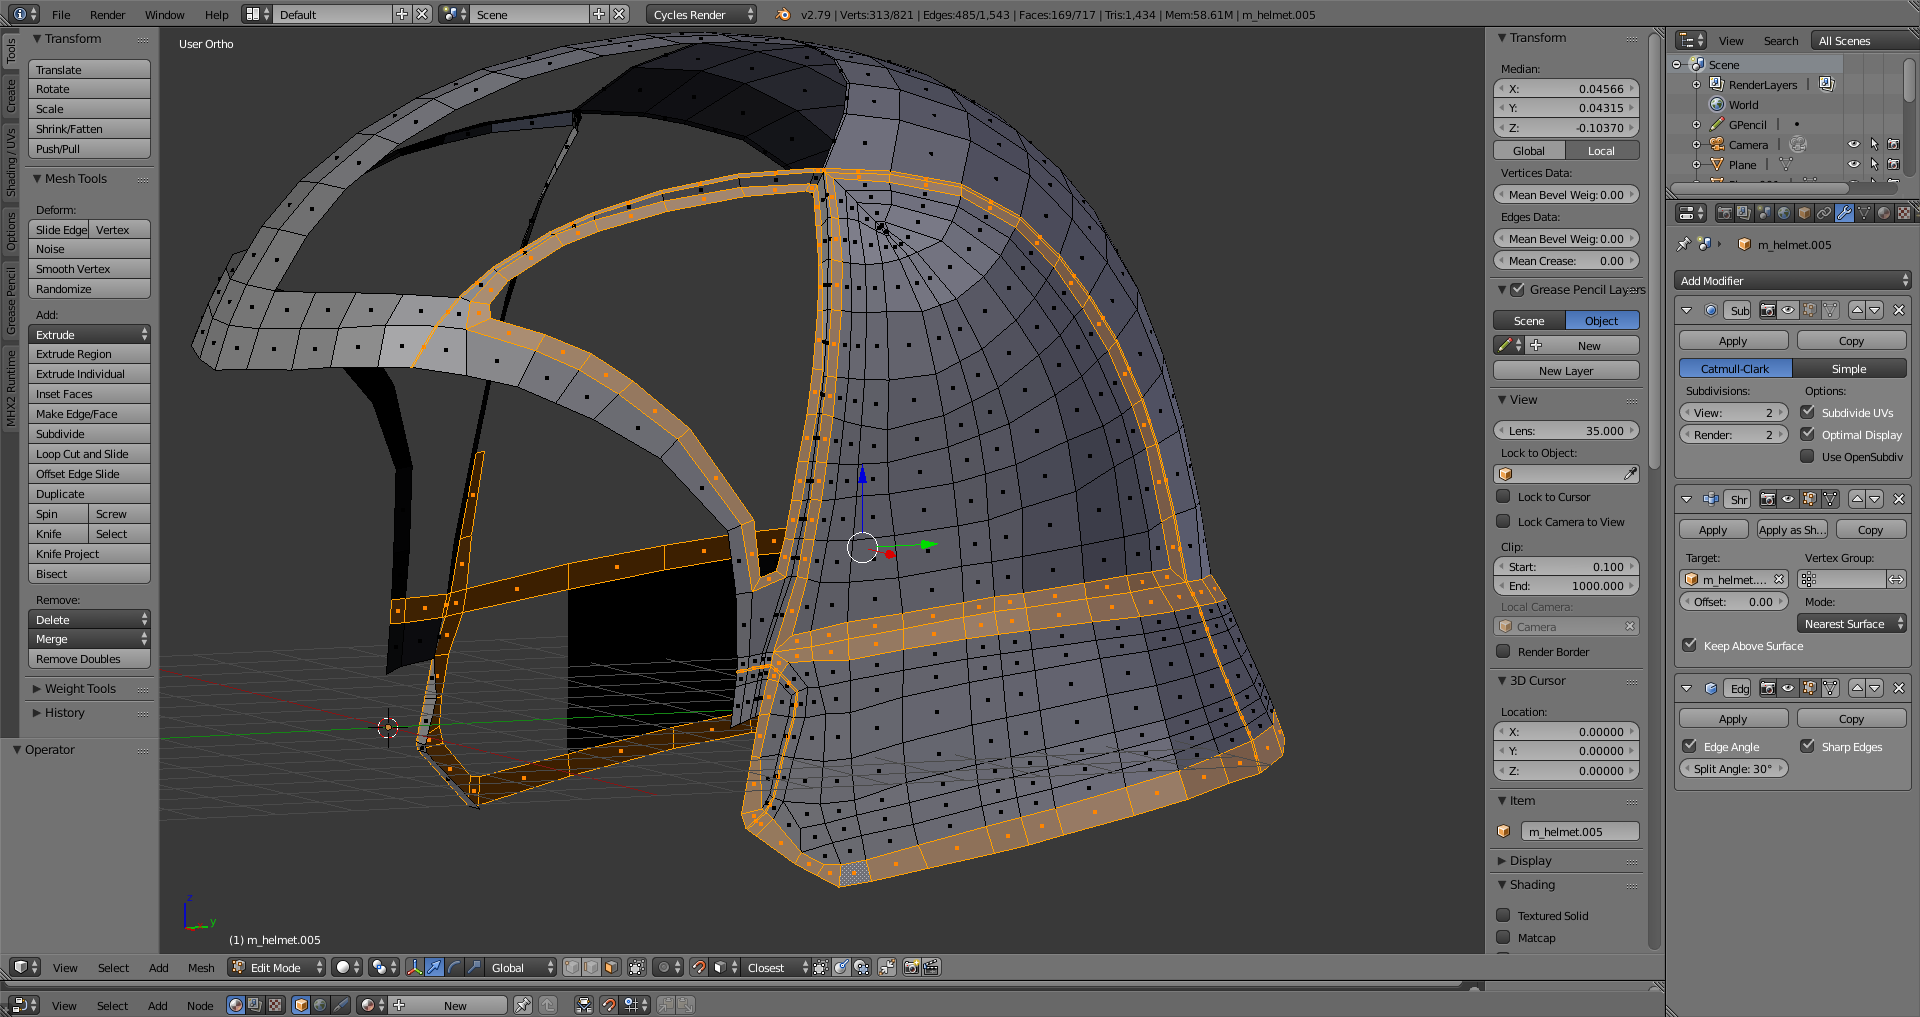
But as I say, I’m a little stuck with what to do to keep the model clean. I started by adding some loops around details I needed, and now am in the process of filling those parts of the mesh in. (see pic below - Highlighted loops)
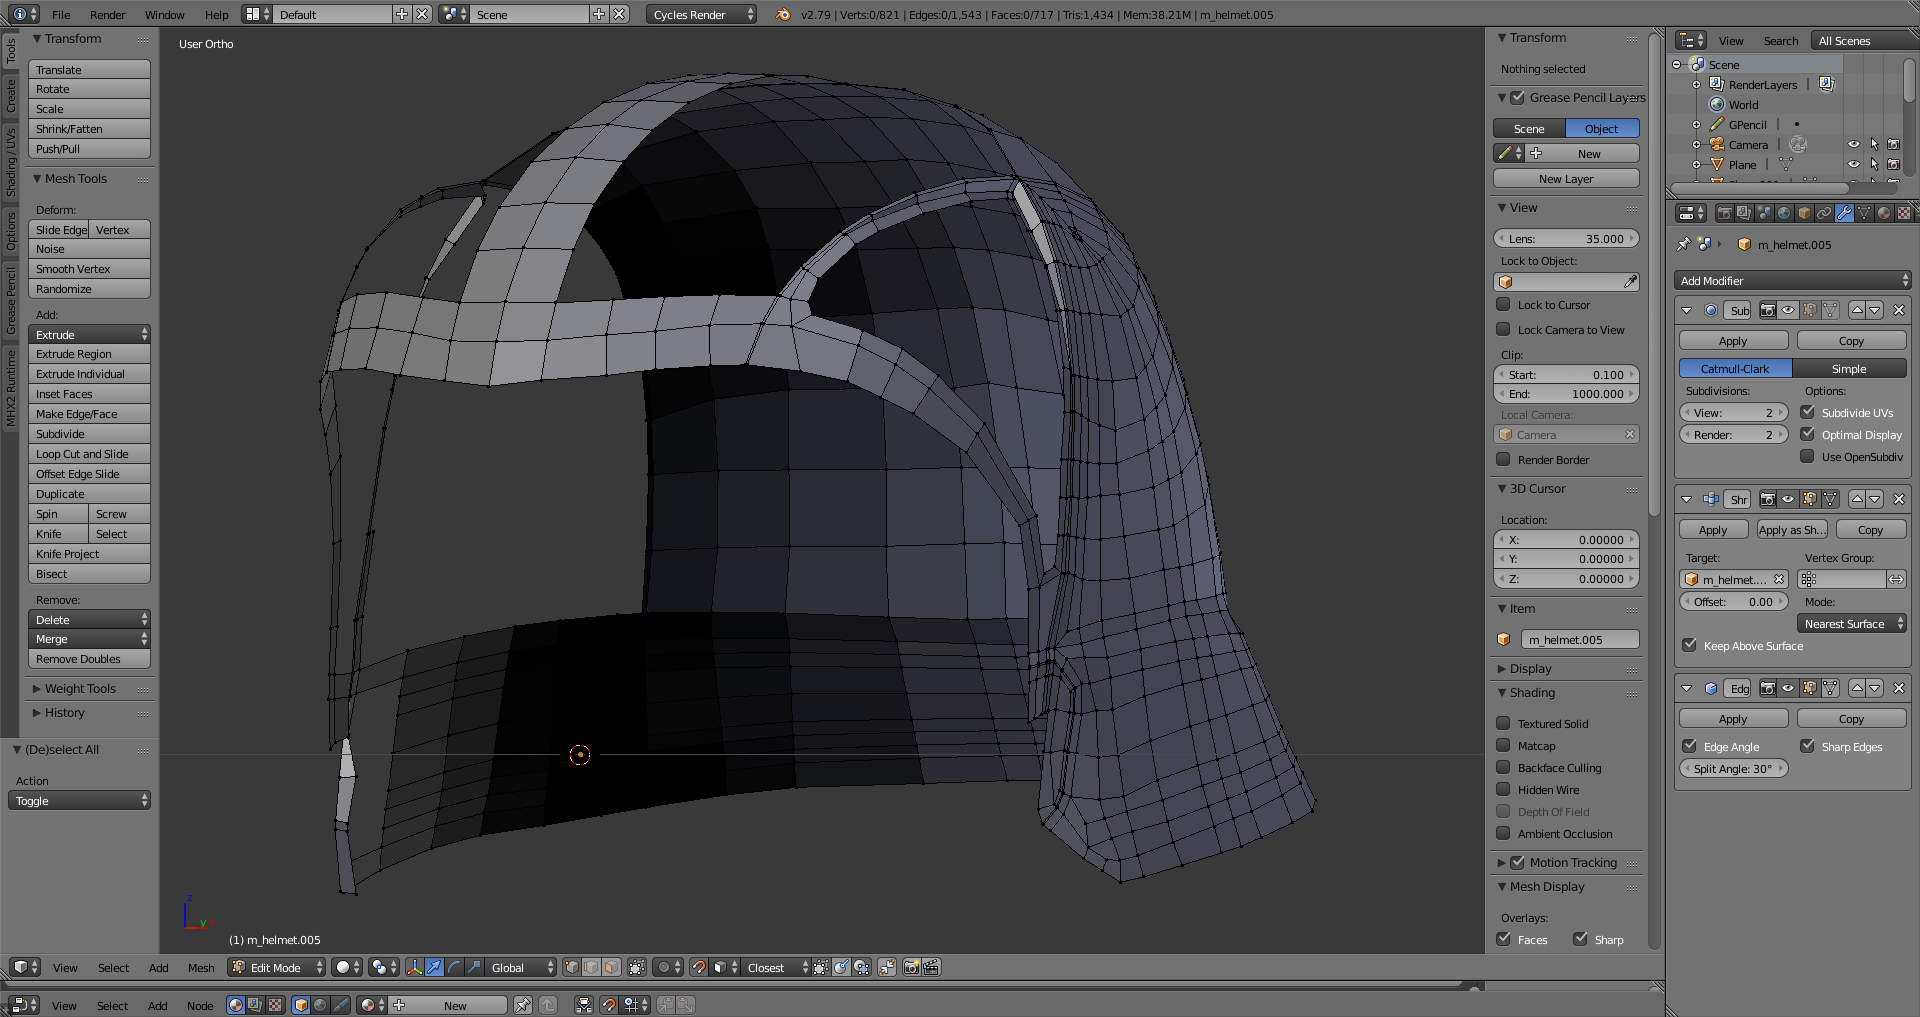
you can see I’ve filled quite a lot in already, and although it’s not awful (I think?) it gets a little weird and messy at the top, and it’s getting a little clustered in places too… I’m now looking at filling the rest, but am not really sure where to go. I’ve tried a few things, but I either have to add a load more verts to fill the holes, or it just ends up looking a mess.
I’m just looking for some tips really on where to go, as I’m a little stuck. The model isn’t symmetrical either, so I’m having to do each side separately, but try and keep the same topology. Any tips appreciated. At this stage, the model is still very easy to re-model, so if you have any suggestions for parts that look more complete, please let me know!
Would be helpful to see the mesh you are retopoing. I’m guessing something like Kylo Rens helmet? Anyways, not exactly much to comment on yet, a few spots that could be simplified but for 3D printing purposes might not matter too much. Well, other than that if you want to make it wearable and authentic you’ll want to model it in pieces as done in the case I linked to.
Yes, I have. This did help with the base mesh to simplify it a little, but still is still messy. Thanks for that link
yeah, it is a Kylo Helmet. I do plan on seperating the model into parts, and cutting a version of it up to allow for easier printing. That link you’ve provided is pretty useful, so thanks!
Yeah that’s what I meant. I also realised aswell yesterday that because of this, I don’t need the topology to be the same for the separated parts, which was a little bit of a brain fart I was having lol
yeppers, that’s it. What do you intend to use to print with though? The making of I linked to shows that depending on the method you might run into problems. The solution there was to go with a rather expensive process. I’m just trying to point out that this is something you will have to consider.
I have a 3d printer which should do fine. Will have to be cut into quite a few pieces to fit my bed, but aslong as I key the parts, they should all fit together like a puzzle. Just means a little extra post work. I think cutting into parts which have a flat edge that can sit on the bed flat will resolve a lot of the issues the person in the post was having. They were printing whole parts, wheras Ill likely split the helmet into 4-6 parts, and the chrome eye/cheek sections in 2. Trial and error I suppose. Will probably take a few weeks to print the parts out, but I’ll be taking my time on this project. I want it to be as accurate as I can get it.