My Second Anime Style Characters

Hello there! It’s been a while for me. Returning from a bit of a hiatus here… (most of this first post is unnessisary and is just bridging the gap between this thread and an old one, so don’t feel bad if you wanna TLDR on this one :stuck_out_tongue_winking_eye: )

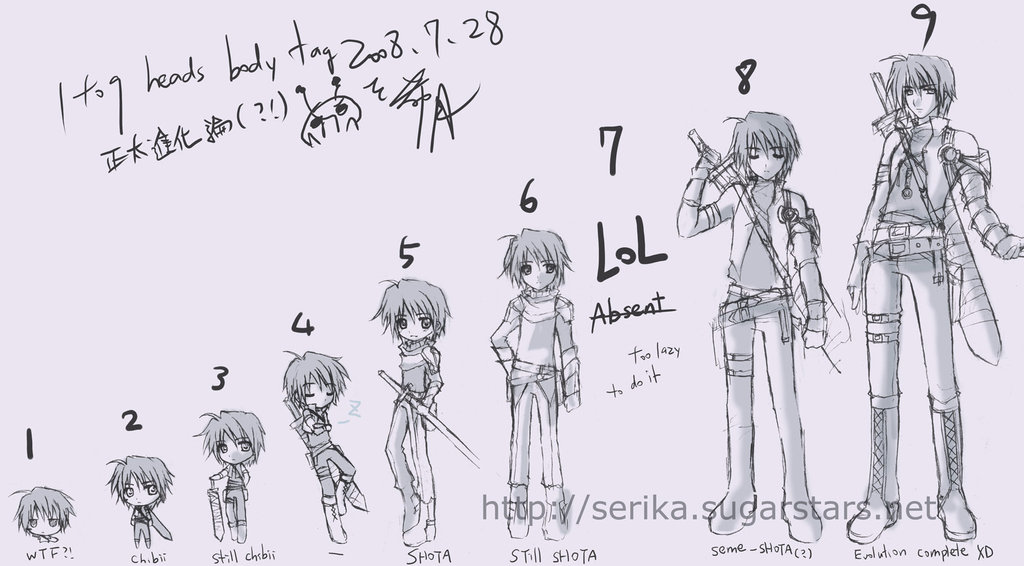
Long ago i made a post on here that i think really was the start of my experience with Blender. And it was called “My first Toon style character”

You can find that thread here “https://blenderartists.org/forum/showthread.php?302336-My-First-Toon-style-characters

In this thread, me and some other people discussed a work in progress of various ways to build a character in blender that has more of a cartoon/ anime feel to them. There are some really great examples out there, but from what i’ve found in my searches, there is not alot of documentation on their creation.

I feel very proud of what i came up with in that first attempt. However i completely fried my computer a few months back and i’ve lost everything. All my files and reference images and honestly i’m pretty heart broken about it.
My biggest struggles are doing things over again a second time. But if i want to keep up studying for my passion in 3D arts, it’s time for me to get started again.

This will be my thread for my new Work in Progress on making some more refined anime looking characters for an animated series i’ve been writing. I’m not going for a full anime look but i would like a few similar elements added in just for the feel if i can.
I’m going to explore different methods to fake different looks on the model and try and pick all what i think is best.

Last disclaimer here, but in that first thread i was either not working at all and out of school, or in my first part time job that had only a few hours a week.
This time around, i’m married with a full time job and my time is much more limited… So the updates are going to be farther in between and i hope that just like last time, this thread will keep my passion fueled and my interest peaked.
I have a hard time staying interested unless i’m showing what i’m doing to other people and so with that,
Thank you all for being here and supporting me <3 it really means the world to me.

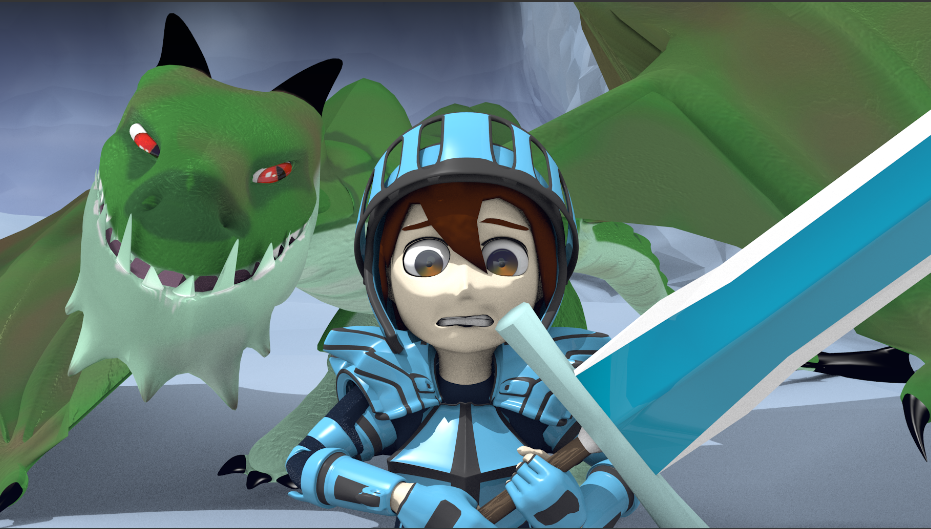
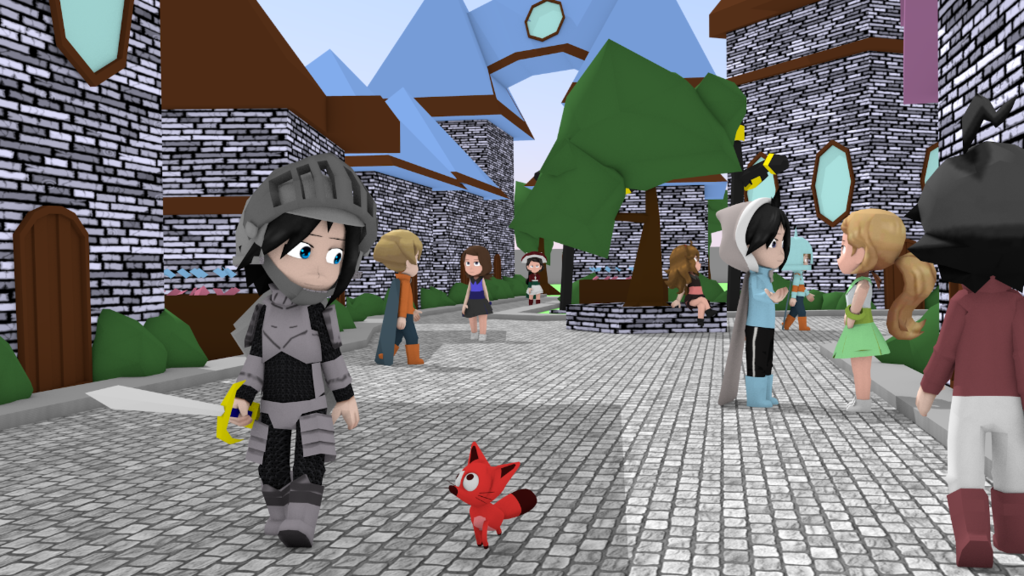
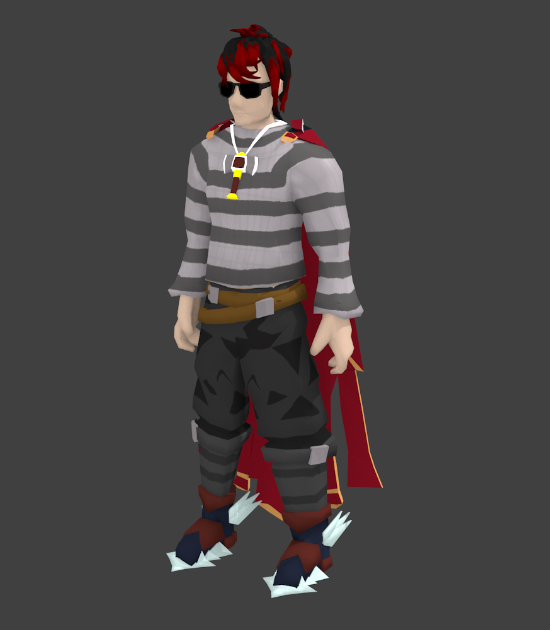
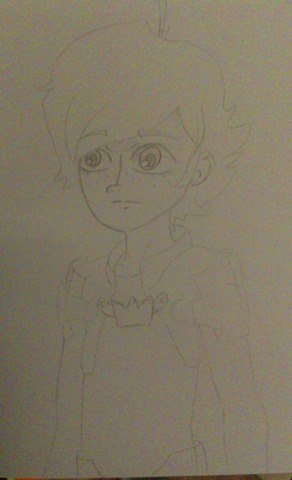
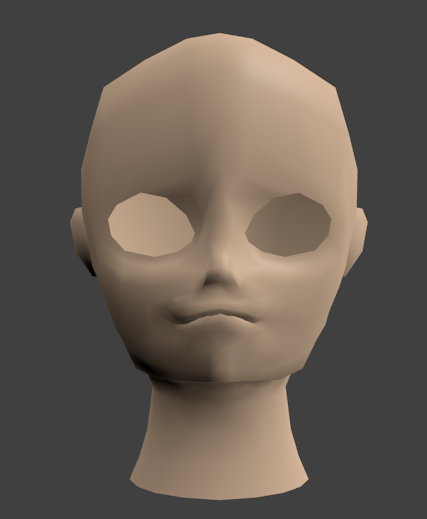
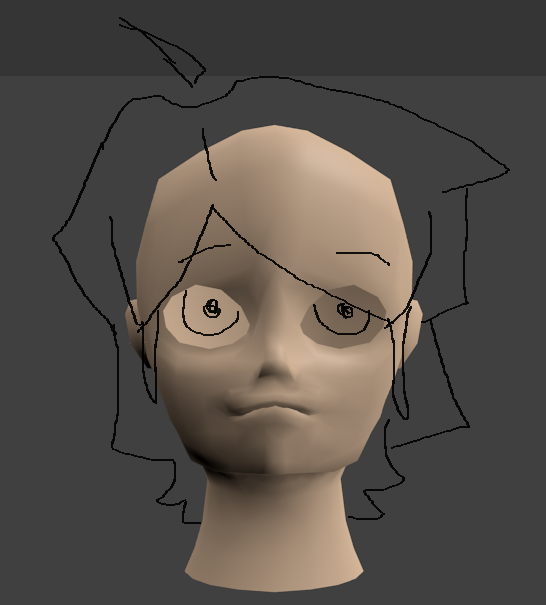
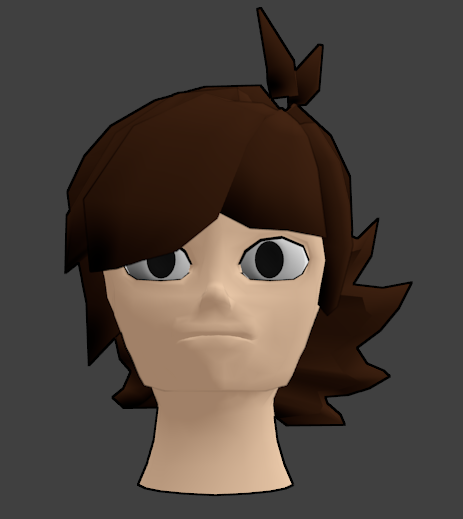
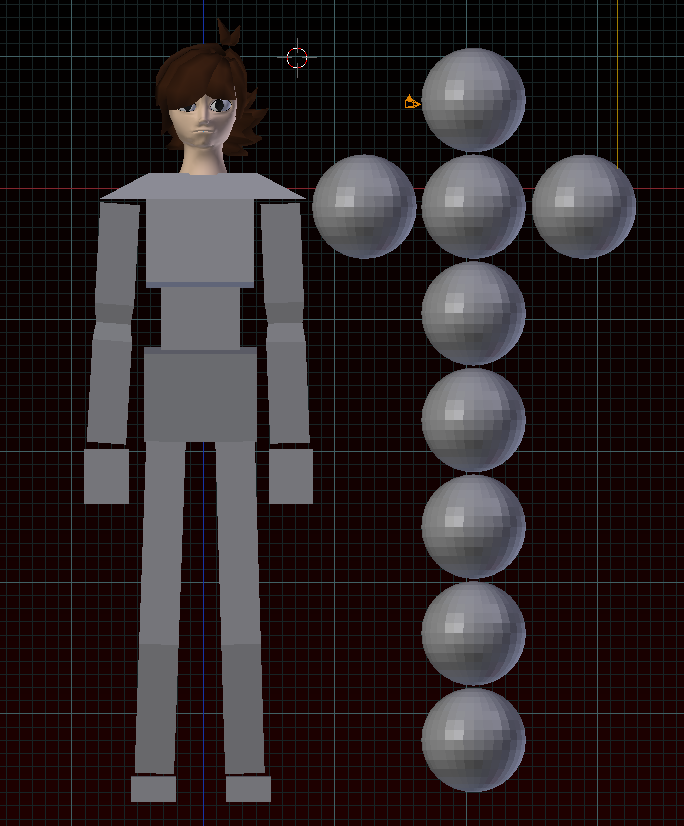
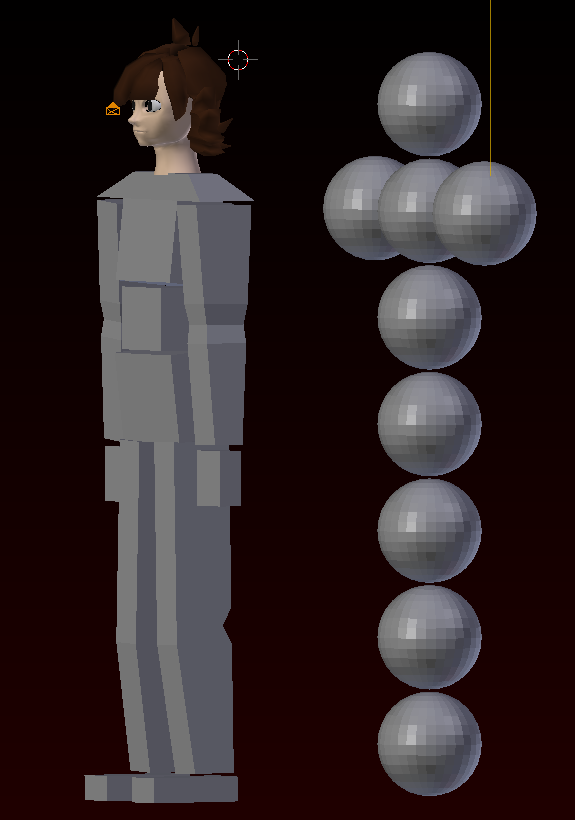
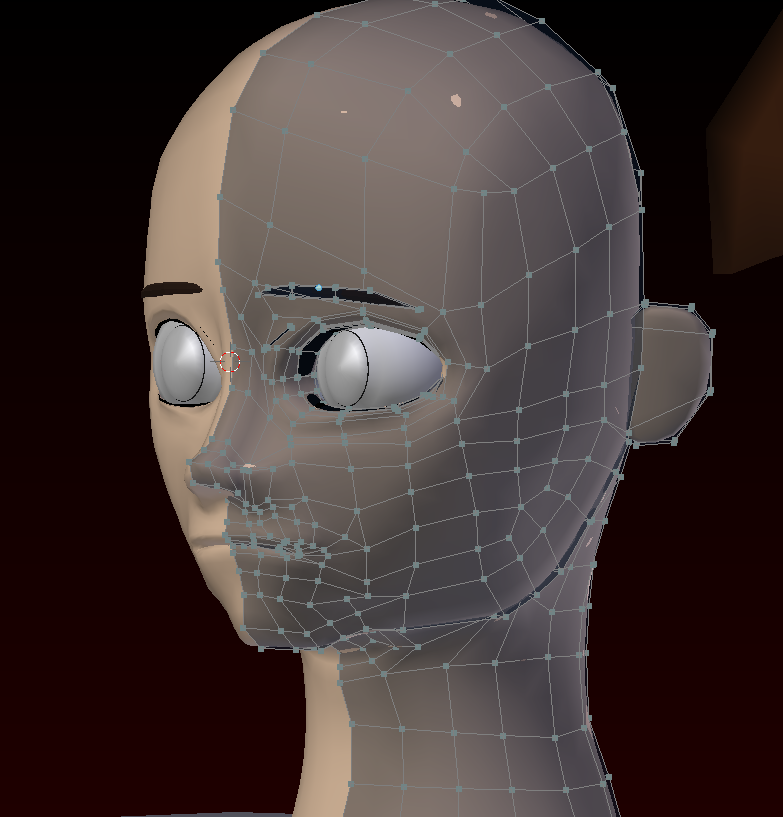
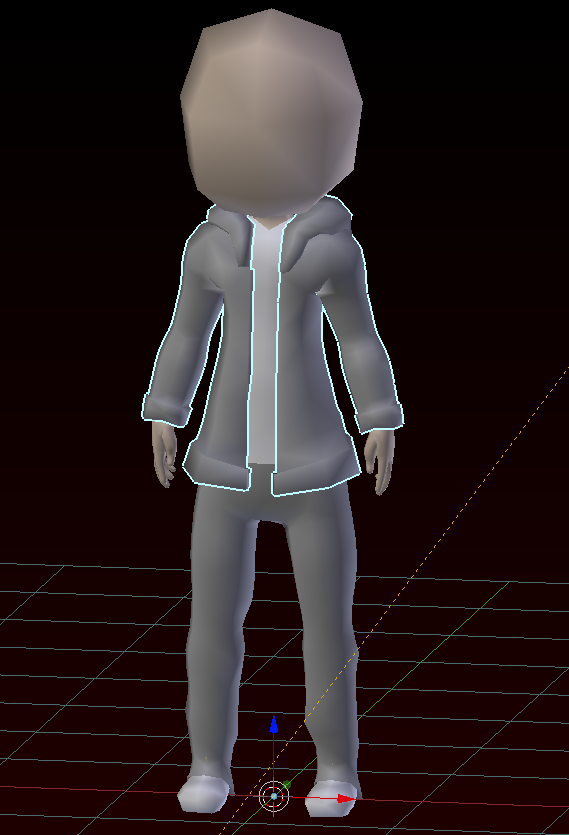
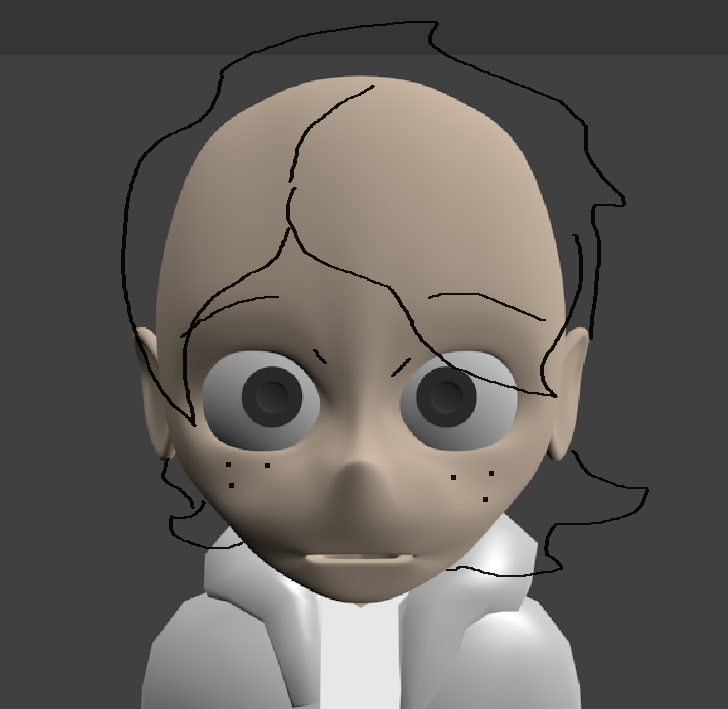
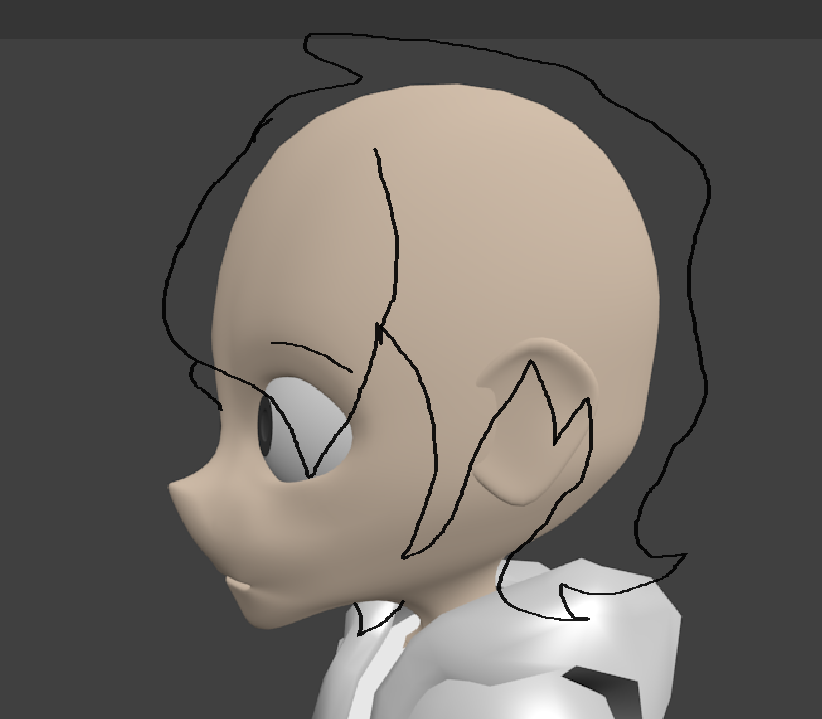
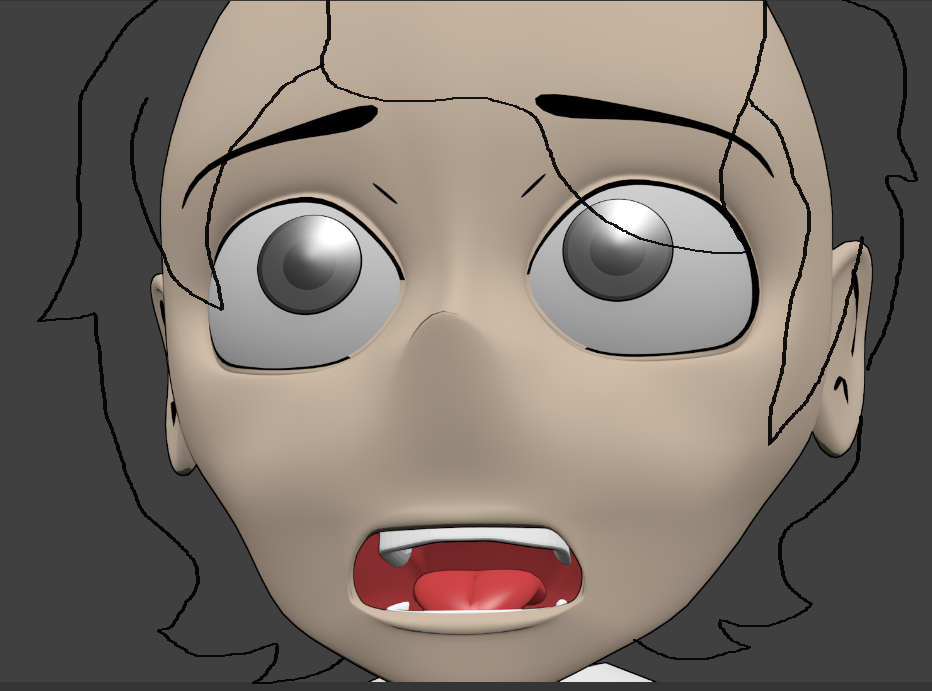
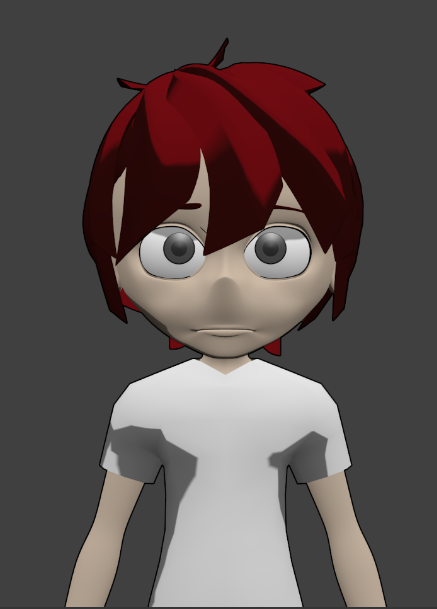
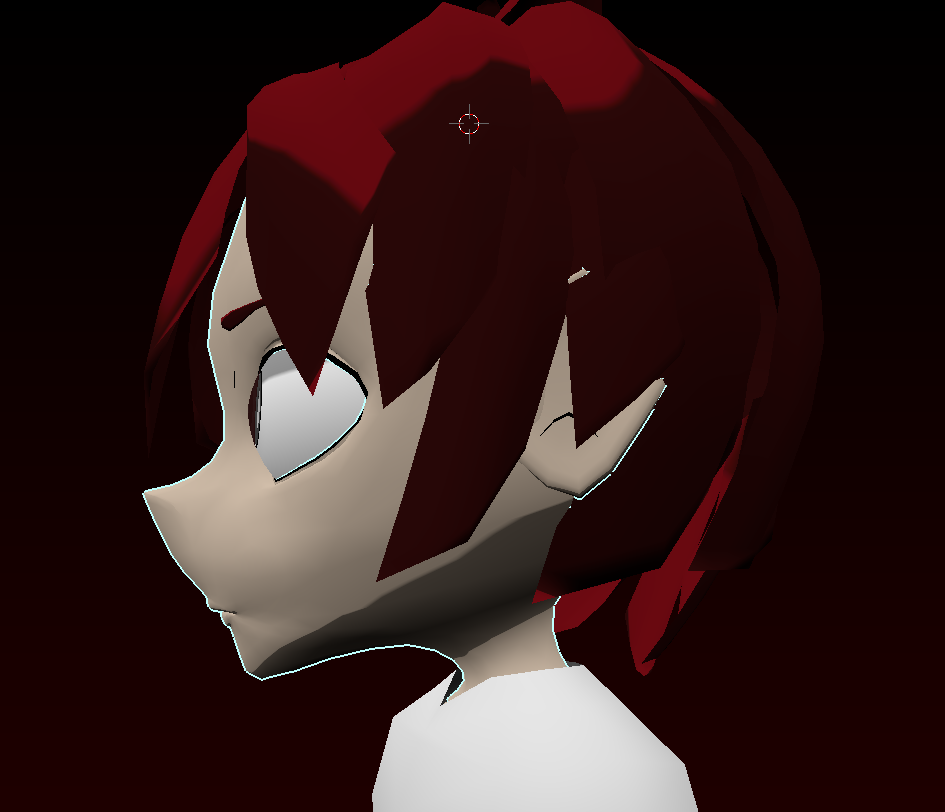
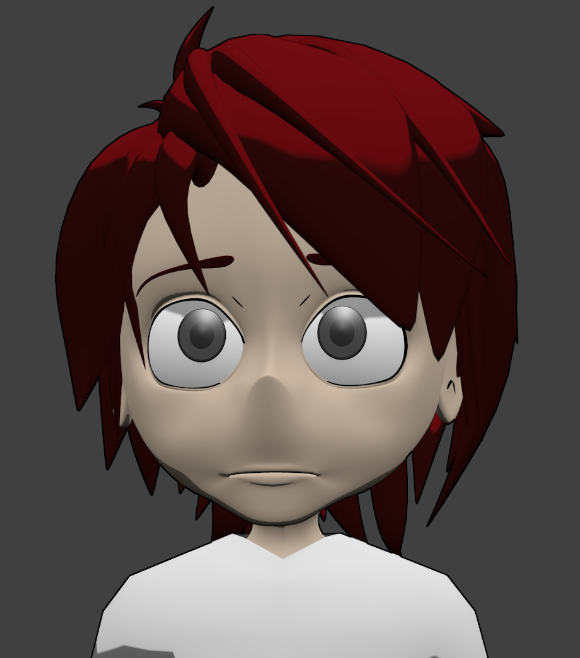
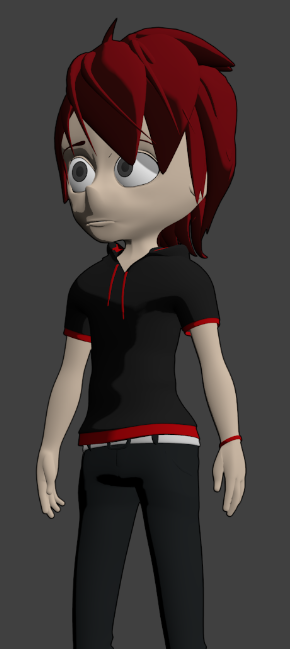
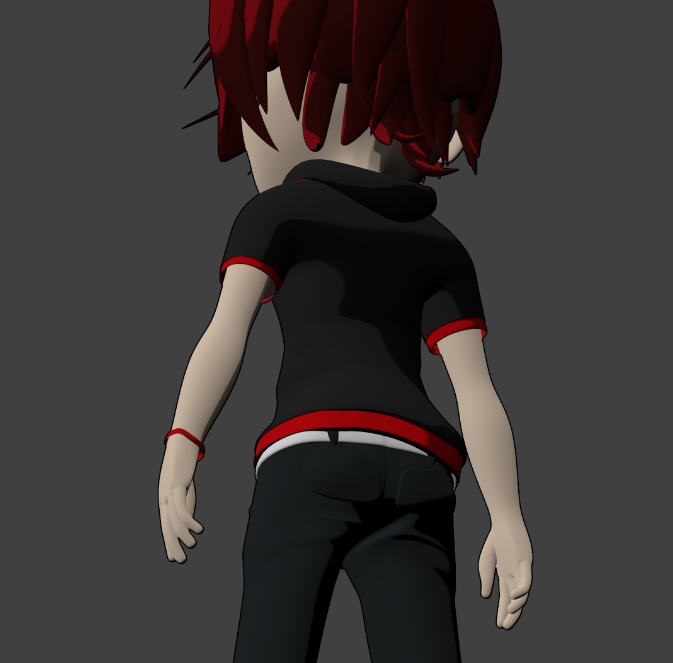
I’ll start with some Photos of where i got before in Project 1


NOt much of an update here but i thought i would also include, in my off time i made three other character models.

The first one i loved the most was… only partially mine… hardly mine… i stole some models from Pokemon X & Y and tweaked them.
They were really cute and i’d like to experiment more with them and possibly alter them more. I’m sad that i lost these in the horrific accident with my last computer, however what is stopping me from trying these again is they are a little too chibi for my liking, and i used Pokemon’s models as a base and i feel like that’s not right.


Next i tried to make my Runescape character for some short animations.
Very heartbroken over this one as i felt i did such a good job on this one.
I may remake this one day if i can think of some kind of runescape story i would like to make. But for now it is not very versitile at all for this anime feel im going for.


And thirdly just after Project one, i was disatisfied with the Chibi-ness of Project one’s characters and tried to make taller characters for a short animation. They were my first time putting alot of texture work into Blender, but i made them just awfully way too stickly. :frowning:

Sorry for the horrible animation on that one. i have gotten better. You can see in this video my animation skills now, though it is using in game models instead of models i made, which is why i’ll put only a link for that one.

You have got to back up your work every once in a while. Invest in an external back up drive and then get another external back up drive for that back up drive. Finally, upload your work to any available online back up drive. That way in the event it gets fried again, you won’t suffer a complete lost of all your files.

You have got to back up your work every once in a while. Invest in an external back up drive and then get another external back up drive for that back up drive. Finally, upload your work to any available online back up drive. That way in the event it gets fried again, you won’t suffer a complete lost of all your files.

Yeah T^T im gonna hang up the dead drive on the wall as reminder. Come to think of it i think i have an external drive somewhere… it’s very old… so i don’t think it would have those recent projects on it… but maybe it might have that first one o:


Alright so first real update on Project 2

I’m starting out with a drawing i made this time.


Just kind of a rough idea…
Next i wanted to decide a proportion for the character. the character i have in mind i want to slightly age as the story progresses. There’s going to be three main segments of the story so i feel im going to do 3 different sizes for slight aging of the character.
Although to start with, i will do the older one so i can work on some proof of concepts on some of the… more interesting parts of the story that occur near the end.

So i found this online…


Don’t know who the original creator of that was but it looks like it’s from 2008. They did a pretty good job with the chart in my opinion, however i am a little sad they didn’t draw #7… i think i want to use numbers 5 6 and 7 as the ages im looking for are around 12-16 for these characters or so.

Normally i start with a body but this time i felt like starting with a head and i came up with this.


There is alot of foolery details that have to be added onto models to give that anime look and they are not there yet of course. But for starters im decently pleased with it. I might redefine the chin line and eye shape but hey! for someone who has been having a hard time getting psyched up about this while dealing with Life stuff at the same time, I’m very excited about this!

The head was looking pretty awkward and i was afraid of it not looking well until i drew some simple grease pencil lines on it to quickly reveal to me about where this project is going.


I felt much better after drawing that.

Making mesh hair in blender is something i have been interested with for quite some time. I like this little stand in i came up with, however i think i still want to refine it.


I tried a few different methods for eyes. First i saw someone on pintrest who suggested making a cavity in the head colored shadeless white and have a floating pupil texture inside to give the illusion of an eye.
Don’t do this. that failed spectacularly.

The other option was to have a small white plane shaped like the eye and use a shrinkwrap modifier on the pupil to the white plane.
I’ve done this before, you can almost see them on the stickly characters i mentioned in the first post, though they were not very versatile and were a little less lifelike if you ask me… so i hid them with sunglasses.

I liked the eyes in that Puns video and i learned how to do those off of johnathan william’s cg pilot character tutorial many years back. i need to rewatch it but i did a simple stand in of what i can remember on how to do that.
None of this has a texture on it yet either. The skin has a ramp on it and i’m not sure if i like it. I want him to have freckles so i’m sure im going to texture the skin anyway… i’ve textured clothes before… but skin i have not done… so im a little worried about getting that right…

Alright! you may notice all these first few posts were posted with a bit of rapid succession. That was me just getting up to speed here… The posts are now caught up with where i’m at O_o" so now the updates are gonna be slower…

My next steps im looking to do are as follows;

  1. Add a texture to the pupil
  2. watch tutorials on freestyle edge post processing and decide if it’s an option
  3. recreate the hair in that same basic shape with more strands to look like real hair. (originally i was going to make 3D Bangs and have a silhouette flat plane of the rest of the hair track to the camera to have that affect like you see on Goku where his hair is the same from every angle, but that is an anime detail i think i’m going to leave out and try and follow some more strandy looking hair that can flow better)

Again thanks for putting up with me and keeping me motivated, hope i’m not spamming too many pictures here, i’ll try to slow down on that and keep the pictures to an as needed basis.

Here’s what I learned when it comes to hard drives. Unless it is physically damaged beyond repair, they are stuck in limbo. You can pay someone to get the files from it.

As far as the model, there is a tutorial showing you to create 3d polygon hair. I used that method for the last 2 characters I made and they look great if you set it up right.

What kind of texture are you using for the texture?

Hey it’s been kind of a lot of days now. Christmas happened, i moved houses, im half way done renovating it… actually sitting on a concrete floor as i type this… got a surprise new pet, and only had one day off this past week T^T

Thankyou Xero, i would really love to get it fixed by someone… i had a computer shop look at it but i think all they did was try and power it up… it was kind of a mom and pop kind of shop so you’re probably right if i actually payed a professional…
lol do i get my money back if they fail?

i don’t have textures yet… i use to like the idea of toon materials on a base colored texture… but for some reason the toon material isn’t working the same way i remember it working… i thought it would apply a light color and a shadown color without any inbetween… but now when i use it… it almost looks as if it’s no different than lambert.

i use to be kind of bad with textures but this time around i really wanna kick myself out of the habbit of saying plain materials are okay and texture every thing. Probably going to do them all shadeless and color with few shades…treat all the elements, even the background, as part of the art piece itself. i only worry about shadows on moving characters in that case. it would be fun to paint lighting where it’s needed… but say there’s a colored light, im not sure how i will apply that glow onto a nearby character if it’s shadeless… hmm…

anyway…
I tried to revise the face slightly, though not worth taking any pictures…
i looked up some polygon hair tutorials and i like what im seeing! i see three methods im hoping to try out soon. Probably once i have a chair and table in this new house >~o"

i’m worried that the face doesn’t look friendly enough for an animated story and i may need to rework that.
I probably need to learn how to sculpt again and make the headthat way and do retopology… my typology is all over the place as it is since i just made it from thin air -.-

So here i tried to visualize the size and proportions of the character at 7 heads tall… at first i was shocked and repulsed… but as i stared at it longer i think im starting to agree with it… still looks a little long but… i’m not sure…


Merry Christmas and Happy New year everyone

very good bro i like the animation, i’m character artist too and i like the work you do

As far as data recovery, normally it would be taken to a “white room” and they would try open it up and recover the data either on a flash drive or online for you to download. Normally, depending on the people who work on it, they would give you the money back.

Now, as far as the model goes, it’s kind of hard to tell. I’m going to need a close up look in wire frame to make a good assessment.

[Edit: temporary internet connectivity caused a double post :x]

I’ll use this space to talk a bit about the next post then. That Wireframe of the head was made just by extruding vertices to draw the outline of a head from the side view to which then i extrude the jaw line and just fill in the rest to make a head with no reference image. So that’s why im thinking of trying to follow a sculpting tutorial to make a high quality head again.

Thanks to XeroShadow’s encouragement, i found my old extermal harddrive… and even though i almost never used these… (cause i use to use laptops and the external drives needed to be plugged into a wall) amazingly i was surprised how much i had backed up on it!
I found the Red and white guy with the hood, which was pretty sedimental to me actually… he was completed all the way up until the last step i did on him which was to make a face rig. Even his shapekeys for the rig were there for the most part.
some old reference images i had collected were there, aswell as some older projects that i didn’t quite care for so much.

But Also, I’m very happy that i once bought citizenship for CGCookie and i downloaded the videos for the CG pilot character (which is how i made that red and white character.) i don’t have citizenship now, so im so glad the tutorials for that were on this drive!
So what i might do…
Since there were things i didnt like about that red and white guy, im gonna follow that series again and tweak it with my own discretion for this anime looking character.

I might still use the head i made already depending on how well i sculpt a new one cause i havnt sculpted in years…

here is that wireframe btw.


And sofar just setting up the base pieces to sculpt a body from that tutorial, i have this.


It is pretty basic, made with the skin modifier… but it has potential!

Kind of scared on how to model a hood though… i wonder if i should make that separate…
I hope to use this model as a base for many characters so it doesn’t really need a hood… but i like them so i need to figure that out lol.

Time to try my hand at sculpting again… Wish me luck!

very good bro i like the animation, i’m character artist too and i like the work you do

^ And thankyou, that means alot to me actually. I got into all the modeling things before learning any character design type of tools on paper, and i really want to improve that aswell :slight_smile: I learned recently that it is very important when you make characters that you can identify them easily based on their sillohuete, which sounds hard for me but i have to find a distinct character trait or item for them for them to wear like a scarf, cape, pointy hat, and such to help out with those things :slight_smile:

Not alot of progress to update on lately. I’ve been trying to learn some sculpting and i can’t form anything that looks like a face.
so i went back to the basics and tried some box modeling (usually i just draw the front and side with verticies myself and fill in the rest)

here’s my box modeling attempt so far and i’m pretty pleased with it. It’s a good base to start with and and i’ll try and put some node editor tutorials ive been watching into action and make a real toon material rather than Blender’s built in one… which i feel like worked better before in the past…
And im gonna re try that hair too.
I’ll get this! slowly but surely…

Just also trying to get a new job at the same time T^T


Alright time for a bit of talking with this post.

I got past a wall today in my opinion. Eyelids and Mouth.
Eyelids are kind of hard because you need the topology to close them in a spherical shape, but also have to be able to close them up really well. Im thinking of later testing the eyelids shape key for closing them with a lattice moddified to ensure the tweening works out okay. Or i guess i can try a bone. i feel like after you get better at blender you stop using bones for facial animation but maybe the rotation of the bone centered in the eye… idk…

The inside of a mouth i always struggle with simply because you can’t see inside and also because there’s a mesh inside a mesh so when you animate the face, sometimes the cavity inside the mouth comes out through the outside skin.

i’ve learned in the past that animated teeth are best left simple or else it always looks kind of creepy.

in the process of this update im trying out a Ramp material for the toon shading. This wasn’t working for me before until i felt like trying out GLSL instead of Multitexture shading. seems to work only in GLSL for some reason…
Though this image now that i think of it doesn’t really show the effect at all… no worries you’ll see it later to come.


i’m pretty happy with it to be honest. i’m excited.
after i apply the modifiers i’m going to set up some shape keys to alter small details like nose size or rotation, maybe eye size or jaw shape so that later on i can kind of copy this character around and change small facial features along with hair and height to vary the characters a bit.

Been watching Boku No Academia lately and i can’t stop seeing Midoriya in this lol.

Alright, making hair.
I saw a great method of making a wireframe sphere around the head and using the magnetic placement on some planes to shape the hair onto that sphere.
Sadly this didn’t really work super well.
Also tried solidify modifier and skin modifiers and that was just a flat out no.


Then my friend suggested i try again what i did in that animated video i posted at the start of this thread.
Which i basically took a cube and elongated it. sized one end of it down to zero and the other side i deleted the face and gave it a sub surf modifier. Then just place it everywhere and when you’re done duplicate it all and rotate it slightly and adjust some strands here and there.

AND BAM LOOK AT THAT!


SUCH BEAUTY! lol okay maybe not that serious. but i’m going to accept this for now c:

Next i’m going to work on some clothes again i think.
Then after that either rigging or face rigging.
I wanna also texture the skin at some point because i’ve not have much experience with that and i feel like it can be very helpful.

I got some good clothes on him, kind of squished his face cause it was too wide, adjusted some other small details and this looks pretty great! I must jab myself a little though because it looks nothing like my original concept drawing… i worry that if i ever had to model a concept for someone that there’s no way i could do it and match the picture…


I think my next step might be rigging but i can’t help but feel like i’m forgetting something.
i need to make sure changeable features like clothes and hair need to be separate objects which is true already.
i can apply mask modifiers any time…
and if i need to add anything later i can shape propagate… so i don;t know what i’m worried about.

Okay so i use to make a automatic hair rig using shape keys for the hair blowing in each direction, rig an empty to follow the head on a slow parent that also acted as a shape key driver. each direction away from the head the empty was moved, it would activate shape keys in those directions.

HOWEVER… since the last time i’ve done this, the Driver f-curve editor in the graph editor has changed and ive been trying to wrack my brain on how to do this same thing i use to do for 3 days now… no luck at all…

Edit:
Finally a break through…
And i have to leave mid way through setting this up so you bet i’m writing this down before i forget when i come back.

  1. Have the rig

  2. Make an empty hover above the head. Parent this to the head of the rig in the object menu enabling slow parent and have some sort of offset (0.800) for me atm.
    3.make a single bone armature hover above the empty. >Edit mode > duplicate bone and lower it into place with the empty.

  3. in object mode of the two bone rig, add a child of constraint to link the rig to the head, set inverse and set in place.
    5.in pose mode, set a bone constraint of the second bone, child of, and link it to the empty.

  4. set up shape keys for the hair, one shapekey for up, down, left, right, forwards, backwards.

  5. add a driver on the shape key and go to the graph editor and switch it to drivers mode.

  6. select the key driver you want to edit and hide the others so you don’t mix up which one you’re working on

  7. select driver > go to driver tab in the N menu of the graph editor> Type: Average value Transform variable> object (the two bone armature)> Bone: (the second one that is following the empty)> Type: Probably Y, but what ever direction is the desired direction displayed by the 3D manipulation widget when in Normals display. >Space: Local> update dependencies button >switch to modifiers tab in the N Menu. > Add modifier type generator> y=0 x= (adjust to change how much the bone has to move to cause the shape key to activate. i believe this number is in blender units but am unsure)

  8. press play on the animation and grab the root bone of your character’s rig and wriggle him all around to make sure the empty is lagging behind the model, that the other armature is following the body, the second bone of that armature is following the empty, and that the hair of the model is activating shapekeys while moving but goes back to 0 when at rest as the empty catches up with the model.

Sorry for that garbage of a data string there. is that a Dichotomous key? i’m not sure… I think that has to have yes or no flow charts…

anyway that might help one of you, but mostly i know for a fact some time in the future i’m going to need that and the bets way i find out old information in blender is coming back to my old posts^

Okay, so as far as the hair goes, I think that I could suggest a tutorial that could give it more volume to the hair. But the corners of the mouth look a bit sunken in. Was that you were going for?

I’ll look at any tutorial i see :slight_smile:

I don’t think i was going for that on the mouth. i had tried to look at a few topology references but with it being such a tightly packed area it’s often hard to tell what is going on there. i did feel though as if what i cam up with was a bit unnatural
but was the first sort of acceptable place i could get it to after messing around with it for some time :x

So this is an idea I plan on using as an update to my characters’ hair and I think that this could be useful to you too. Watch the video and try it out.

In the past, I had a method similar to this but I had to use a path modifier between the hair plane and the beizer curve or paths. Sure it was a great method but after looking at this video, it made my method seem flat. I used this tutorial and produced some great results for 2 of my characters, but now I have to go back and do the same for the others for consistency purposes.

I highly recommend the above tutorial, it produces some VERY good results. There’s also an Anime Hair Addon for blender floating around that actually does what this video does, but streamlines it into much fewer button presses.

Something that I also suggest you look into is face topology, as it can really make or break any rigging on the face.
Topology in general, really, needs to be something every modeler has a good grasp of. Trust me, trying to rig with unoptimized topology is so much more of a pain than just retopology.

Good work so far!