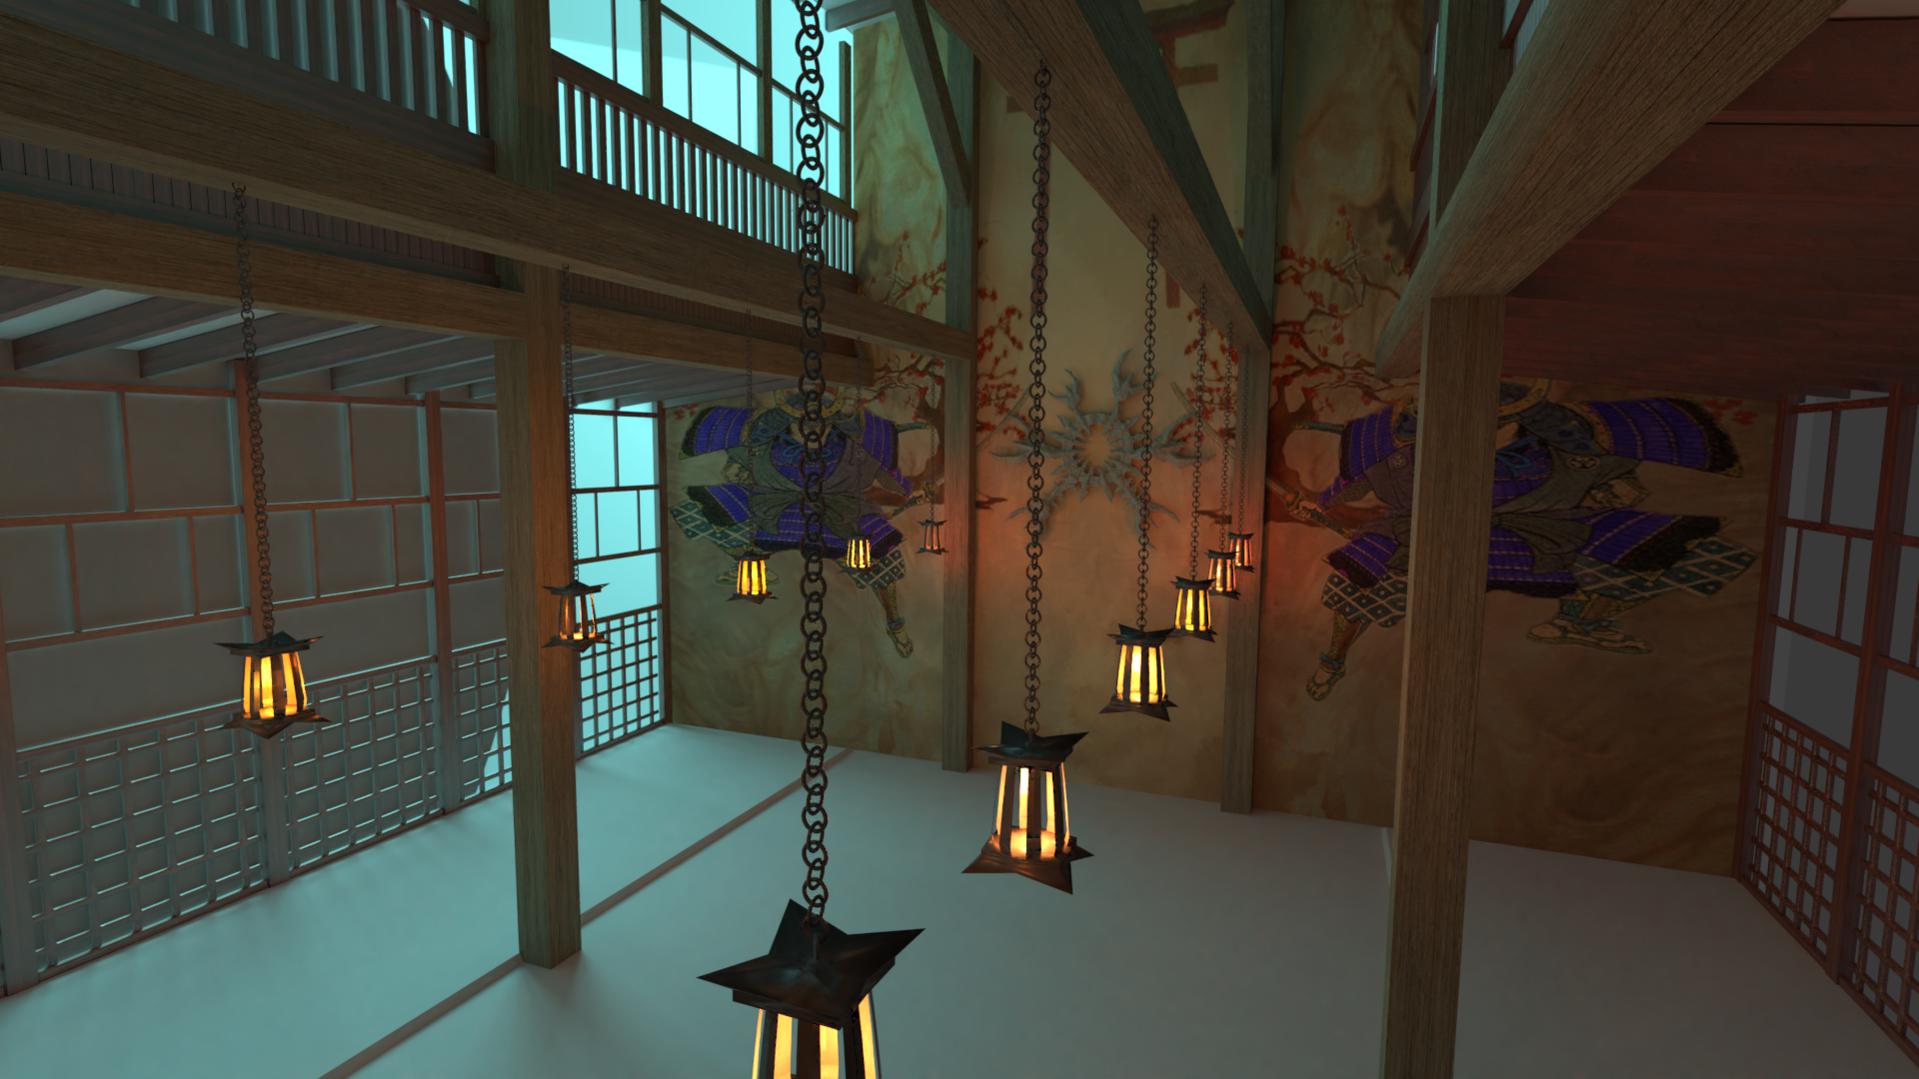
Ok, so here is a scene I’m working on currently. Right now the wall panels are not in place. I like the lighting setup for the most part but my question is this. A) How do I Keep the lighting from the plane casting the blue light but not render the Plane? And B) How would I texture\apply materials to the wall panels so that the light can pass through them casting light into the interior of the building. Bearing in mind that the wall panels aren’t see-through but more of a thin canvas type material.

Concerning question A)
You are searching for the cycles settings for objects!

Select your plane and uncheck ray visibility for the camera - done
Question B)
- If the panel consists of different objects: Use the above method and uncheck “shadow” for the grey window object
- If the panel is one object and one material: try using a translucent shader OR try the “hack” below with a few nodes more (If you don’t know what I mean, ask!)
- If the panel is one object whith multiple materials: use the following “hack” for your grey material

For rice paper panels, I’d probably set it up something like this:

The thin based refraction shader (using incoming - very important for non volume refraction) will allow you to control highlights forming from the lights in the opposing room. If that is not important, force it to use translucent only which will be enough for shadows to form acting as a diffuse.
I removed some parts from a general purpose material, I might not have been able to clean it up fully here. But following the nodes, you should be able to grasp the general idea and set it up to work for you.
Edit: Unable to remove the jpg, it’s the png that shows the correct material (with shadows).
Attachments

Thank you for your reply this is exactly what I was looking for. I’ve been away from blender for a while and I couldn’t remember where this setting was.
CarlG This is exactly what I’m attempting to create so thank you as well for your quick response! That particular node setup is a bit more complex than what I’m used to trying to create. I am away from my home PC at the moment but I will post my results here when I make it back. Thanks again!
Ok so here is my latest test render. I must say I was completely lost on the rice paper note setup. I tried to follow it the best that I could make sense of it. Theres a few nodes that I’m not sure I set correctly. The overall effect seems intact but theres still a bit of weirdness. The light doesnt appear to be penetrating all of the panel on the lower Wall panel and it almost gives the appearance of glass in the upper portion of the panels. Any help sorting this would be greatly appreciated.
Without nodes to look at, my first guess would be the dark spot showing backface fresnel - snells window being what would be refraction and the outside ending up in total internal reflection. I’m handling that case using what goes into the fresnel node, basically backfacing to mix between IOR and 1/IOR -> fresnel.
You can probably also bake this translucent information once it’s done and use it directly as an emission shader added to standard diffuse/glossy mix. Should clean up much faster than relying on brute force.
Here is my node setup. The highlighted area is where things got particularly muddy for me. I’ve never created materials like these before. My knowledge doesn’t extend very far beyond basic texturing. I interpreted the 1/n and 1-n as divide and subtract respectively, which may have been erroneous on my end. I would say I’m only a very basic blender user so when it comes to more in depth knowledge, especially in regards to implementation of some of these nodes, I am quite lacking.

My leftmost yellow labelled IOR is a value node, you’re using a fresnel node. I’m also noticing I do it differently these days, using a color mix node:
IOR Value node -> Math 1/value, where original value and 1/value is color mixed using backfacing output and fed into fresnel. So the thinking is “if backfacing use 1/IOR, otherwise use IOR”. Preview the fresnel output on a simple plane (no thickness) and observe from back and front. They should look identical with output becoming whiter at grazing angles, not a bright circle in the middle. I’ll make a snapshot tomorrow.
This is how I do it now, a bit more easy on the eyes:

The output shows what you don’t want to see. If updated to use the fix, both squares should look much more similar from both sides.
Here is my latest test render. I removed the fresnel node from the beginning of the setup. Here I am getting light penetration all the way across the wall panels. I’m definitely headed in the right direction but something definitely still feels a bit off. Im not sure I understood the fix you suggested in its entirety. Was I to use those nodes in conjunction with the previous method? Using just the nodes in your last response resulted in a nice result however my colored emission light from my plane didn’t come through only opaque white light from the wall panels and their new set up. I don’t mind uploading my blend file and please forgive my general ignorance with these nodes and my inability to properly implement you generous helpful suggestions.
Fresnel/fix is just for splitting up the glossy component (lower slot) and everything else (upper slot, could be diffuse, velvet, refraction, translucency, transparency or any mix of those) that deals with some kind of absorption.
If you upload (can’t guarantee I’ll be able to have a look at it though), simplify as much as possible. Not sure I’ve tried with colored lights.
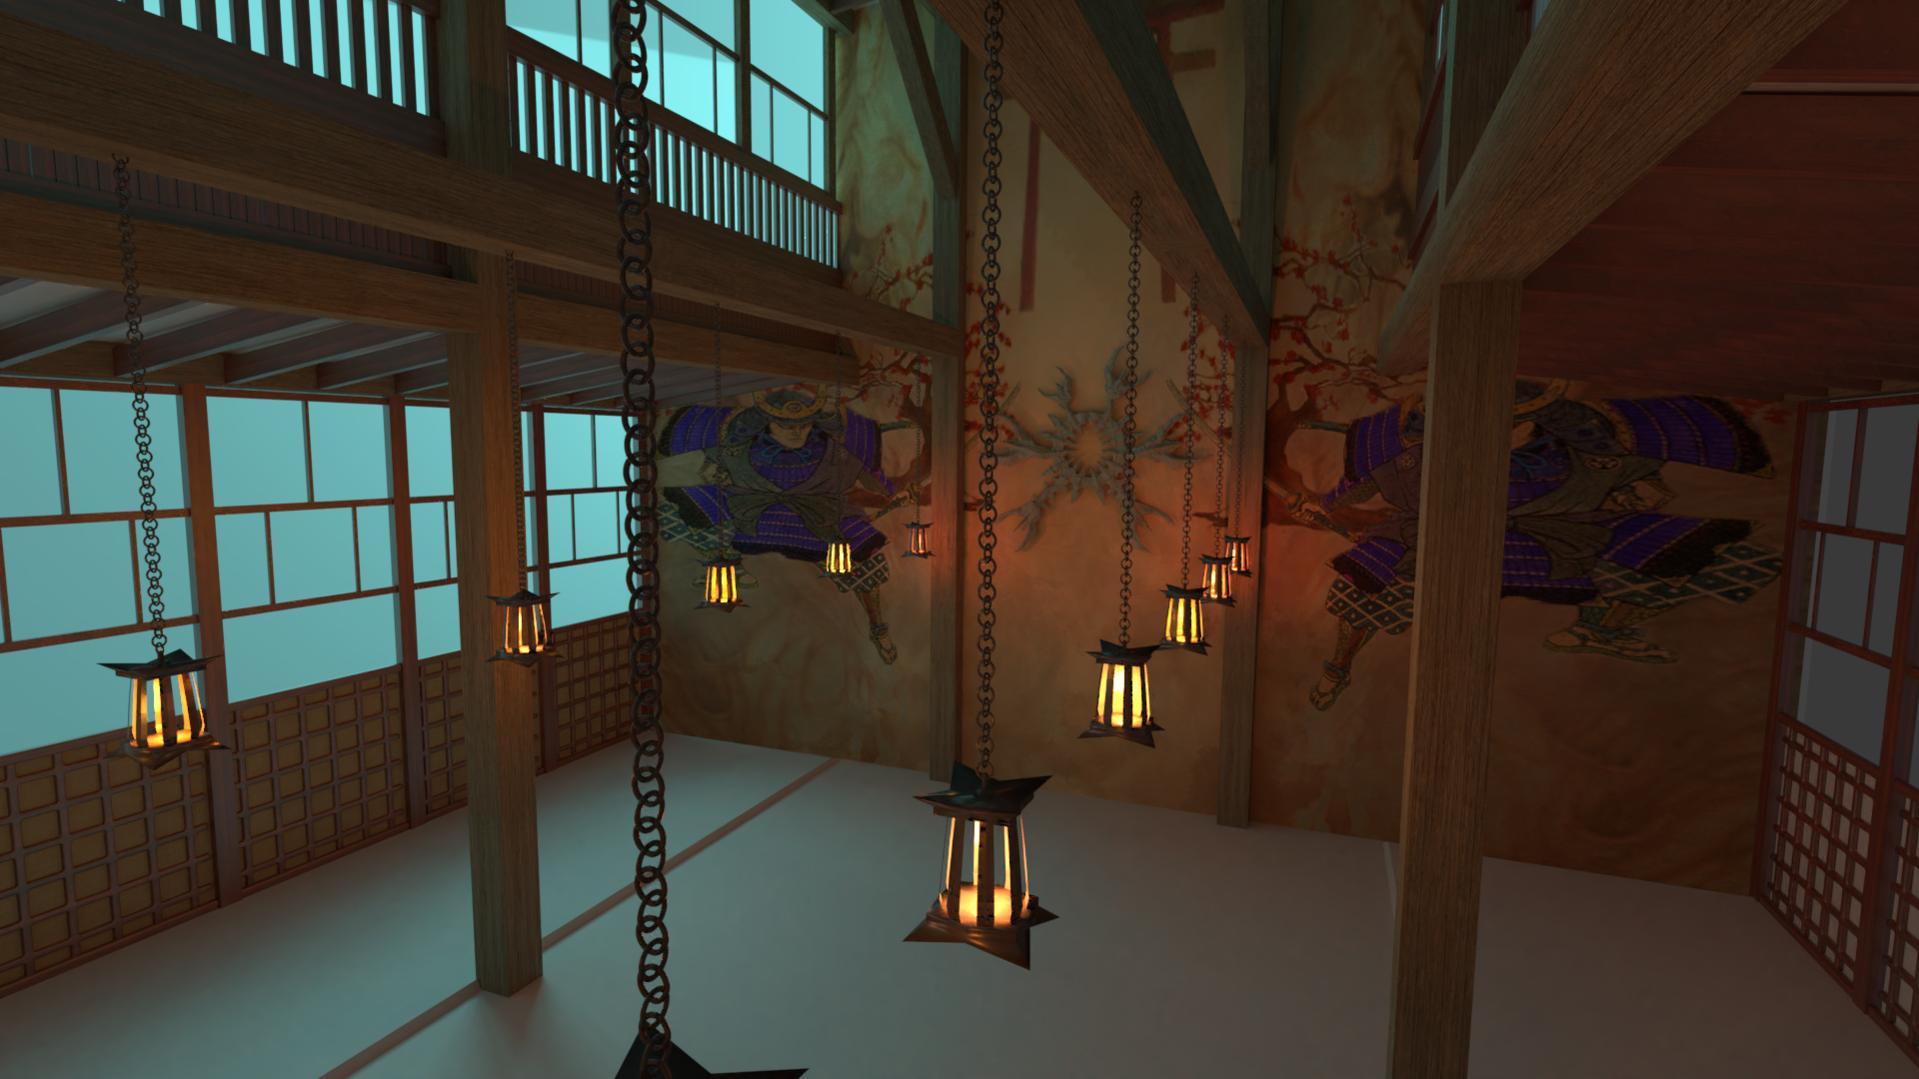
More tests…lol. Okay, so first off the matter of the Rice Paper panels. I’ve reached a point where I’m relatively satisfied with the result. I’m using a diffuse/texture now along side the refraction set up. I’m losing all detail and definition in my diffuse/texture but it still in some regards conveys the look I had in mind and I’m honestly just tired of chasing after the desired result. The other issue I’m not too pleased with is the way the light is washing out all my texture detail as it comes through the panels. Again perhaps this is a somewhat expected/realistic effect but it just doesnt hit my eyes right. Lastly I rendered a test animation of a camera path with DOF. My question is, Is there a method for cleaning up the blur effect so that it doesnt have so much noise? Is this a matter of sampling? Does the DOF even make sense for this scene? In the animation it was fairly nice but in a still I’m not so sure. I’m going to render some more stuff out to upload here but for now here’s a couple of stills…
Also, thanks so much CarlG for all your help thus far. I really had no idea how to even begin approaching the material for those panels so your responses have been paramount in helping me discover how much I still dont know :spin:
Attachments


Render blur would be a matter of sampling, yes. The scene appears dimly lit, so it makes sense to have it shot wide open producing dof. A wide shot would produce less dof, but the camera settings takes care of that automatically, only aperture size is controllable. For animation, do you really need that level of dof accuracy? I think I would have tried out post based dof first, which is noise free but can have other issues.
If I was to “make that paper rice panel material from scratch”, I probably would have gone with diffuse/translucent combined with glossy. The setup I showed was a generic one I made for thin-walled transparent/translucent/refraction and could be tweaked to contain the effects you want from it (glossy smacked on top at the end, with some shadow control).
Here’s a test animation I made for this scene. From here forward I think its mainly in the polish phase for the overall scene. I’m not done with the mural on the far wall and the lanterns could use some work as well as actual flames. There’s several other cosmetic touches I want to add but as a whole i’m fairly satisfied. This is intended to be used for a 3D environment for a stop motion animation so that is where my focus will be next.
Looks awesome. Great volumetrics, didn’t see that coming  Only thing I noticed is the speed of the flickering (if intended from the lamps) are a bit on the speedy side.
Thanks for the kind words. I 100% agree about the flicker. It’s been handled by an f-curve modifier with noise. Until I adjusted the parameters in a more extreme way I wasn’t noticing any real significant change on any level. Now it appears I went a little too far beyond a desirable result. My next update here will hopefully include the stop motion aspect of this project. Time is as always a scarce resource but hopefully I have something interesting to show off before too long.