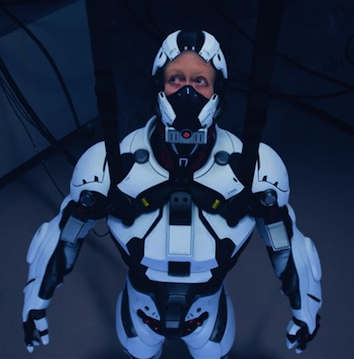
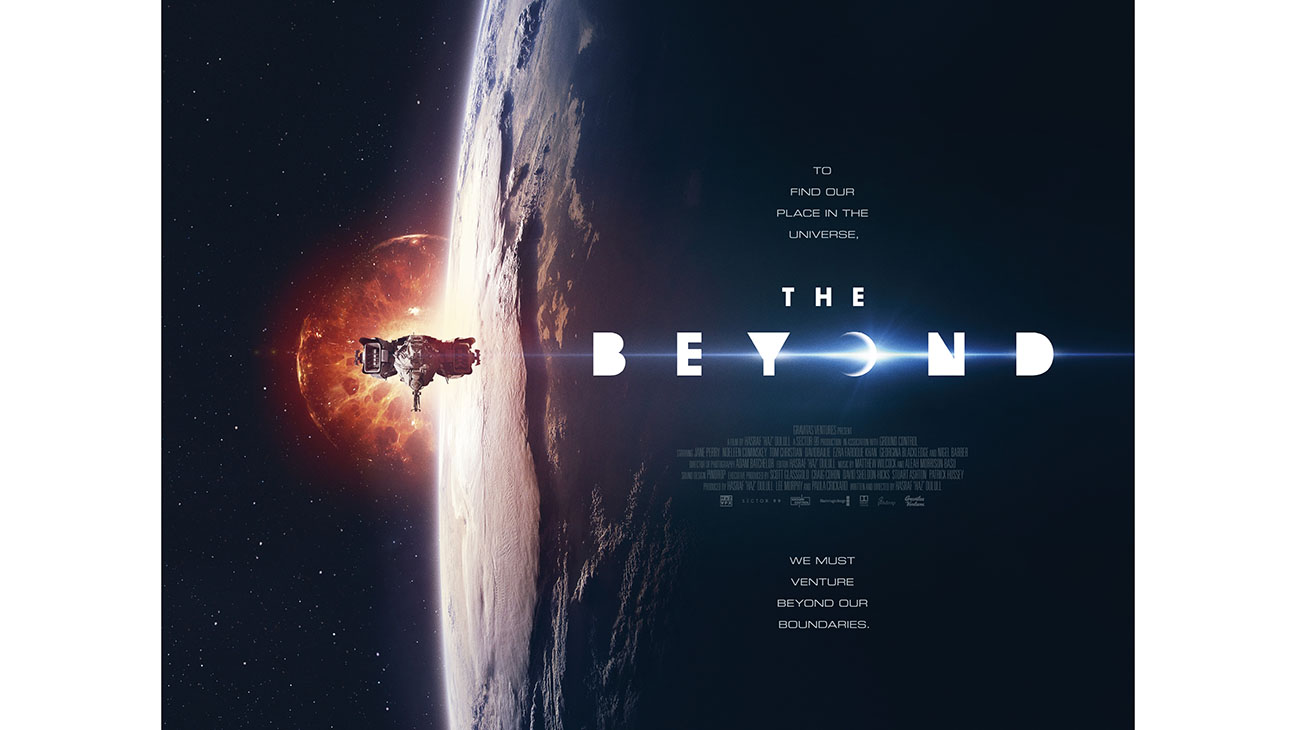
Hi there. This is just a quick shot progress breakdown of a recent project where I used Blender exclusively for all of the 3D work. It’s a short sequence from a recent British Science fiction film called The Beyond. The debut feature film from director Hasraf ‘Haz’ Dulull. It’s a robotic skeletal construction montage of the Human 2.0 Cyborg astronaut character featured in the film.

Most of the visual effects sequences in the film were made in a Maya V-Ray and Nuke pipeline. I initially got involved in the project working on the rigging and extra geo detailing of the final Cyborg Human 2.0 character. This was originally working almost exclusively in Maya. Setting it up for a combined workflow that utilized both 3D object/actor face tracking and roto-mation. Although I was using Blender a little bit on the side for extra modeling and detailing work.
However when the need arose quite late in post production for some laboratory construction shots of the Human 2.0 I thought Blender would be the perfect go to solution for the whole thing. Especially since I was working on them independently away from the rest of the studio production facilities by that time.
The look we were aiming at in the renders was for something slightly more stylized and dream like. Bleached out a bit as if referencing a distant memory. What we were going for with the design of the mechanics was a sort of basic and classic military or NASA raw engineering look. The idea is that this quite raw and heavy looking mechanical construction is what lies below the more polished and rounded surfacing of the final cyborg body form.
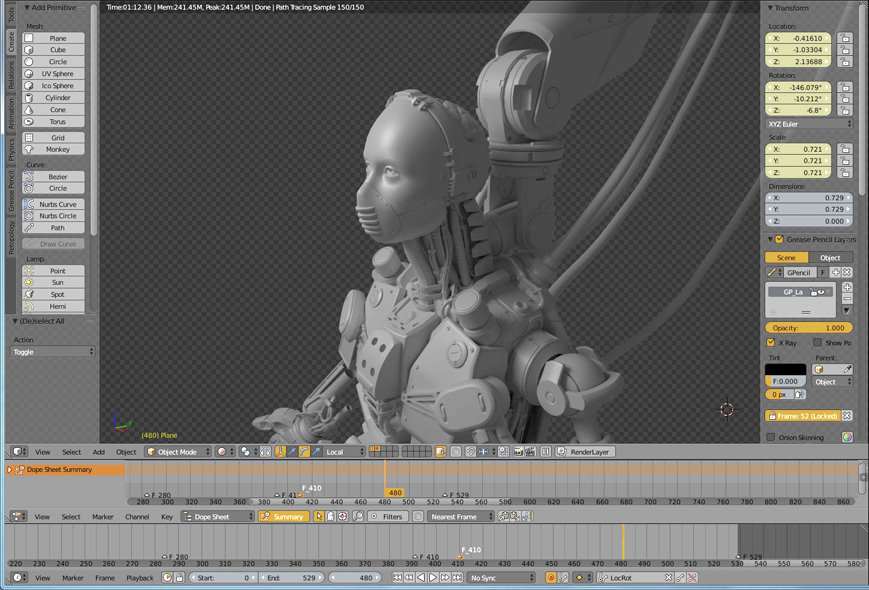
The project had a tight budget and very condensed production time so the original Human 2.0 asset was a Turbo Squid model that was purchased and extensively reworked, re-textured and up-rezed for the film. I used some of this original asset together with other kit based elements to create this half built in the lab version. Some of Tears Of Steel’s Quad-Bot and Robot hand can be seen in there. As well as a few other public domain and commercially purchased kit bash elements. These I was very grateful to have. This is most especially visible I guess in the earlier less built up play blast renders. The final form is about 50 50 custom modeled and kit bashed if I remember right.
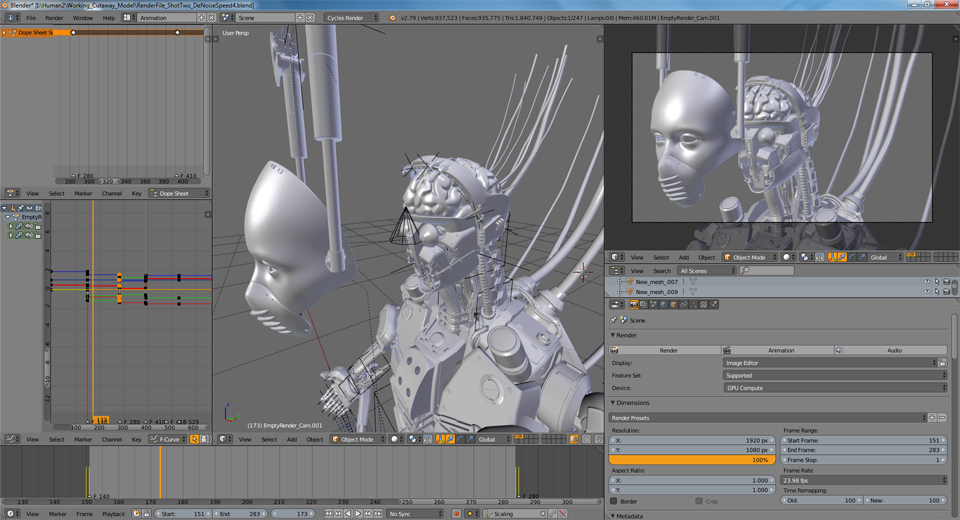
I think the ten euro a month I have put into the Blender Cloud these last few years must be the best software investment I ever made. It’s quite incredible that since I completed these shots about a year ago, the render times in Cycles have gone through the floor. This seems to be due to several factors. De noise obviously together with combined GPU and CPU and what seems to be general all around continued optimizations. I ran a recent test on a couple of these recently and the speed ups I was getting were quite incredible compared to the original render times… A bit of a game changer to say the least. I’ve read that de noise is not ideally optimized for animation yet. But with these shots at least it’s working fine.
Right now the film is publicly available on most digital download media. So perhaps give it a look. It tells a big story in a compassionate and human way. There is an open access making of documentary too.
Making of video