Yeah, normal/bump/displacement maps tend to have an ideal viewing distance.
In a game, you could use a .dds with a seperately generated (scaled) normal map for different mip-levels. I’m not sure how Blender would handle that though.
Note that you could use a complicated node setup to scale the normal map differently-- or to mix between multiple normal maps-- depending on the distance of the camera (I believe you want a camera info node). Just be aware it won’t show up correctly in preview, and that the problem is not just a function of camera distance, but FOV as well, for which I think no node exists; you’d need a manually entered value.
Thanks @moony, yes it is. Do you think there is a way to superimpose a bolt texture onto the plates? I messed around with some nodes but they did not work well…
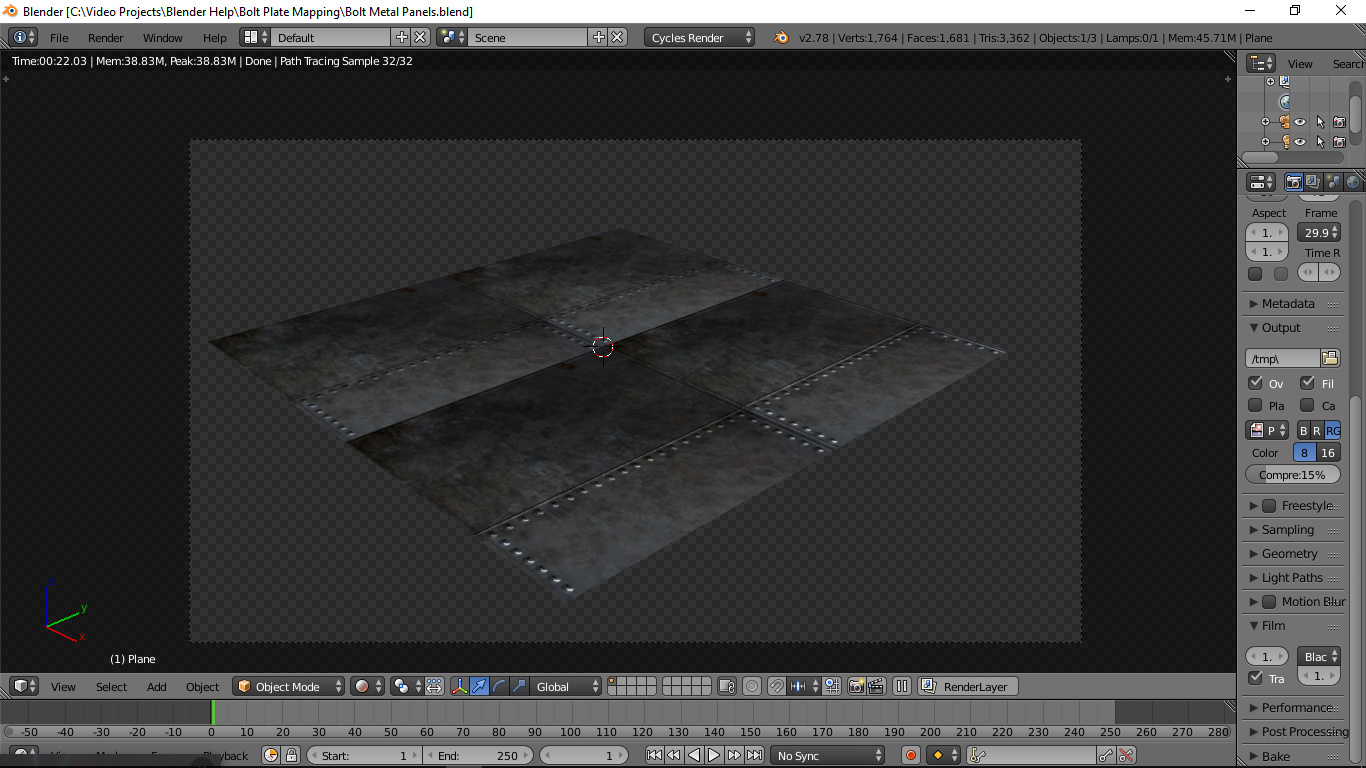
Here is a screenshot to see if this is the look of bolts you are looking for. If so all it is is taking the unwrapped parts and creating a bump map for the bolts which are just white circles and the edges are just light gray lines. So all this really is a texture map of the metal, and the texture map of black and white for the bump map added to the material normal plugs. I can share the blend file if this is what you want and you can look at the quick setup to show how the bump map works. %100 black is inset and %100 white is extruded so %50 black and white (middle gray) will be extruded half the height as black.
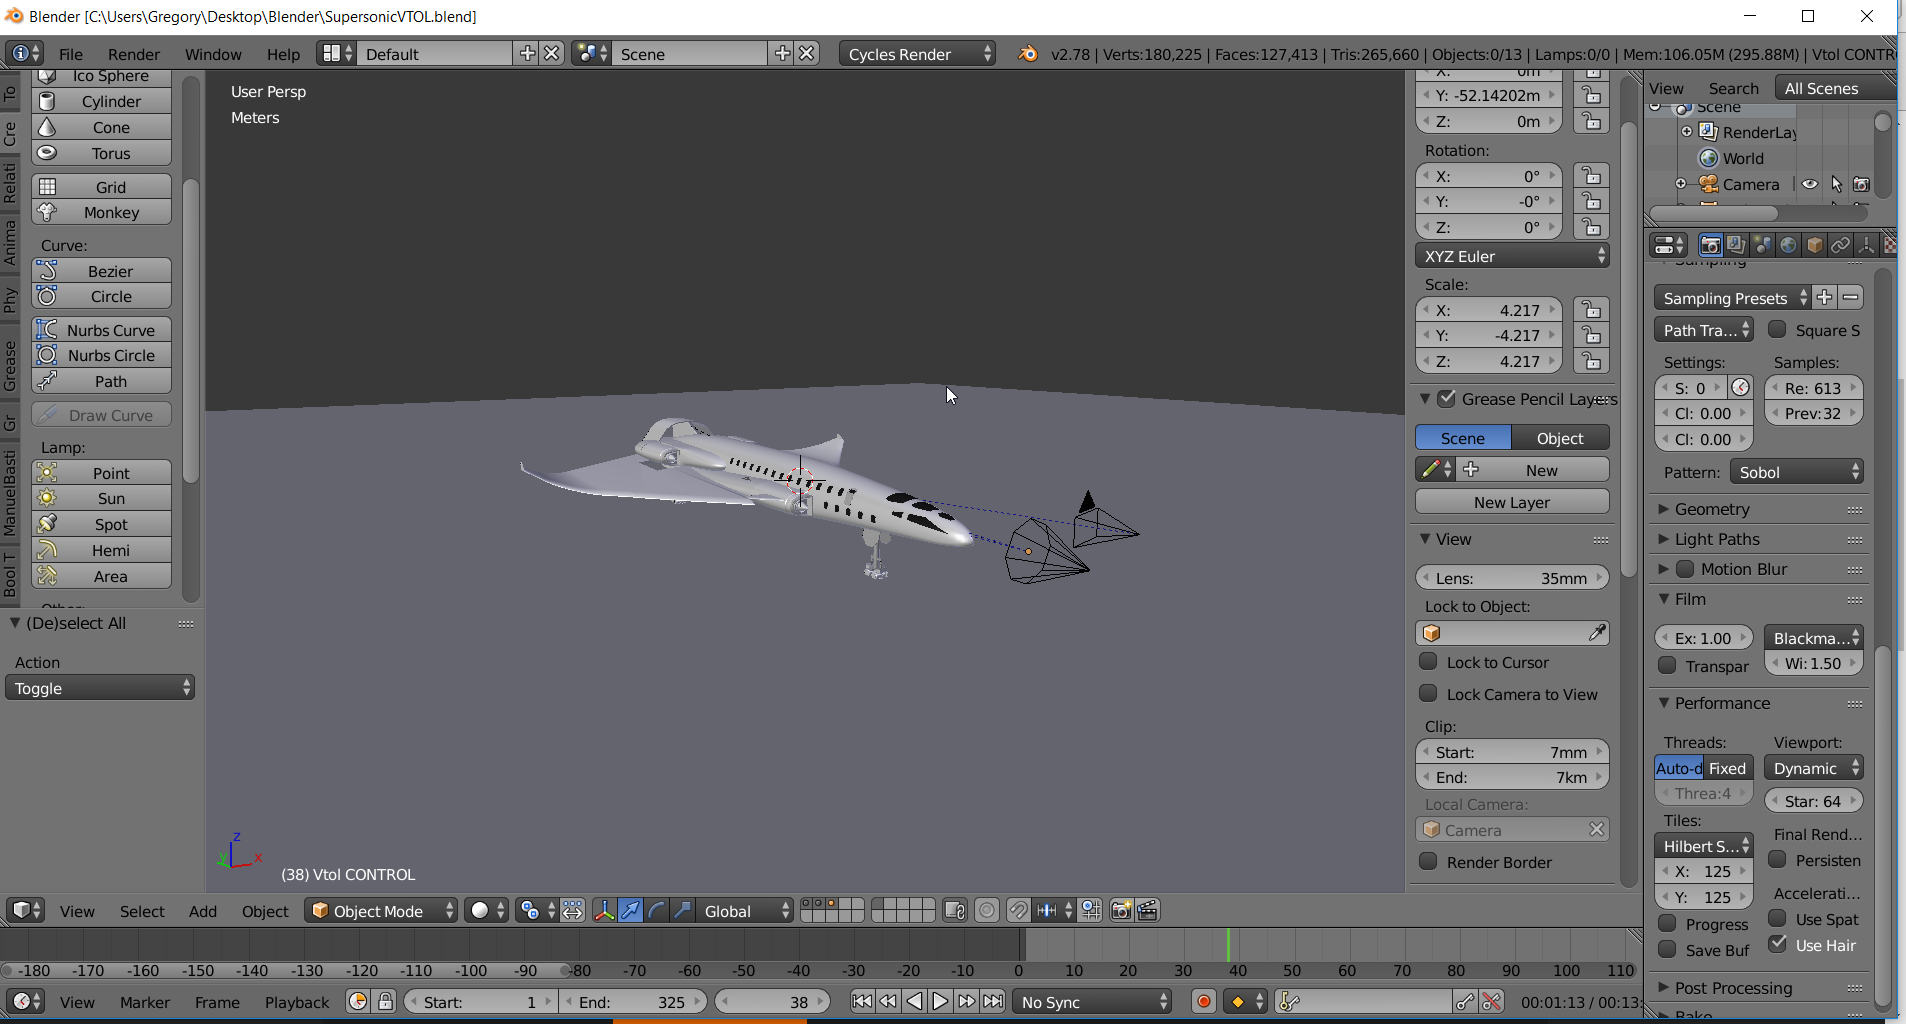
You could also create a normal map in gimp or Photoshop then use the micro displacement modifier with those maps and it will add the physical look. However you will need a dense mesh to get small details to show. All this depends as well on how close are you planning on having the model to the camera? As a lot of artists will create a scene and model something in crazy detail which is fine for them but the regular Joe’s eye would have no idea that there was rivets under the wing. If it is going to be a close up model then geometry is the best way to go then bake normals and such and apply them to a less geometry dense model. So in other words duplicate the model you have now and move it to a separate layer then model/sculpt all the details you need, use that model to bake the normals off of and apply those normals to the old less dense model. Blender guru has a good tutorial of what I’m trying to explain and does a better job of it than I. Look up his anvil modeling tutorial on YouTube and you can skip to the mapping and baking parts of the series.
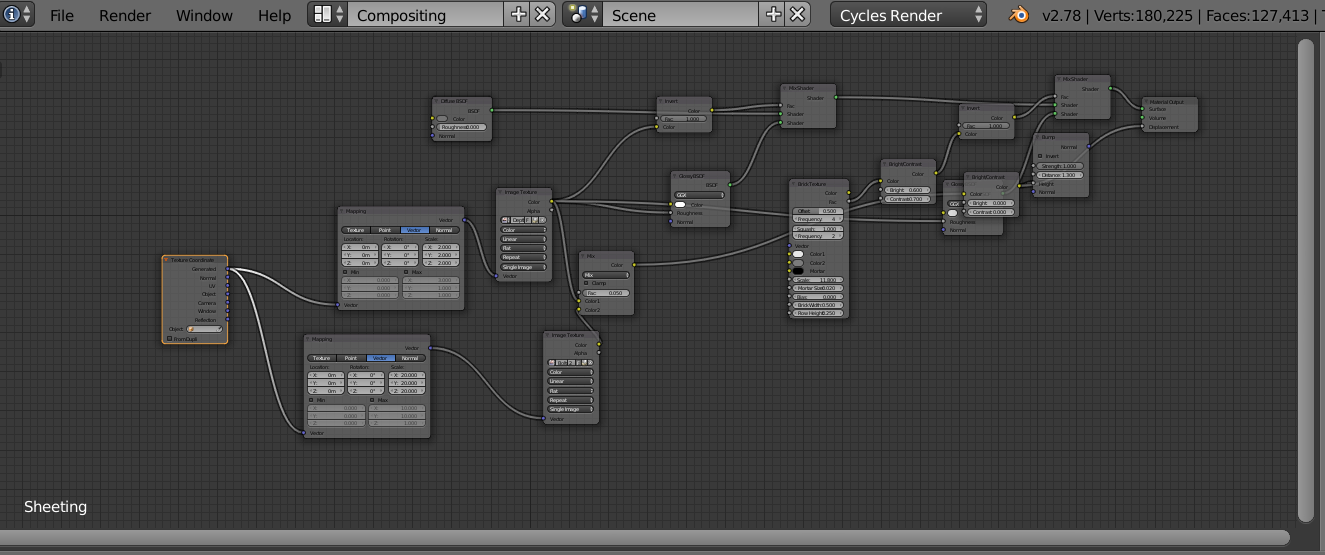
my favorite way os to use the checker pattern, and then mix with another procedural txture, (like a different size/scale checker texture, or rings might work even better fo r your plane) using a vector math node, then map to displace.
play around with a vector math node, with value output to displace. (start with just mixing say a ring texture and checker texture, with object or generated geometry – texture mapping node – checker texture – black/white color ramp – vector math
i am quite sure with some creativity, you can create a node group that automatically plates any other plane you design, and rivets all the panels along the edges too.
i know because i made a bronze cladding magic armor with runes that i can slap nto any monster, and with a few tweaks, it is now decked out in full bronze armor.
sorry about underline. hate ipads.
makes procedural magic. no need for uvunwrapping hassles.