Hi all
long time without doing 3D. Decided to fix that.
90% Blender, 5% Zbrush, 5% Photoshop. Although I guided myself a lot with PS for the final view of this image.
Álvaro

ps: How do I insert a thumbnail 
Hi all
long time without doing 3D. Decided to fix that.
90% Blender, 5% Zbrush, 5% Photoshop. Although I guided myself a lot with PS for the final view of this image.
Álvaro
ps: How do I insert a thumbnail
This is pretty cool! I like the detail in this image.
Thanks!
Nice, like it!
Thanks guys.
Every limb and part of the body had severals hair systems, It was a constant battle. Wanted to mantain the less particle system possible but it just looked like noodles most of the time and it didnt have enough “variance”. So I had to just make a lot of hair systems to give the “sticks feeling”.
The central trunk and the horizontal branch were sculpted in Blender, and then in Zbrush I just used Zremesher to make decent geometry that could be displaced in Blender.
Didnt find it a very polished method to achieve my purpose, but at some point I just decided to work for the camera.
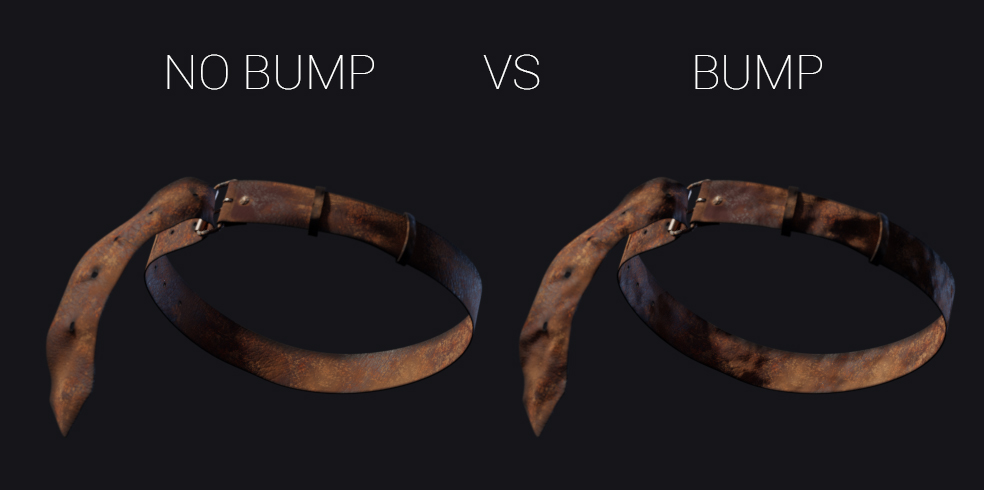
The node setup for the leather belt.
It is kinda funny, I just used stain maps to achieve a weathered, worn out look.
I dont remember why, but amidst the process I may have felt that the bump node was too much. Still left it there.
If anyone asks (probably no one lol) The “normal blue frame” is called Elefante, Elephant in spanish, because I used elephant skin as texture for the roughness (gloss? Im very uneducated with this new Principled) and wrinkle displacement. It is very subtle what it does.
Overall, the belt was merely done by using curves and then sculpting on it. No modifiers whatsoever, just raw sculpt over the topology.
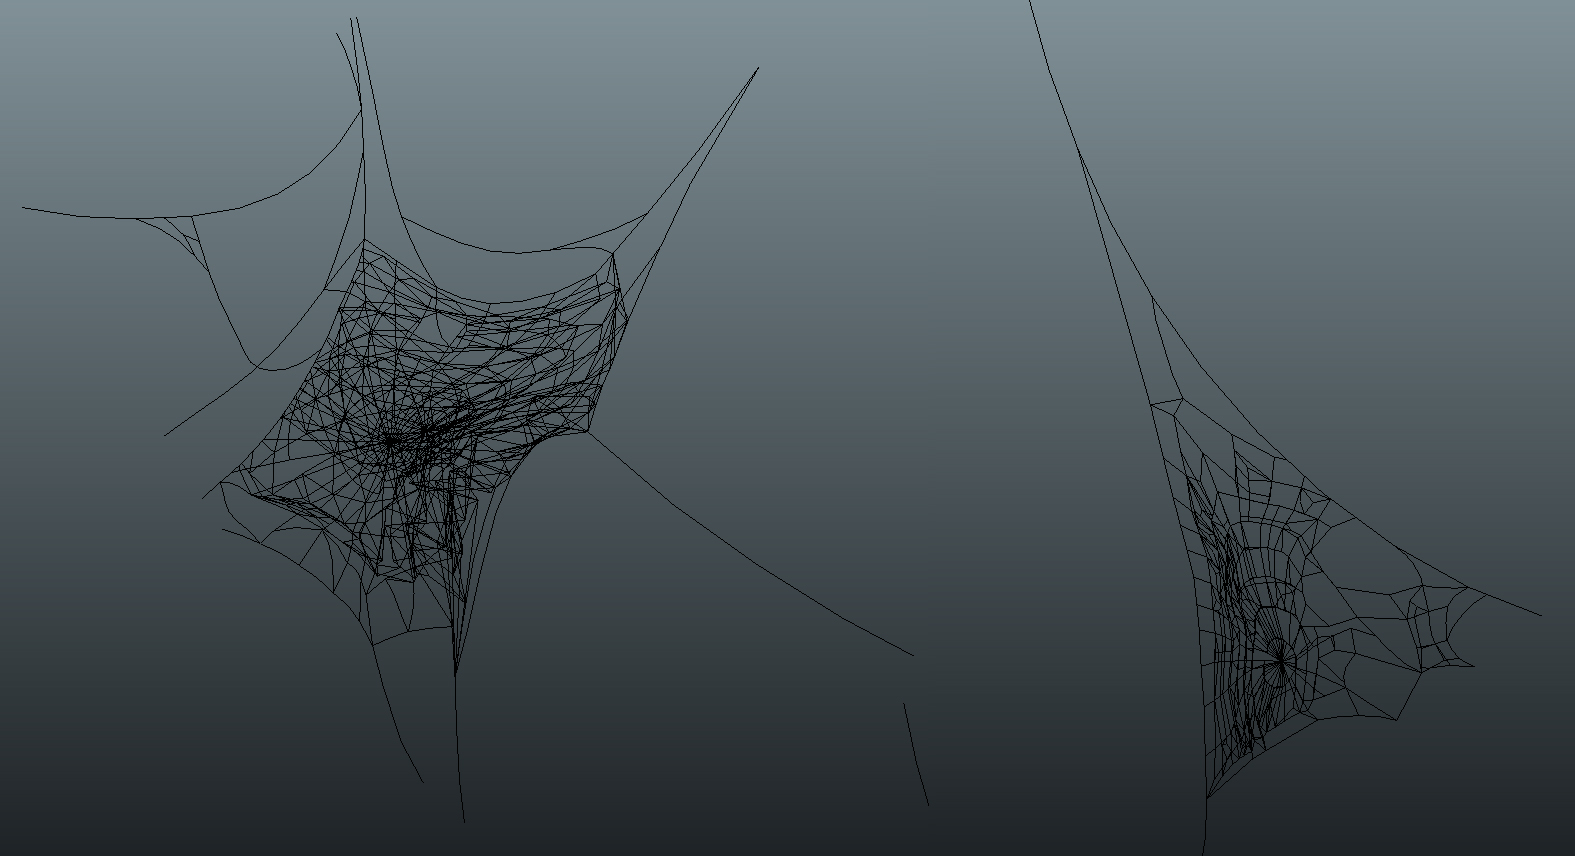
Spider web were modeled chopping UV spheres. You can also mix the anatomy of the webs with a Ico sphere if you want.
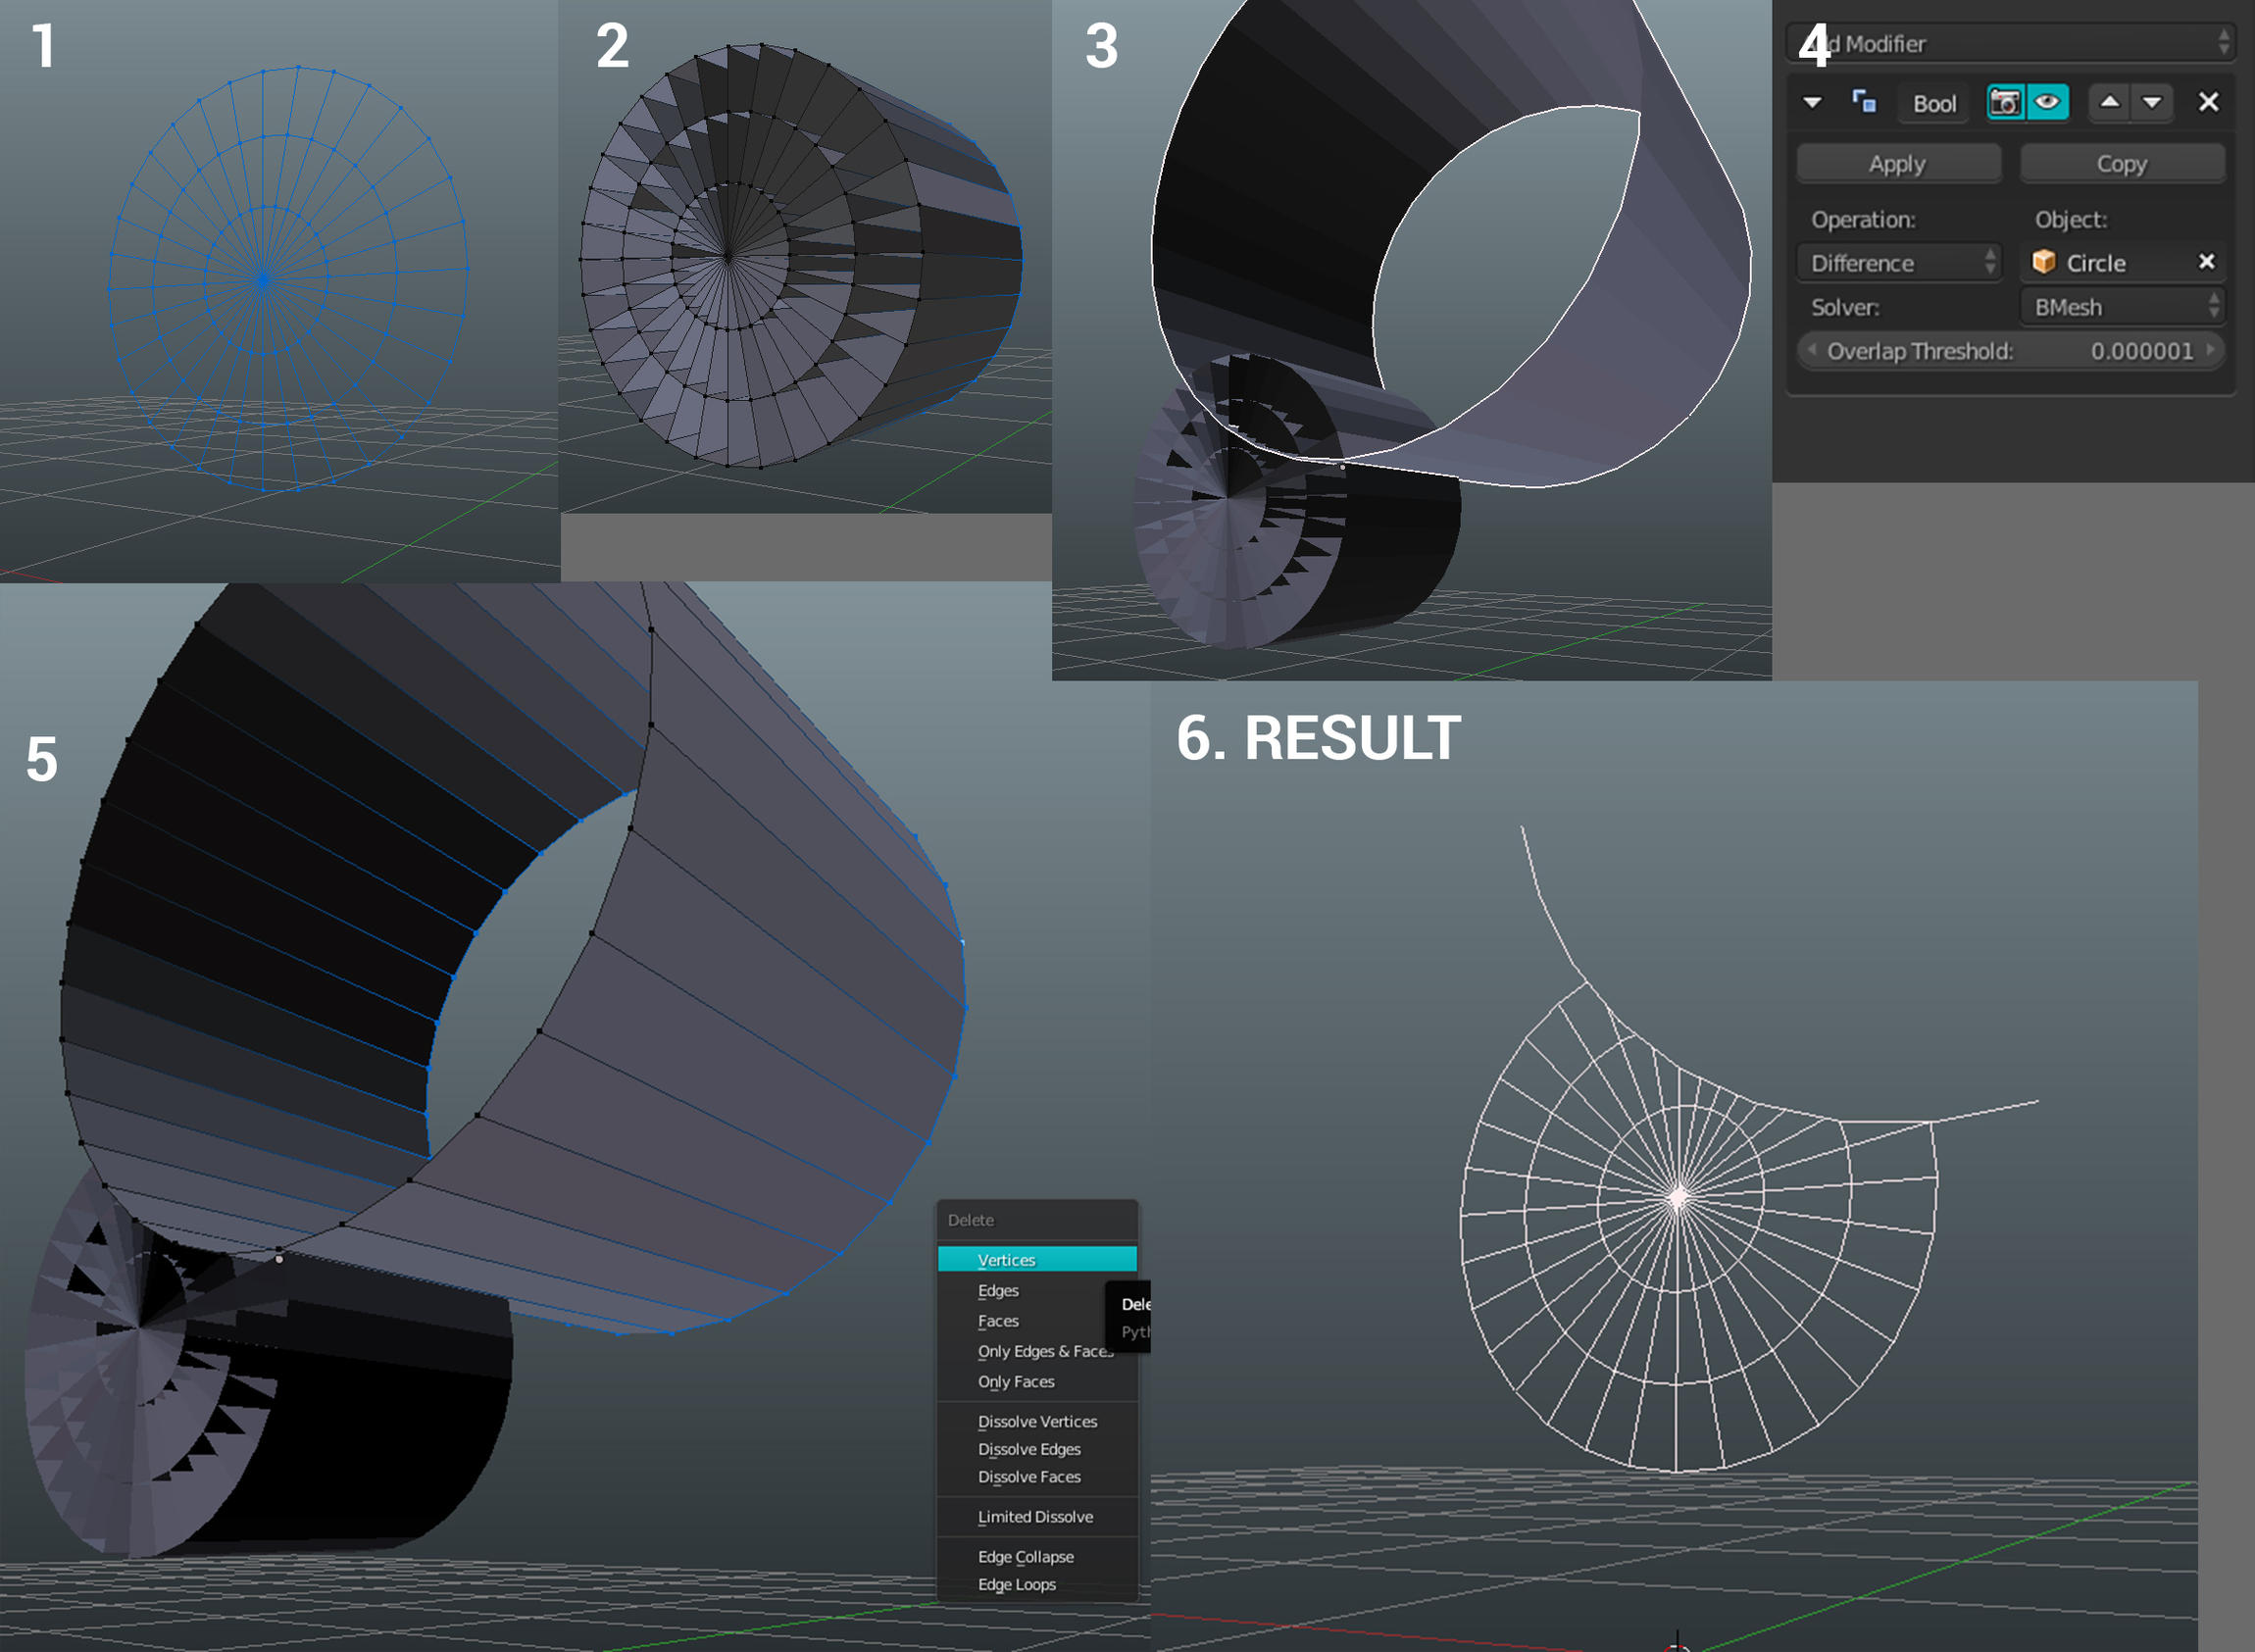
1)Just creating the UV sphere, you cut a portion close to any pole, and then flatten it out. Delete only the faces of the mesh. the You can start from this point editing the form with proportional editing
2)Extrude the resulting shape.
3)Add an object that will define the contour shape (a circle in my case). This has te be done as many times you need. For the example I did it just once.
4)Add a boolean modifier to our web. It has to use as “Difference” our circle.
5)Our web has already been cutted. Now you need to delete the useless portion of our circle, just leaving the portion that will be necessary to use as wire.
6)Combine objects and flatten them out.
When you are done, convert the object to curves (alt+c). Just as a heads up, it will be harder to change the topology of the webs as curves, so do this when you feel really confident with the anatomy of the web. Why converting it to curves then? Because here you can give it bevel and control the thickness of it easily.
The shader is pretty basic. Just a translucent shader being masked by transparency, controlled by a mask done with a noise texture. I did this a couple of years ago in this image https://www.instagram.com/p/BFSmCuhE0mn/