Hello,
I’m quite new to the compositor so maybe my question is naive but please bear with me XD
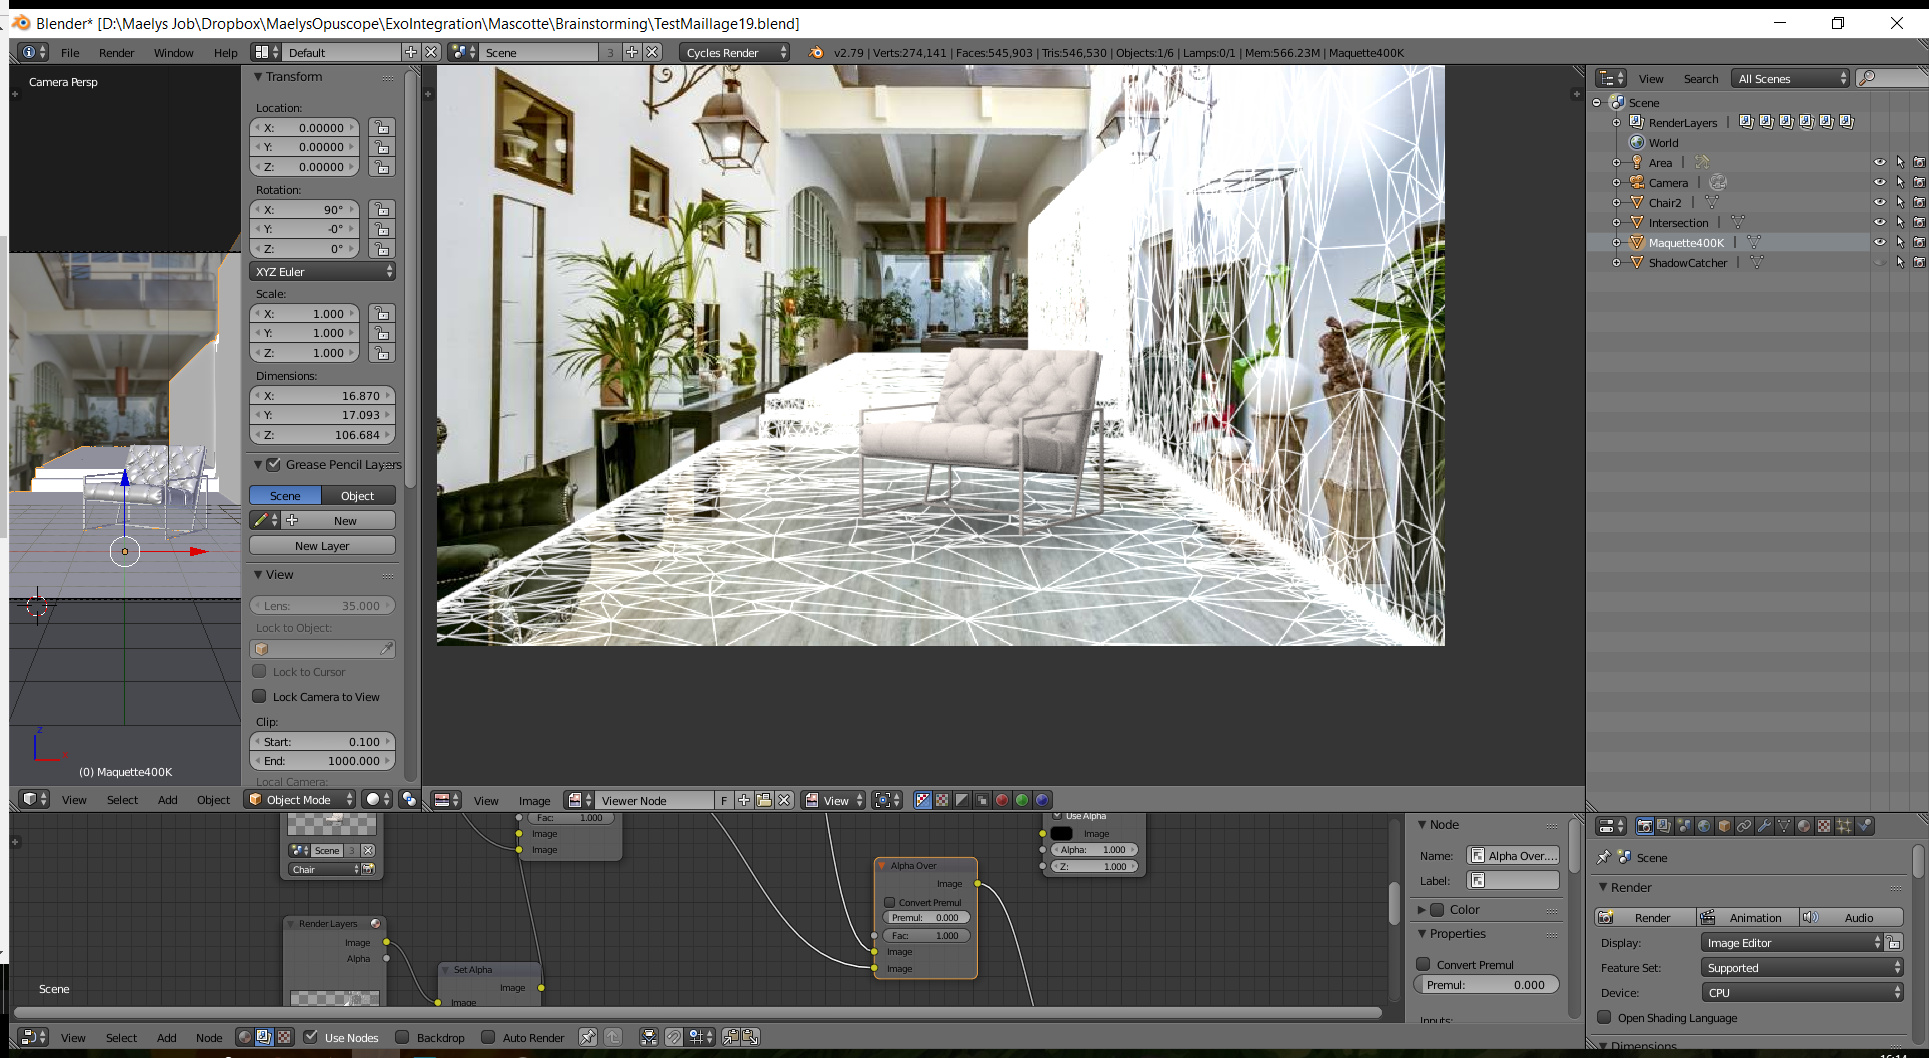
Okay so I am doing some tests, I want a chair to be set on the floor of a picture, and on the floor, just under the chair, I want a wireframe render of the supposed ground to imply that the chair is intersecting with the floor.
Basically, I made a model of the floor on which I have rendered a free style, and I have put a circular plane on the spot I want the freestyle to be visible so I could use it as a mask.
On my first try it almost worked, but the problem was I didn’t like how it looked because the wireframe went over the chair, yet I wanted the other way around.
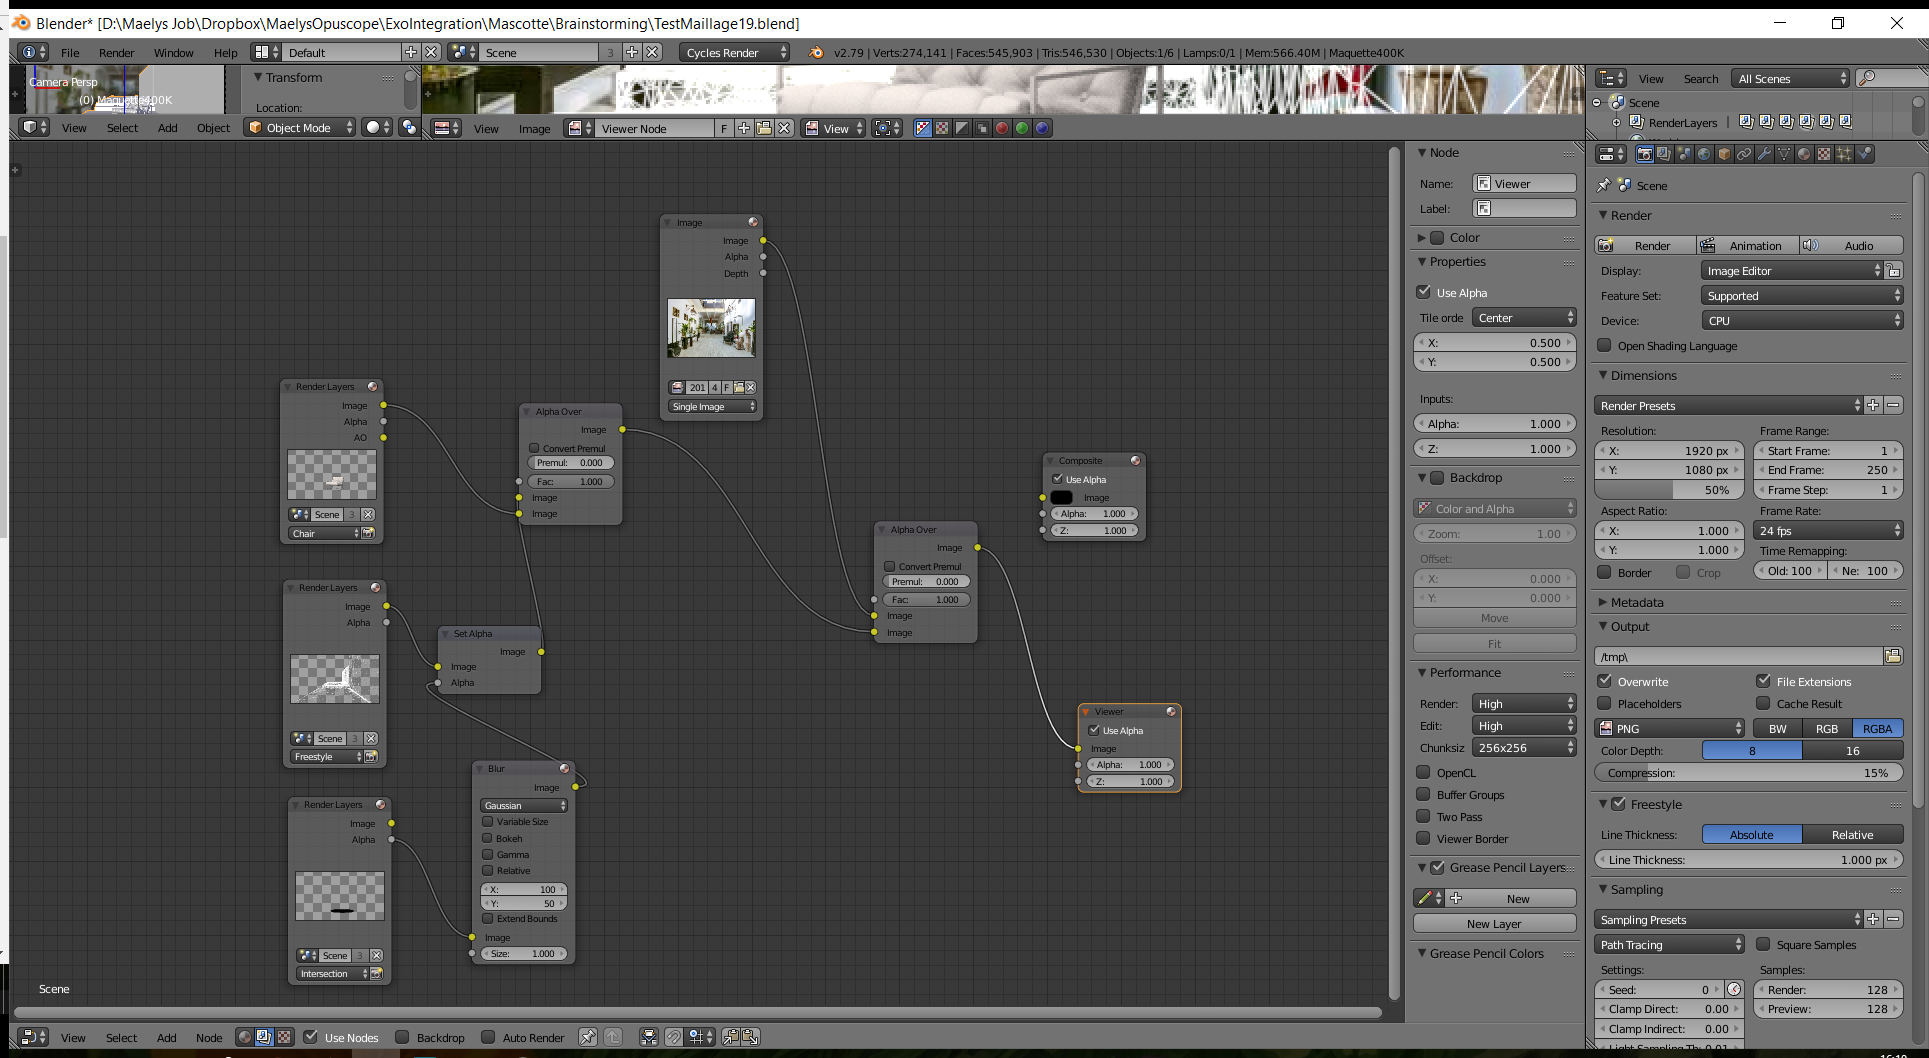
Here’s how I reasoned through this: I have my three render layers, that is to say the chair, the free style and the intersection. I started by treating the intersection: I took the alpha and blurred it so it gave me a black and white mask through with the free style would appear and disappear smoothly in a circle beneath the chair.
Then I took my free style render layer, and with the set alpha, I told it that now its alpha was the one I had just designed with the blur below. Then I combined it with the chair with an alpha over, and the result was what I wanted:
I have absolutely no idea how it can possibly give me this when I changed the alpha of the freestyle so that it shows up only under the armchair. I even tried to save the view of the freestyle through the mask as an image and combine that image, I still get the same result…
This has to do with how alpha actually works. In the Image Editor window that you’re seeing the results through, it doesn’t provide you with all the information.
The screenshot below shows the RGBA button, which is described in the documentation.
The indicated button, as the documentation states, replaces transparent pixels with the checkerboard background. However, that doesn’t mean that the pixels that are transparent don’t have any values. To view all your pixel info, click the RGB button to the right.
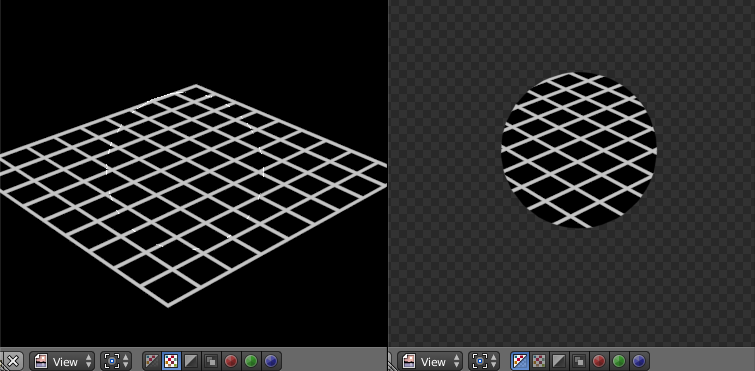
In the image below, I had 2 render layers. The first had a grid, the second a sphere. I used the sphere to set the alpha of the grid. Both images show what the composite looks like after the ‘set alpha’ node. The view on the left is with the viewer control set to RGB, and the one on the right is set to RGBA.
As you can see, none of the image info in the ‘transparent’ parts of the image is lost. This is the correct way to handle alpha, but the RGBA viewer setting is obviously misleading.
Since this is not your intended result, you need to multiply the RGB values by the alpha channel. One way to do this is on the first ‘alpha over’ node (where you have combined your rendered elements) check the ‘convert premul’ box.
Hello!
Thank you so much for your answer. I indeed ticked the premult option and it worked. I think I understood correctly what you meant, I will go check the documentation you gave me to be sure
Thanks again!
Popi