I have actually posted this on the stackexchange but I learned that theres no much activity as it used to be on the forums, so this is why I’m posting this here! because I believe I might get help here! and I hope thats okay, as I copy paste my thread!
Here we go!
Hey!!!
I’m trying the texture my character, but I’m having a lot of trouble mapping all of my textures together, I have been researching a lot but I couldnt find anything that could help me!
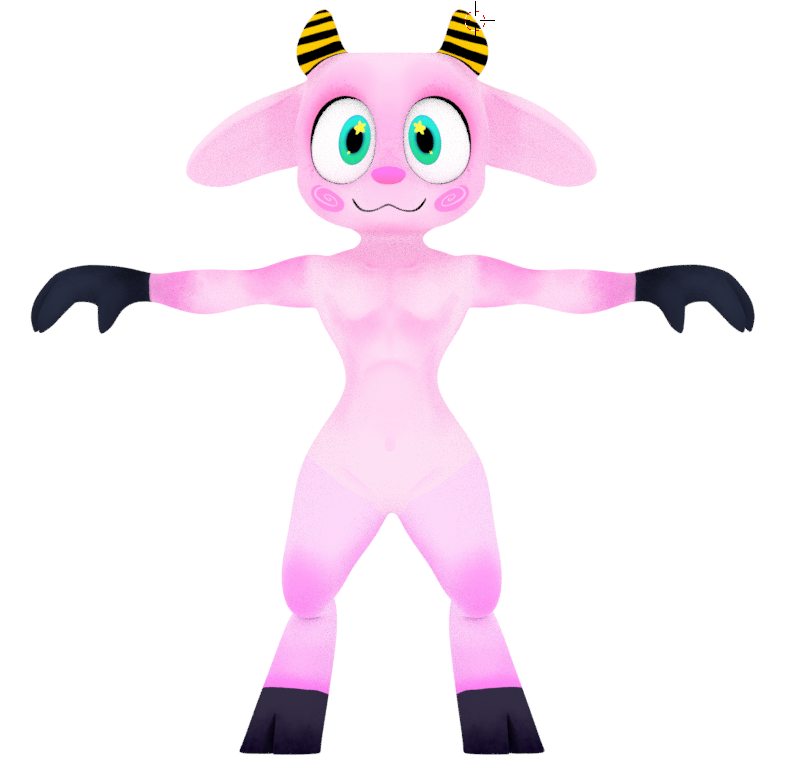
I have this character here, that I textured by creating uv maps for 5 body parts like head, body, arms and legs, and assigning materials to selected faces. Like, If I made a UV map for the head, I made a material and assigned the material to the faces the UV map is created from.
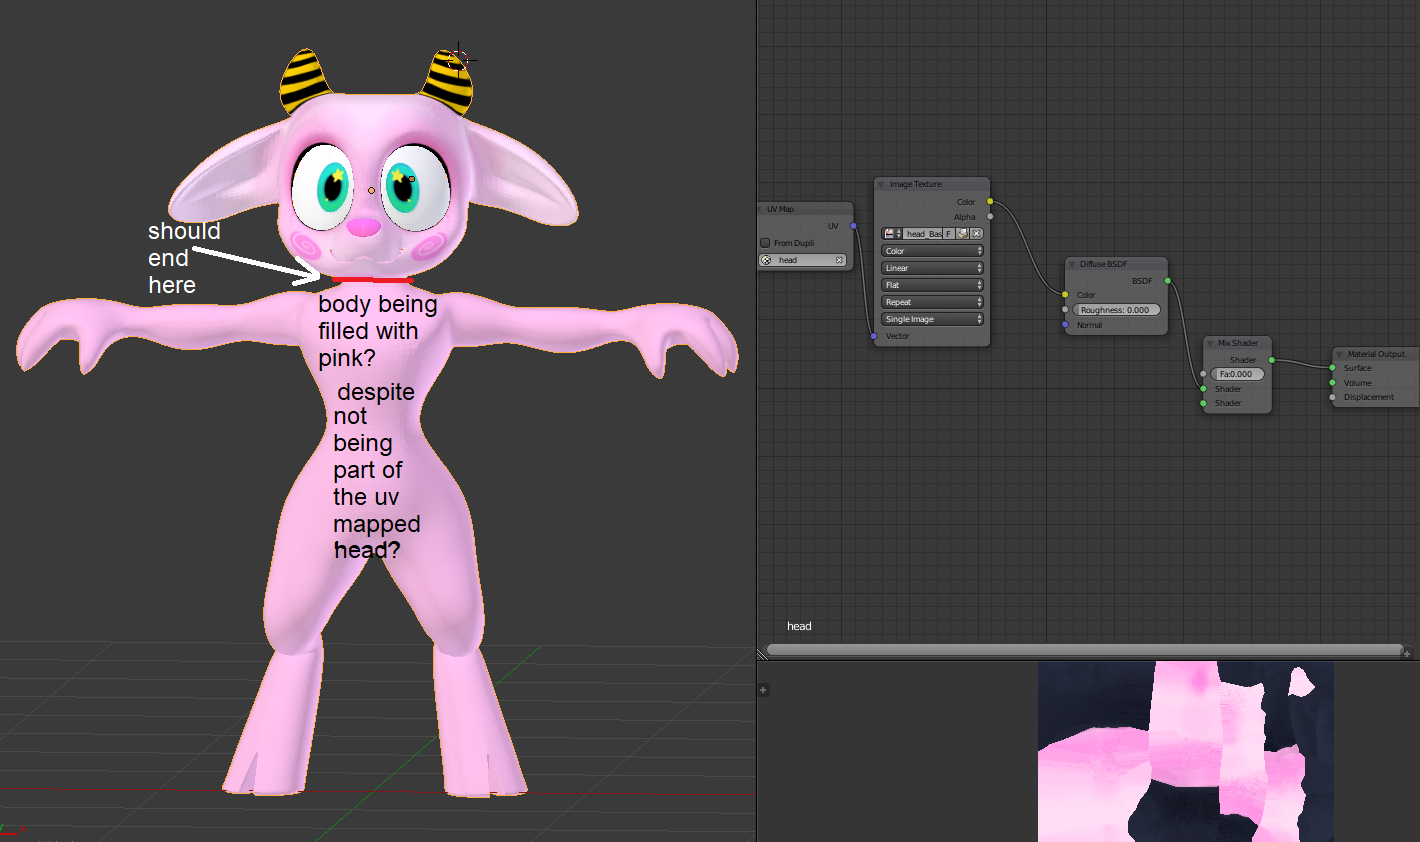
And my character looks like that
Problem is, assigning the materials to the faces takes away my freedom to use the same faces again in case I want to texture parts of the body and parts of the legs on a different material (I want to paint around the legs and body to cover up the wierd thing going on if you pay enough attention to it)
So my idea is that instead of assigning materials to the faces, I could instead only assign the textures to their UV MAP.
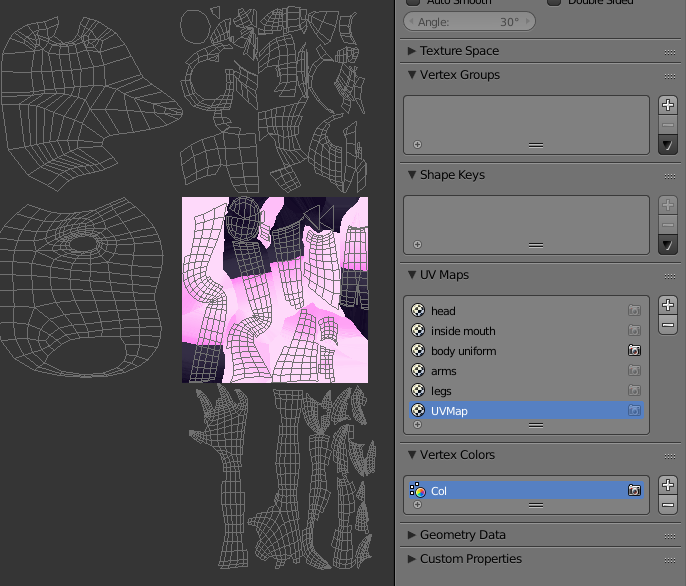
My UV maps are set up like this:
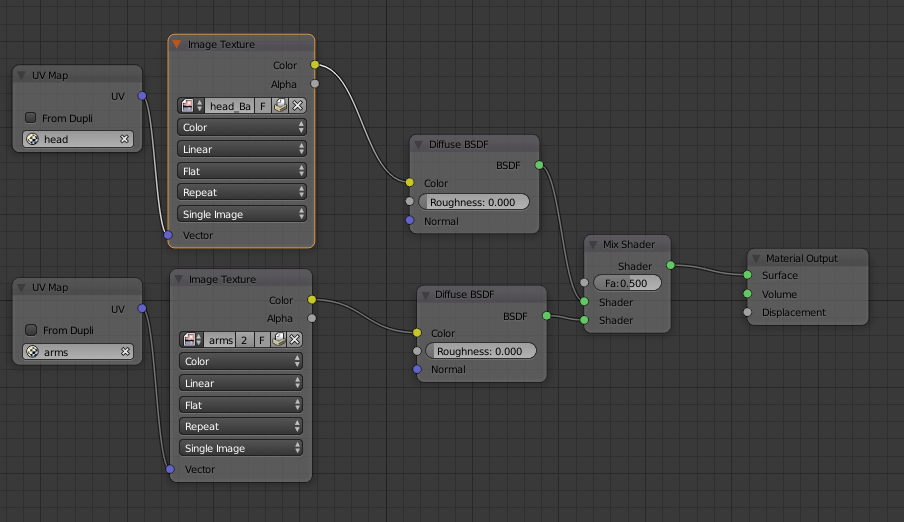
Now after doing some research, people say its possible to achieve putting a bunch of textures doing it with this setup of nodes:
Unfortunately when I do that, that what happens in result:
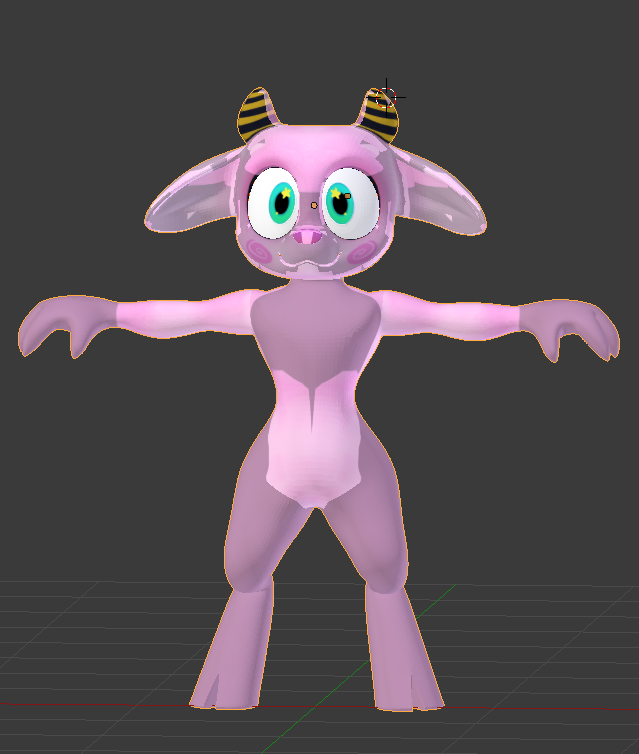
^Basically what you see here is both the head texture and the arms texture overlapping each other, and when I apply only one texture, lets say, the head, that what happens in exchange:
As the texture goes outside of the assigned UV map.
I tried using attribute instead, using texture coordinate, mapping node, using two materials for separate textures, seaming the head, nothing!
I hope you can help me with this! nothing I could find over the web!
I could use one map, but I chose to work with multiple uv maps as it allows me to give high quality detail to every part of the character’s body, and also some things are too dense and they dont have a lot of place to stretch if the entire mesh was uv mapped, also I lack the computing power to draw over really really big canvases so its another reason why Im splitting between a bunch of textures.
I also prefer not to split my entire mesh into different objects.
I hope you can help me with this! nothing I could find over the web!
