Welcome to my Sketchbook!
I post my slow progressing side projects here weekly to keep me motivated.
Note
This is getting long, use blue timeline bar on the right to skip to current date =>
I post my slow progressing side projects here weekly to keep me motivated.
This is getting long, use blue timeline bar on the right to skip to current date =>
Looking forward to see your work!
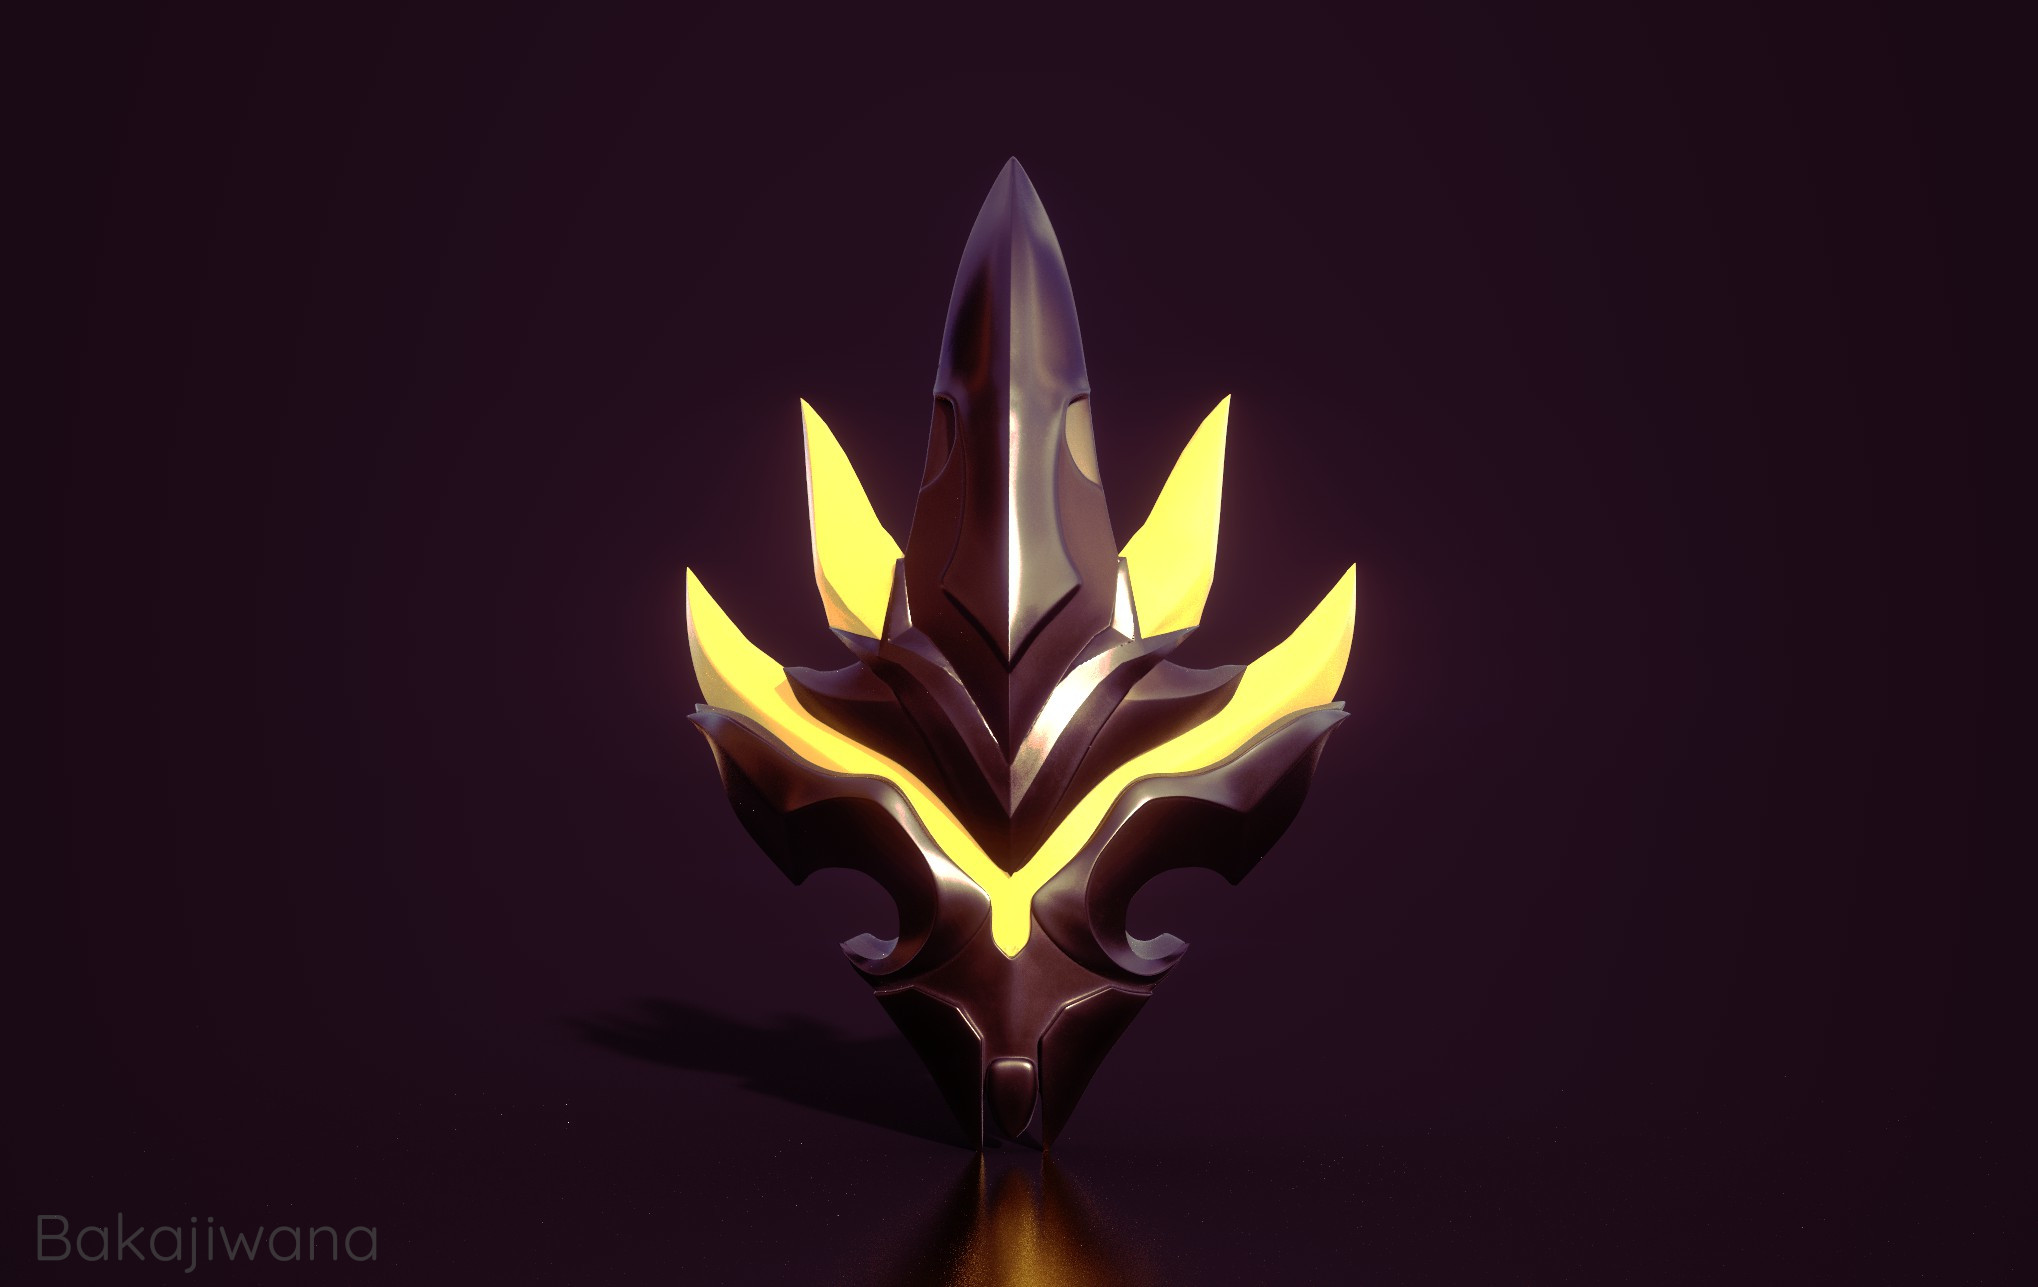
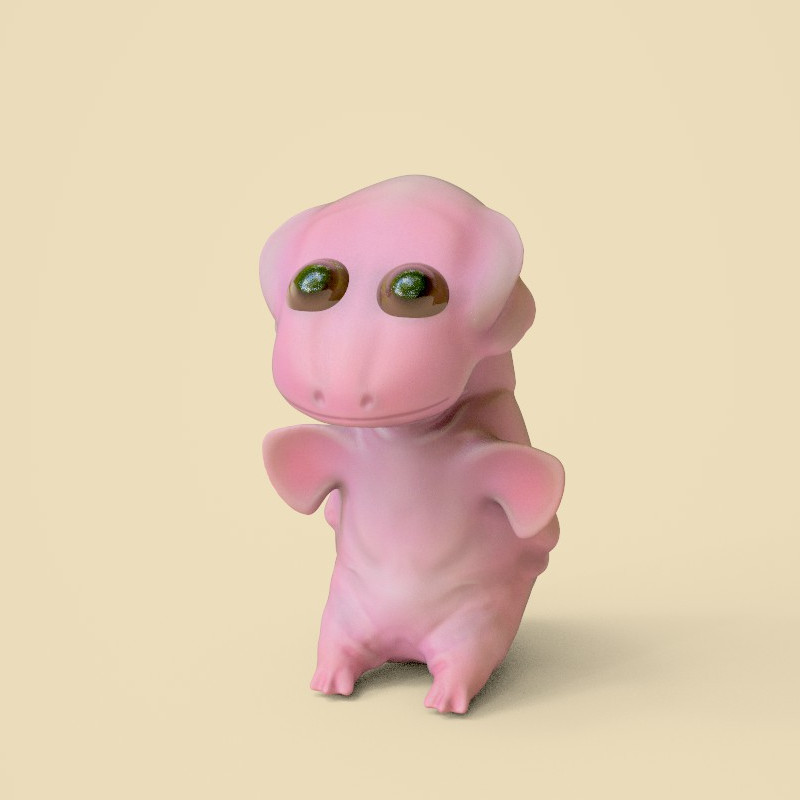
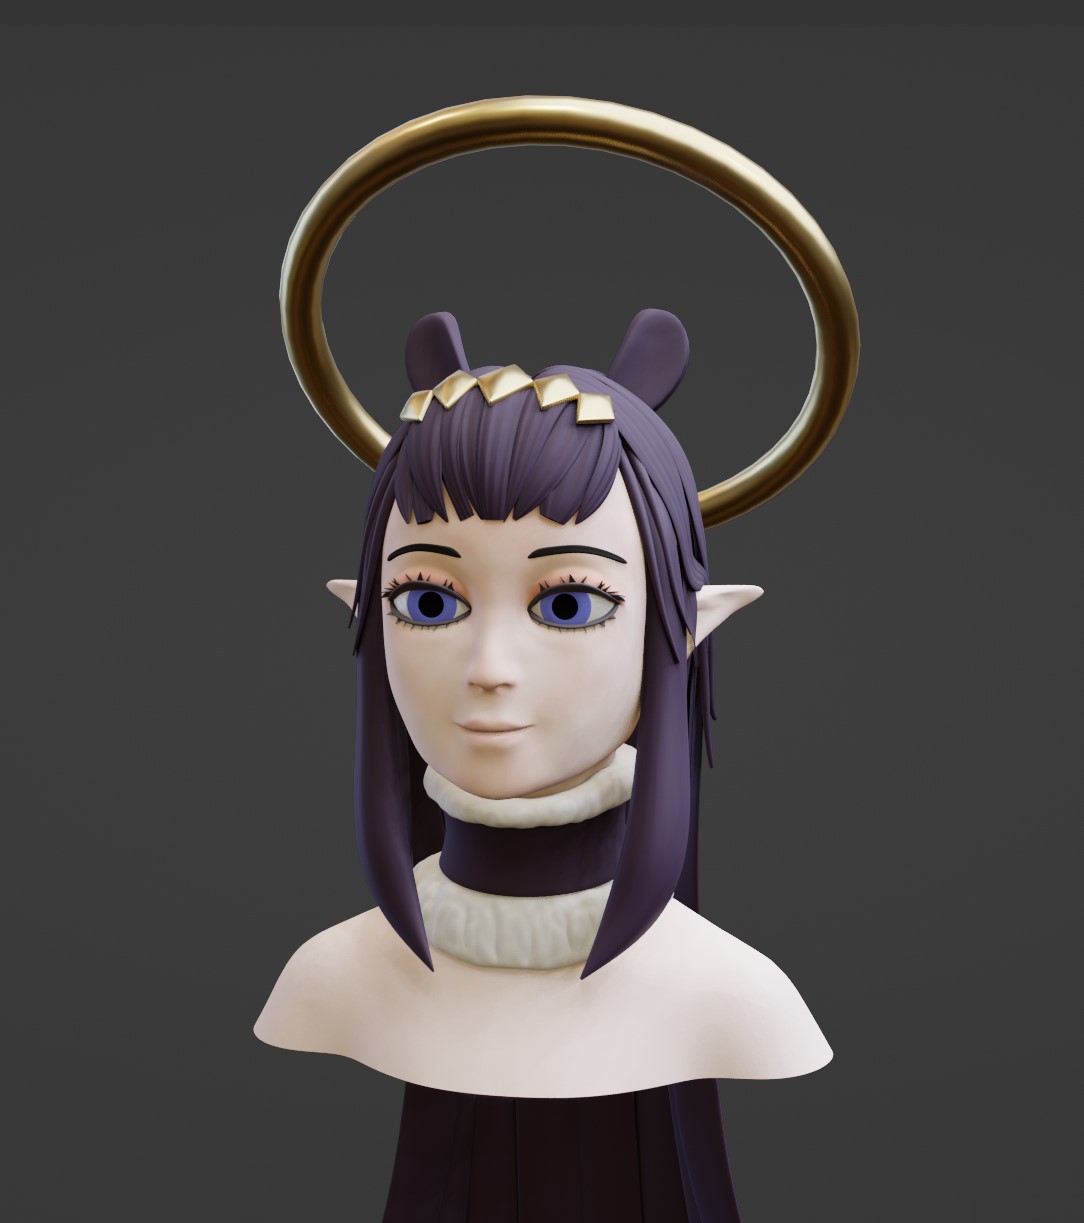
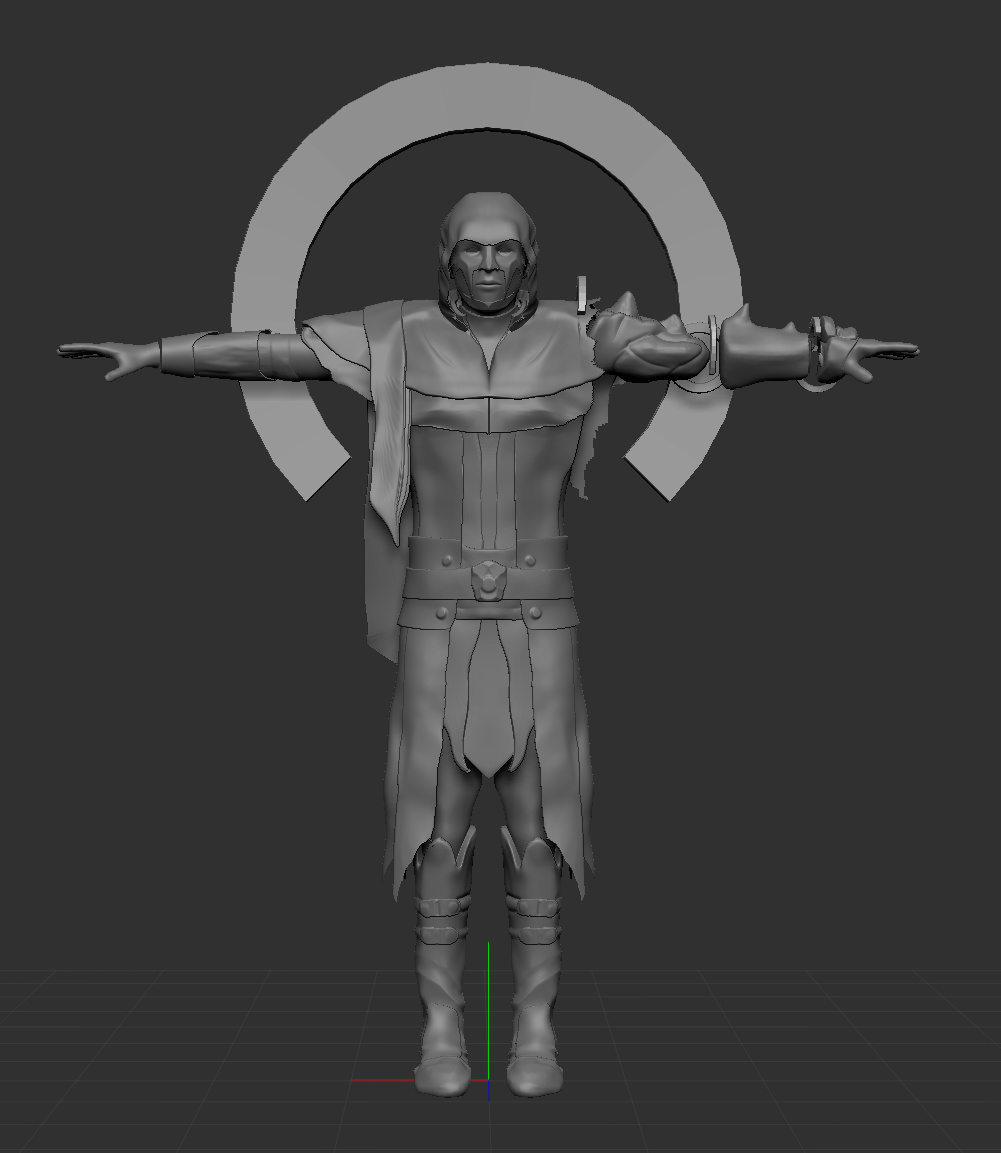
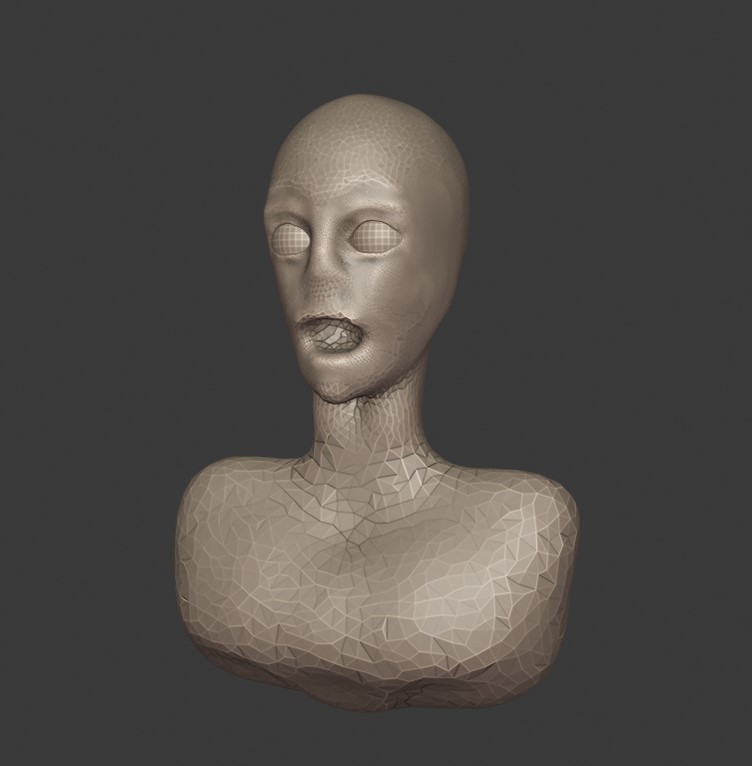
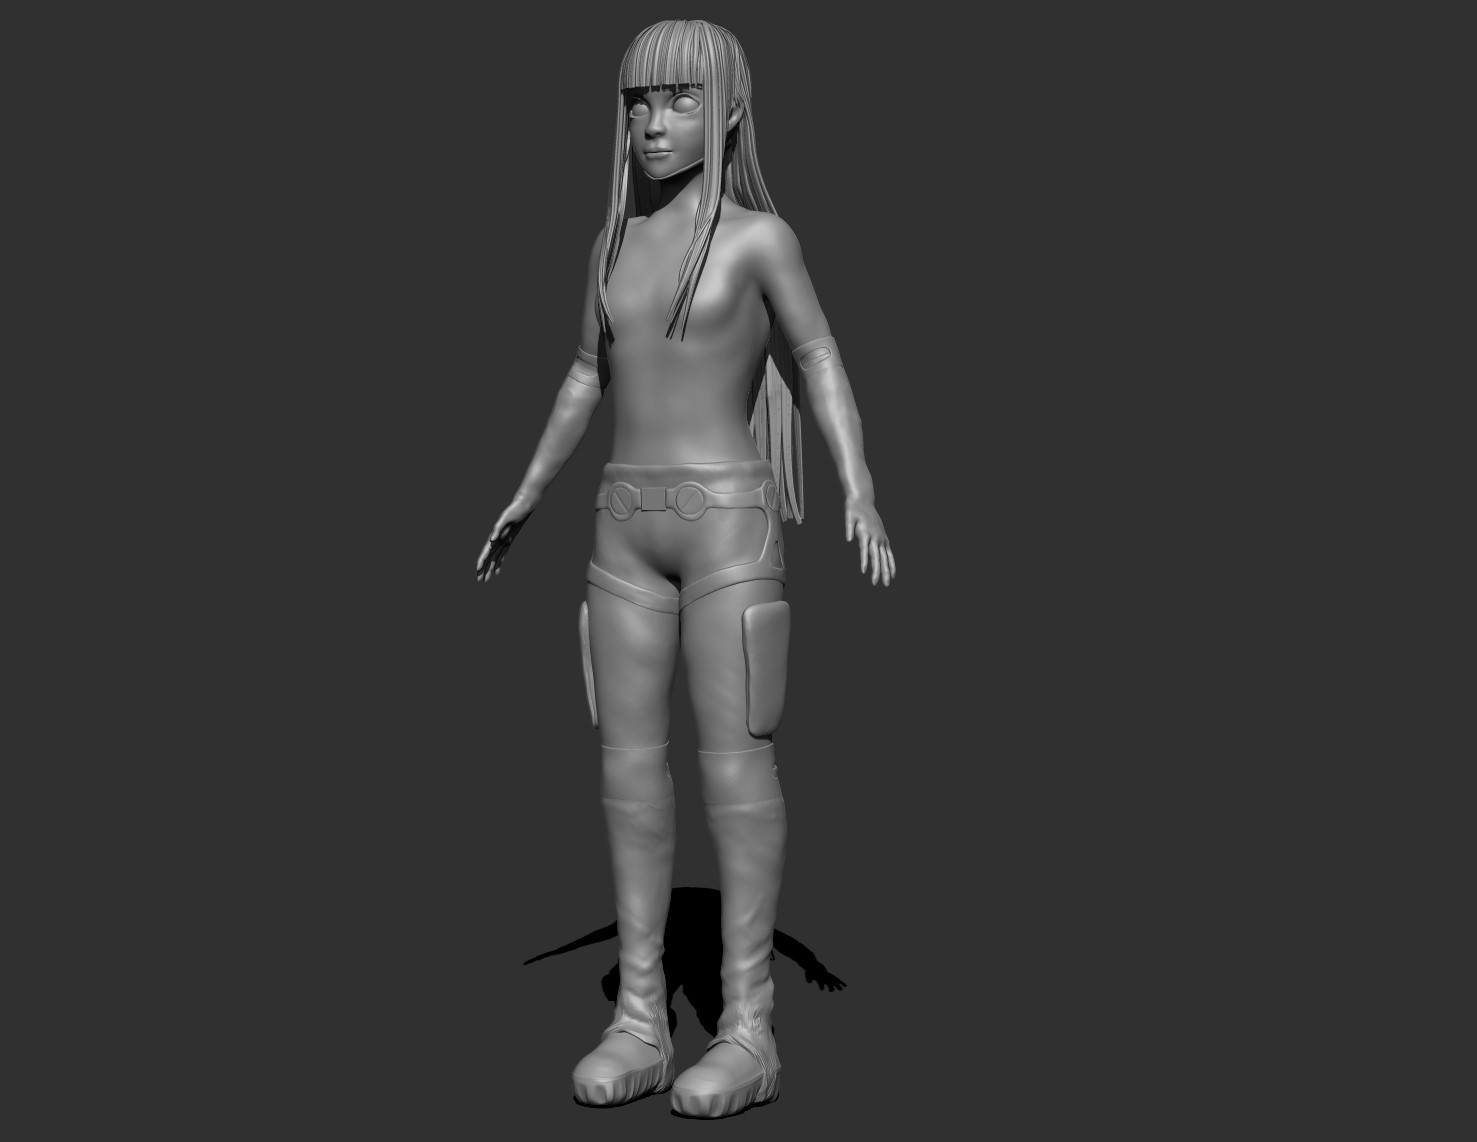
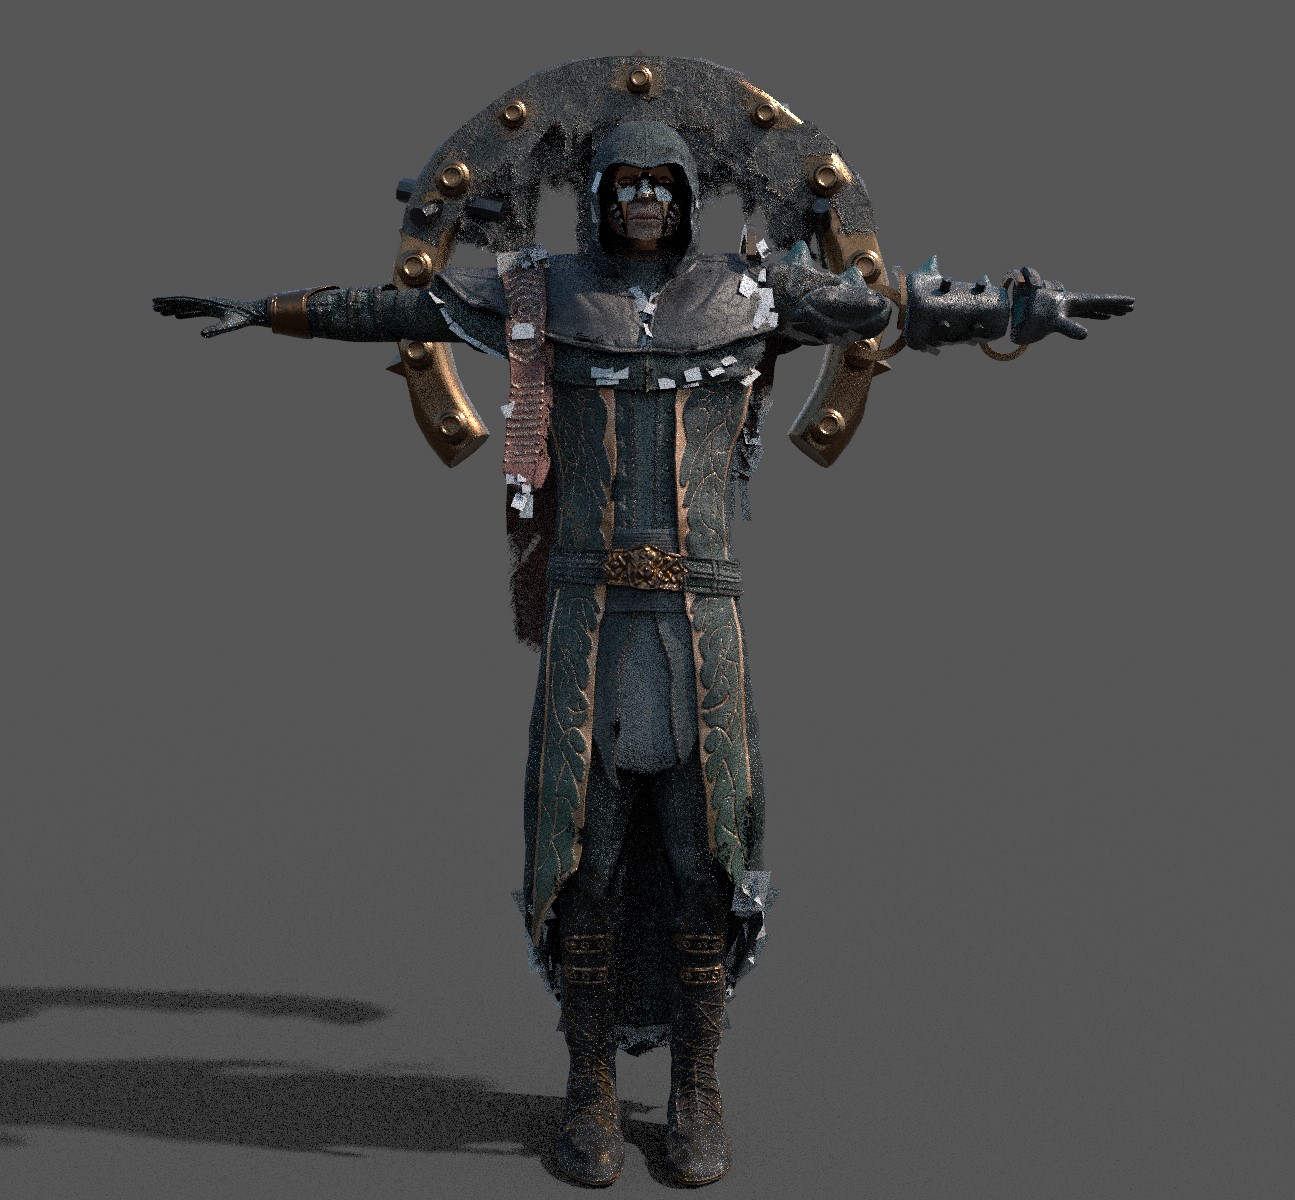
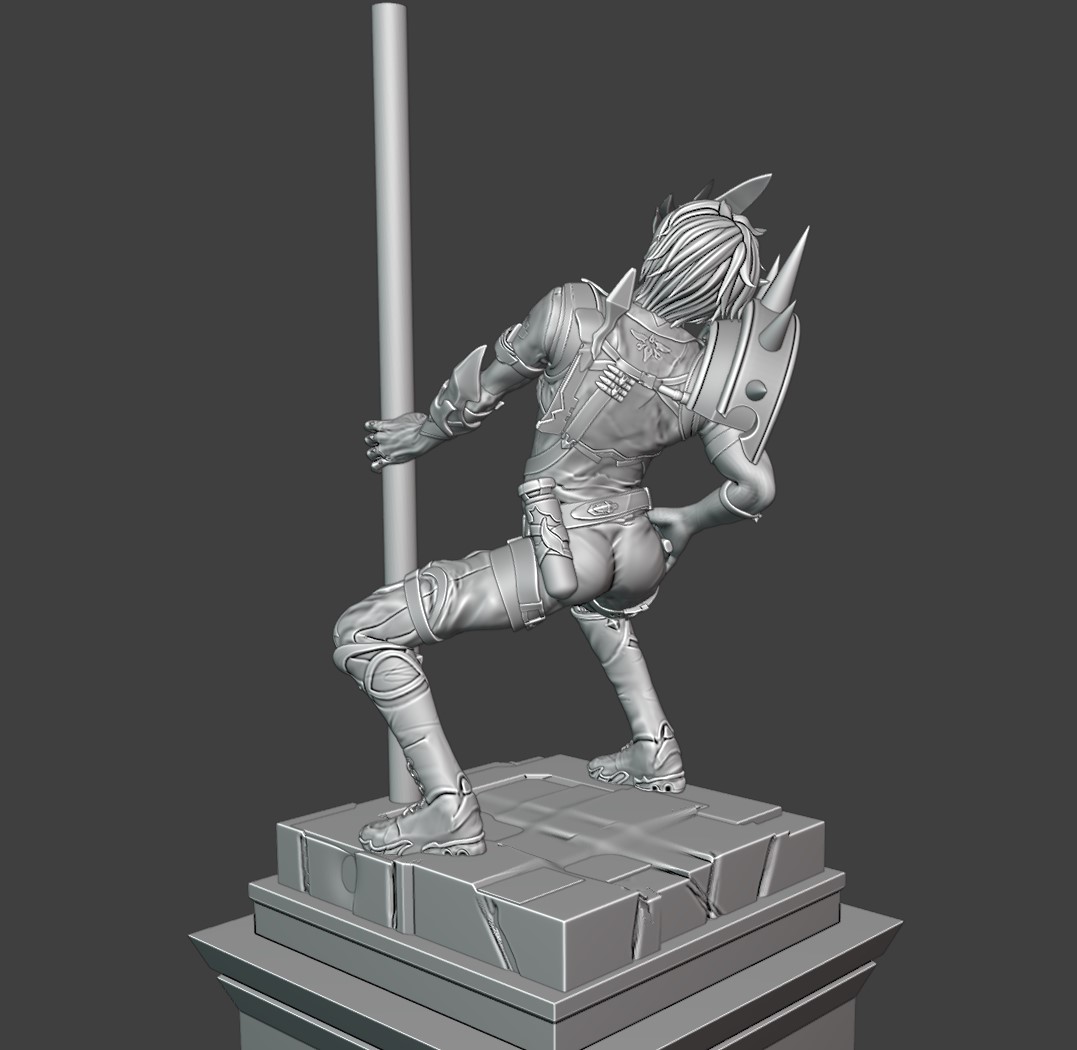
Esper Destorova WIP 1
Started using Blender to escape Maya and wow, I wish I jumped ships ages ago. I mean Maya has its advantages but Blender is ‘homely’. ANYWAYS this is something I was working on a couple of months ago before I decided to take on an competition.
Note: I blocked in Blender, then sculpted in Zbrush then retopologised in Blender. That Retopoflow addon is amazing!!!
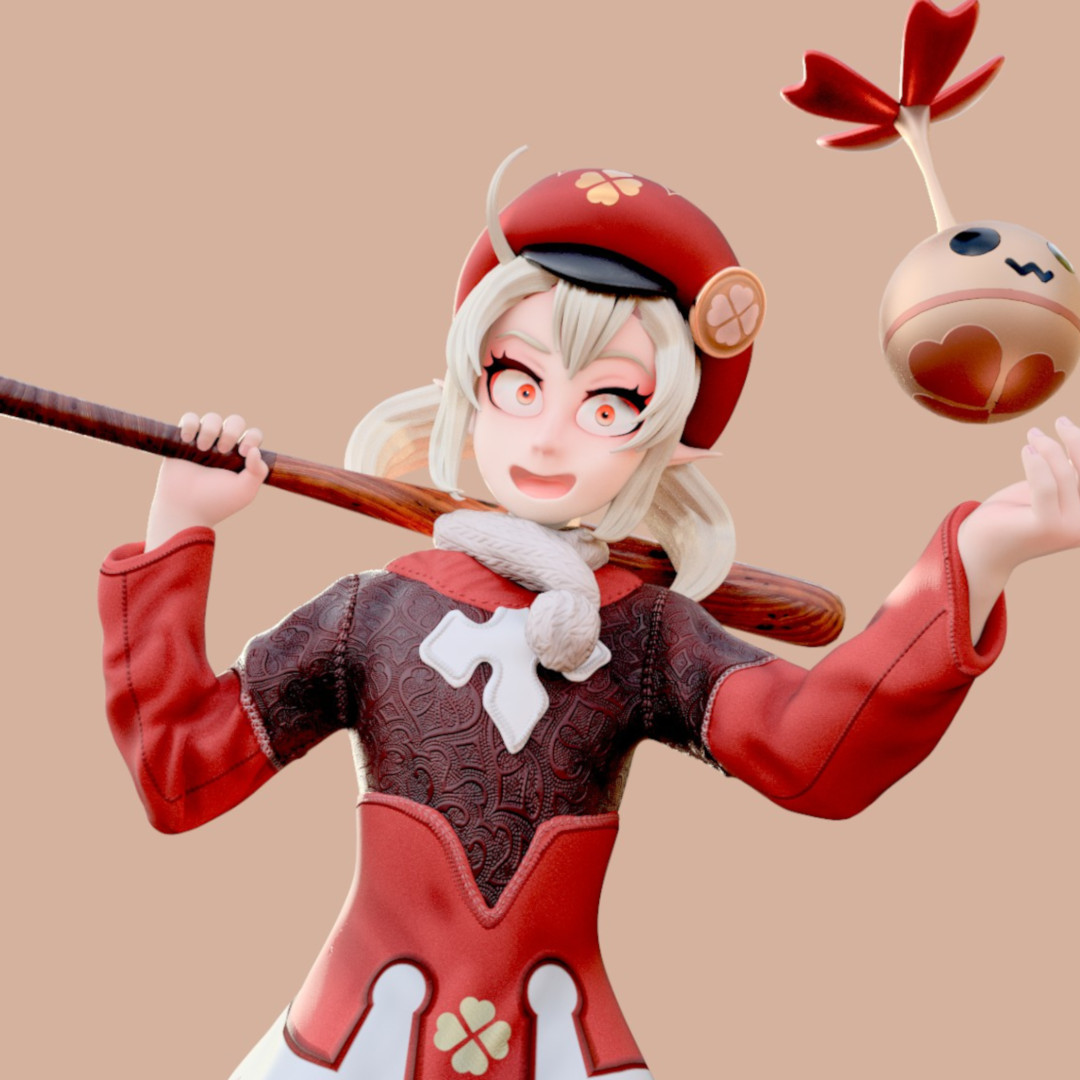
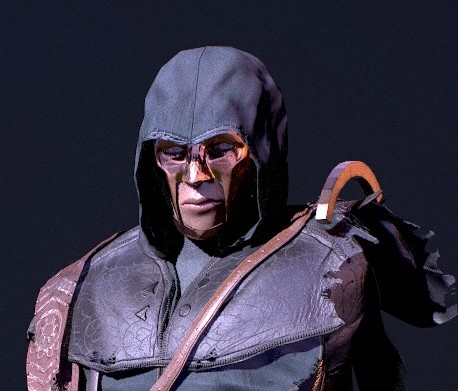
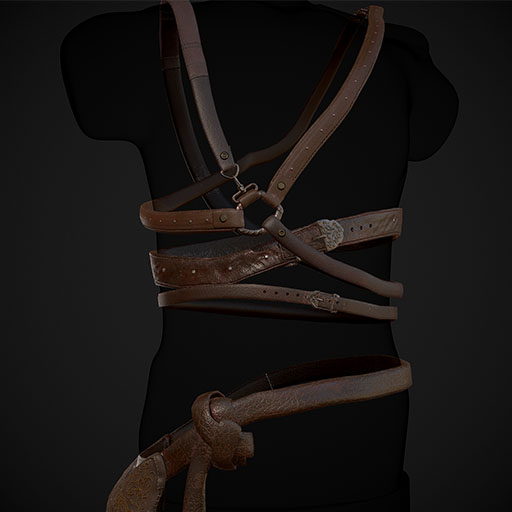
GunWitch WIP 1
SPECIAL THANKS TO MOIZE OPEL FOR LETTING ME USE HIS CONCEPT ART CHARACTER - The GunWitch
Decided to take on the ArtStation Wild West Realtime Character Challenge.
Using a Zbrush > Blender > Substance Painter > Marmoset workflow. My usual used to be Maya > Mudbox. This pressure allowed me to improve and learn in a short amount of time.
Quick Sculpting, learning how to sculpt in Blender 2.8.
Made some more progress
Self Review: I’m too attached on each piece and limb, I should be quickly modelling each piece in its ‘1st level’ not refining each limb as I find myself going back and forth re-doing things over and over again. I shall keep a ‘balance or harmony’ next time making sure each part is at the same level and advancing the whole model equally.
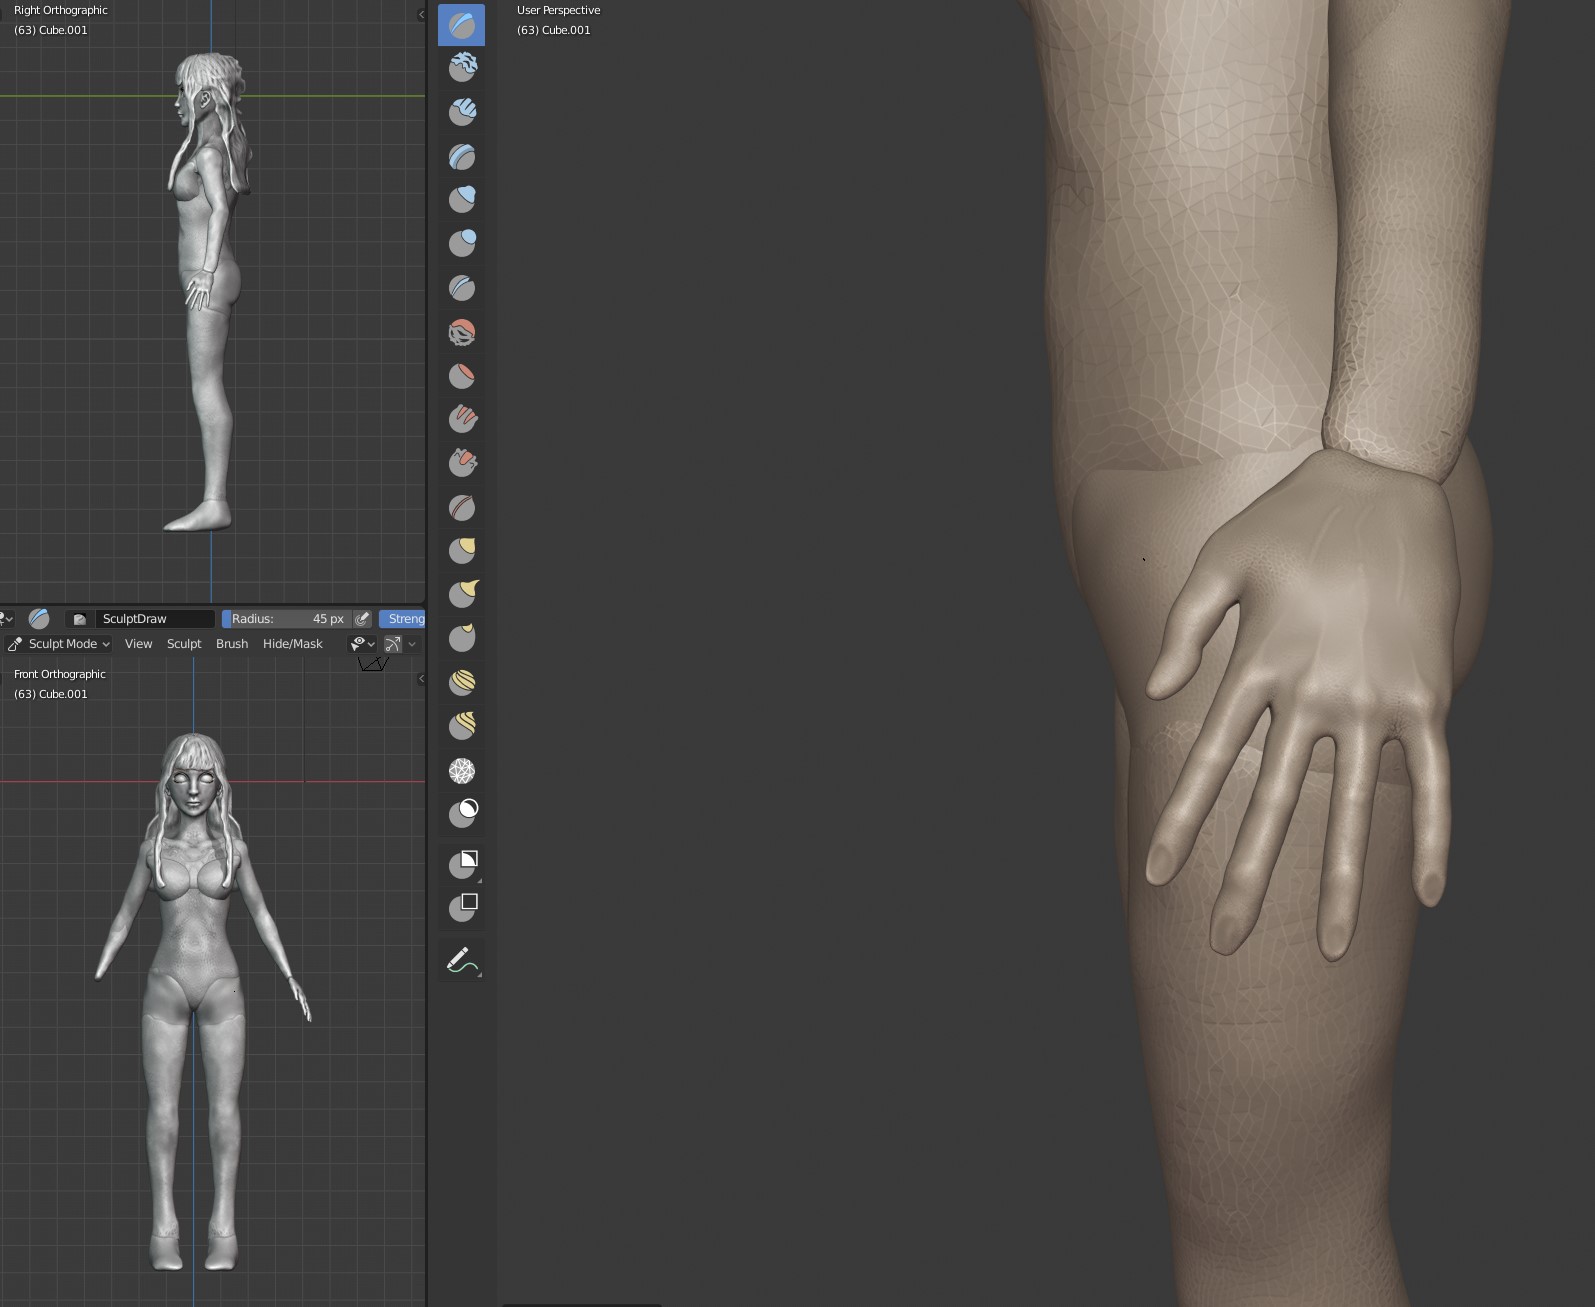
Optimist: Hands…are…hard…
Pessimist: Hands…are…the…WORST
Hands, hands, hands.
Self Review: Ok a lot of work on the hands, I shall leave it on that level and get to refining the rest of the body for one more pass before the final.
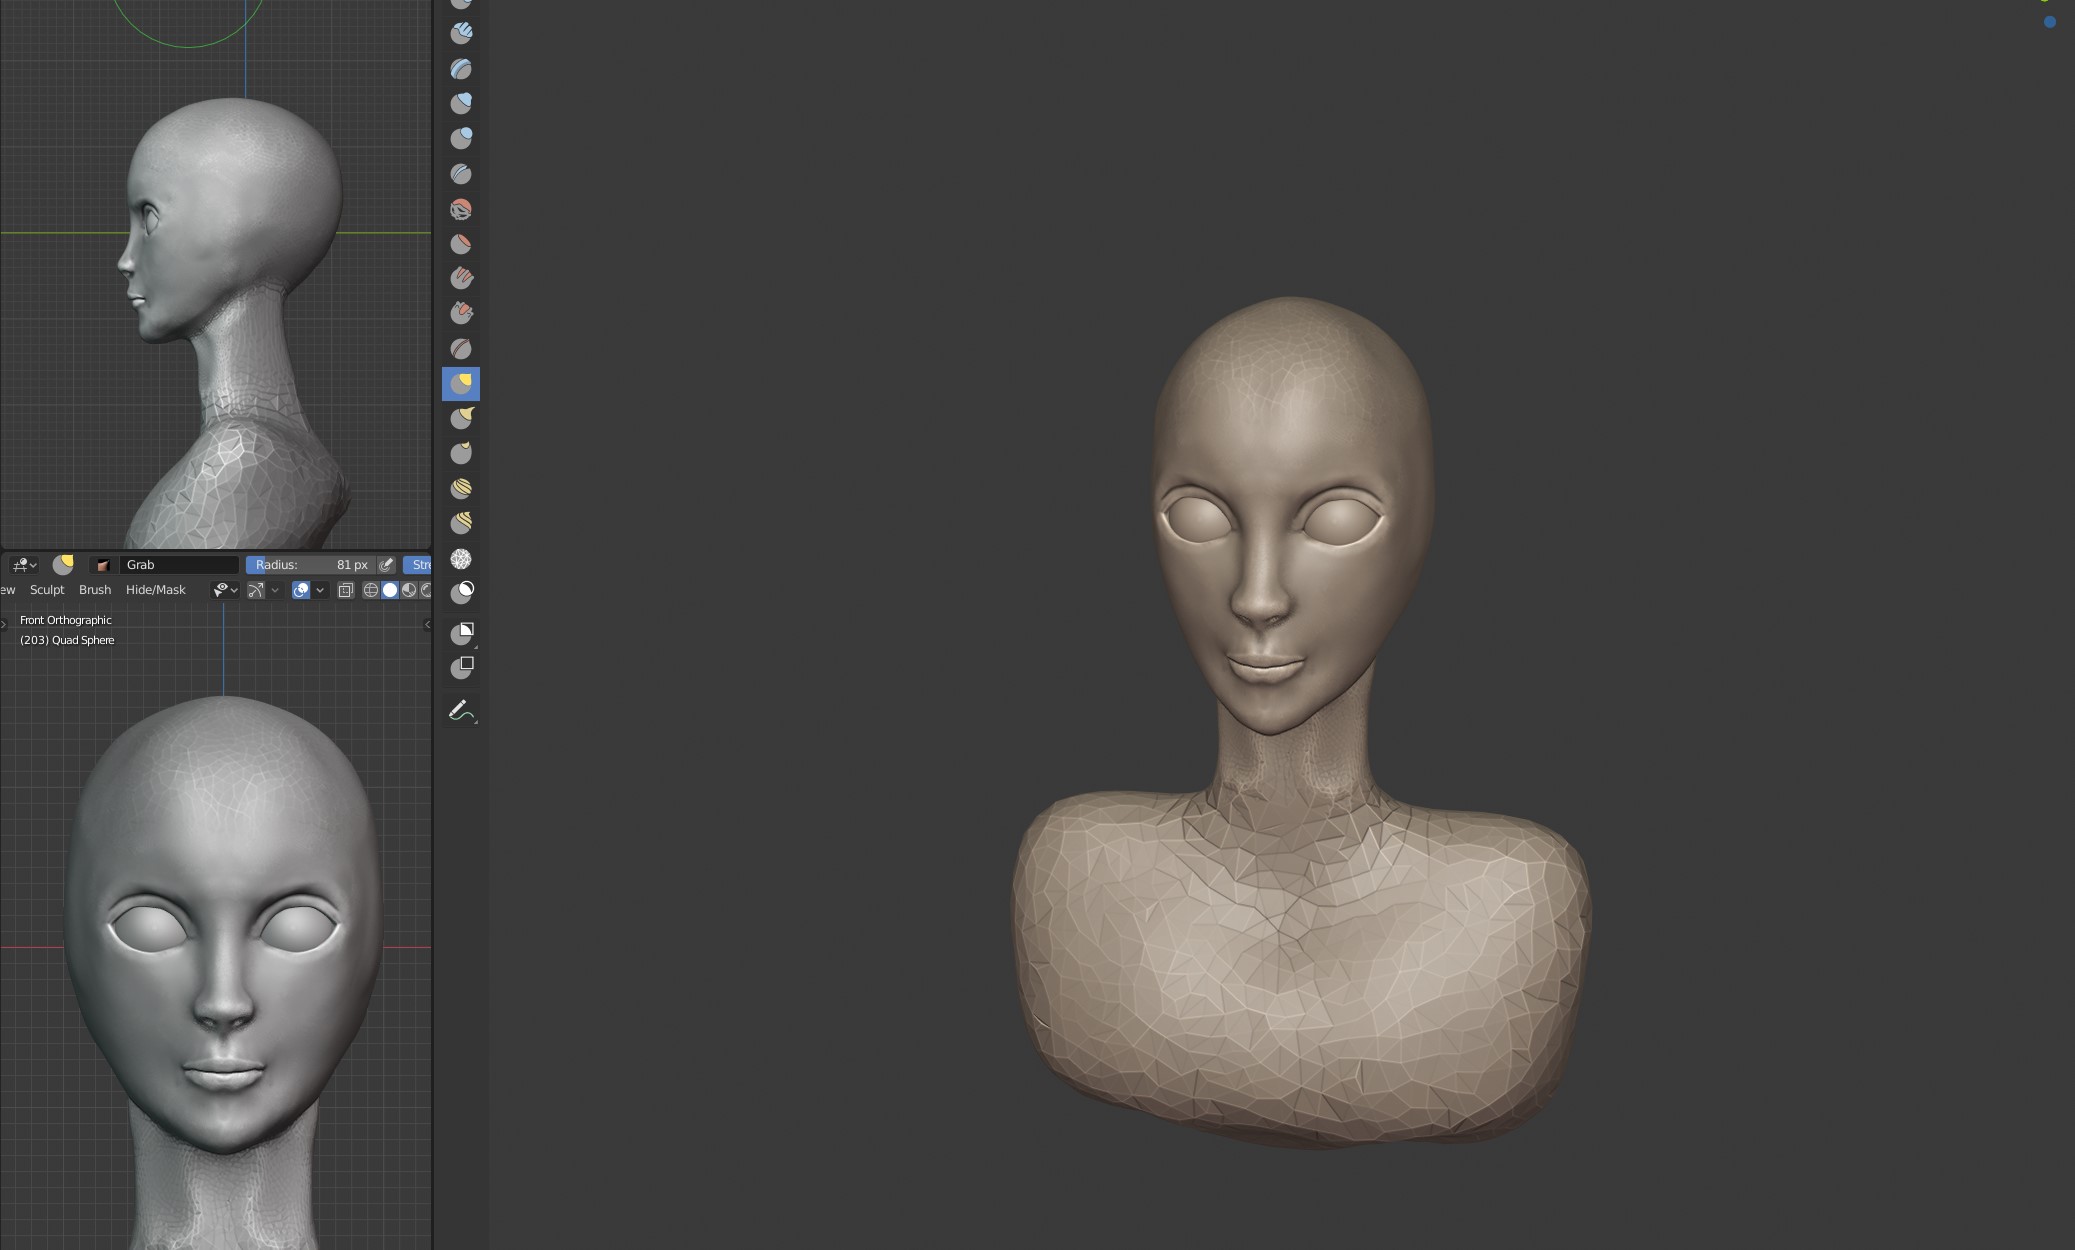
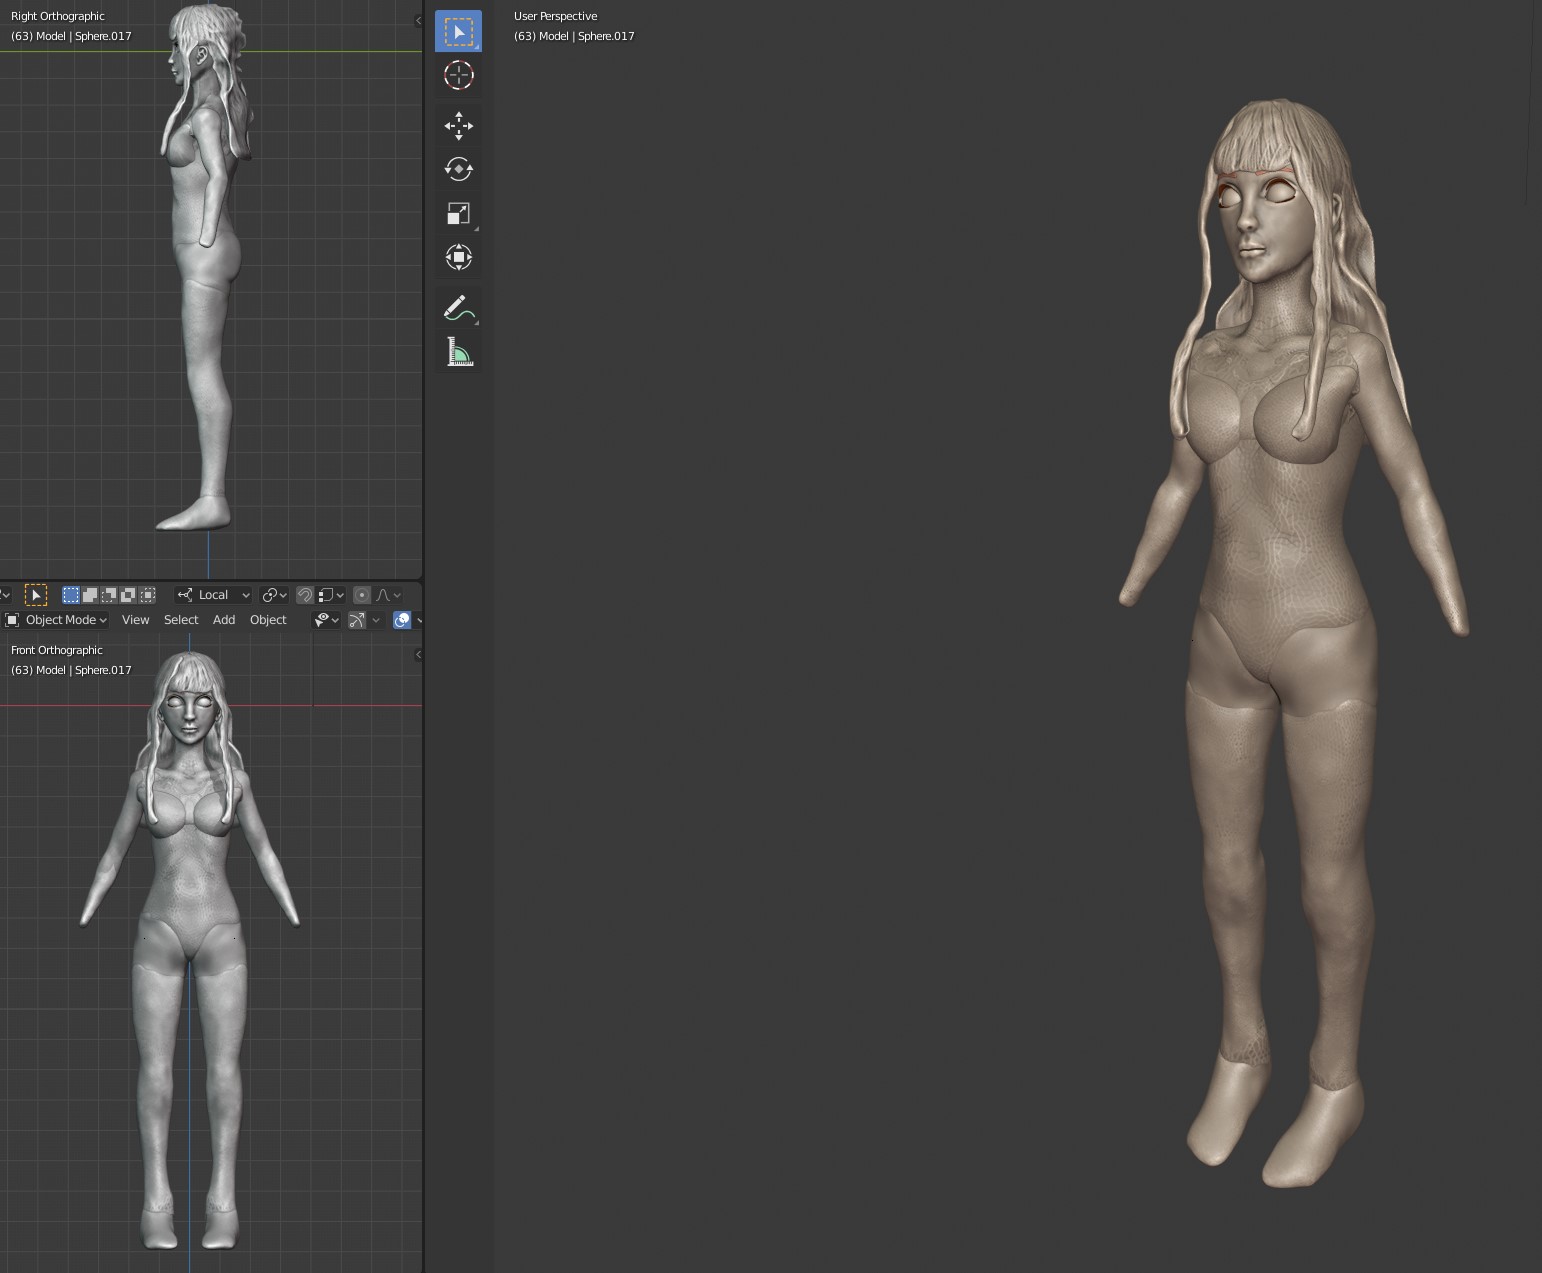
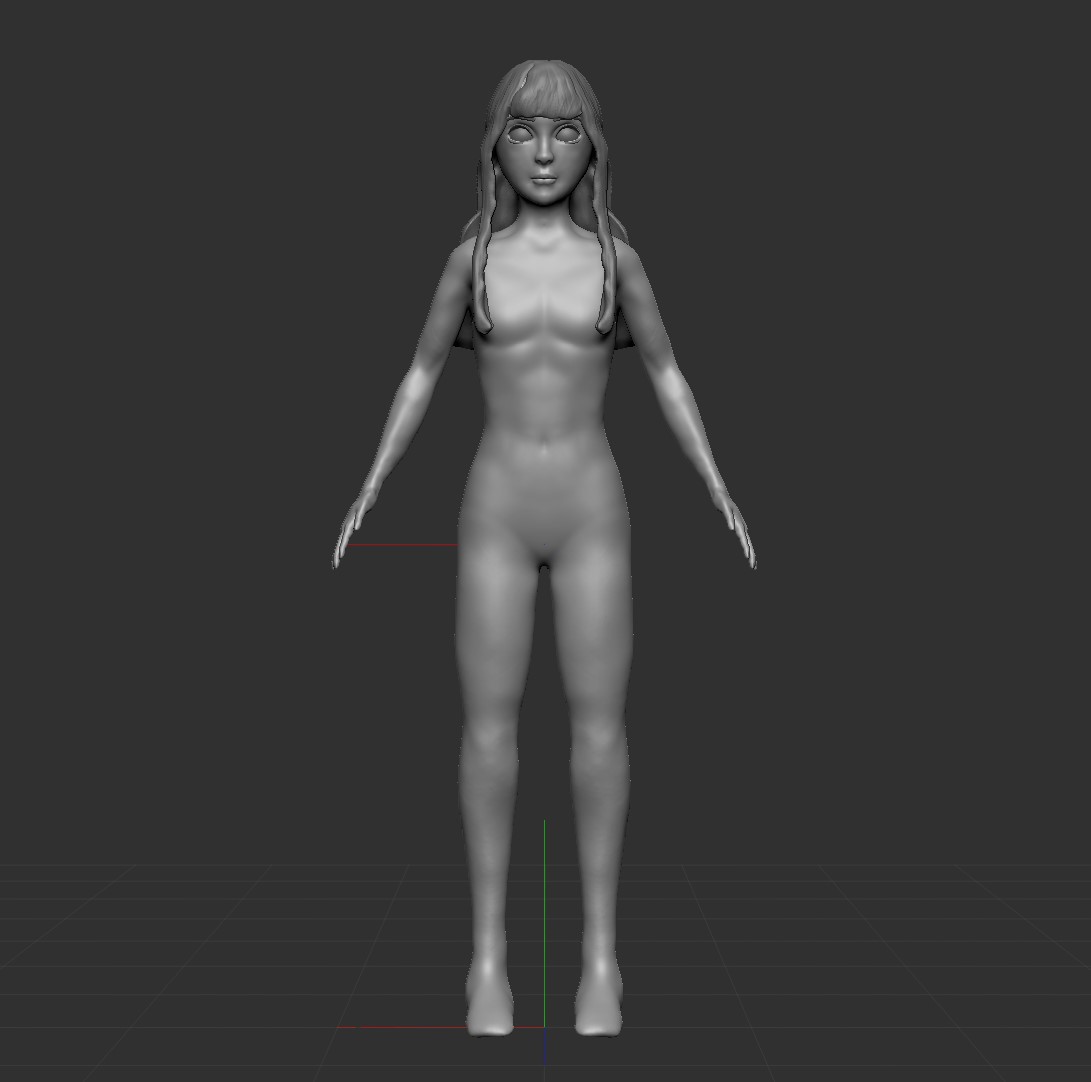
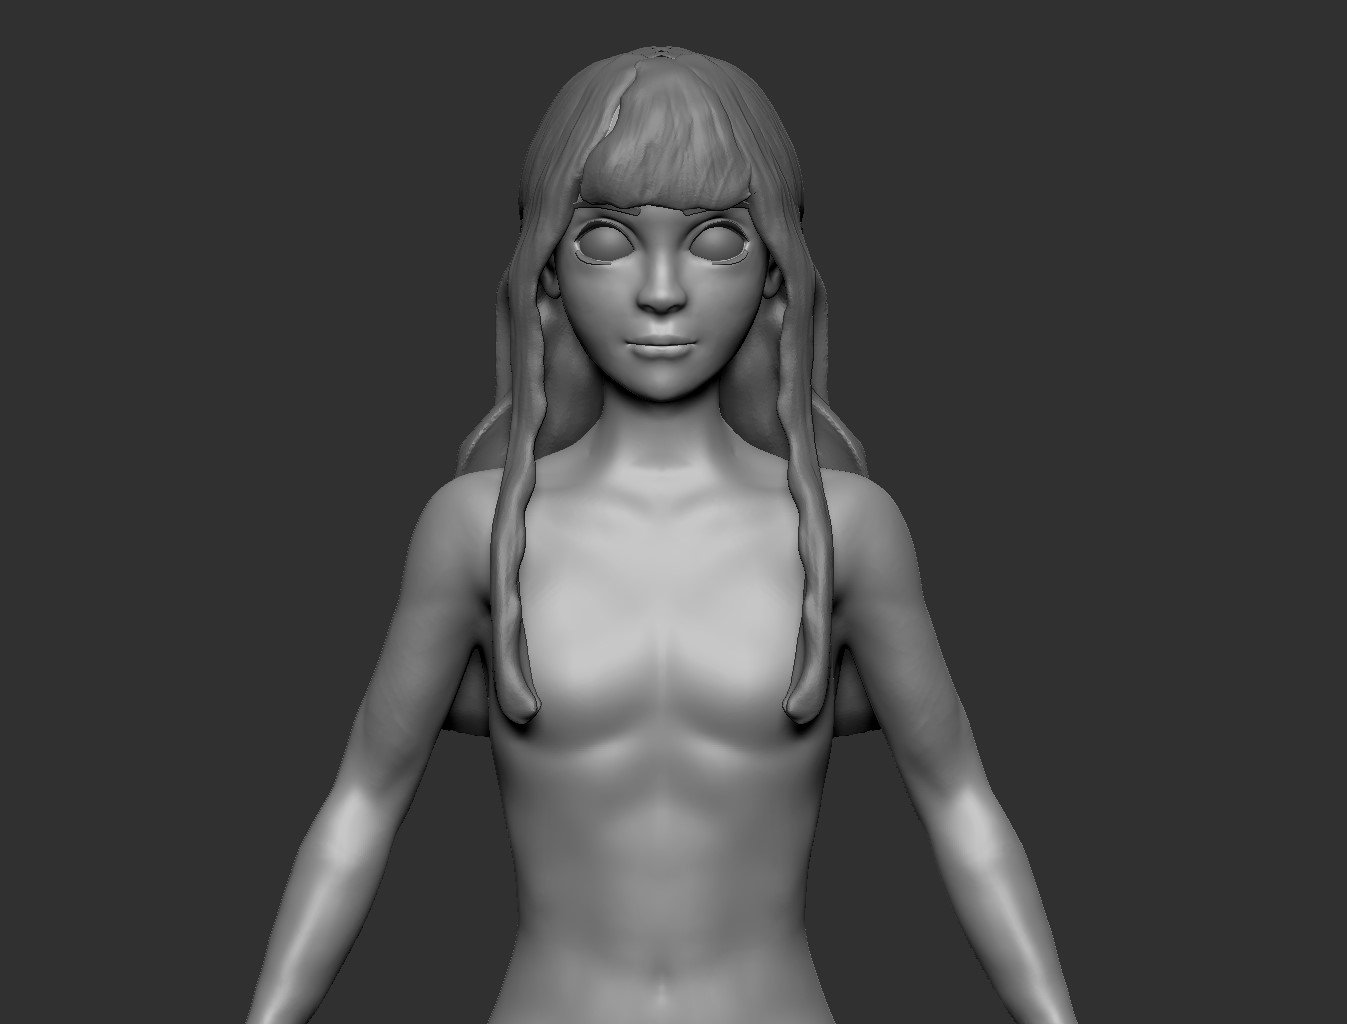
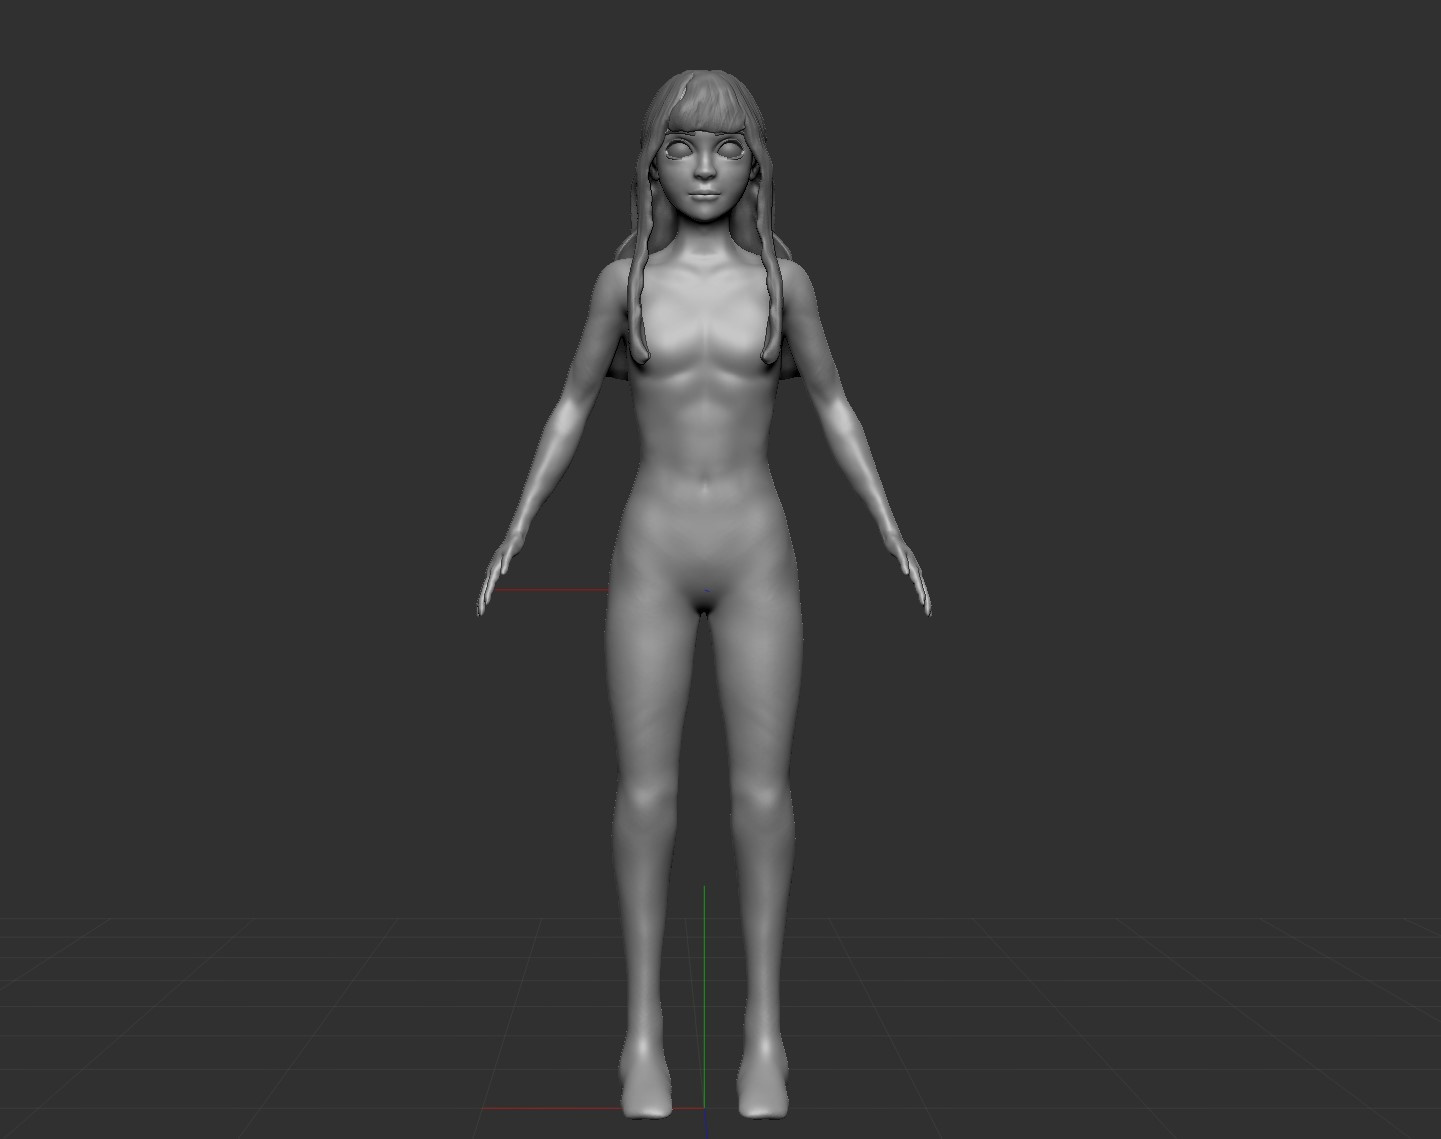
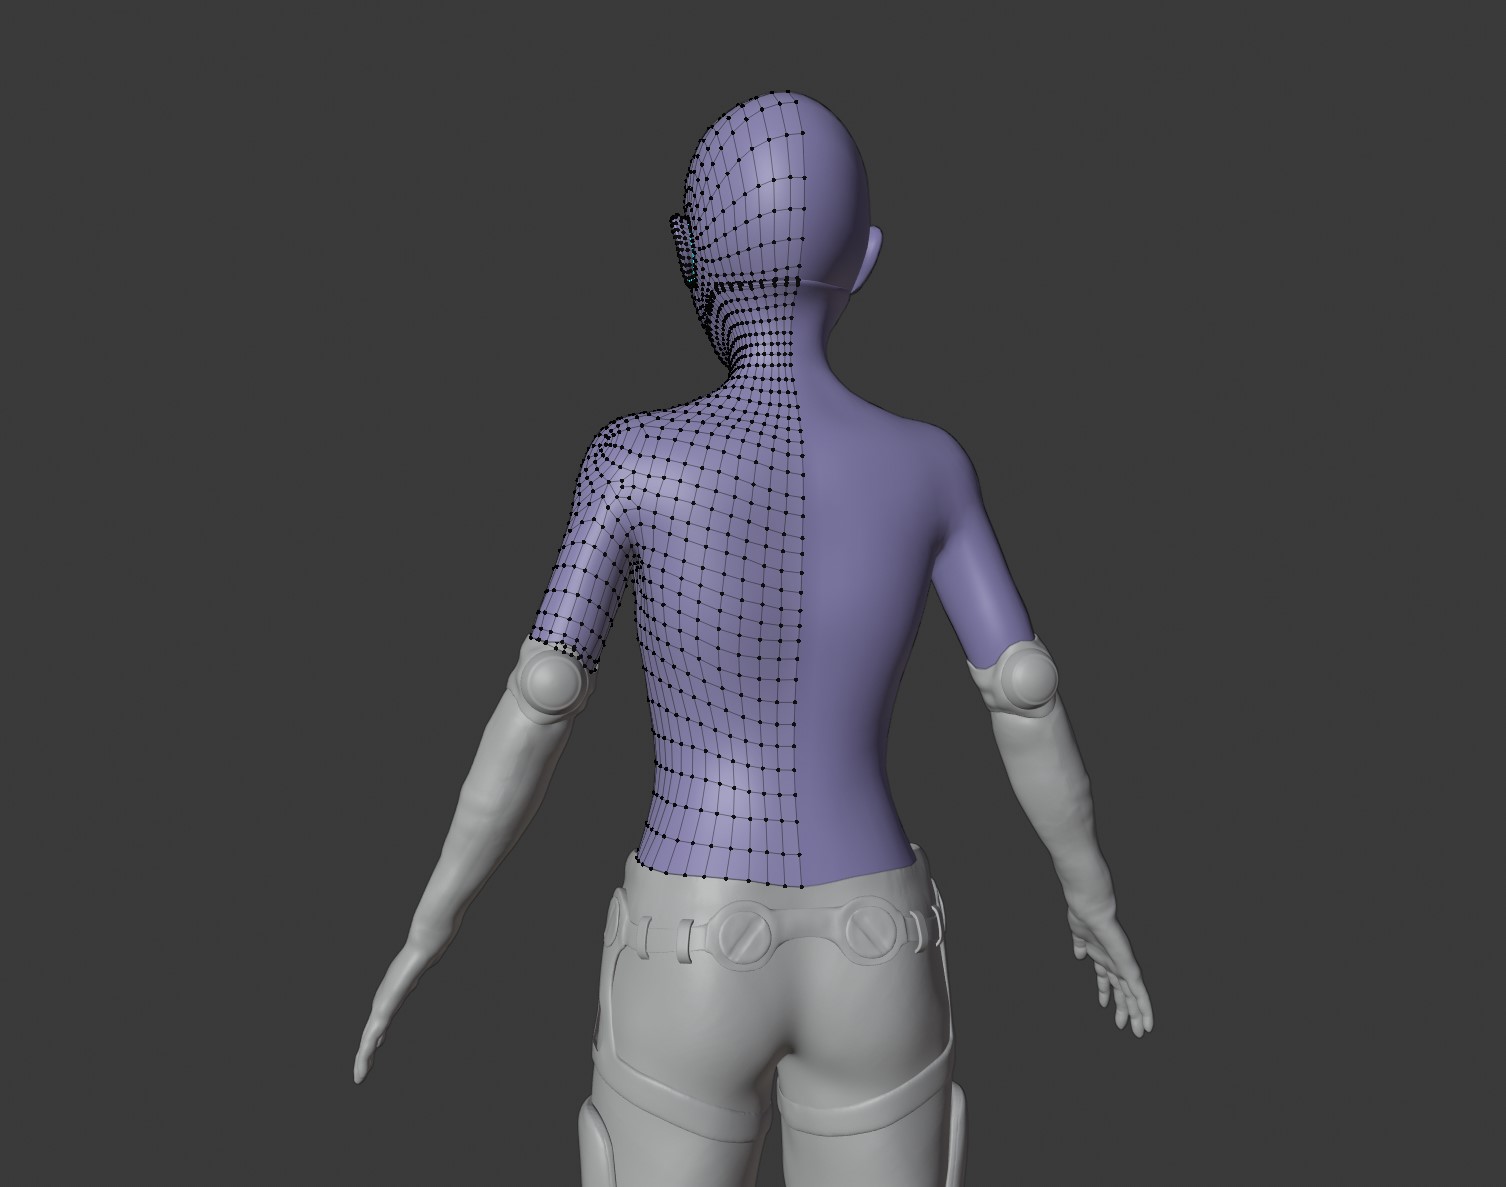
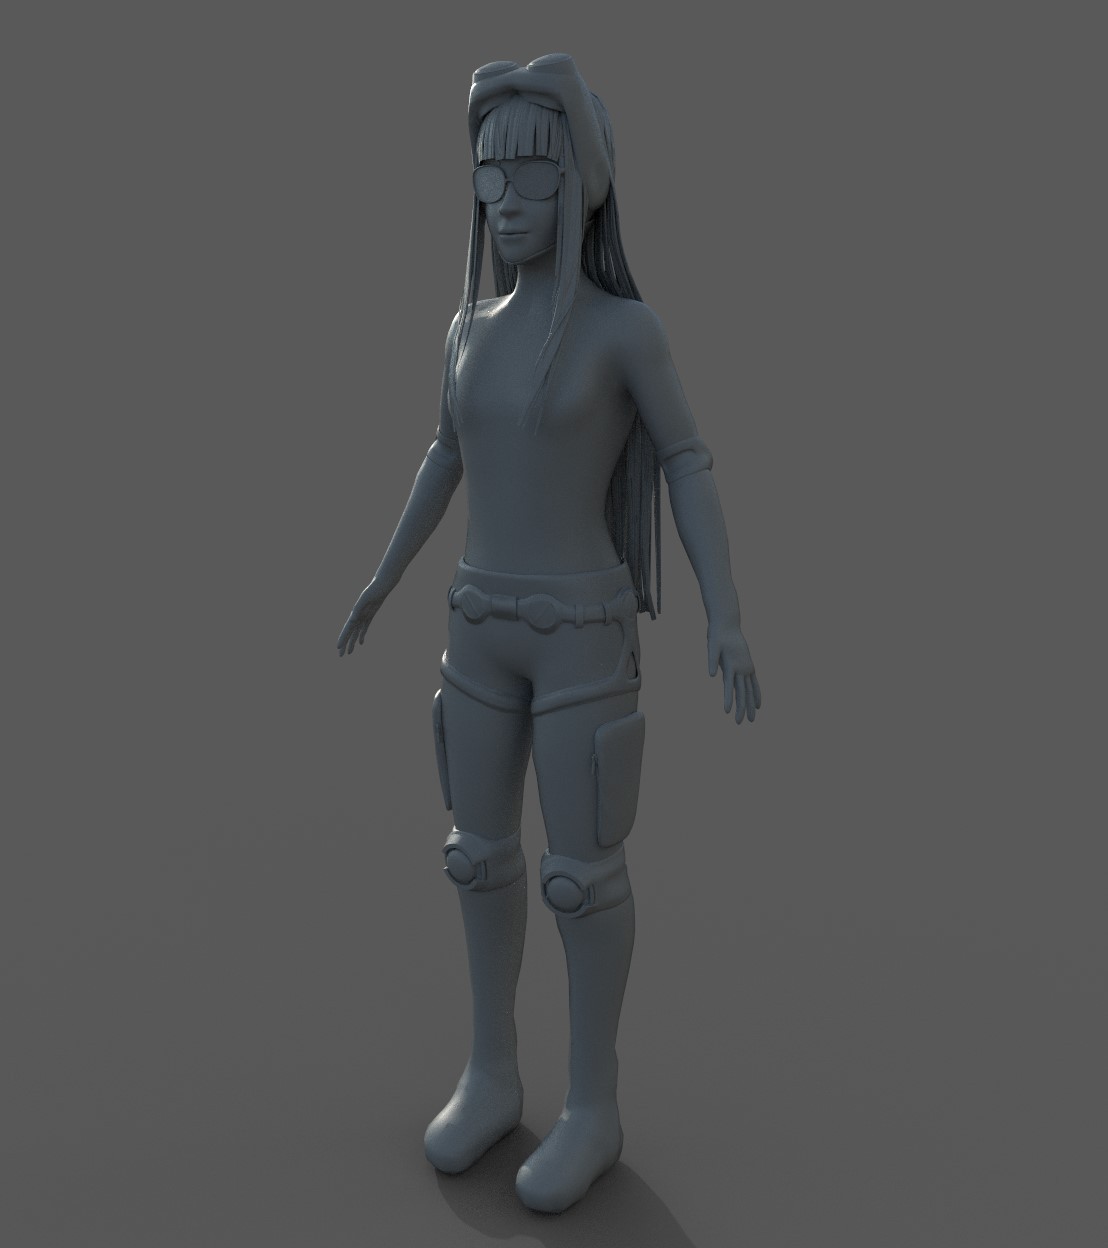
Still sculpting a female character
Most of body refined, next things to focus is Arms, Neck, Face then Hair
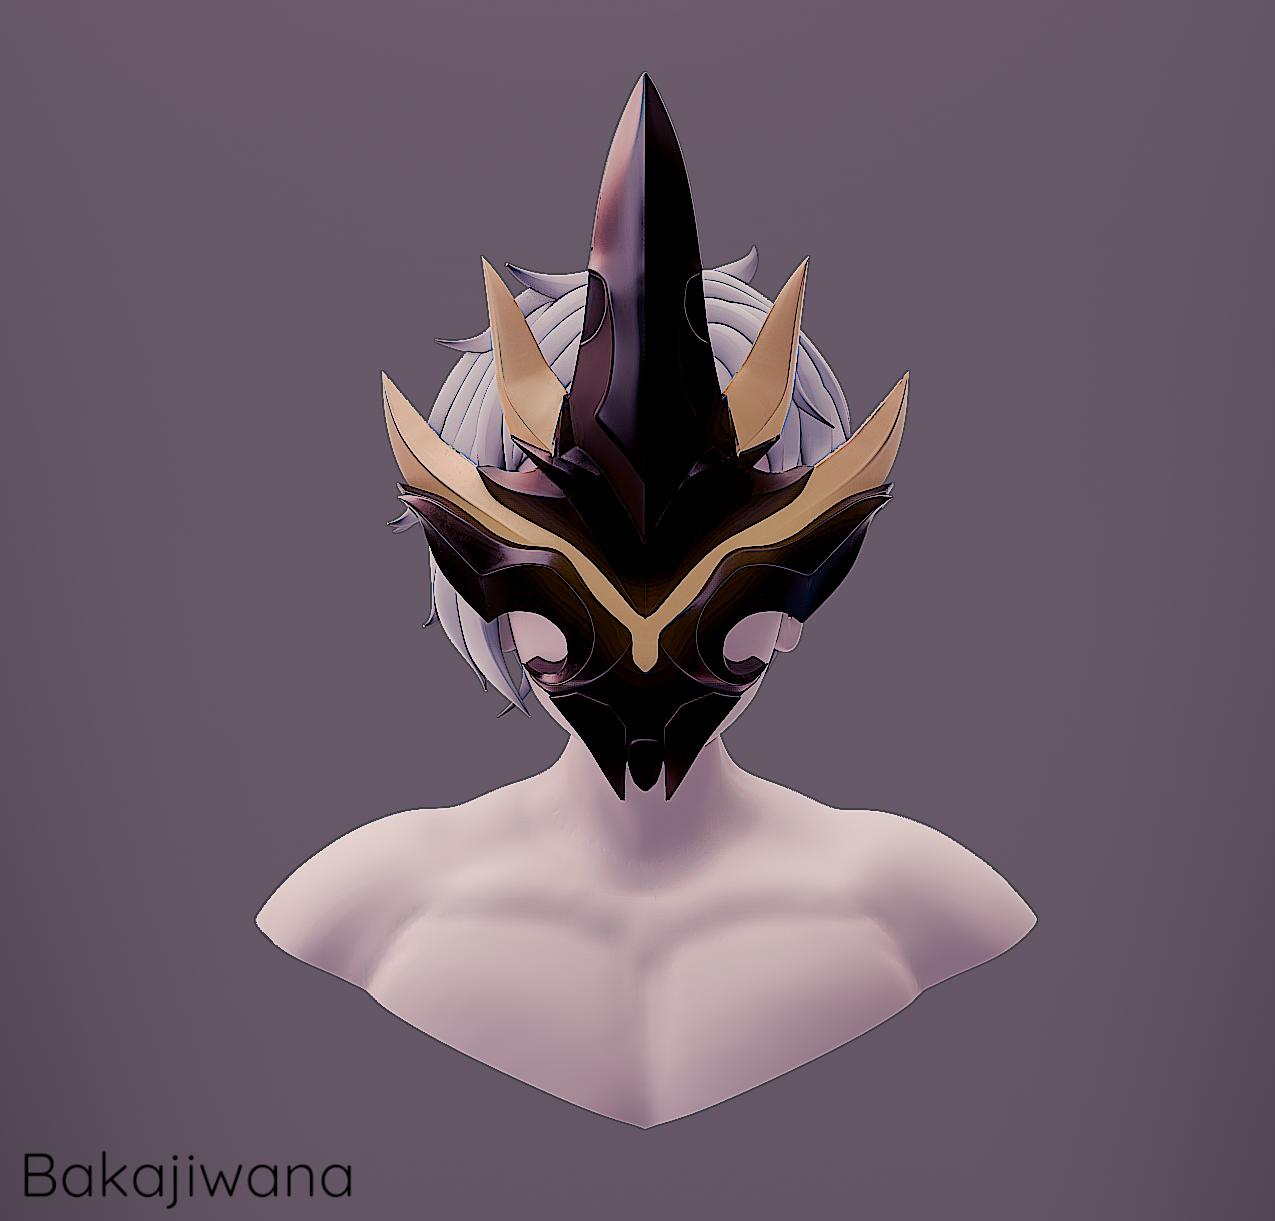
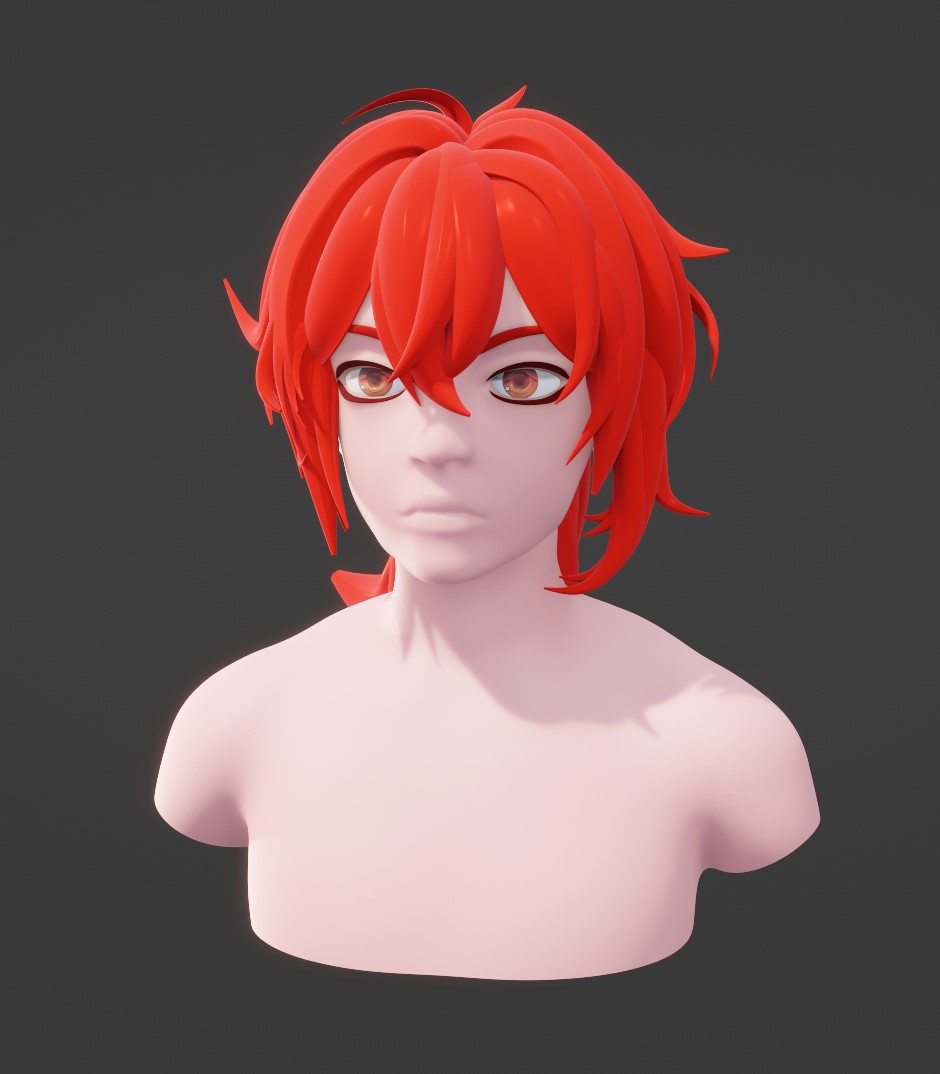
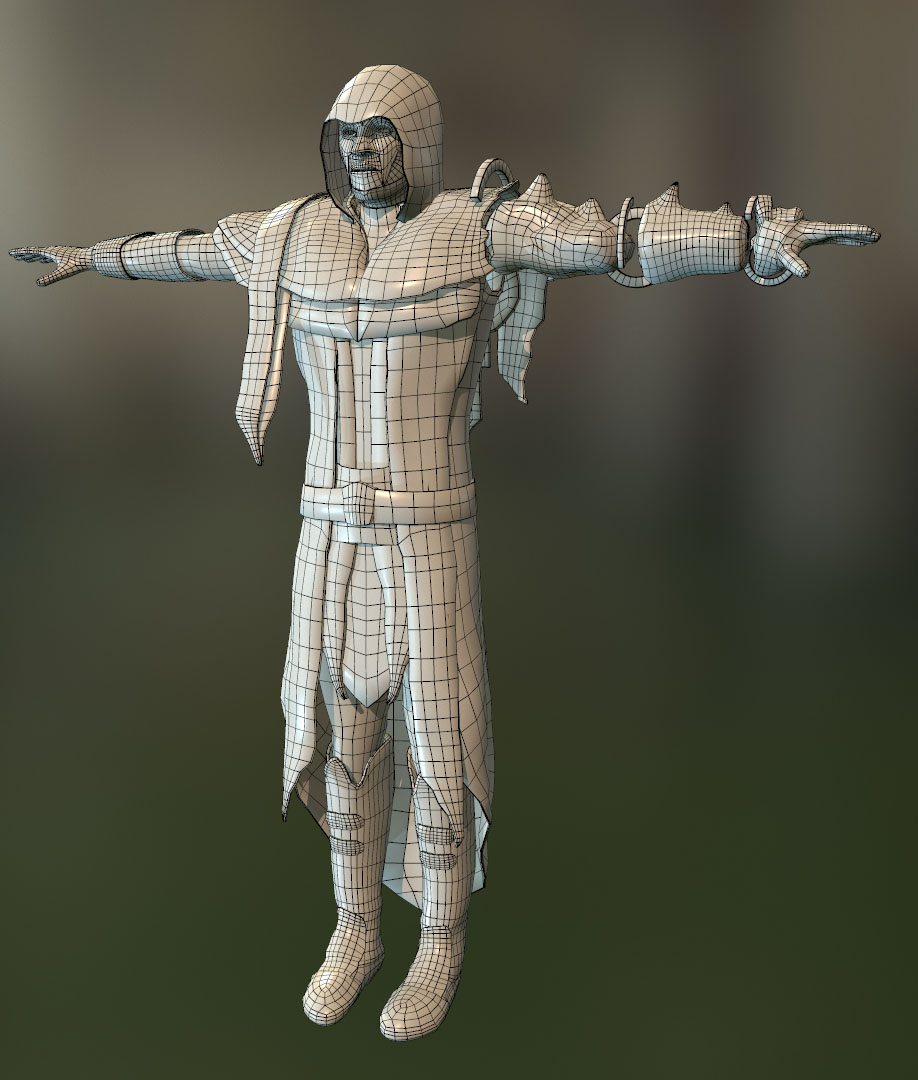
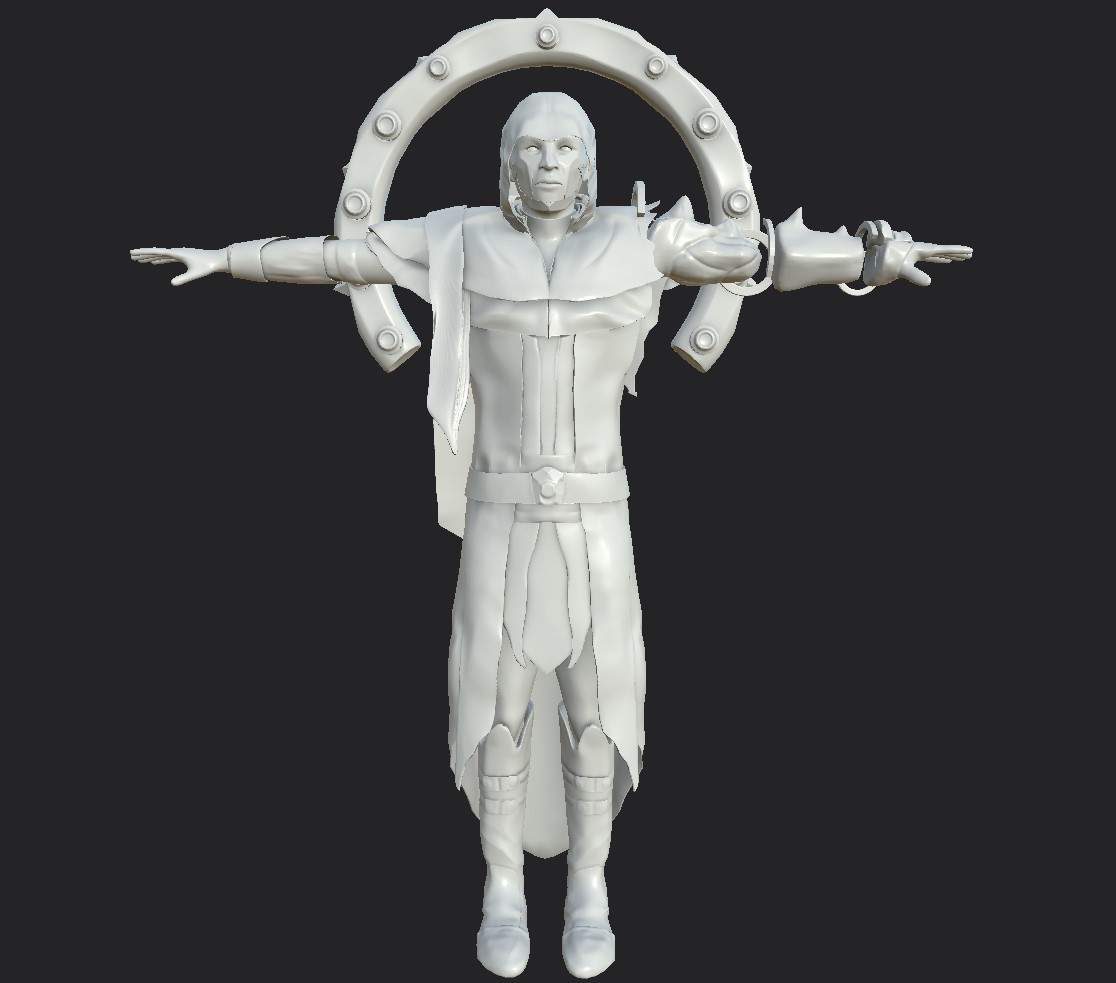
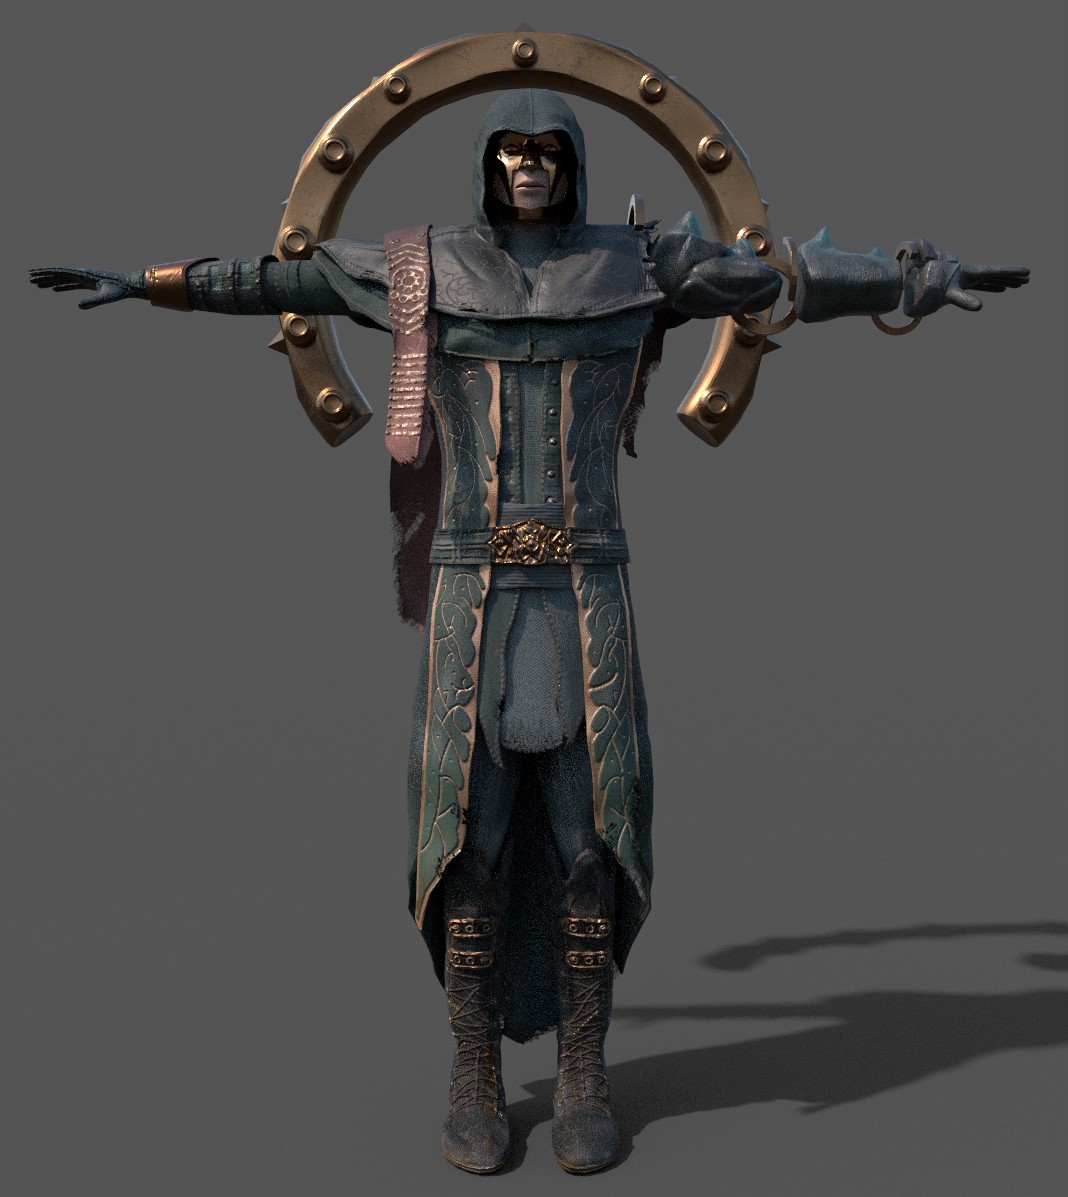
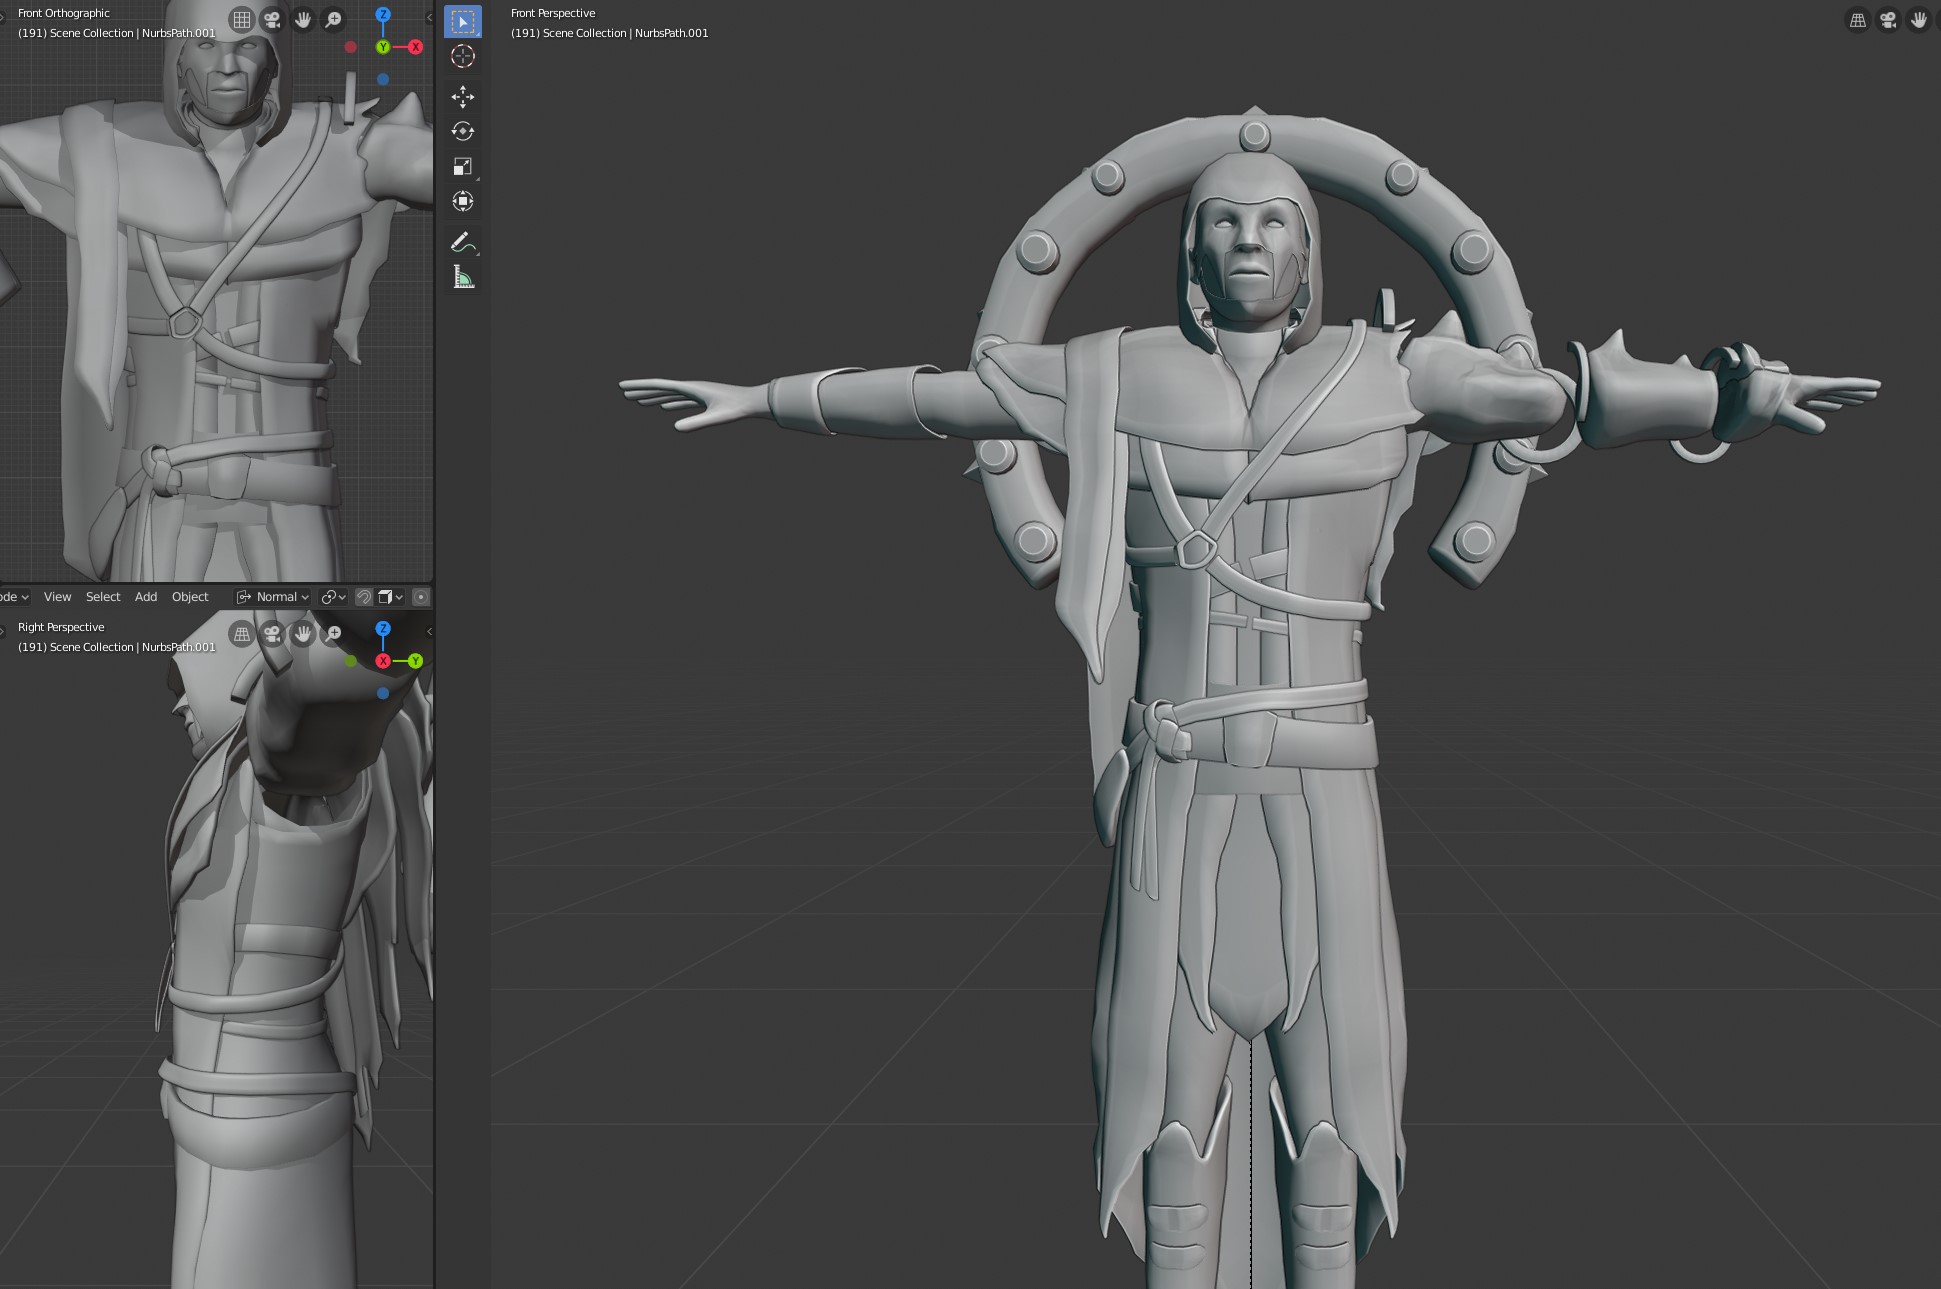
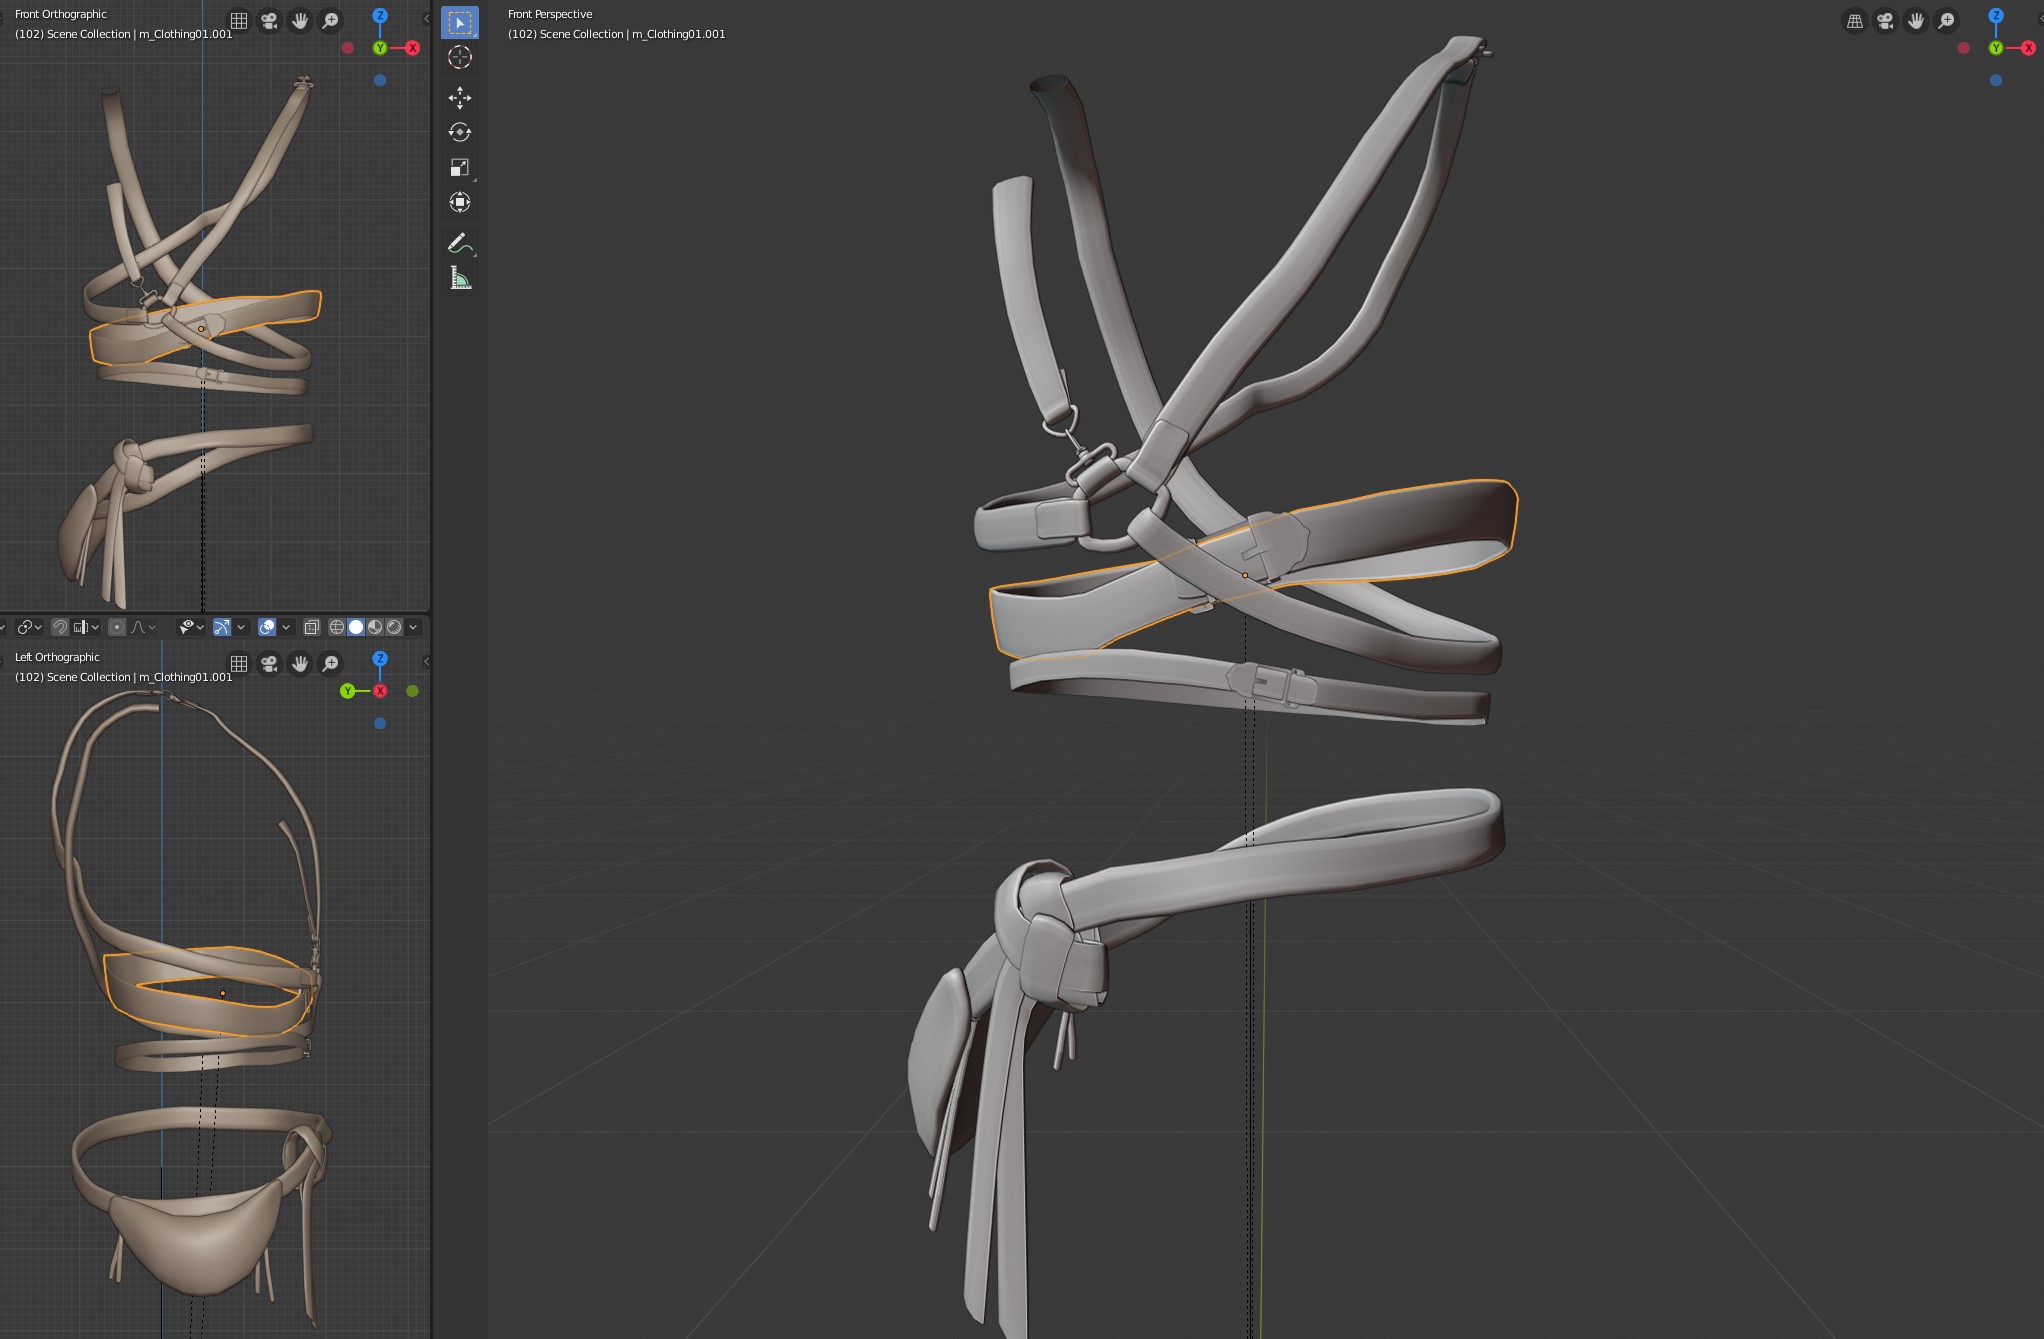
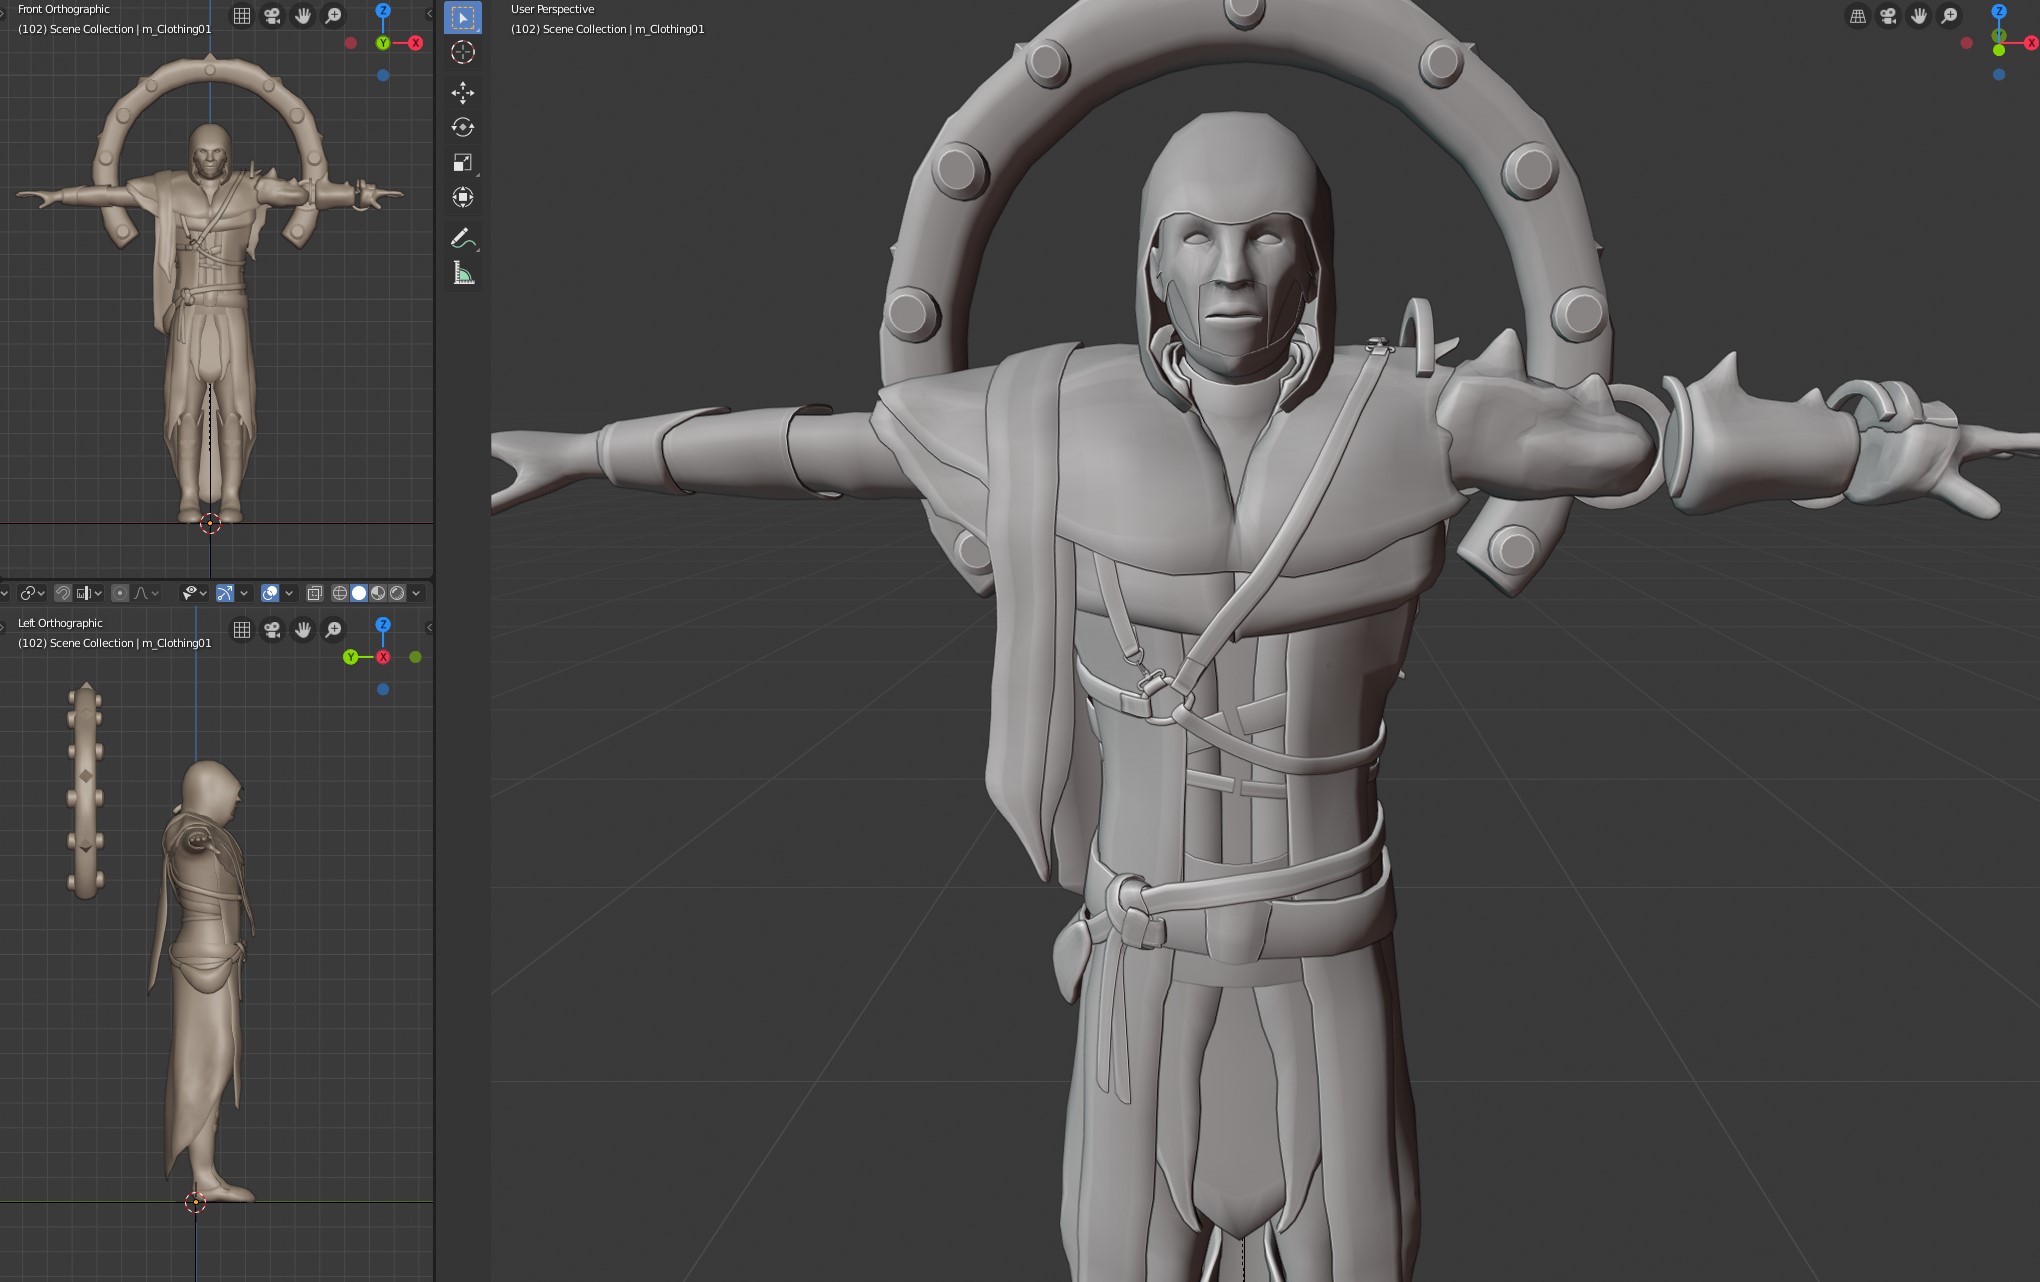
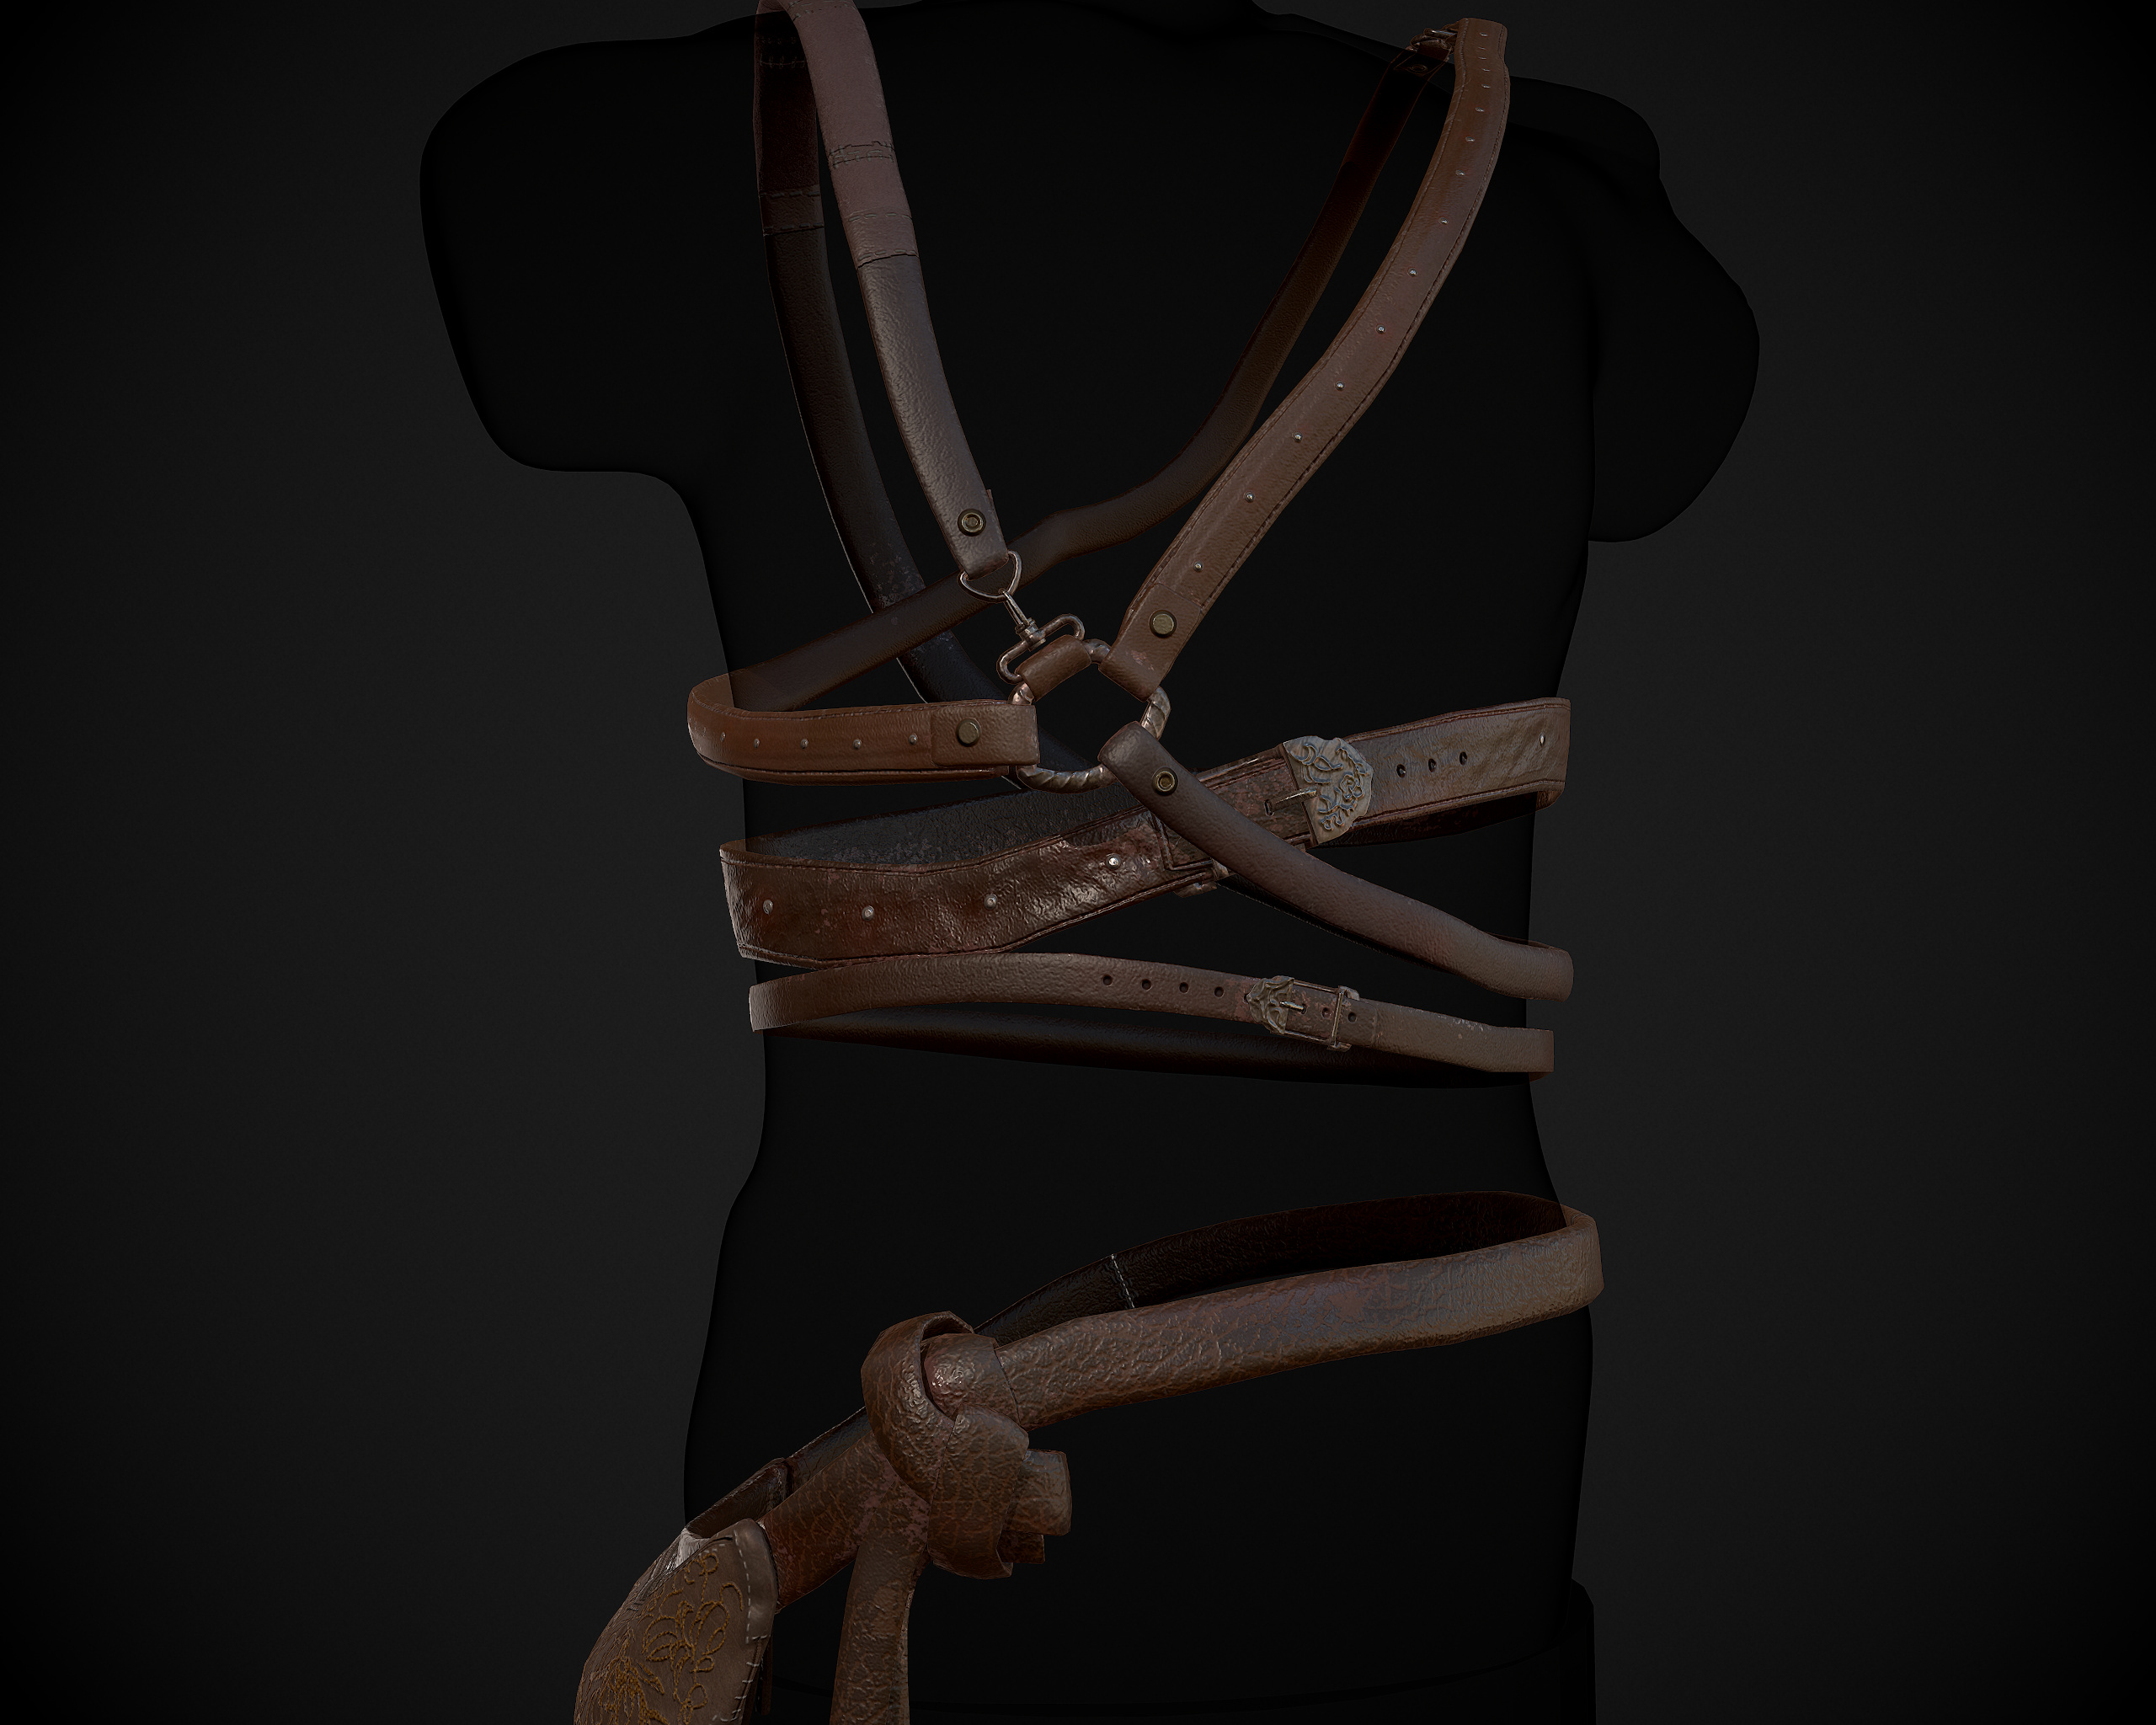
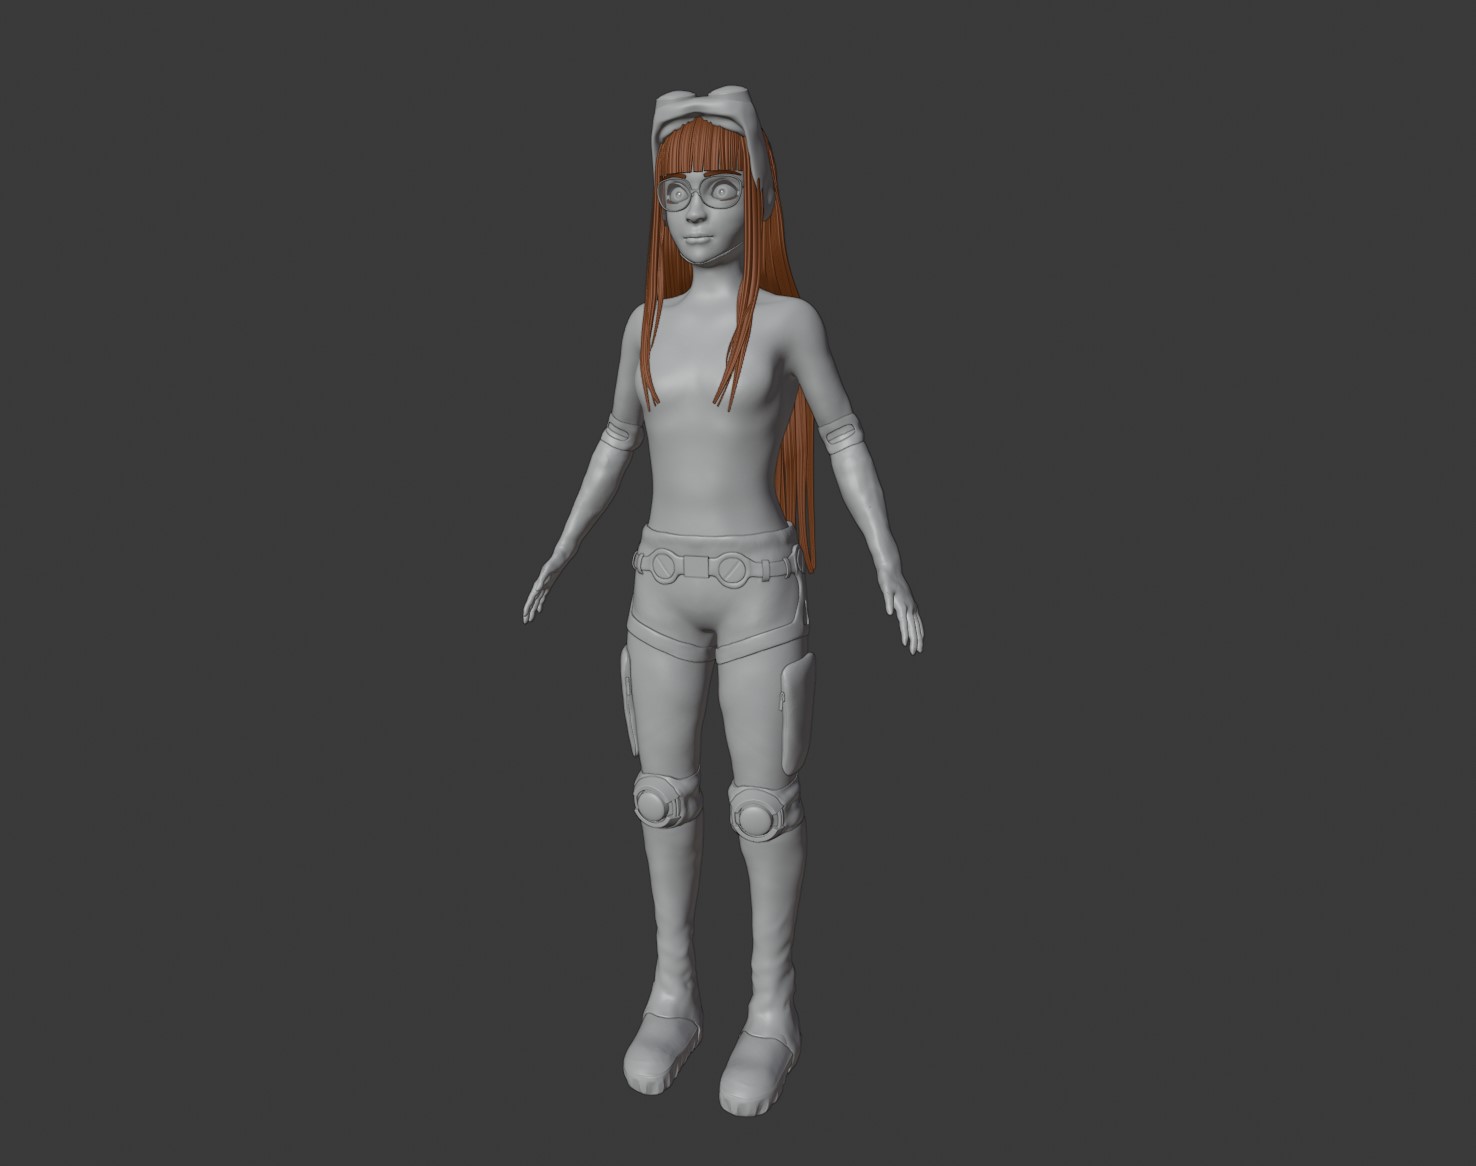
Esper Destorova WIP 2 - Still Working on this dude
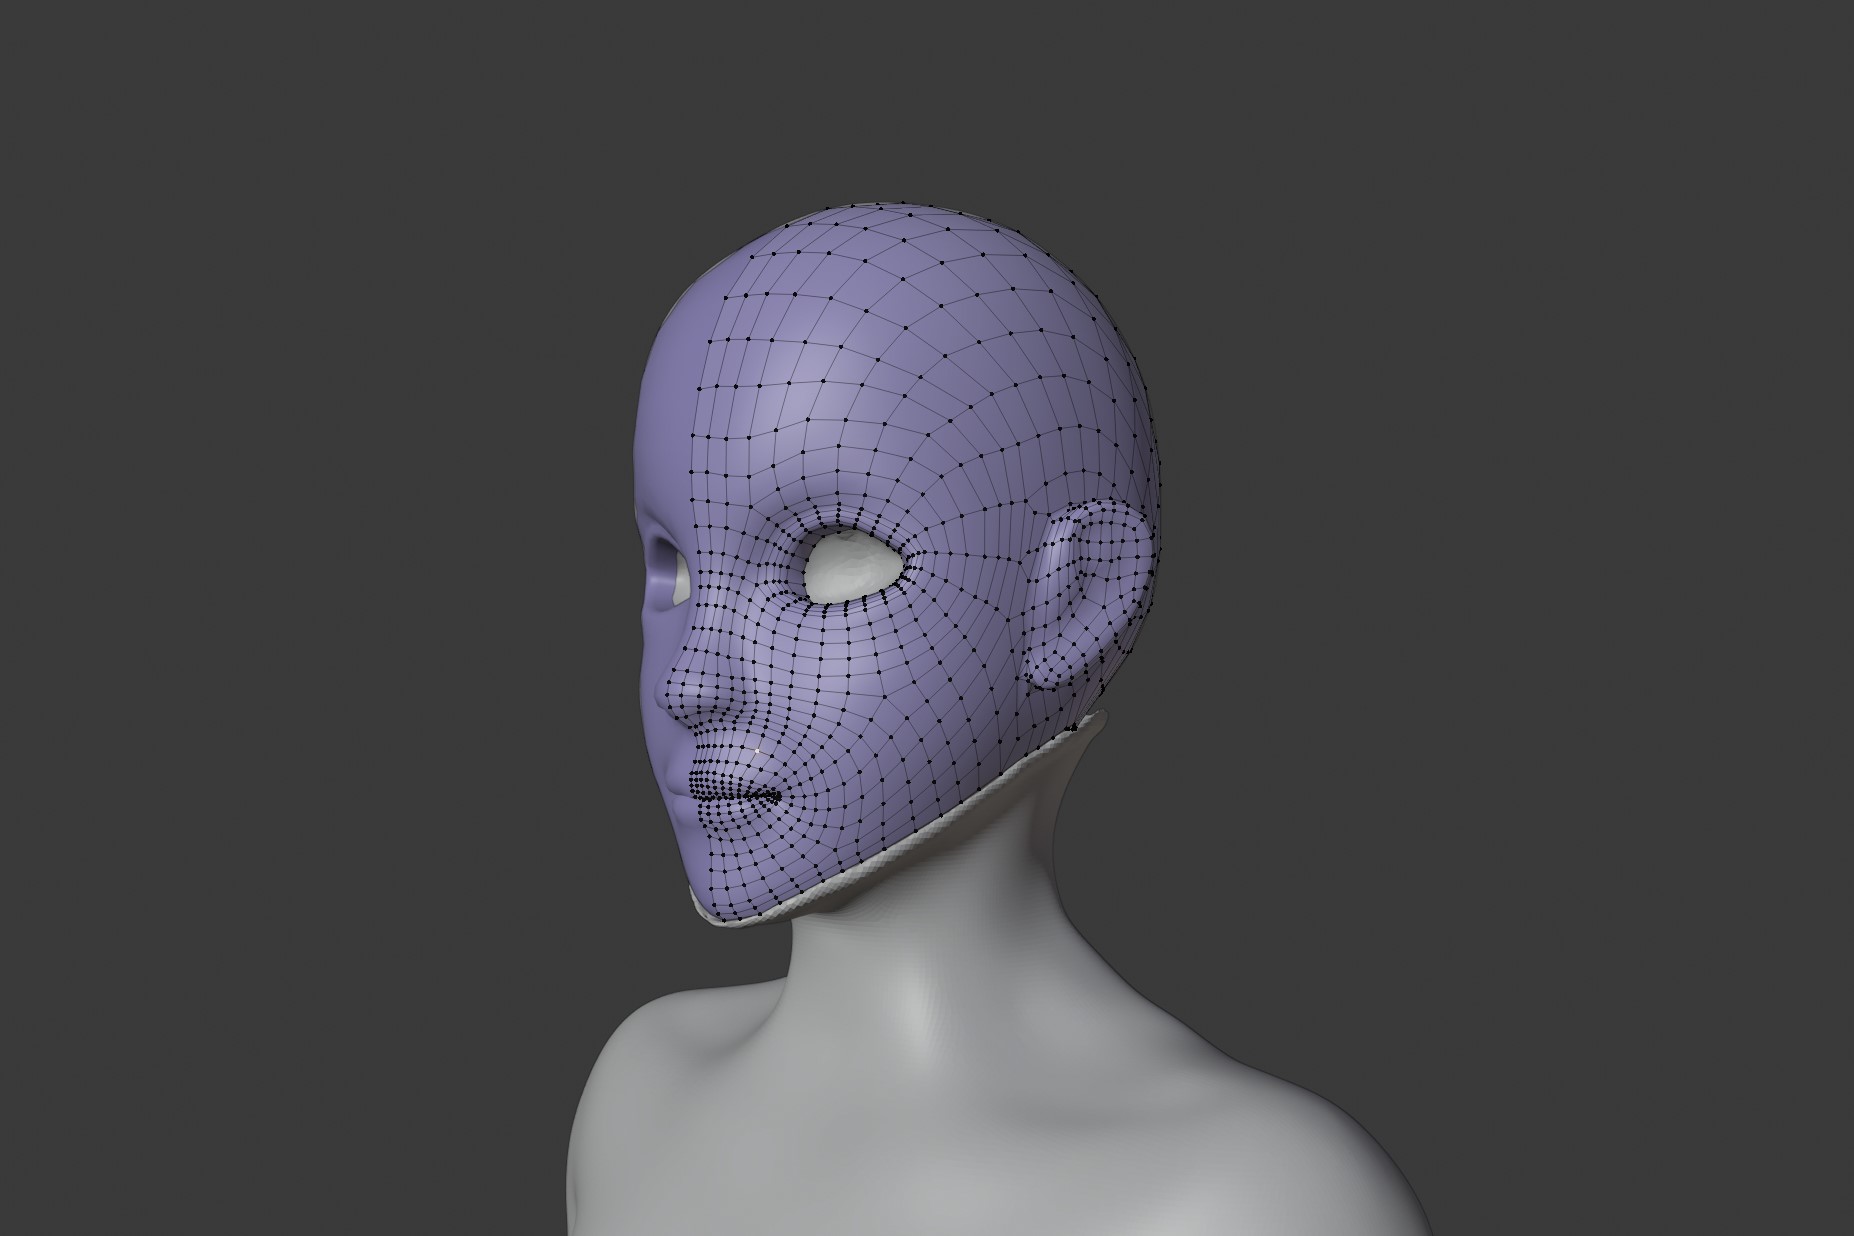
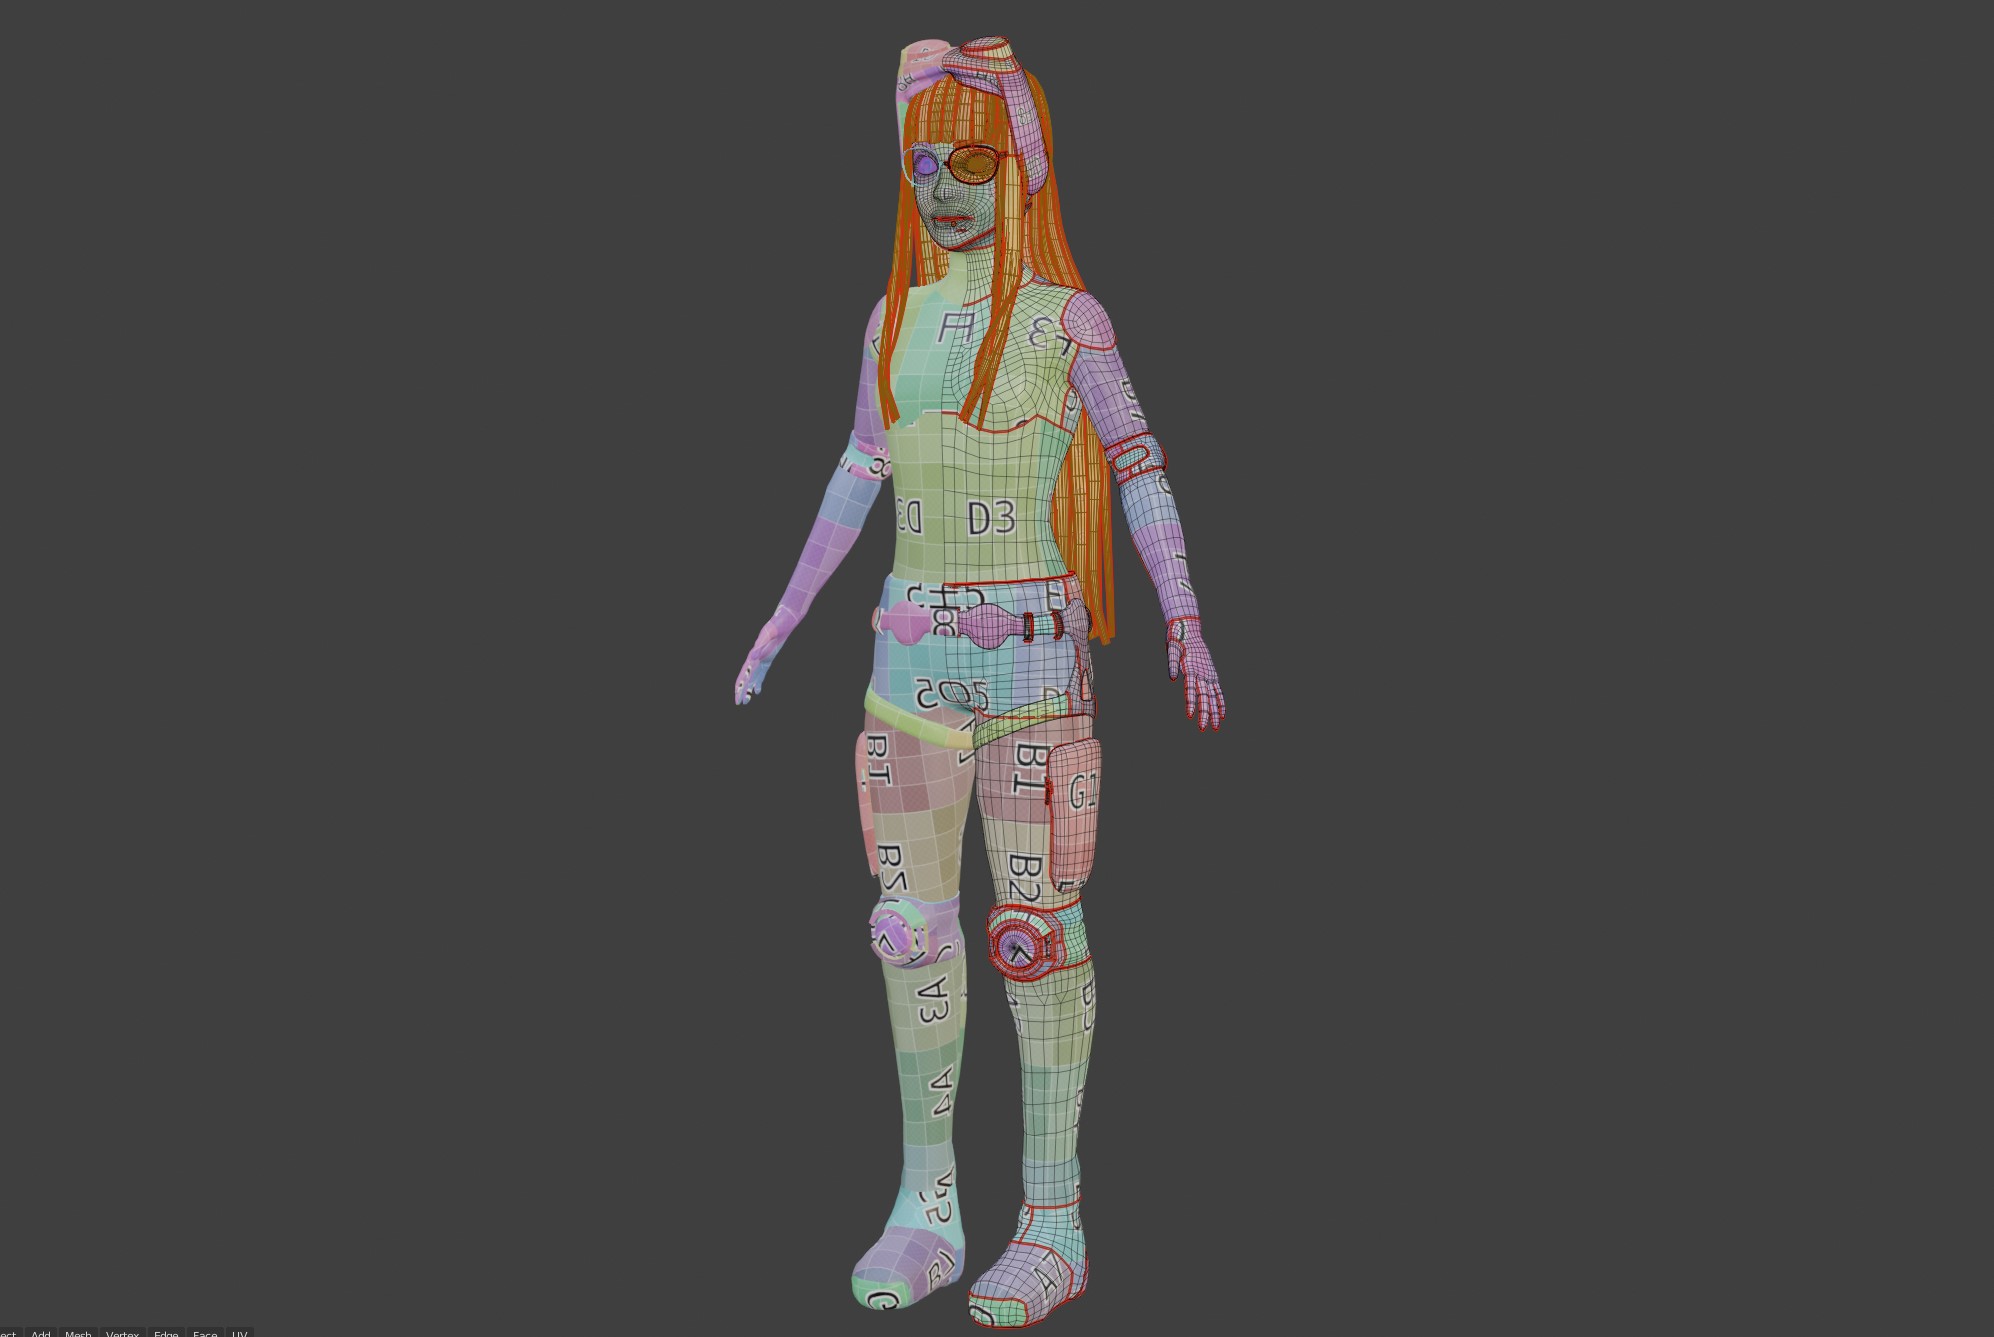
Retopo from Sculpt
Bake from High to Low Poly
Texturing in Substance Painter Progress
Back to more modelling, I want to add some extra details to this model and tweak some things
Because of this uncertainty I need to be flexible and leave the face as it is now until texture, once in its textured form I can see with greater info how else I should tweak the facial structure.
Modelled and UV in Blender, then textured in Substance Painter.
Marmoset Toolbag for the Rendering
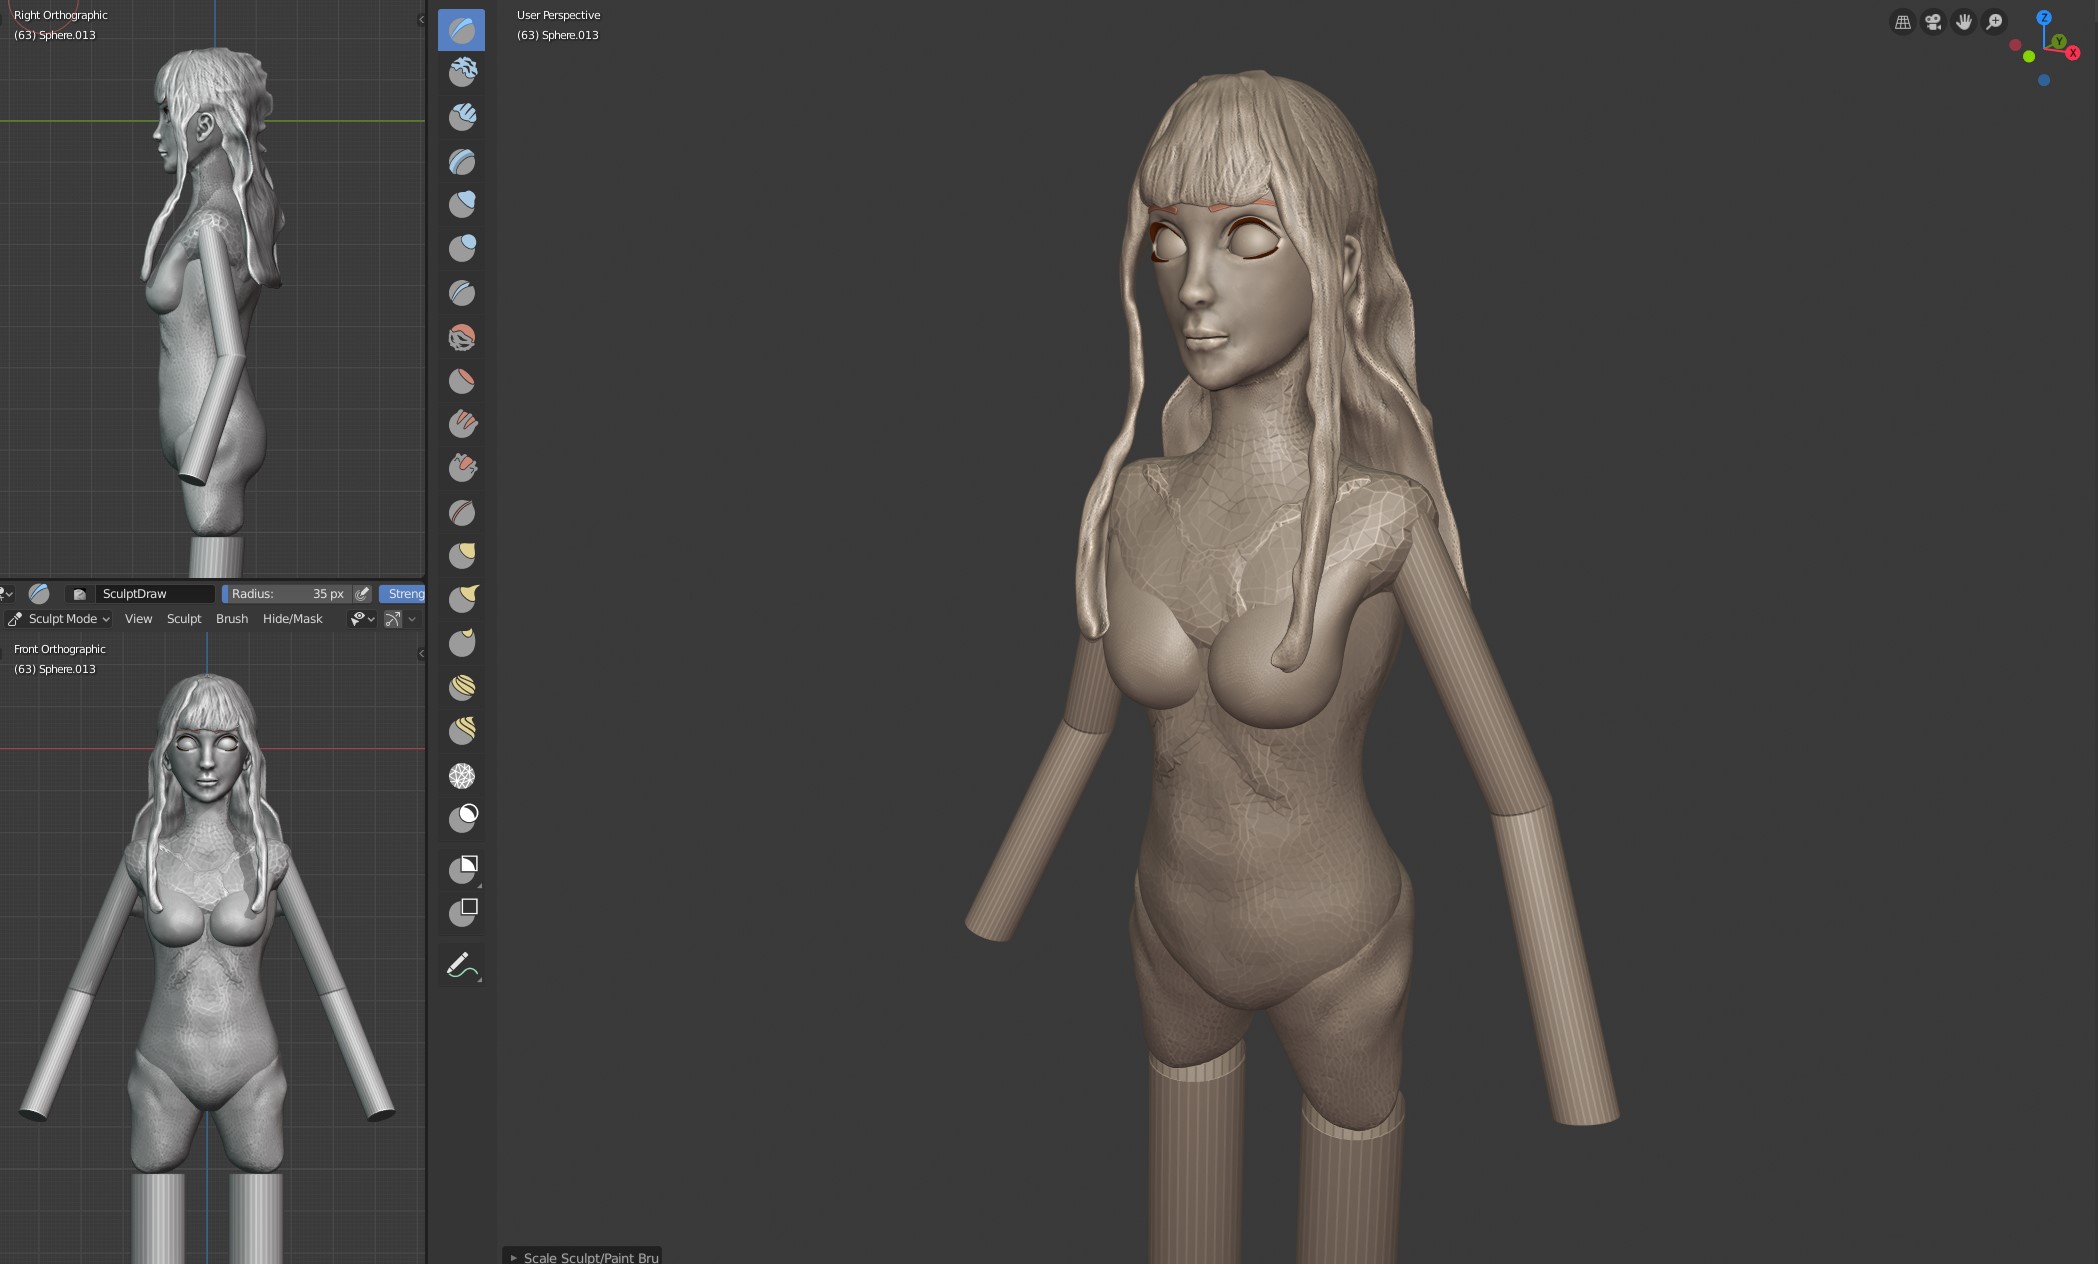
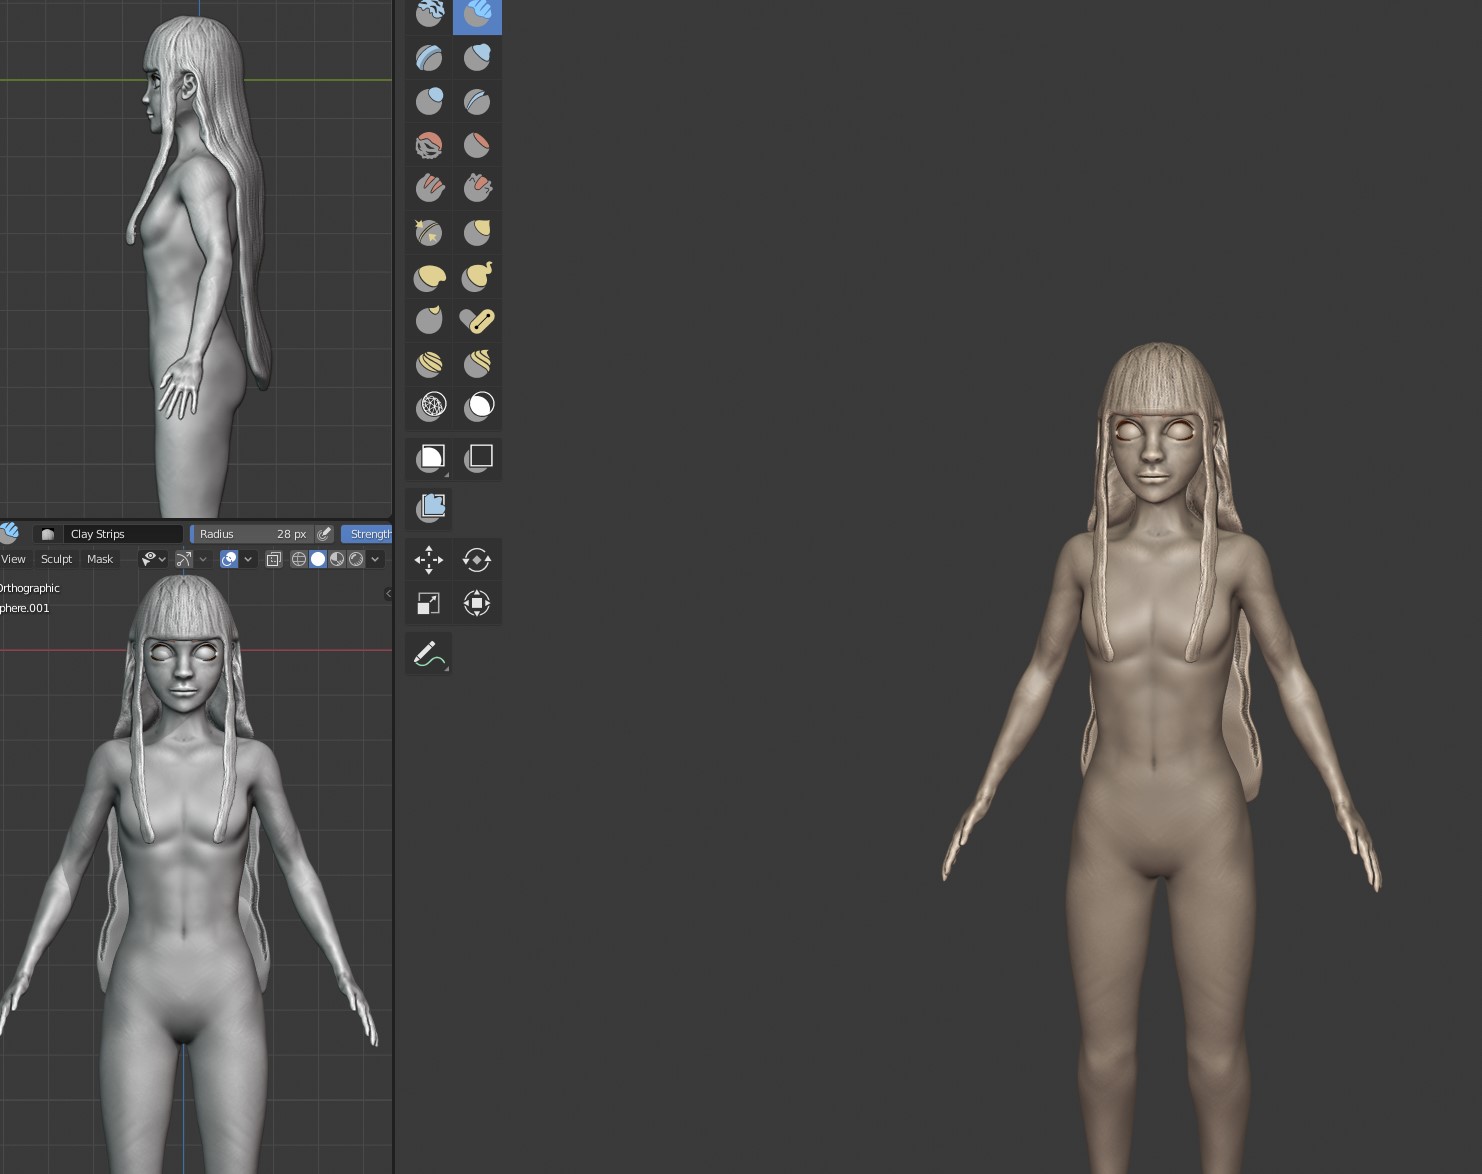
Fixed the silhouette more to use basic shapes and anatomy.
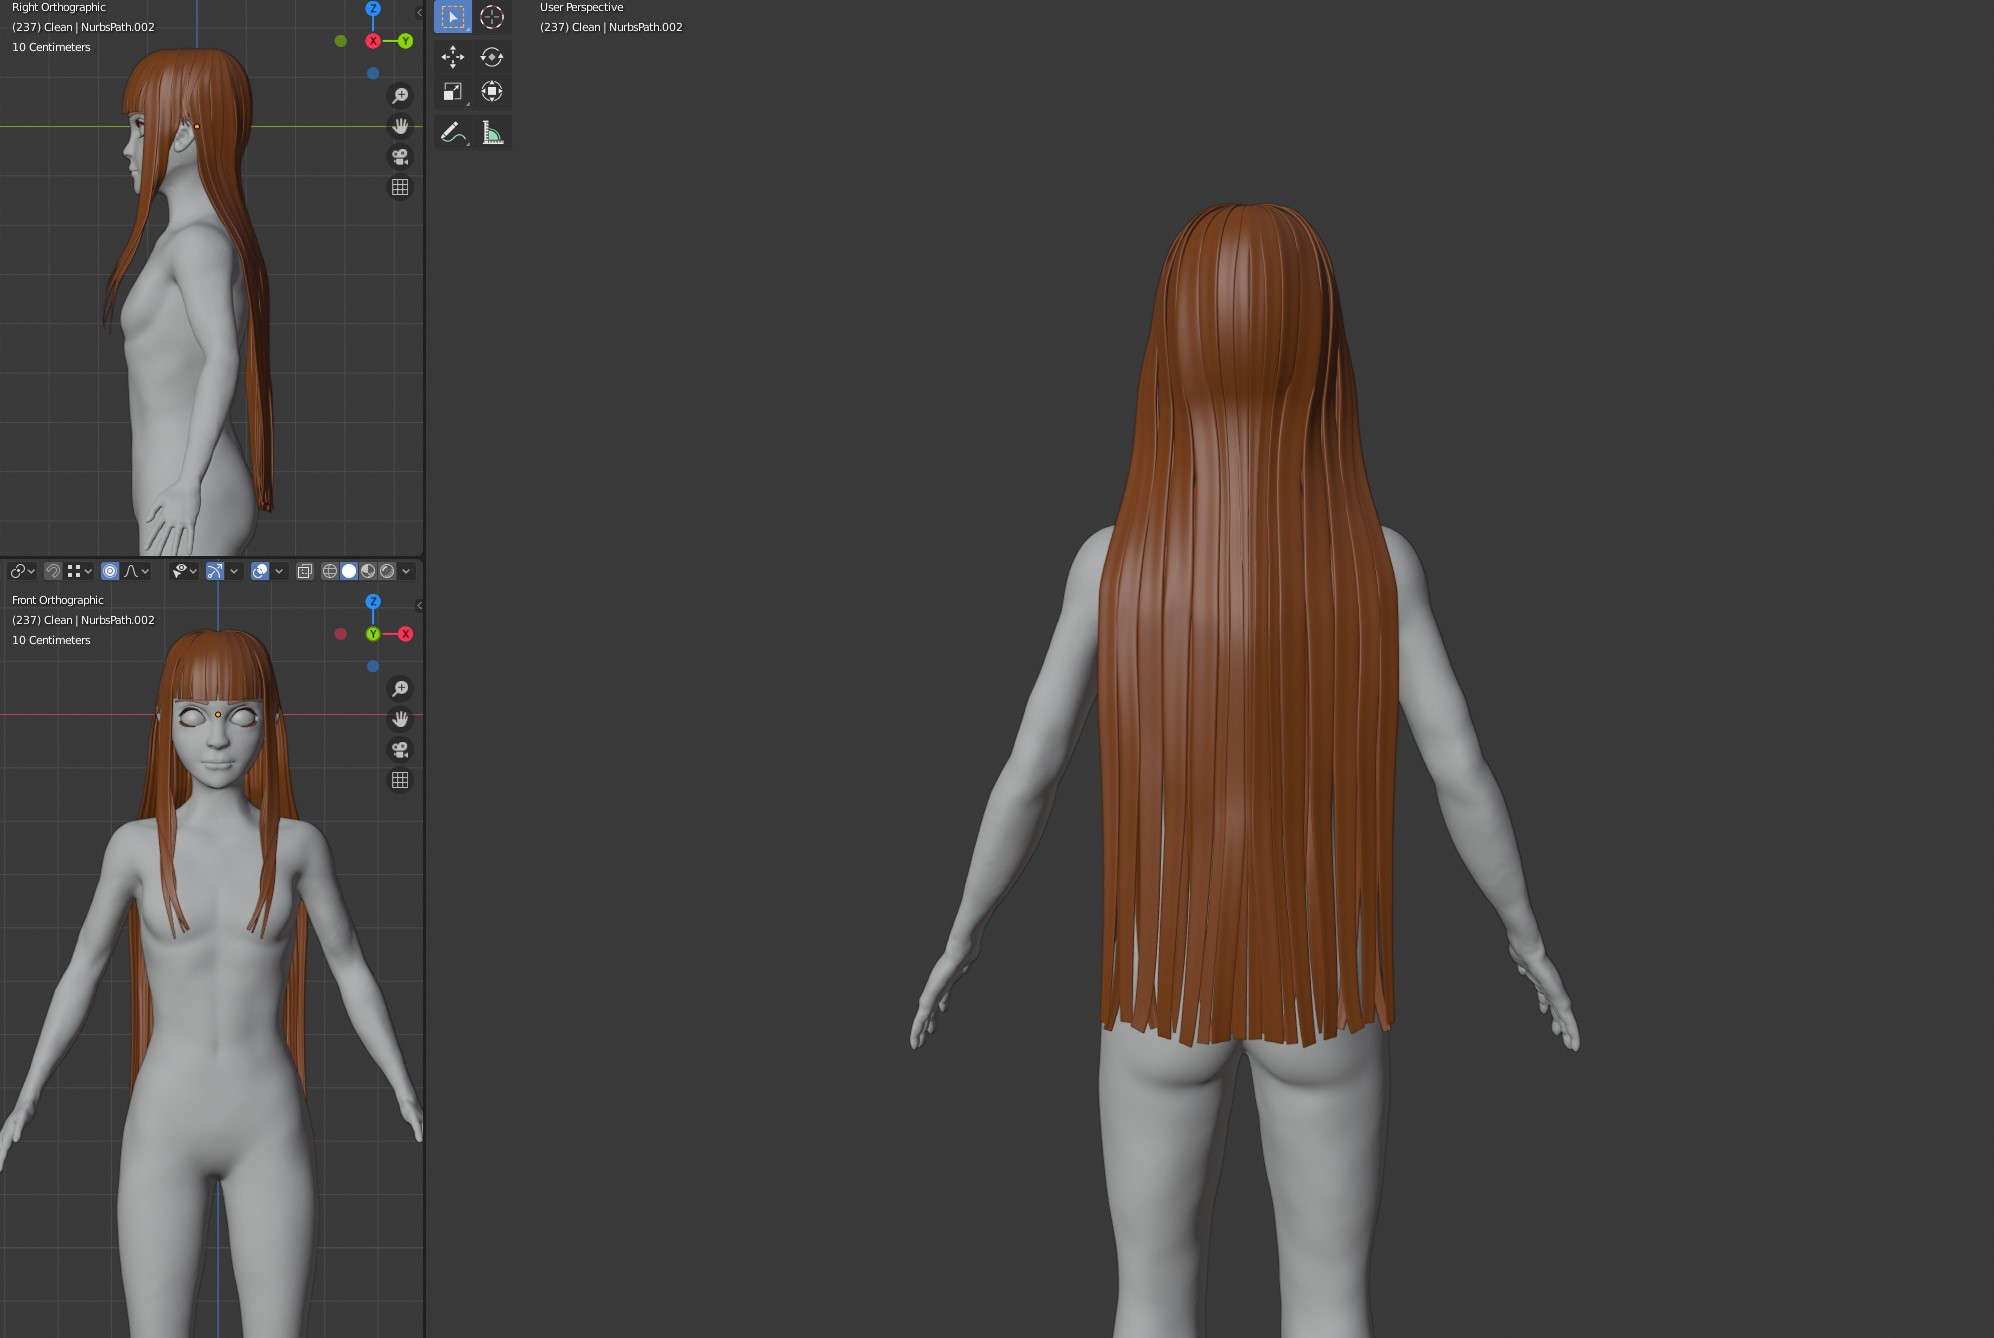
Next Up is to work on the hair!
Using Paths and Bevel Curves I will make the hair. In addition I’ll use normally sculpted masses to assist increasing the volume of the hair.
Paths and curves will be for the smaller and intricate strands.
Most importantly I need to make a plan of the strands, there is logic behind hair as explained by YanSculpts.
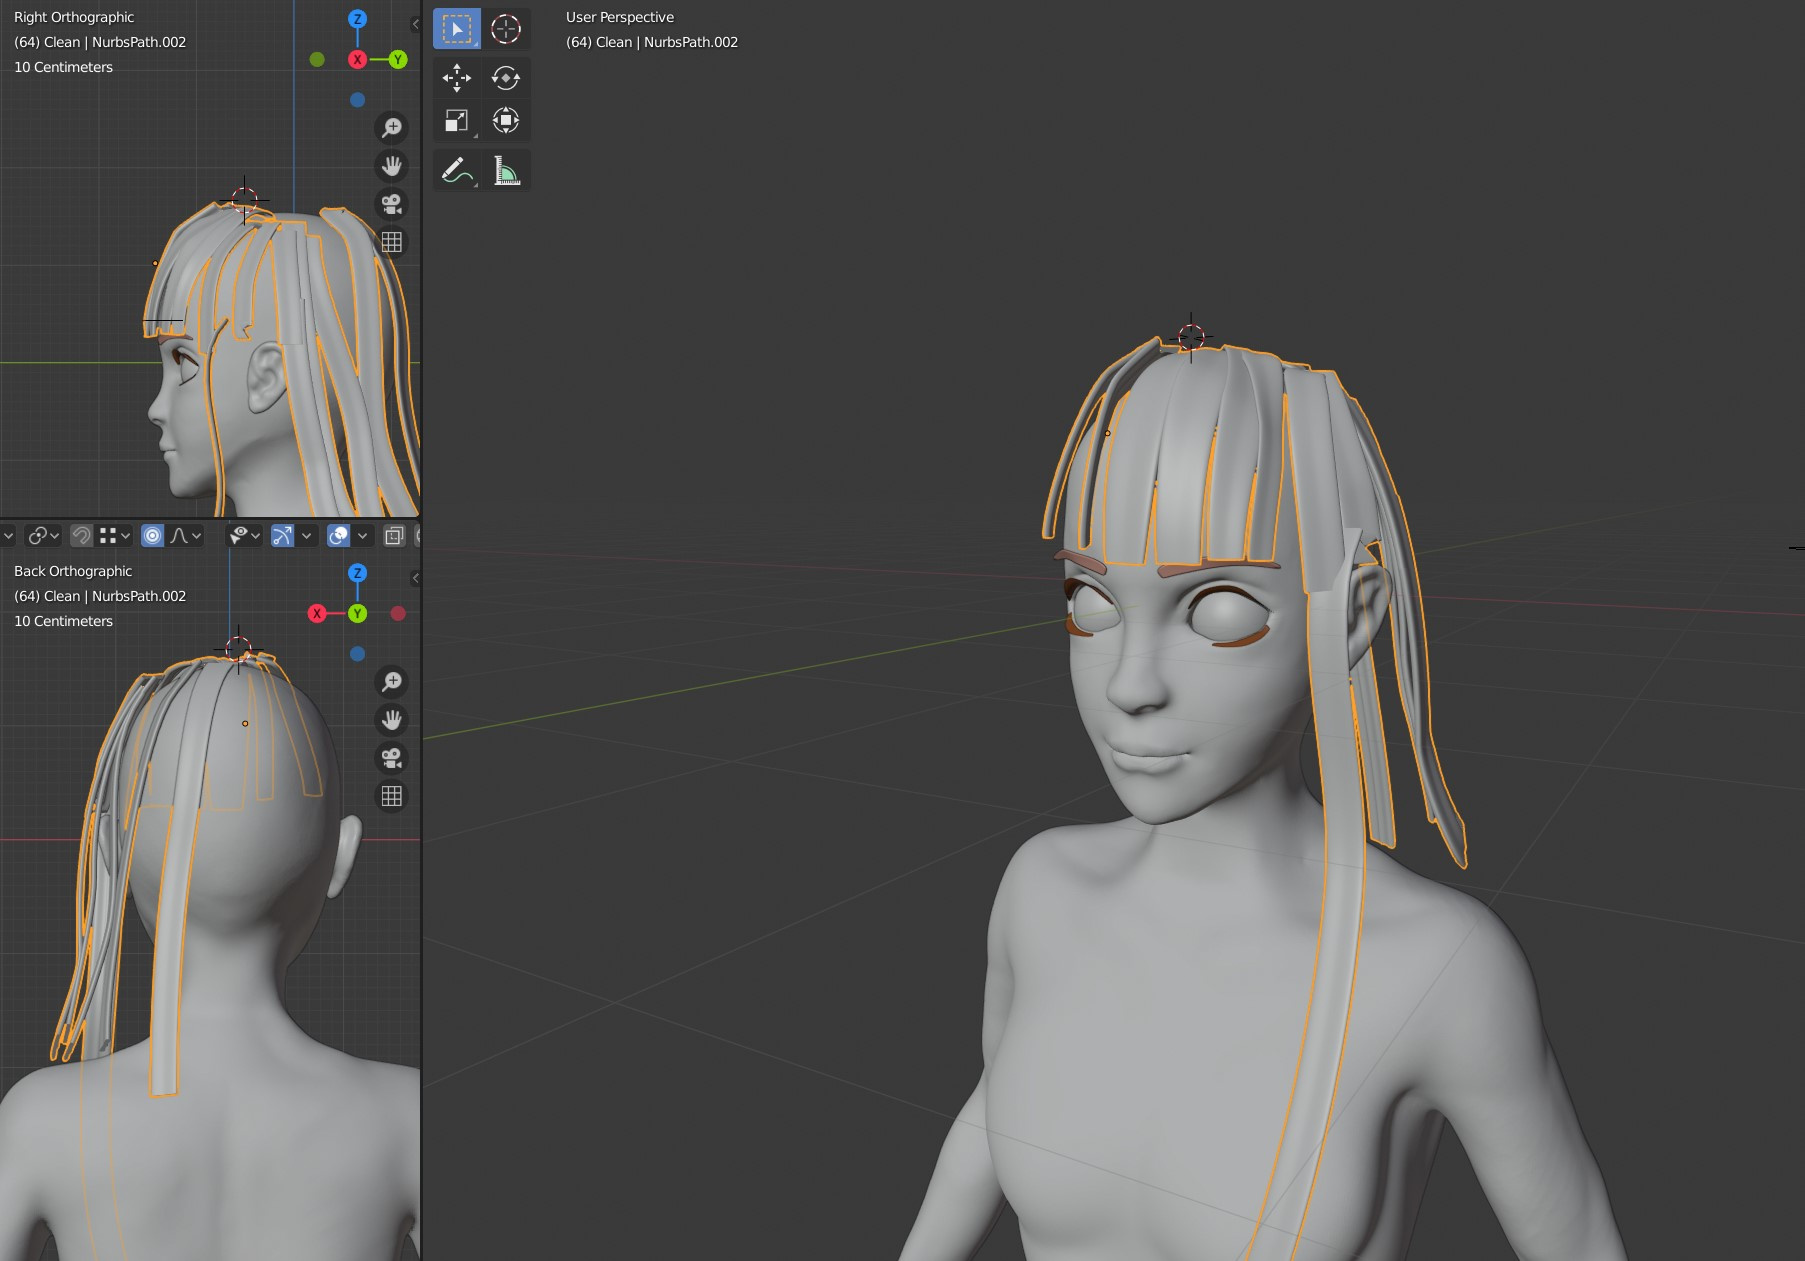
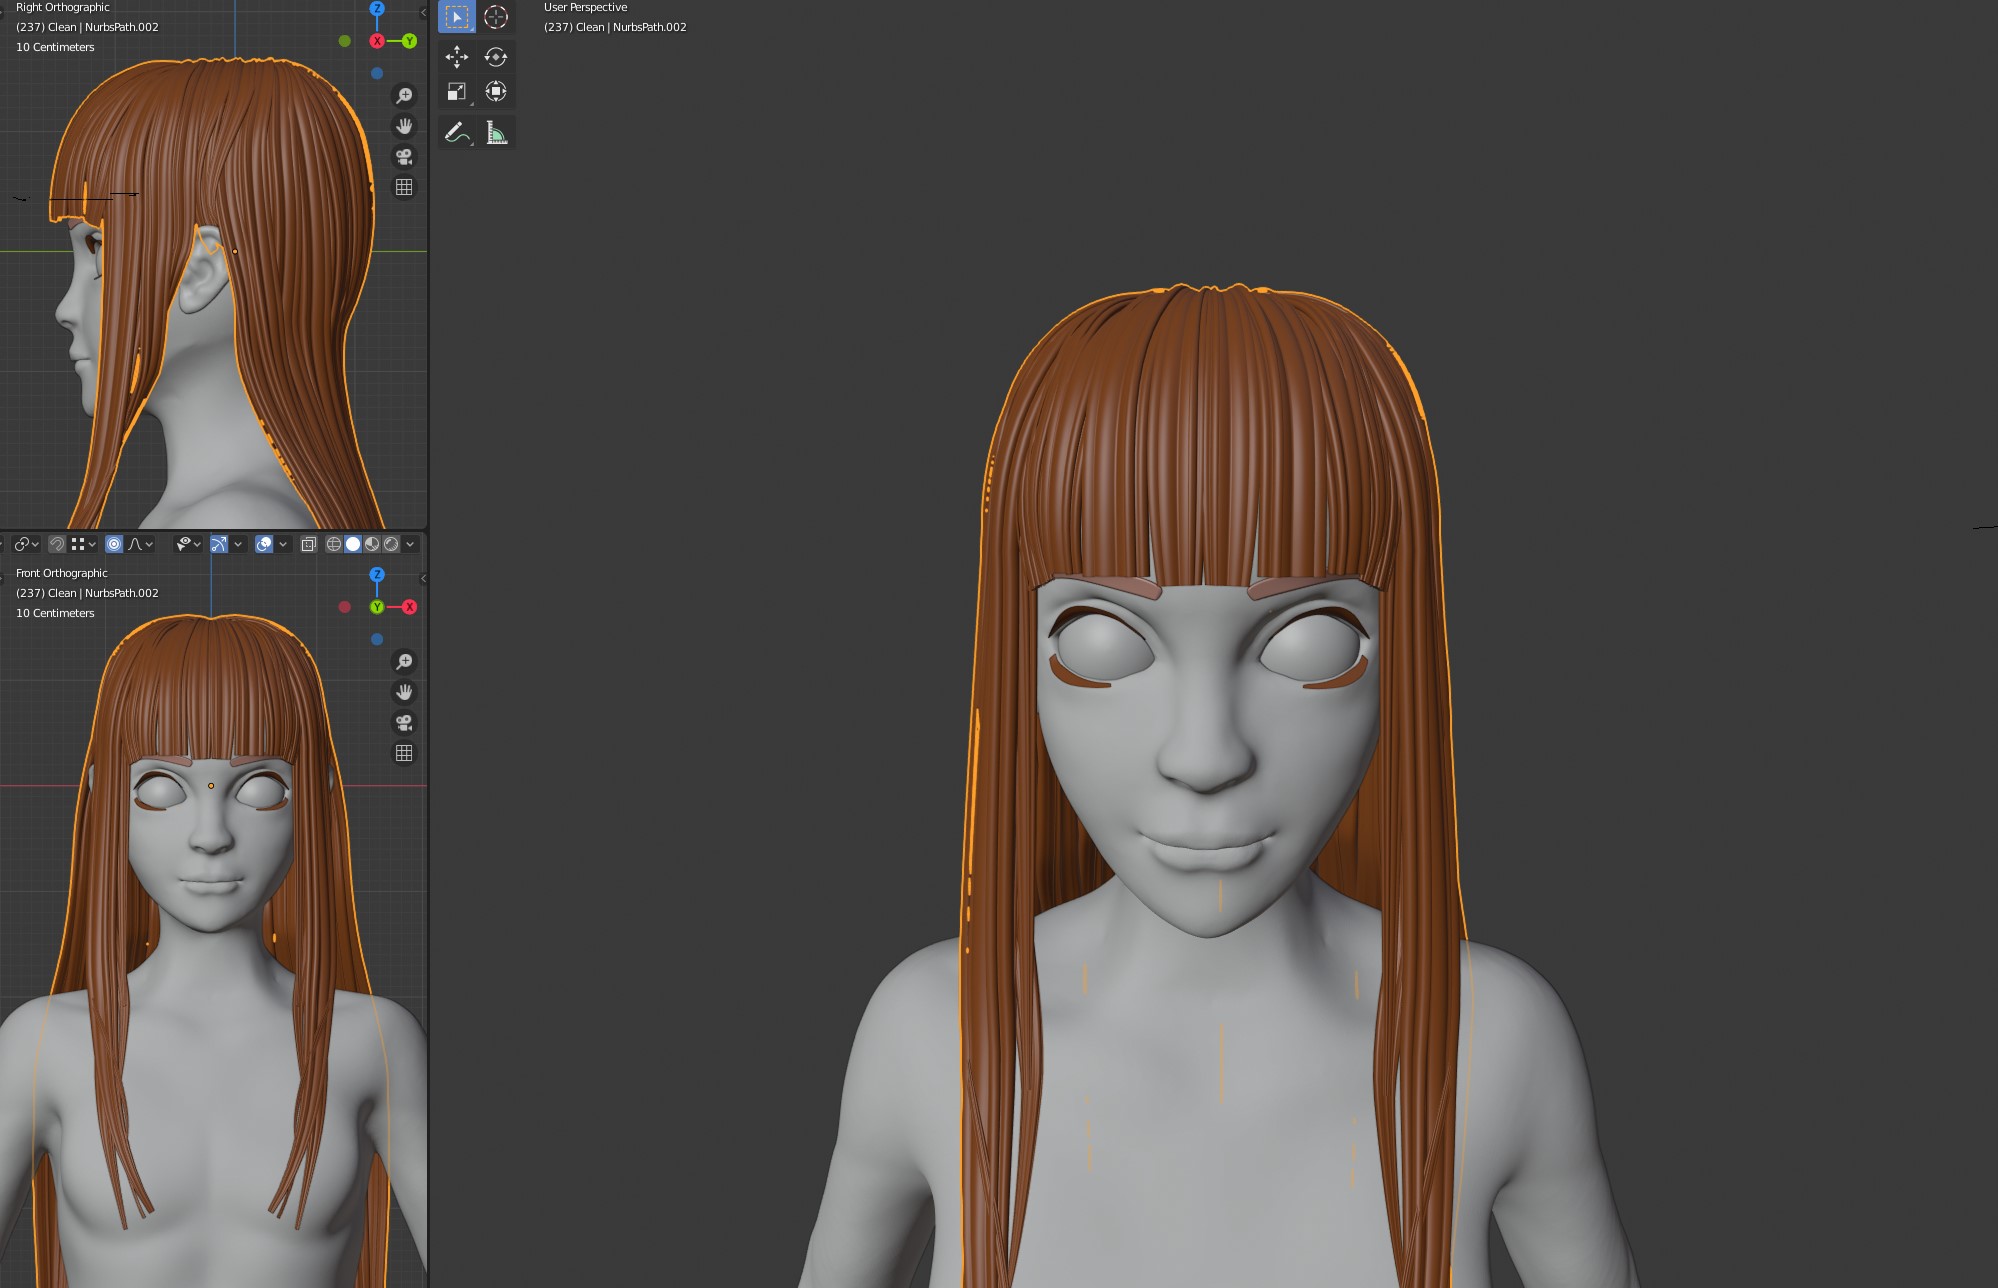
Using this tutorial:

I made the medium and intricate layers of the hair from just the base strands.
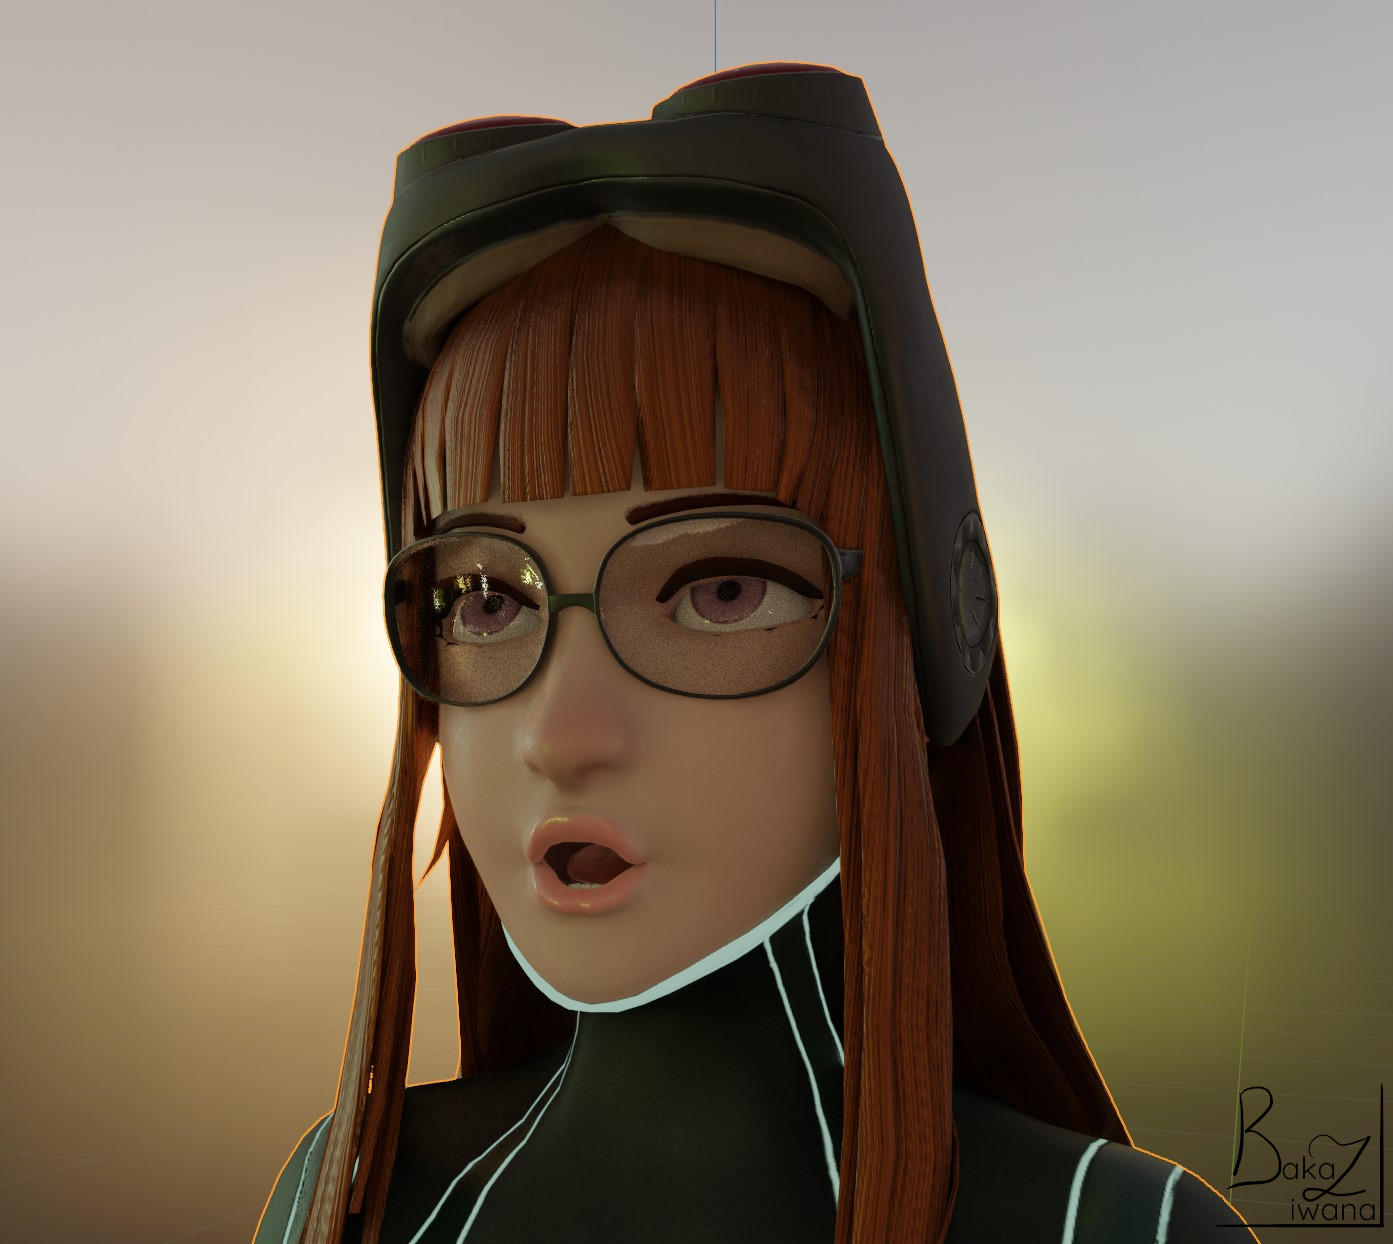
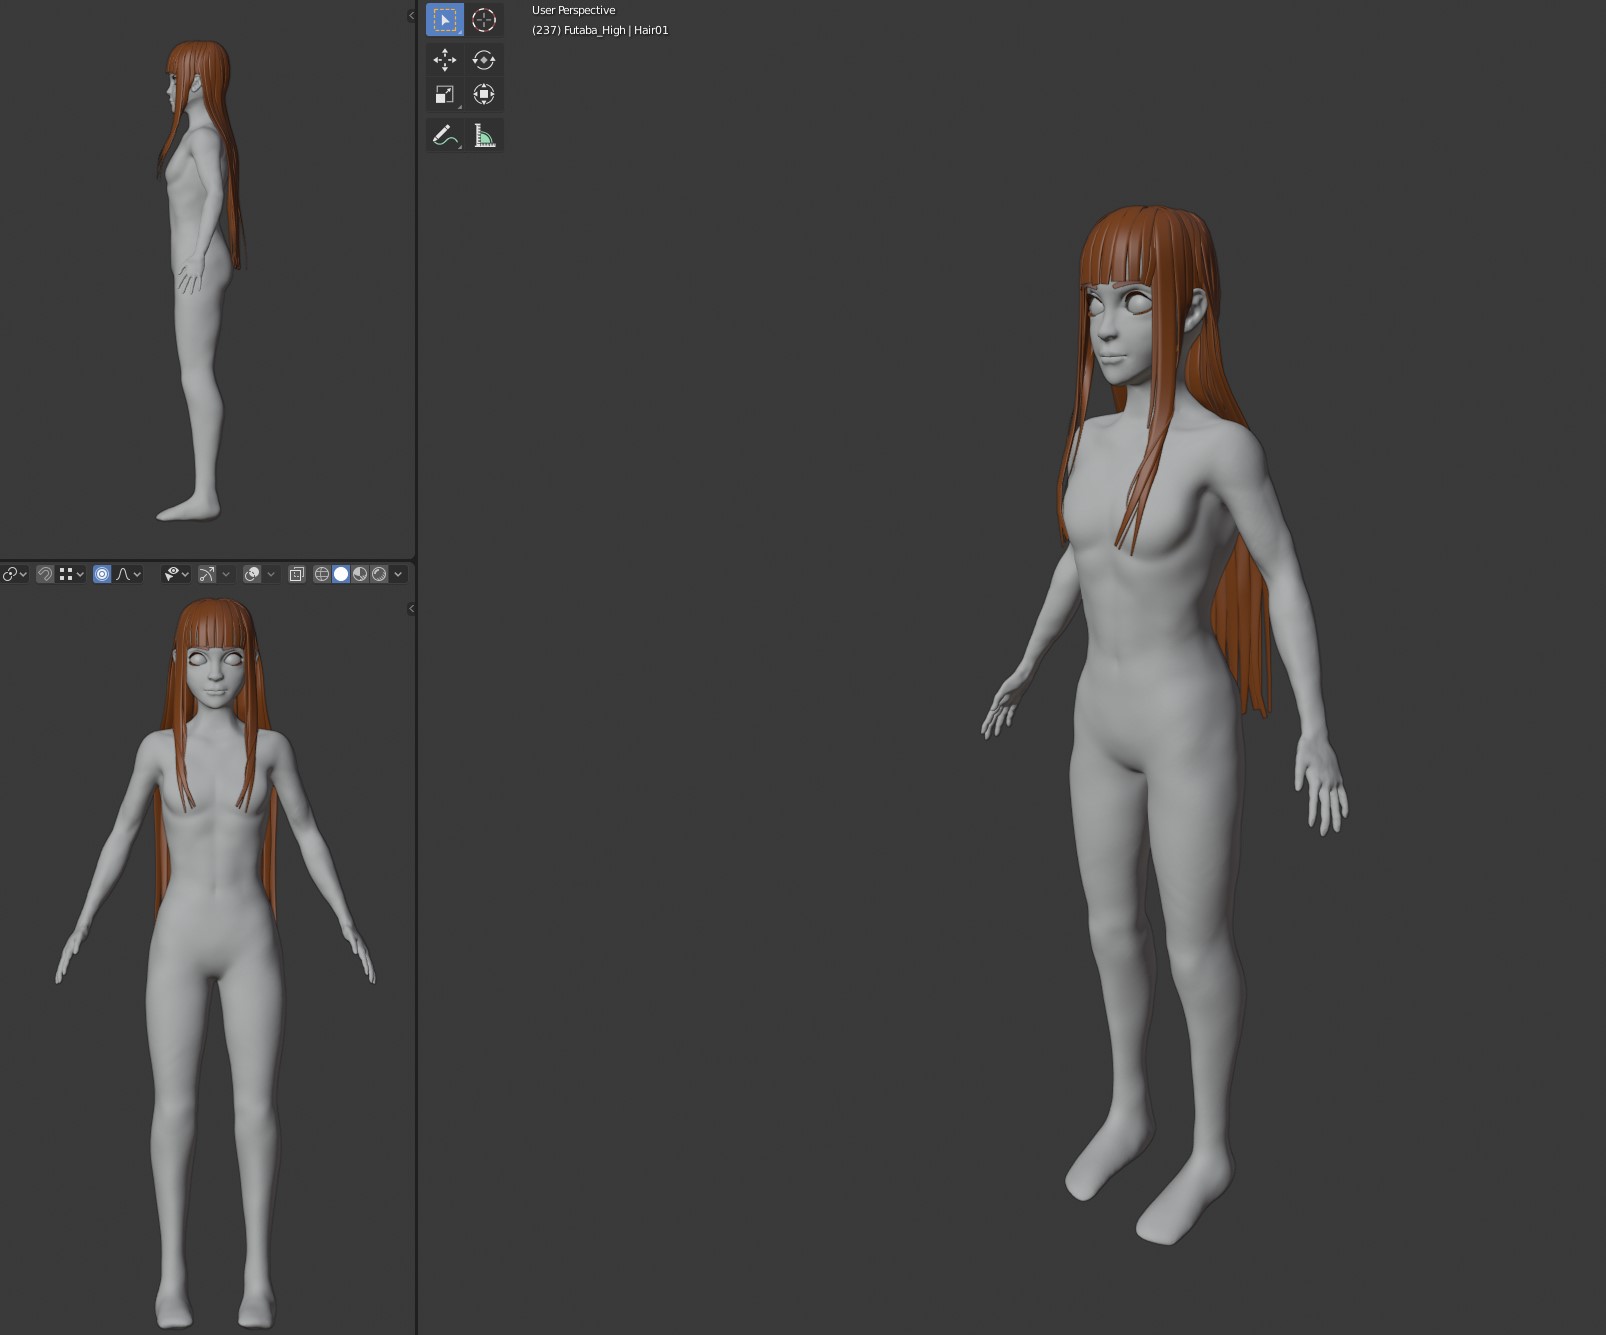
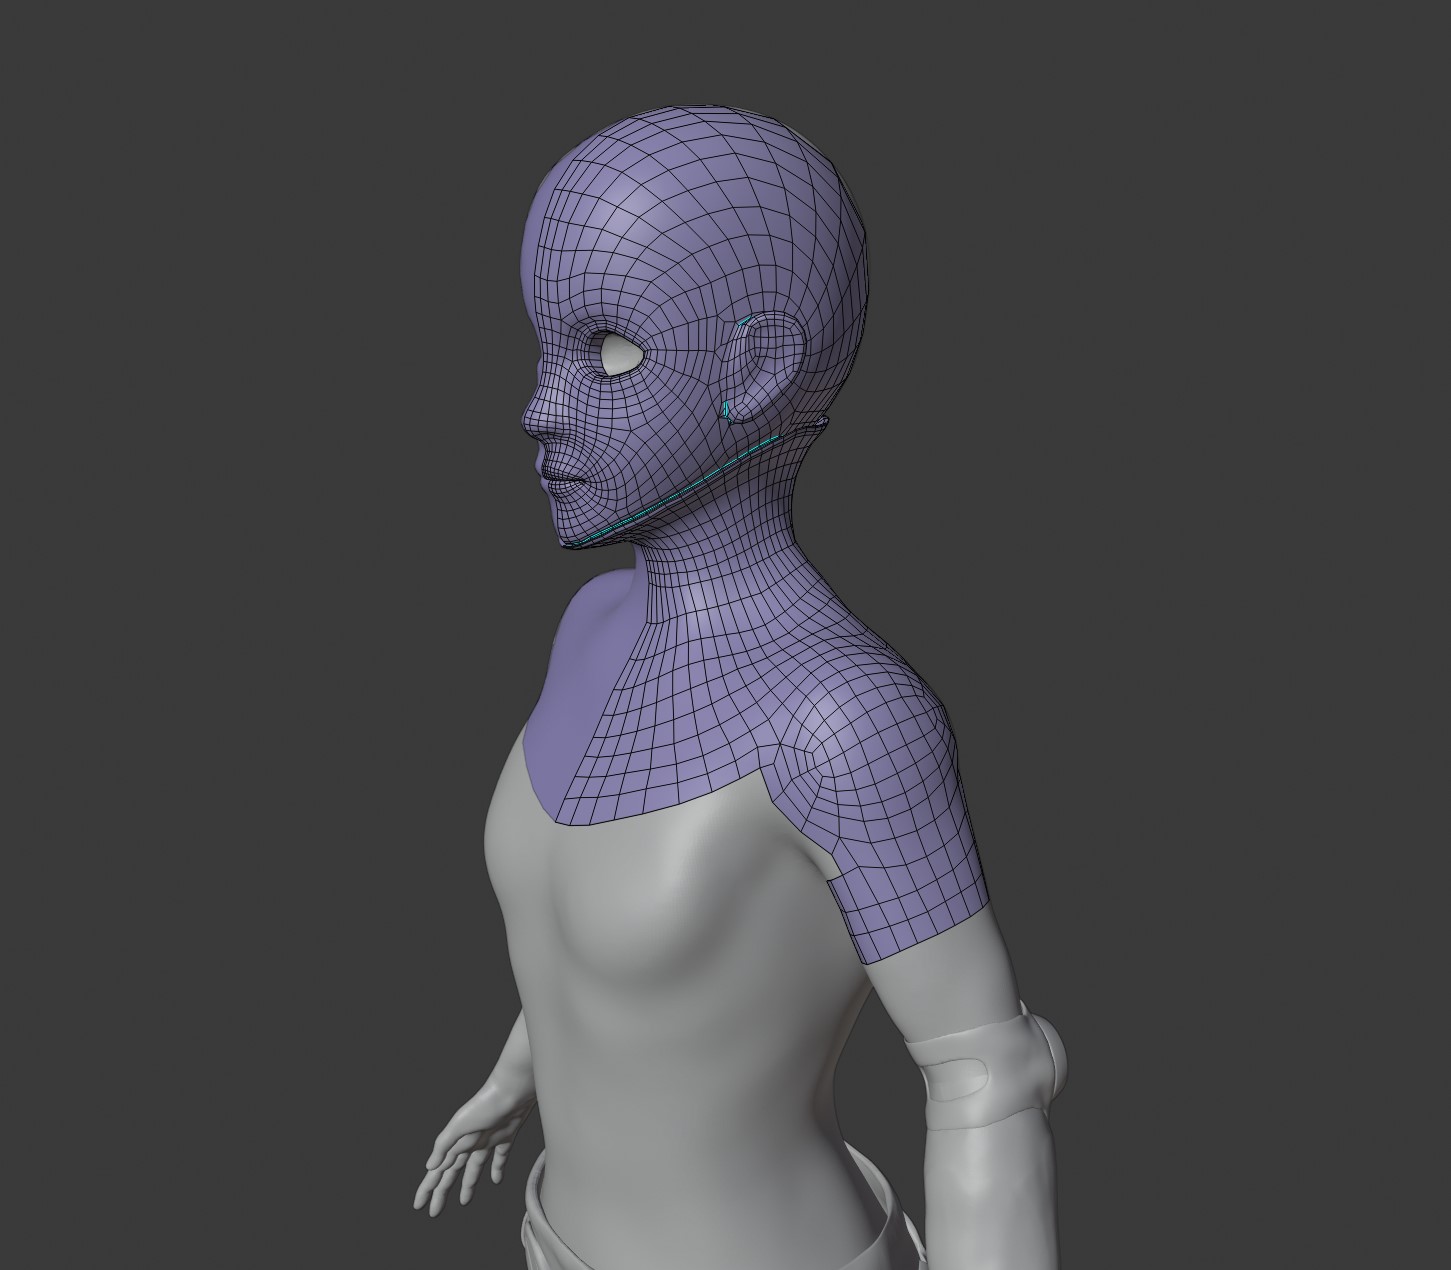
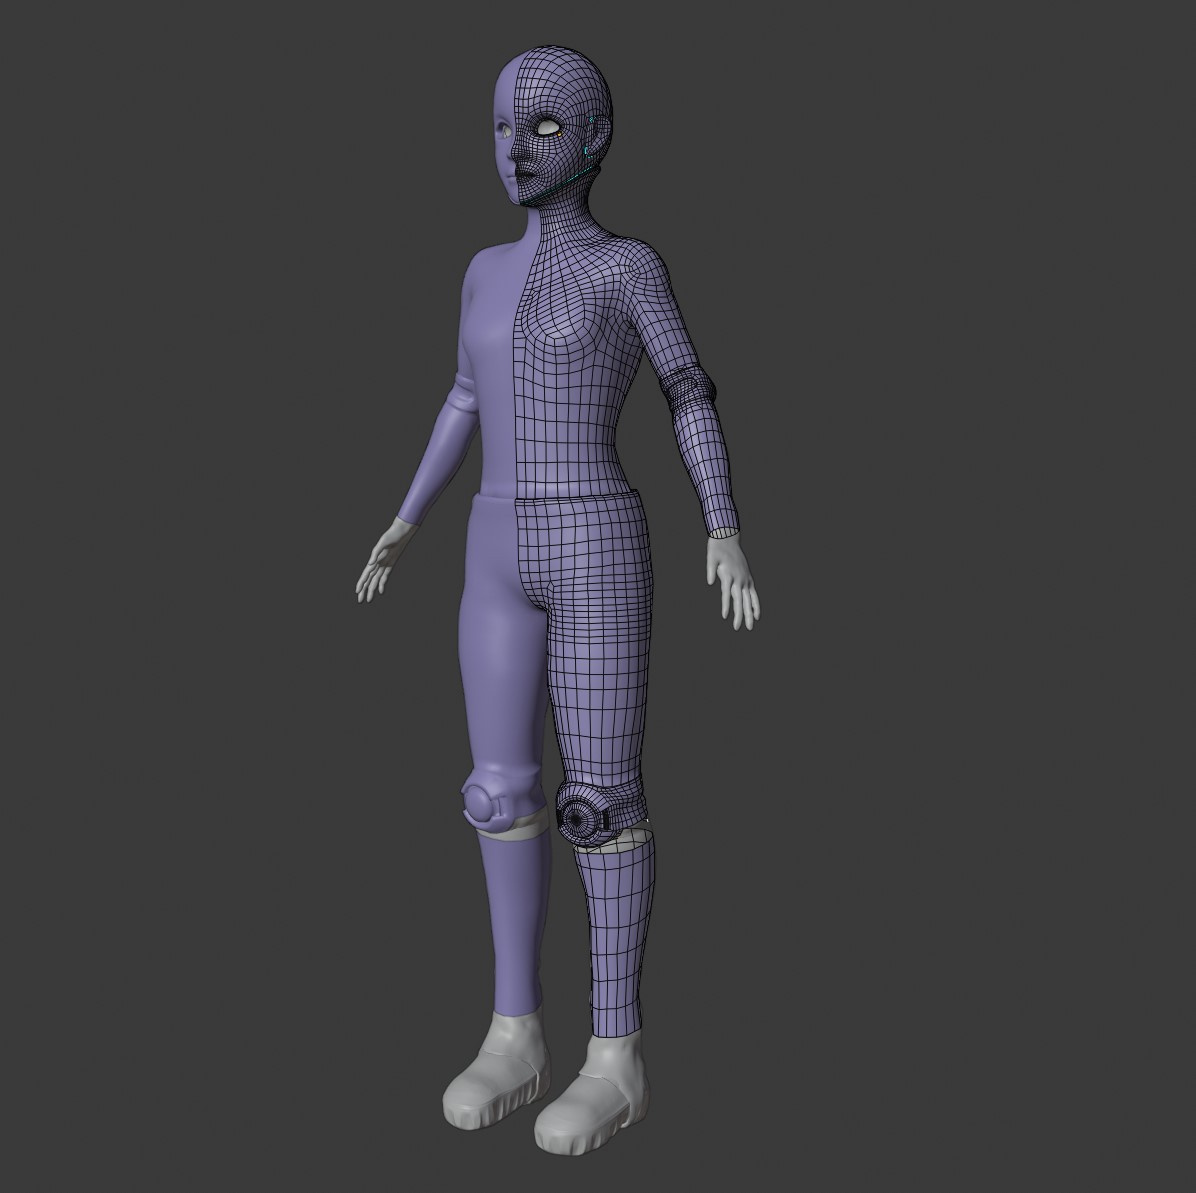
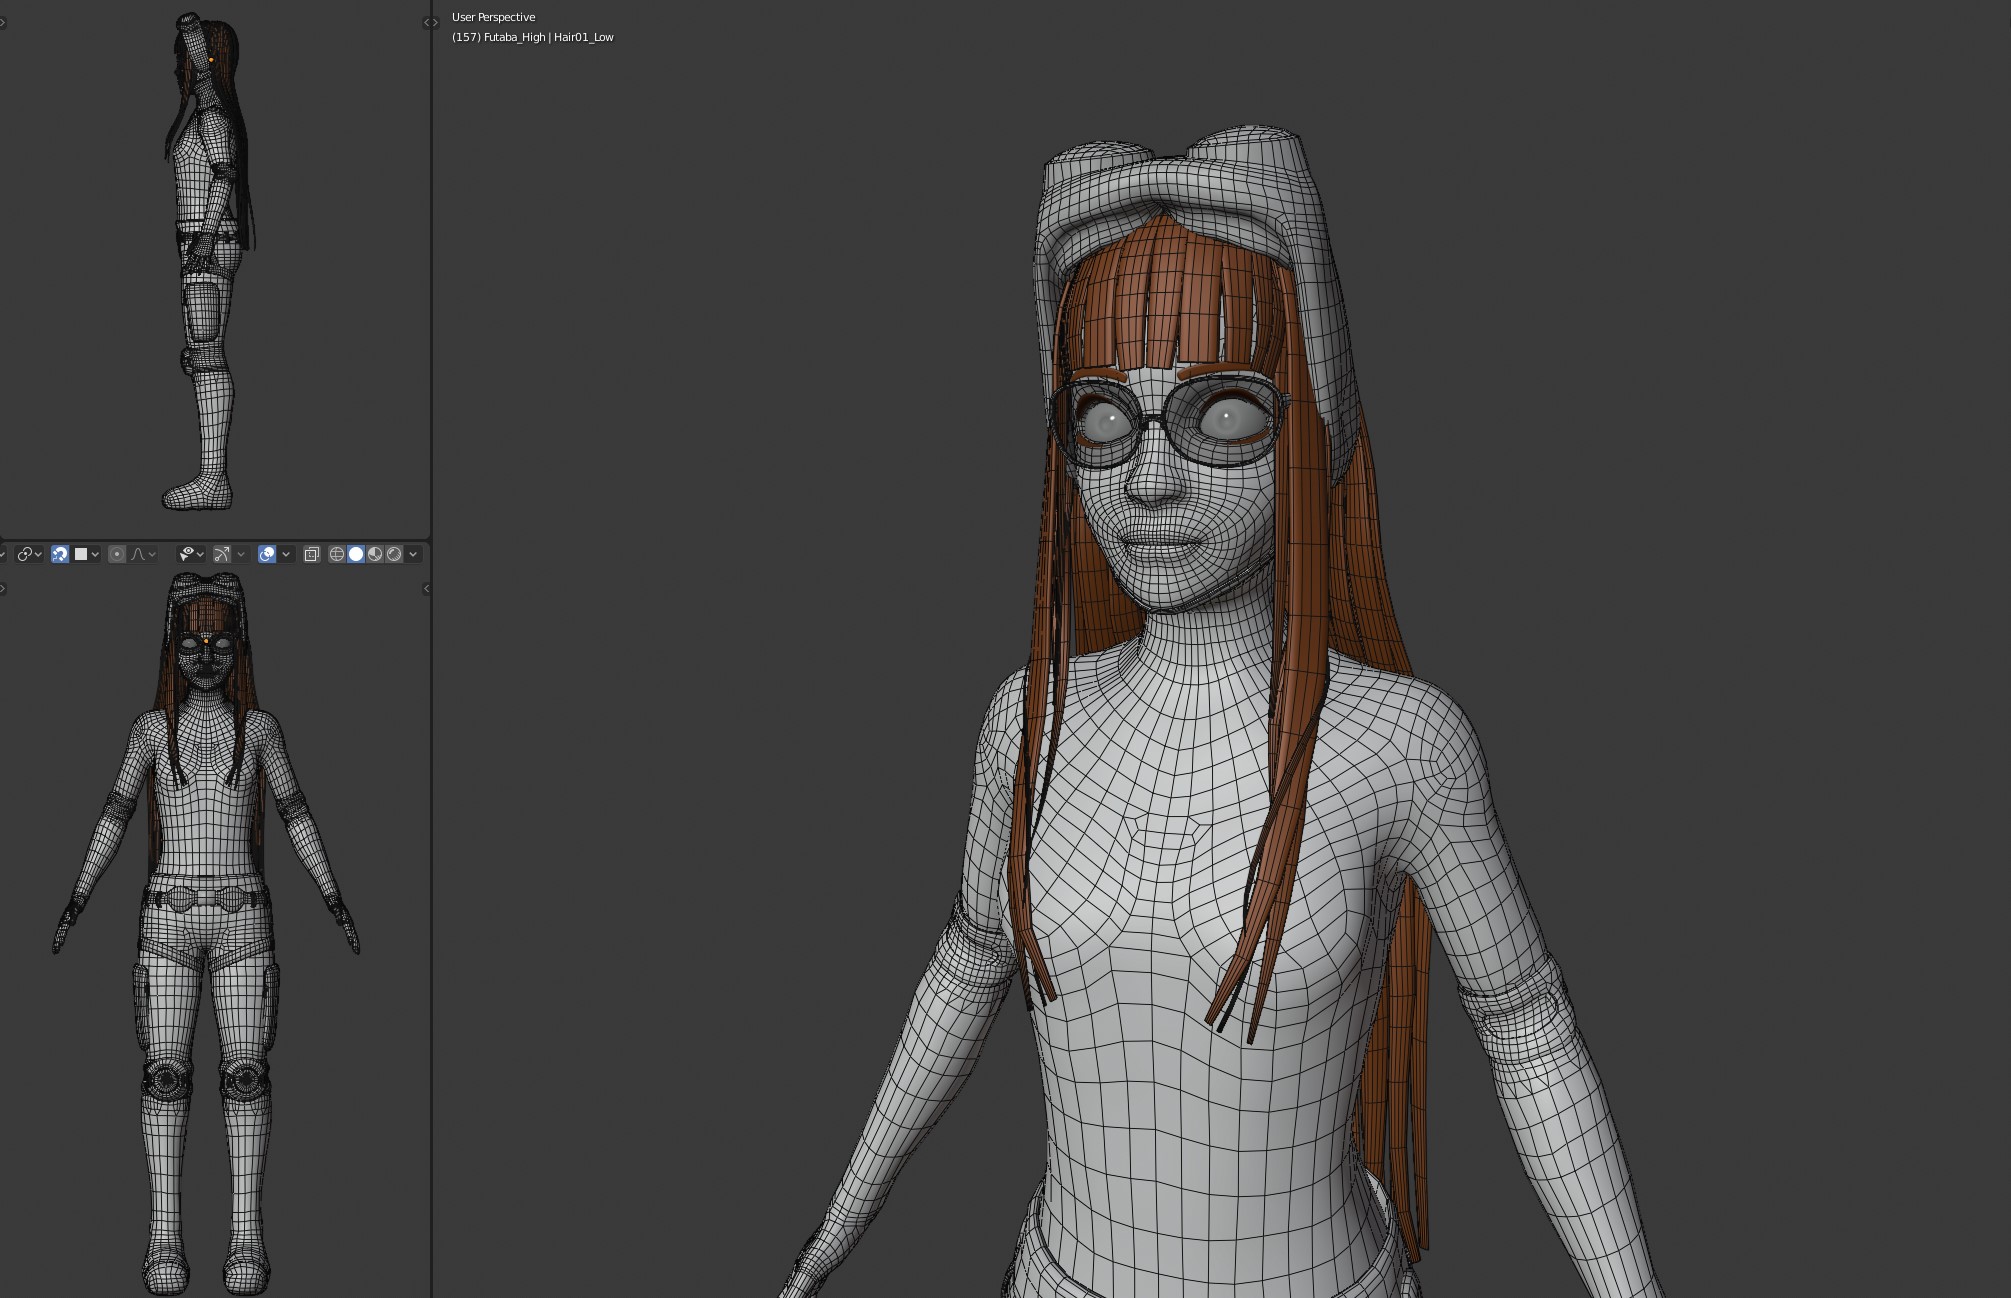
Still Retopologising Futaba
I’m nearly there, progress is slow, really slow, I am taking forever… ah well.
Some addons I might next time when retopologising in another project would be
I decided not to use Retopoflow because it was still in Alpha for Blender 2.8.
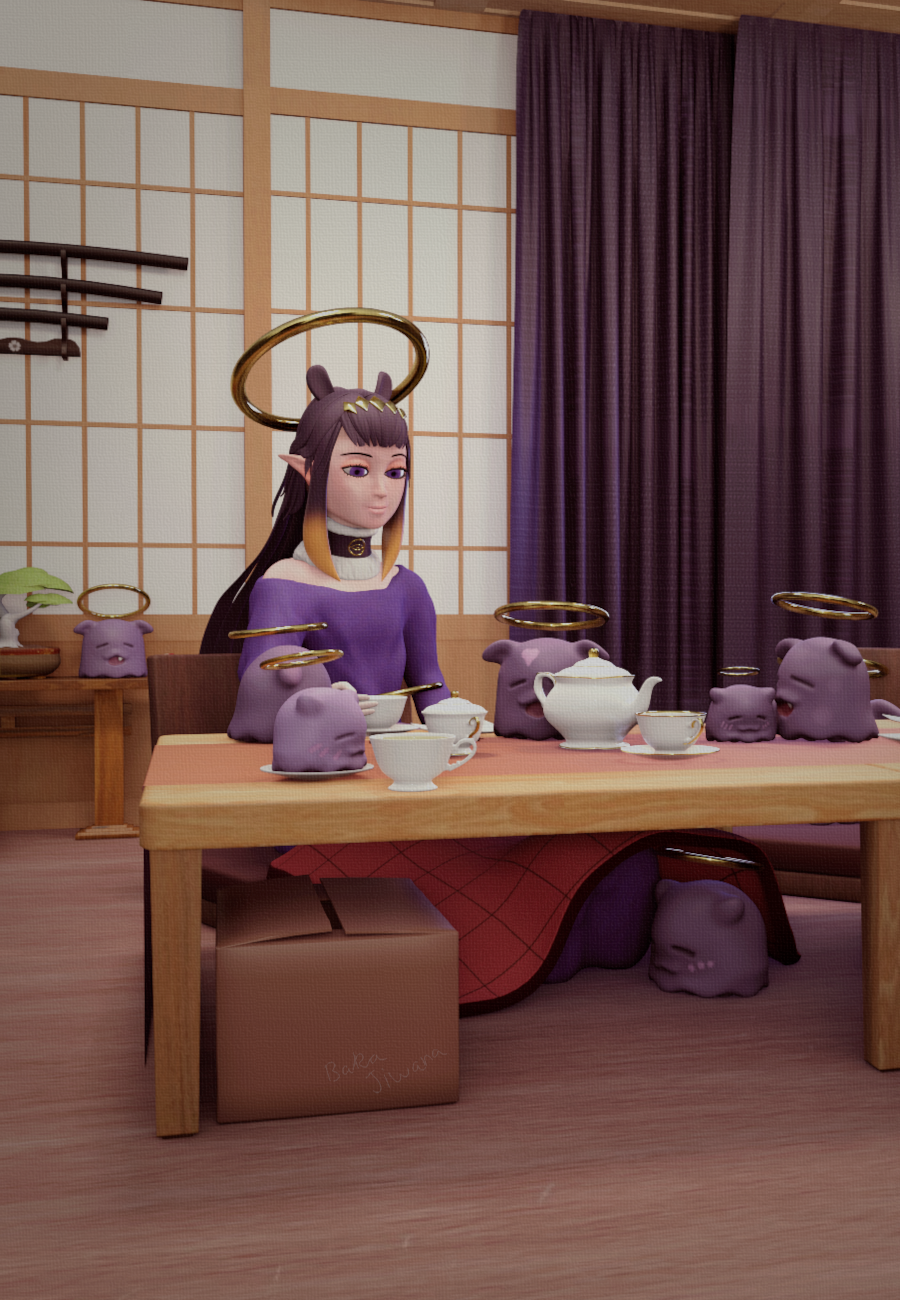
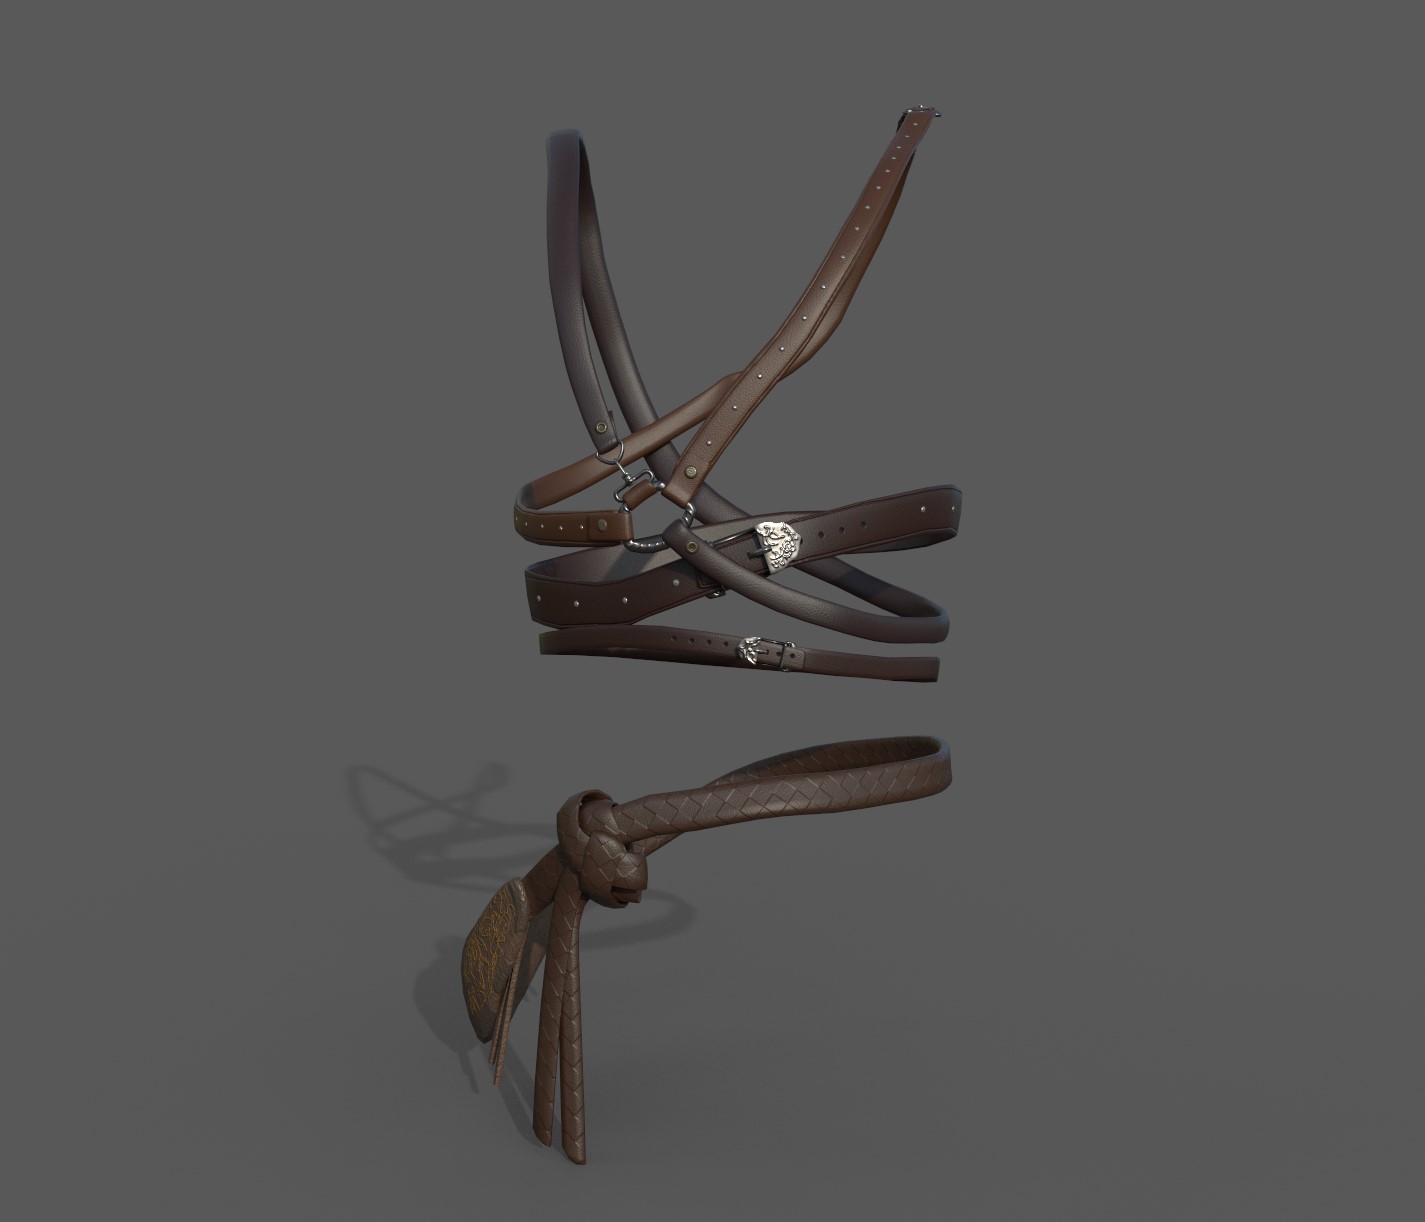
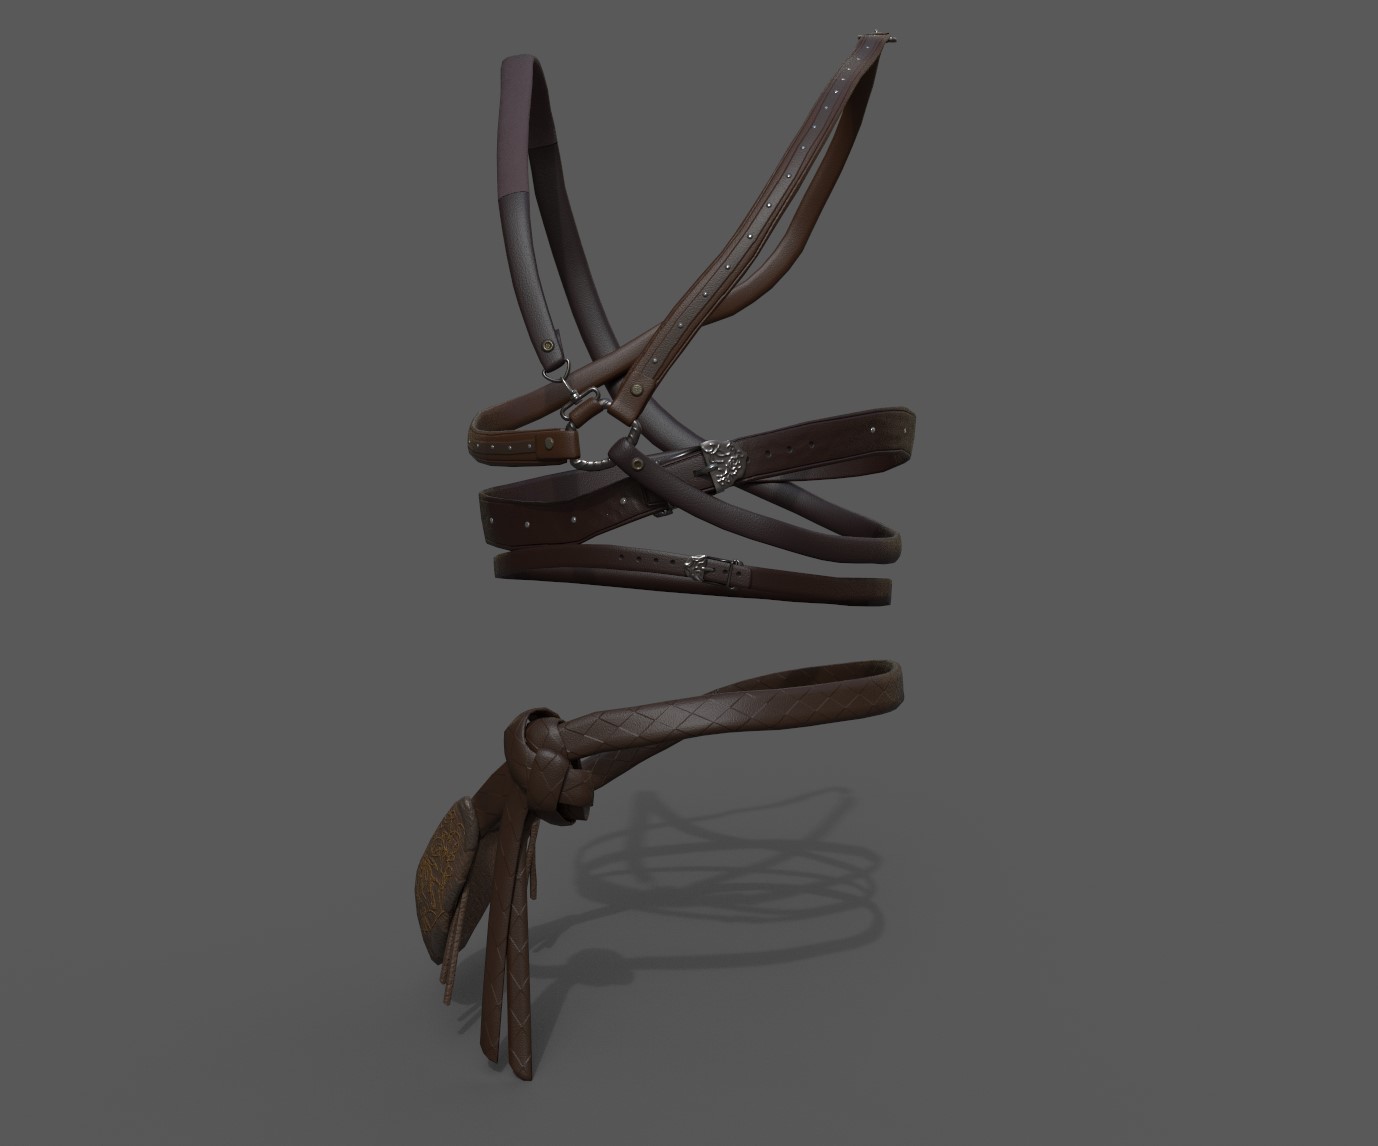
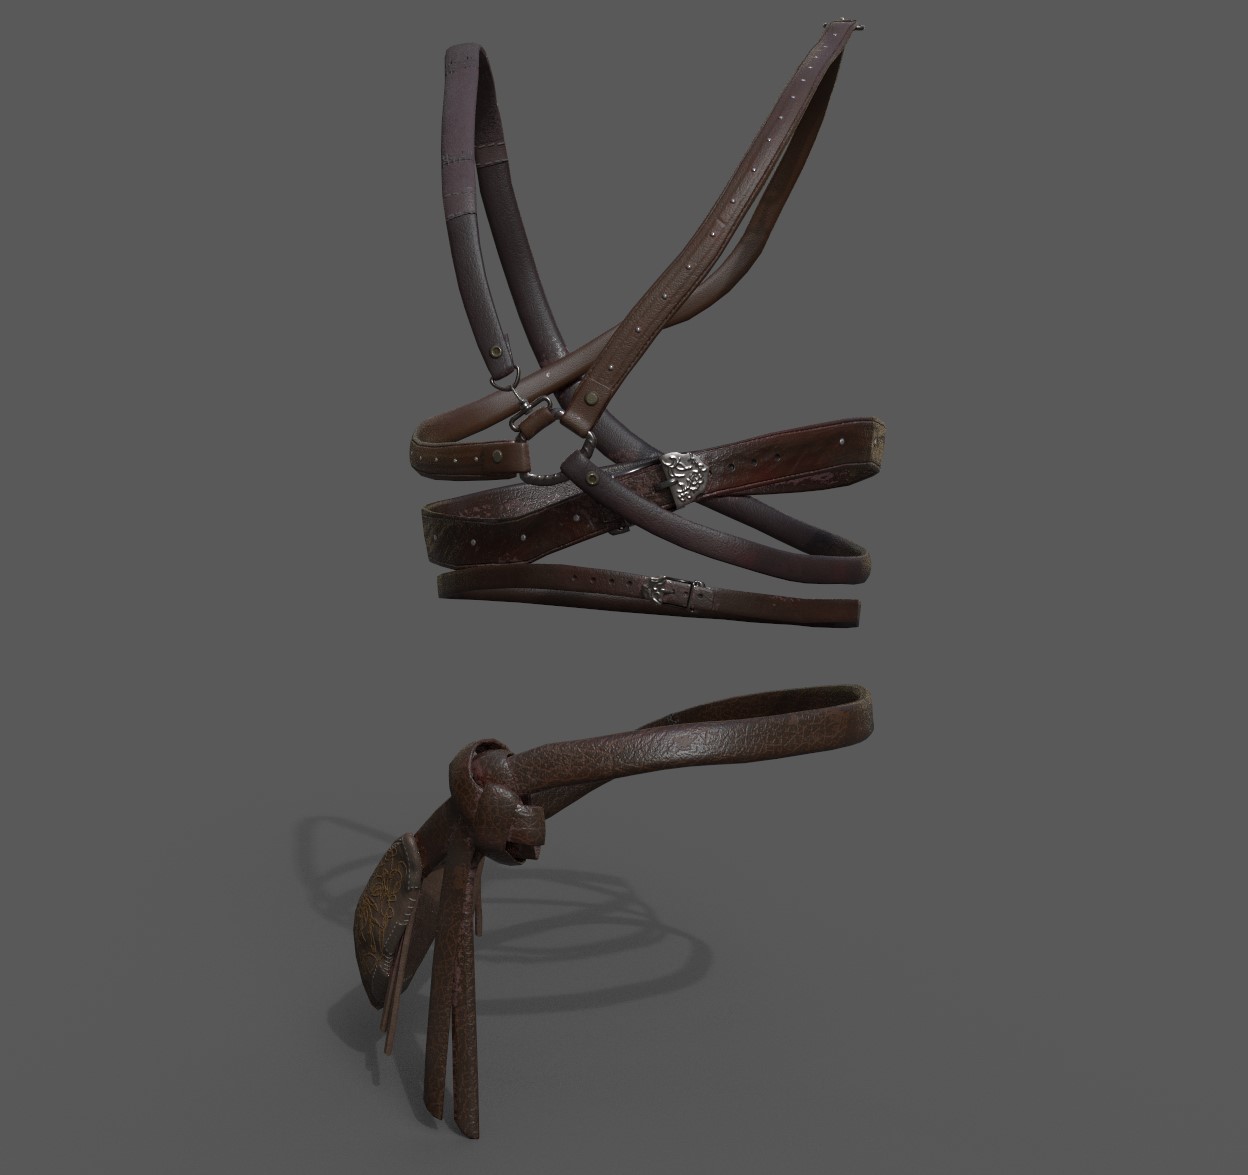
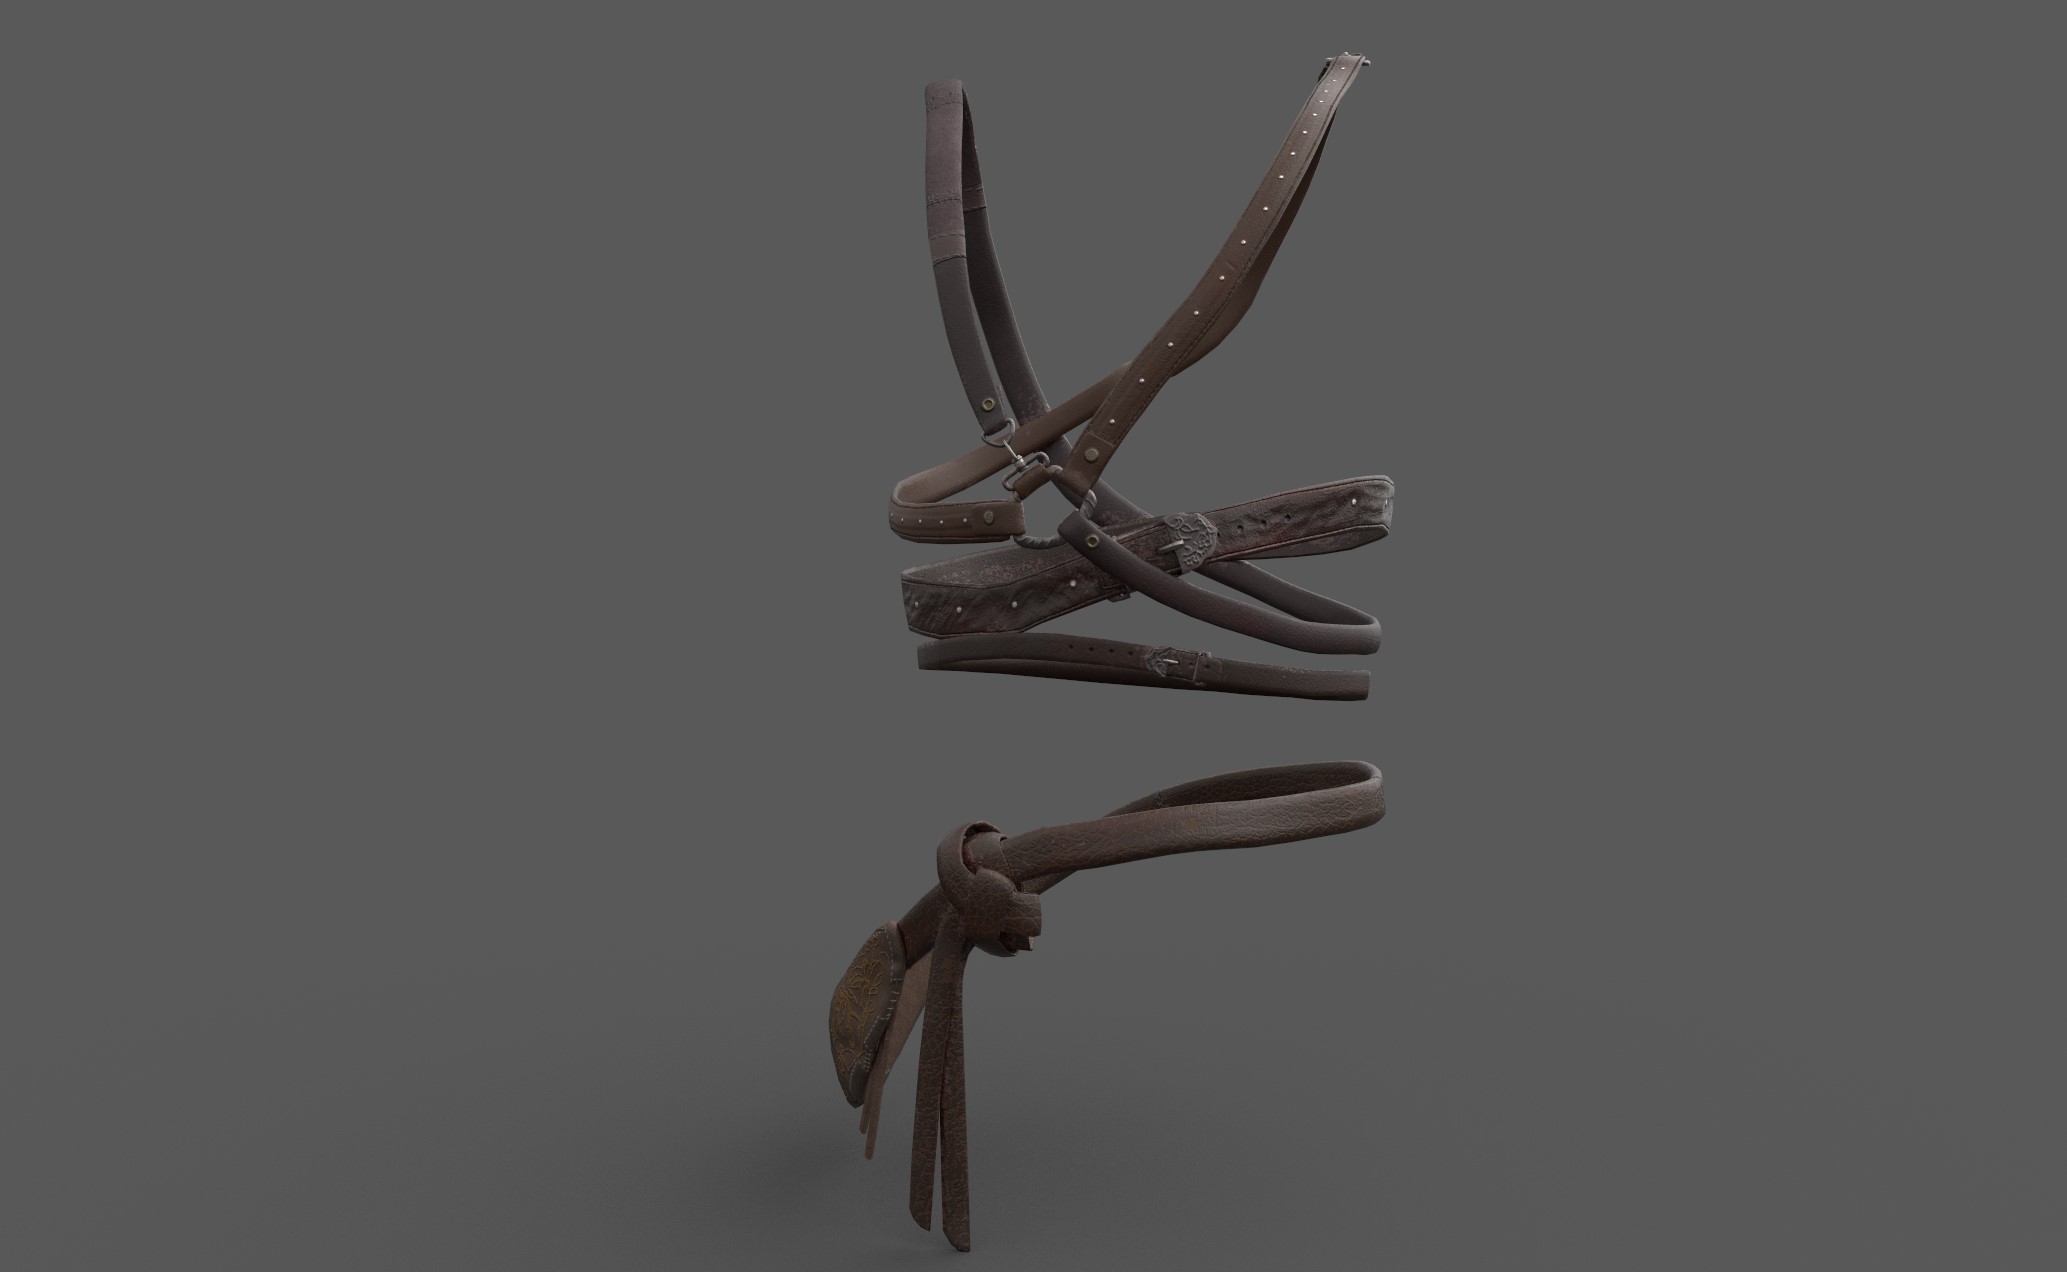
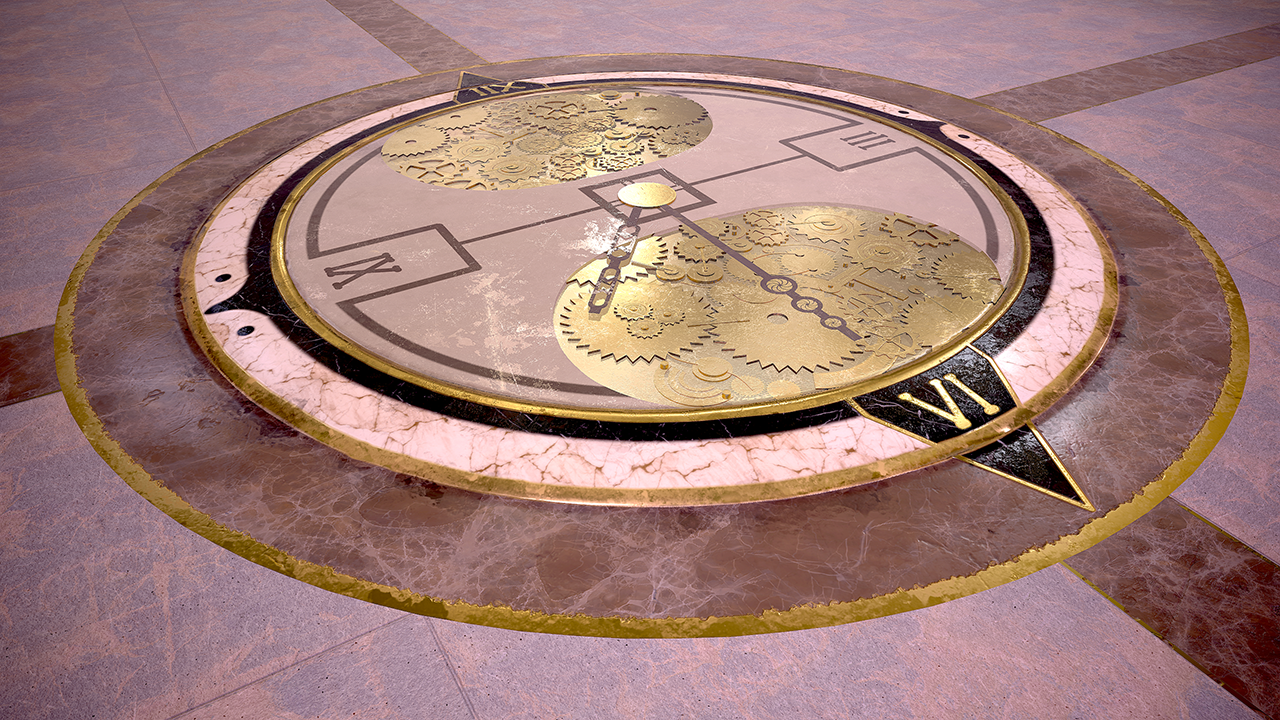
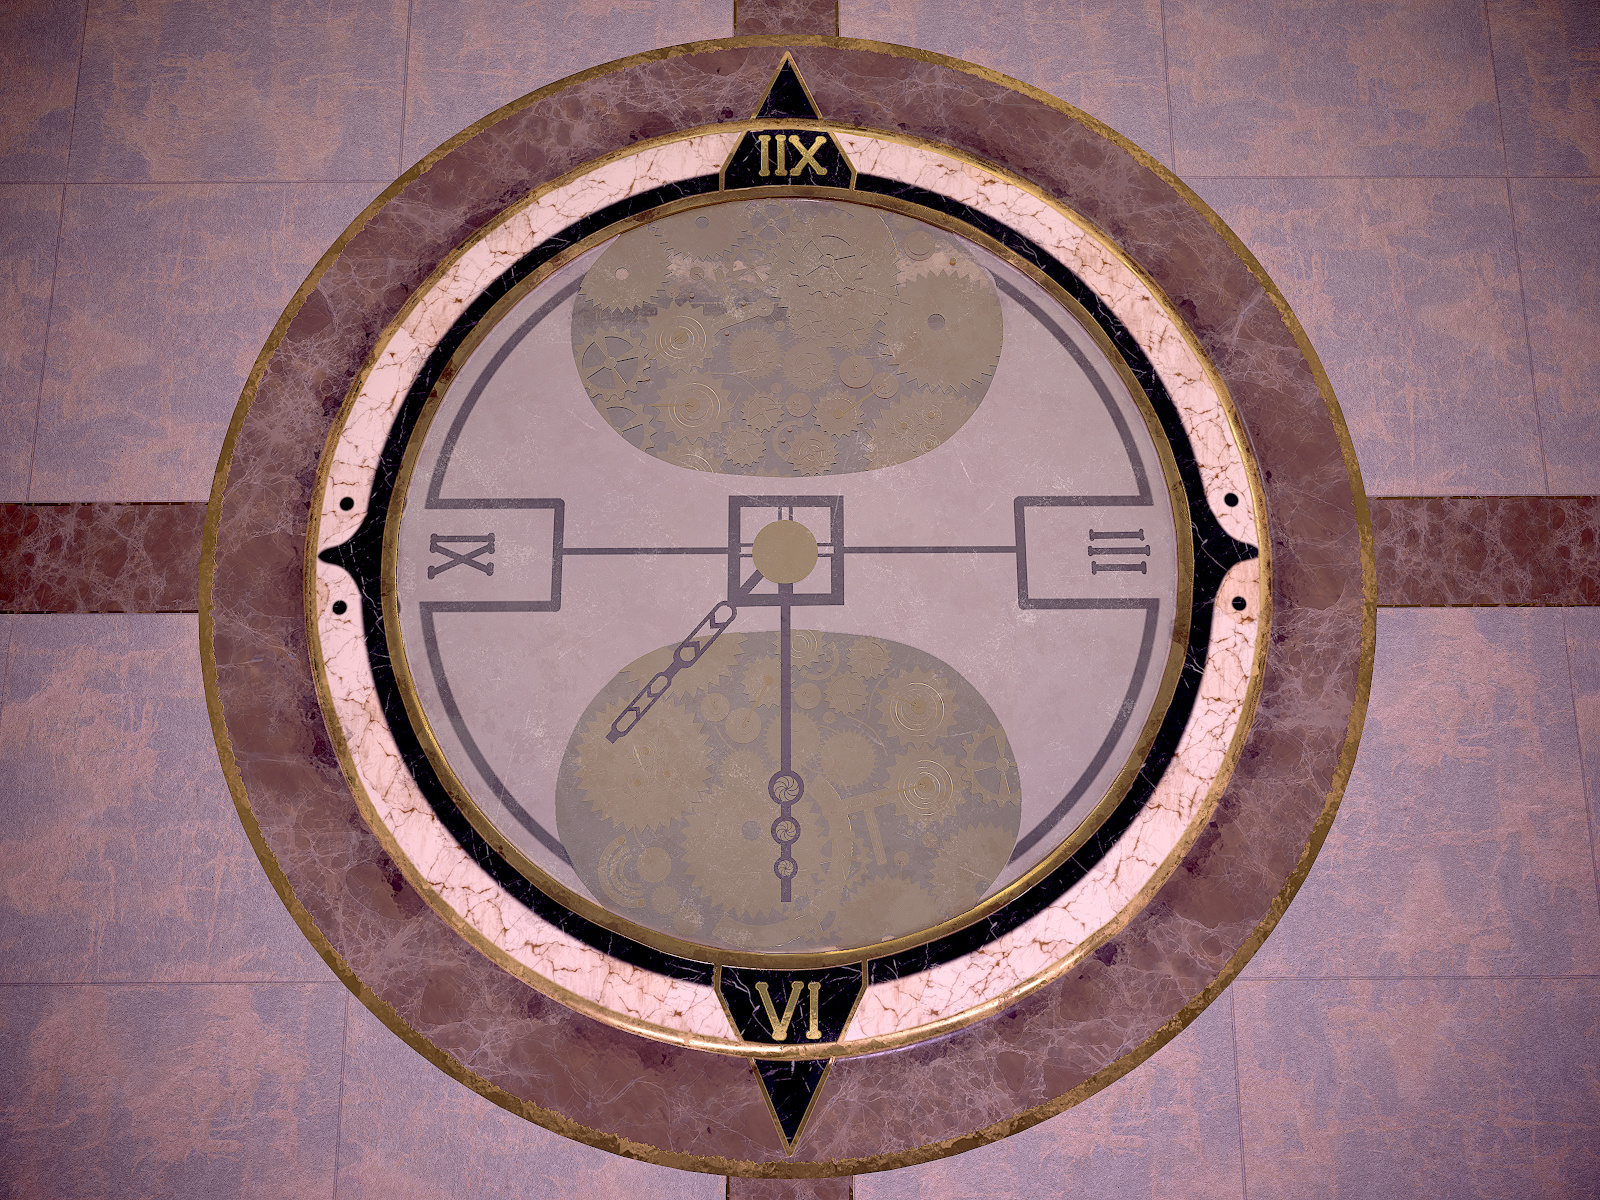
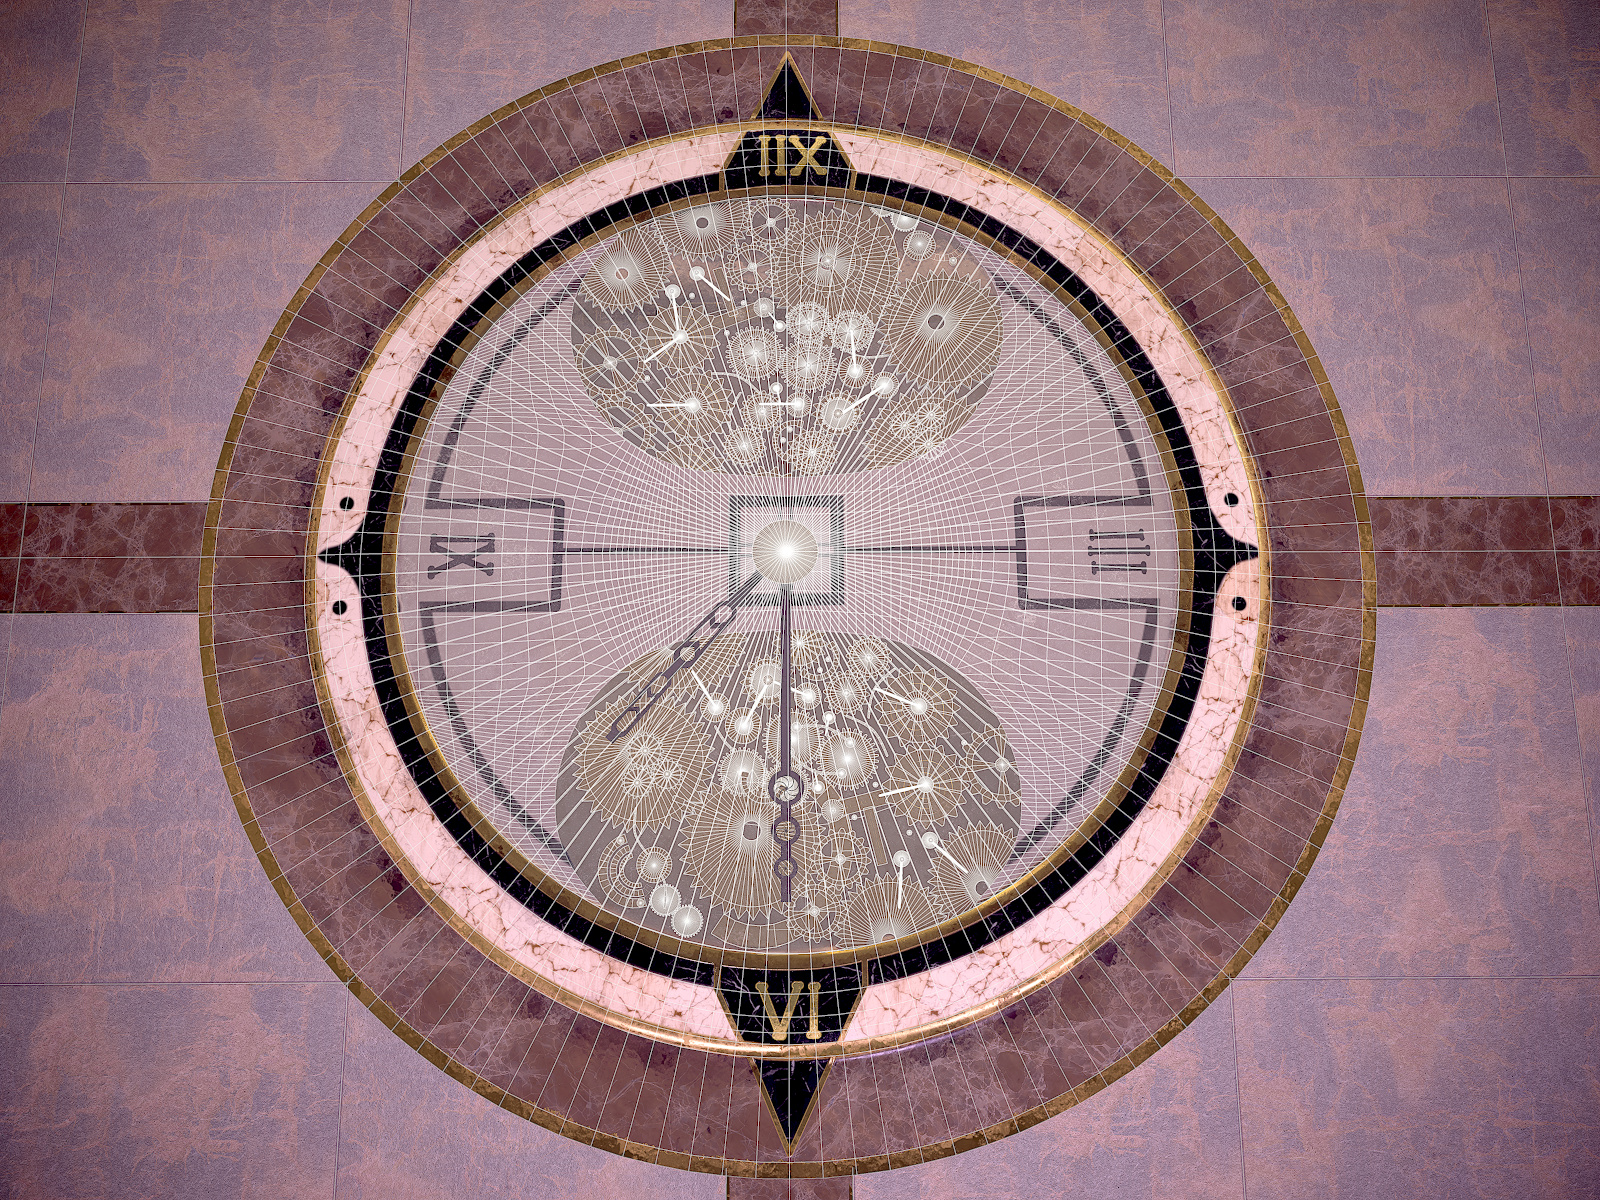
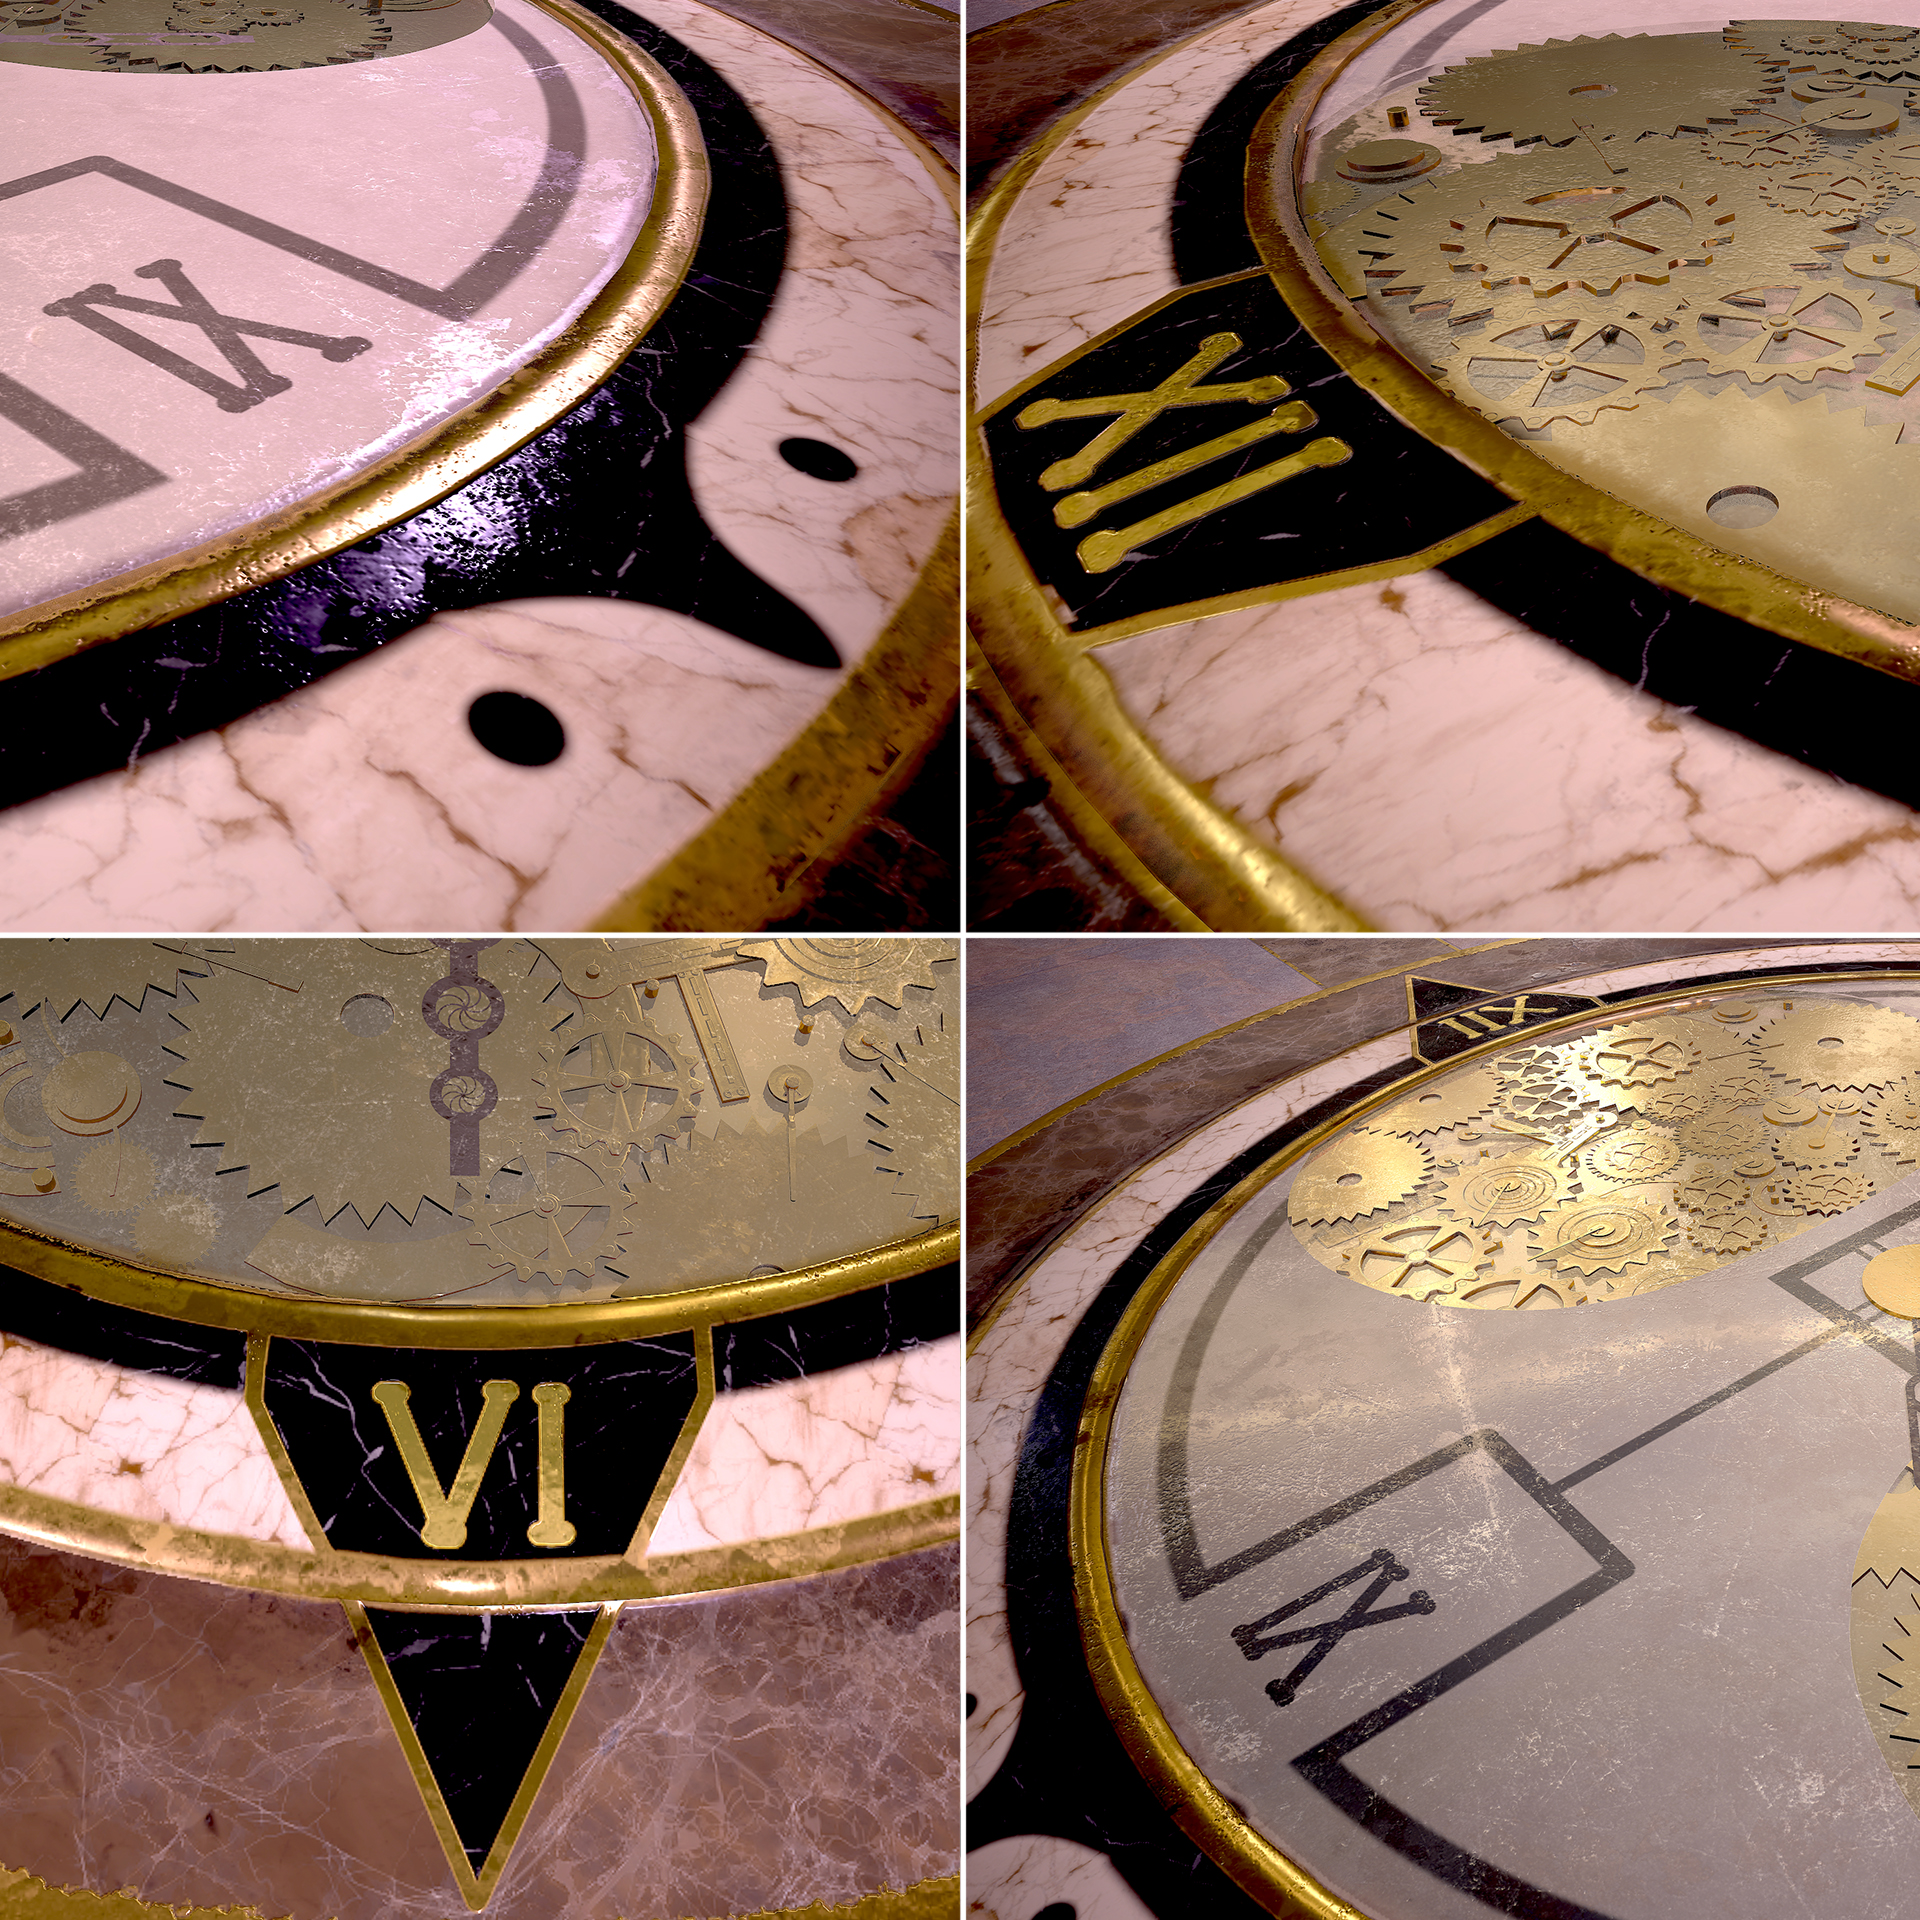
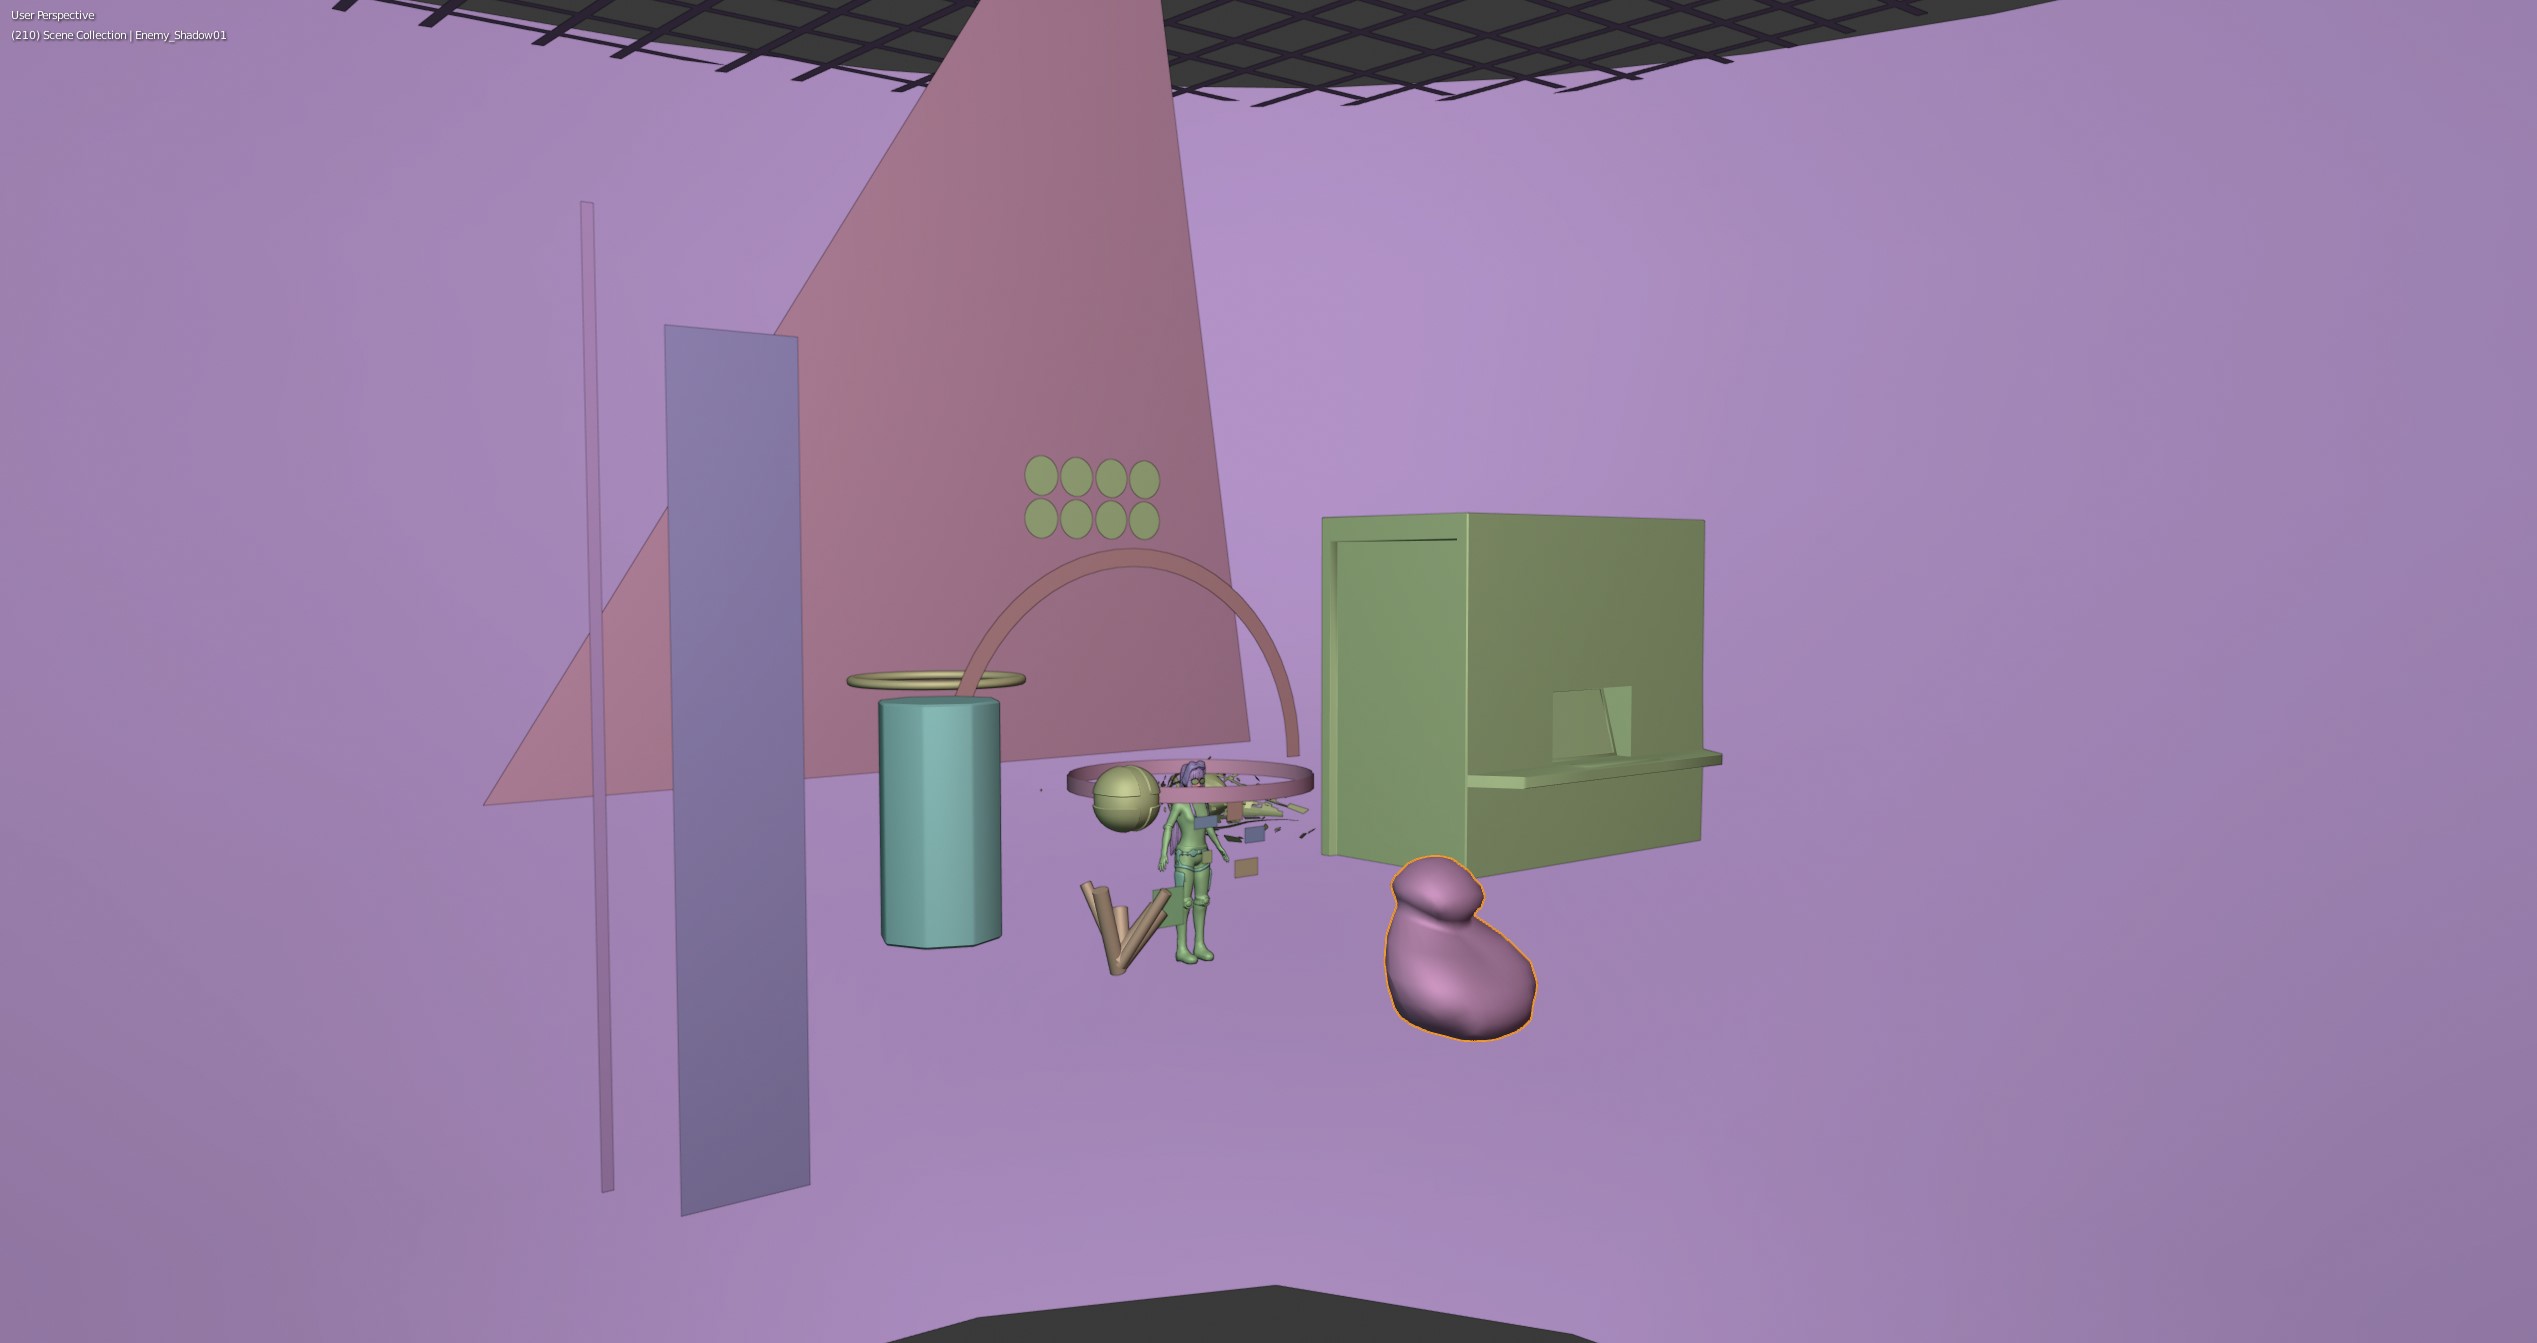
Decided to make a decor object for my upcoming Garthos idea (Royal Palace courtyard environment). It is a clock on the floor.
In the past month I have finished retopologising Futaba Sakura, then UV Mapped her.
During this phase, I’ve had new ideas on how to present the end result, at first I just wanted to create additional fan art into her (Aloy from Horizon and then D.Va from Overwatch) but then I’ve decided to change the route to making a Live 3D Wallpaper on Sketchfab, just the pure concept of Futaba Sakura and no additionals, something like you’d see in the League of Legends login.
So I got to working on the environment around her. I’ve heavily planned this all to fit the 50mb free user limit of sketchfab, hopefully I won’t pass it and still retain good quality. I’ve made sure I’m mirroring UV spaces and giving the important pieces more space.
Now to the Texturing phase!
First off I’ve baked Futaba in Substance with her high poly. This is the result.
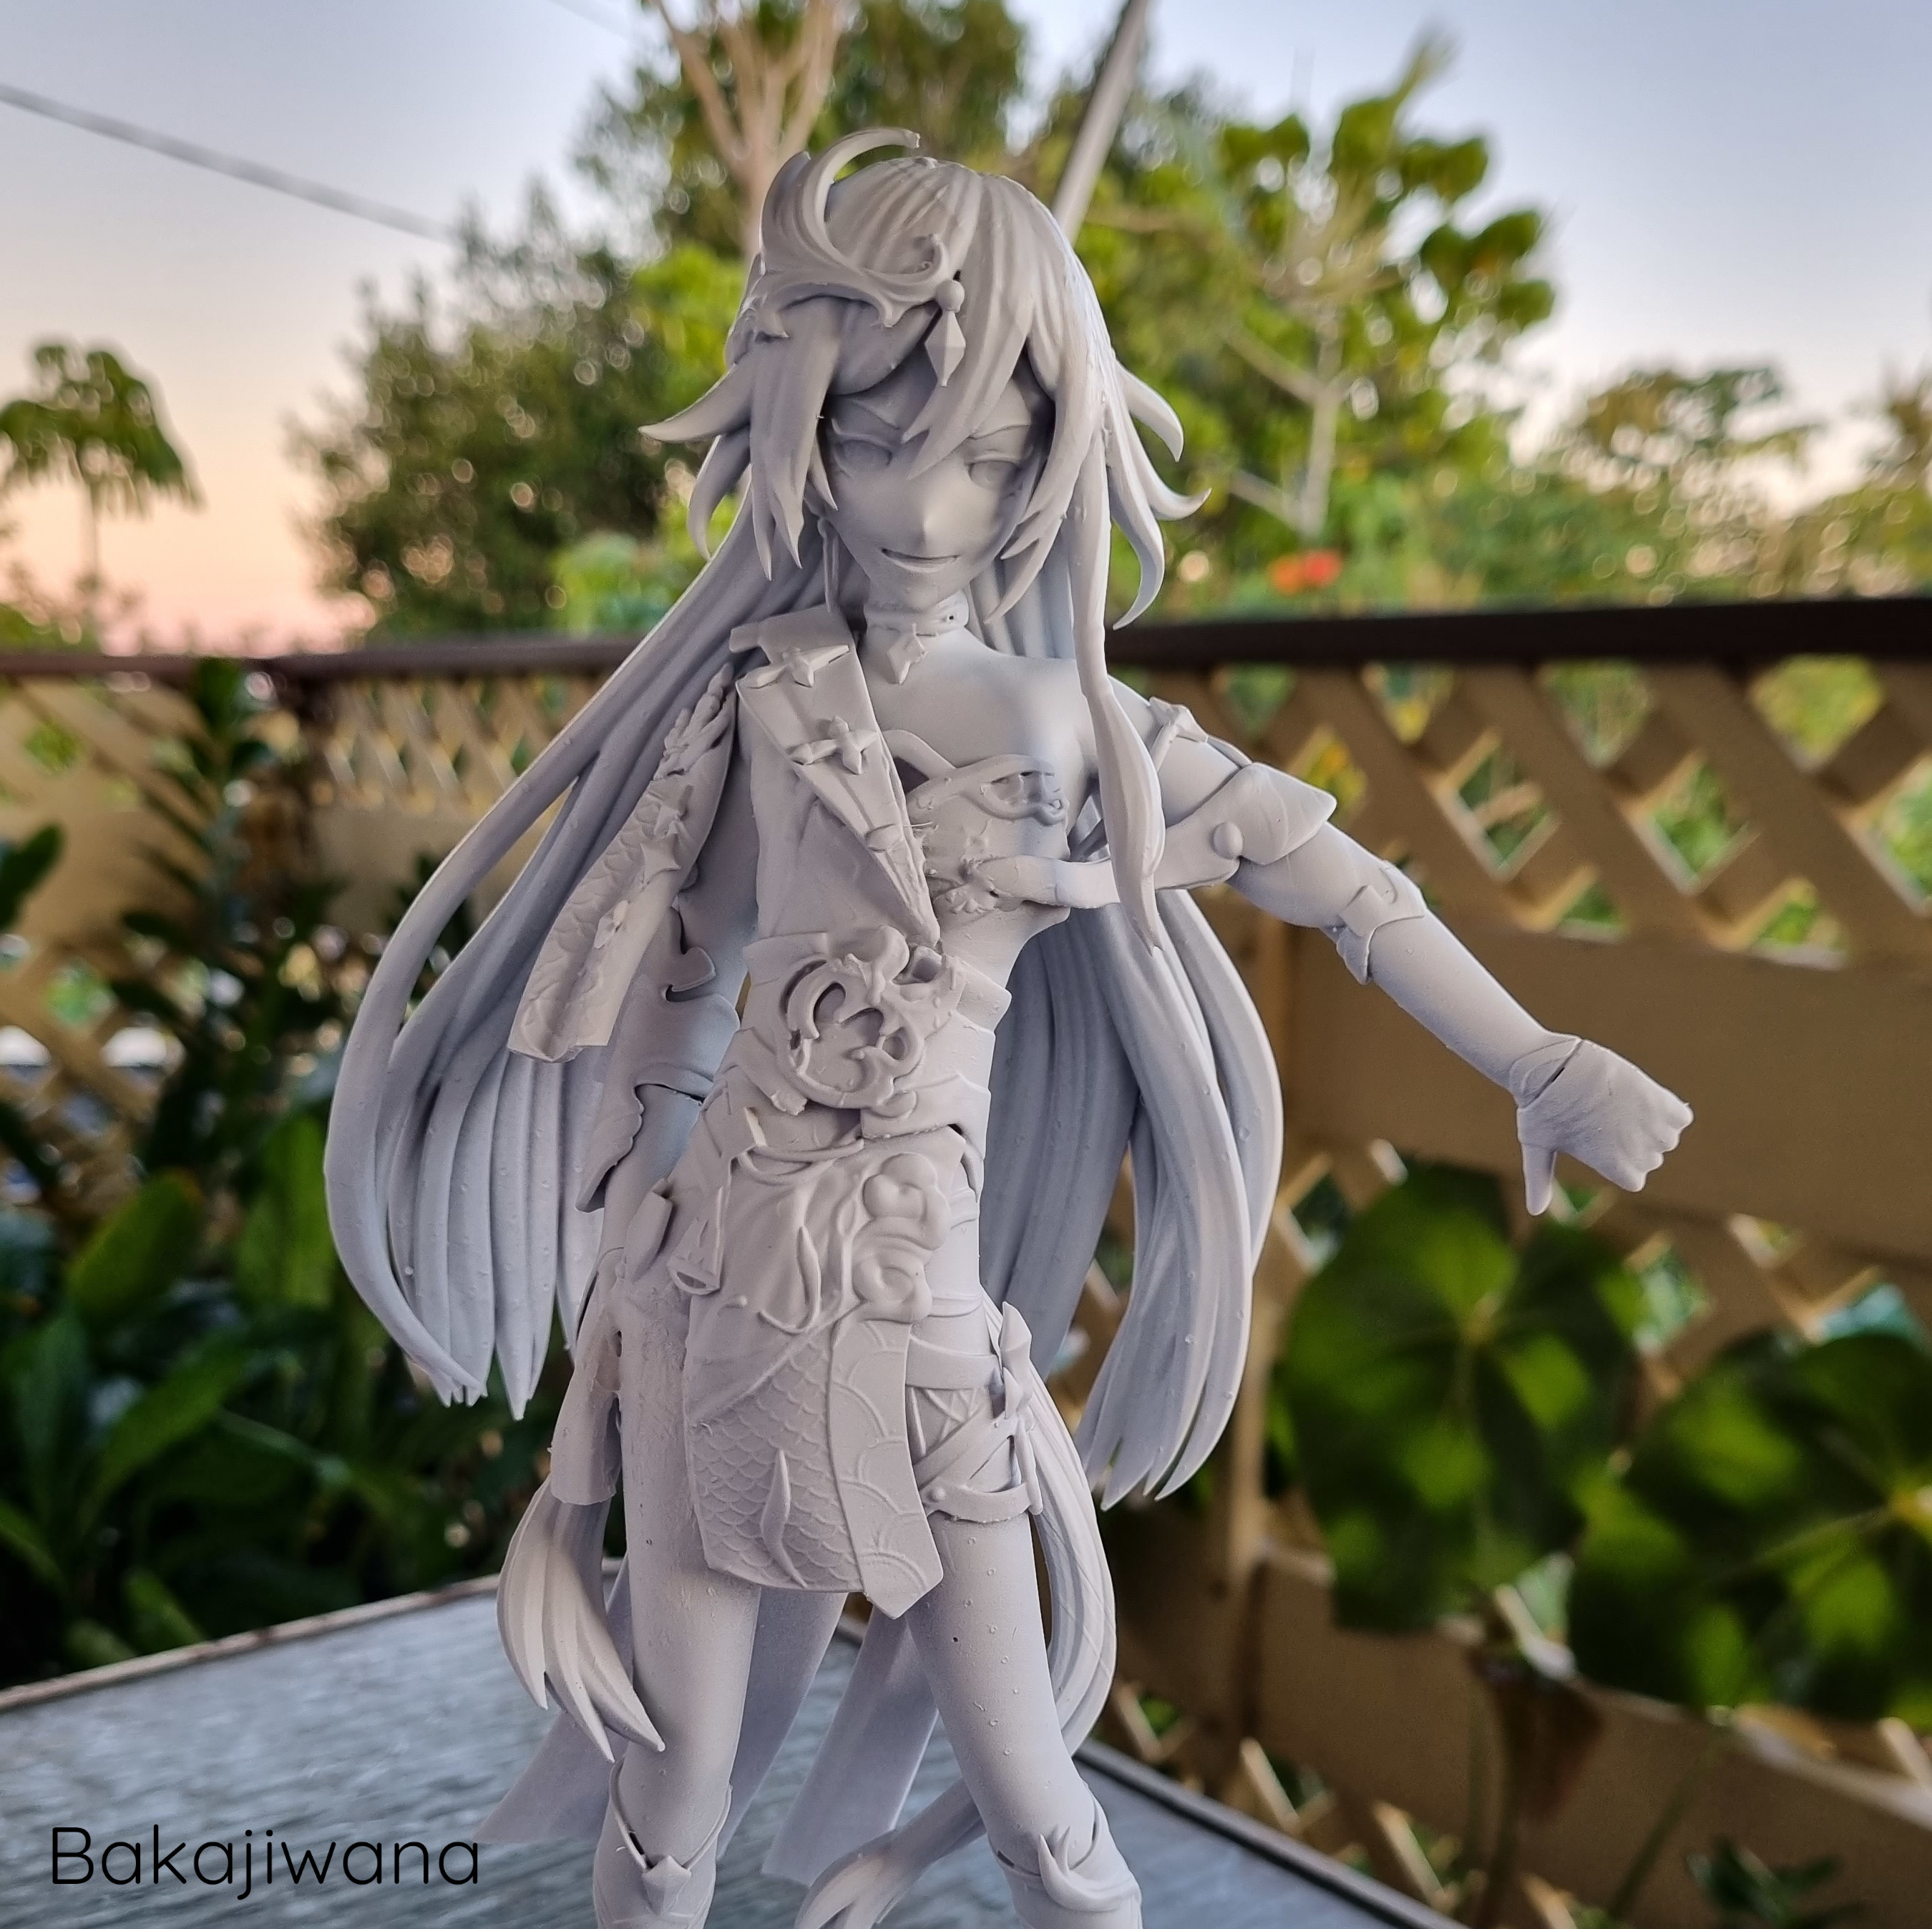
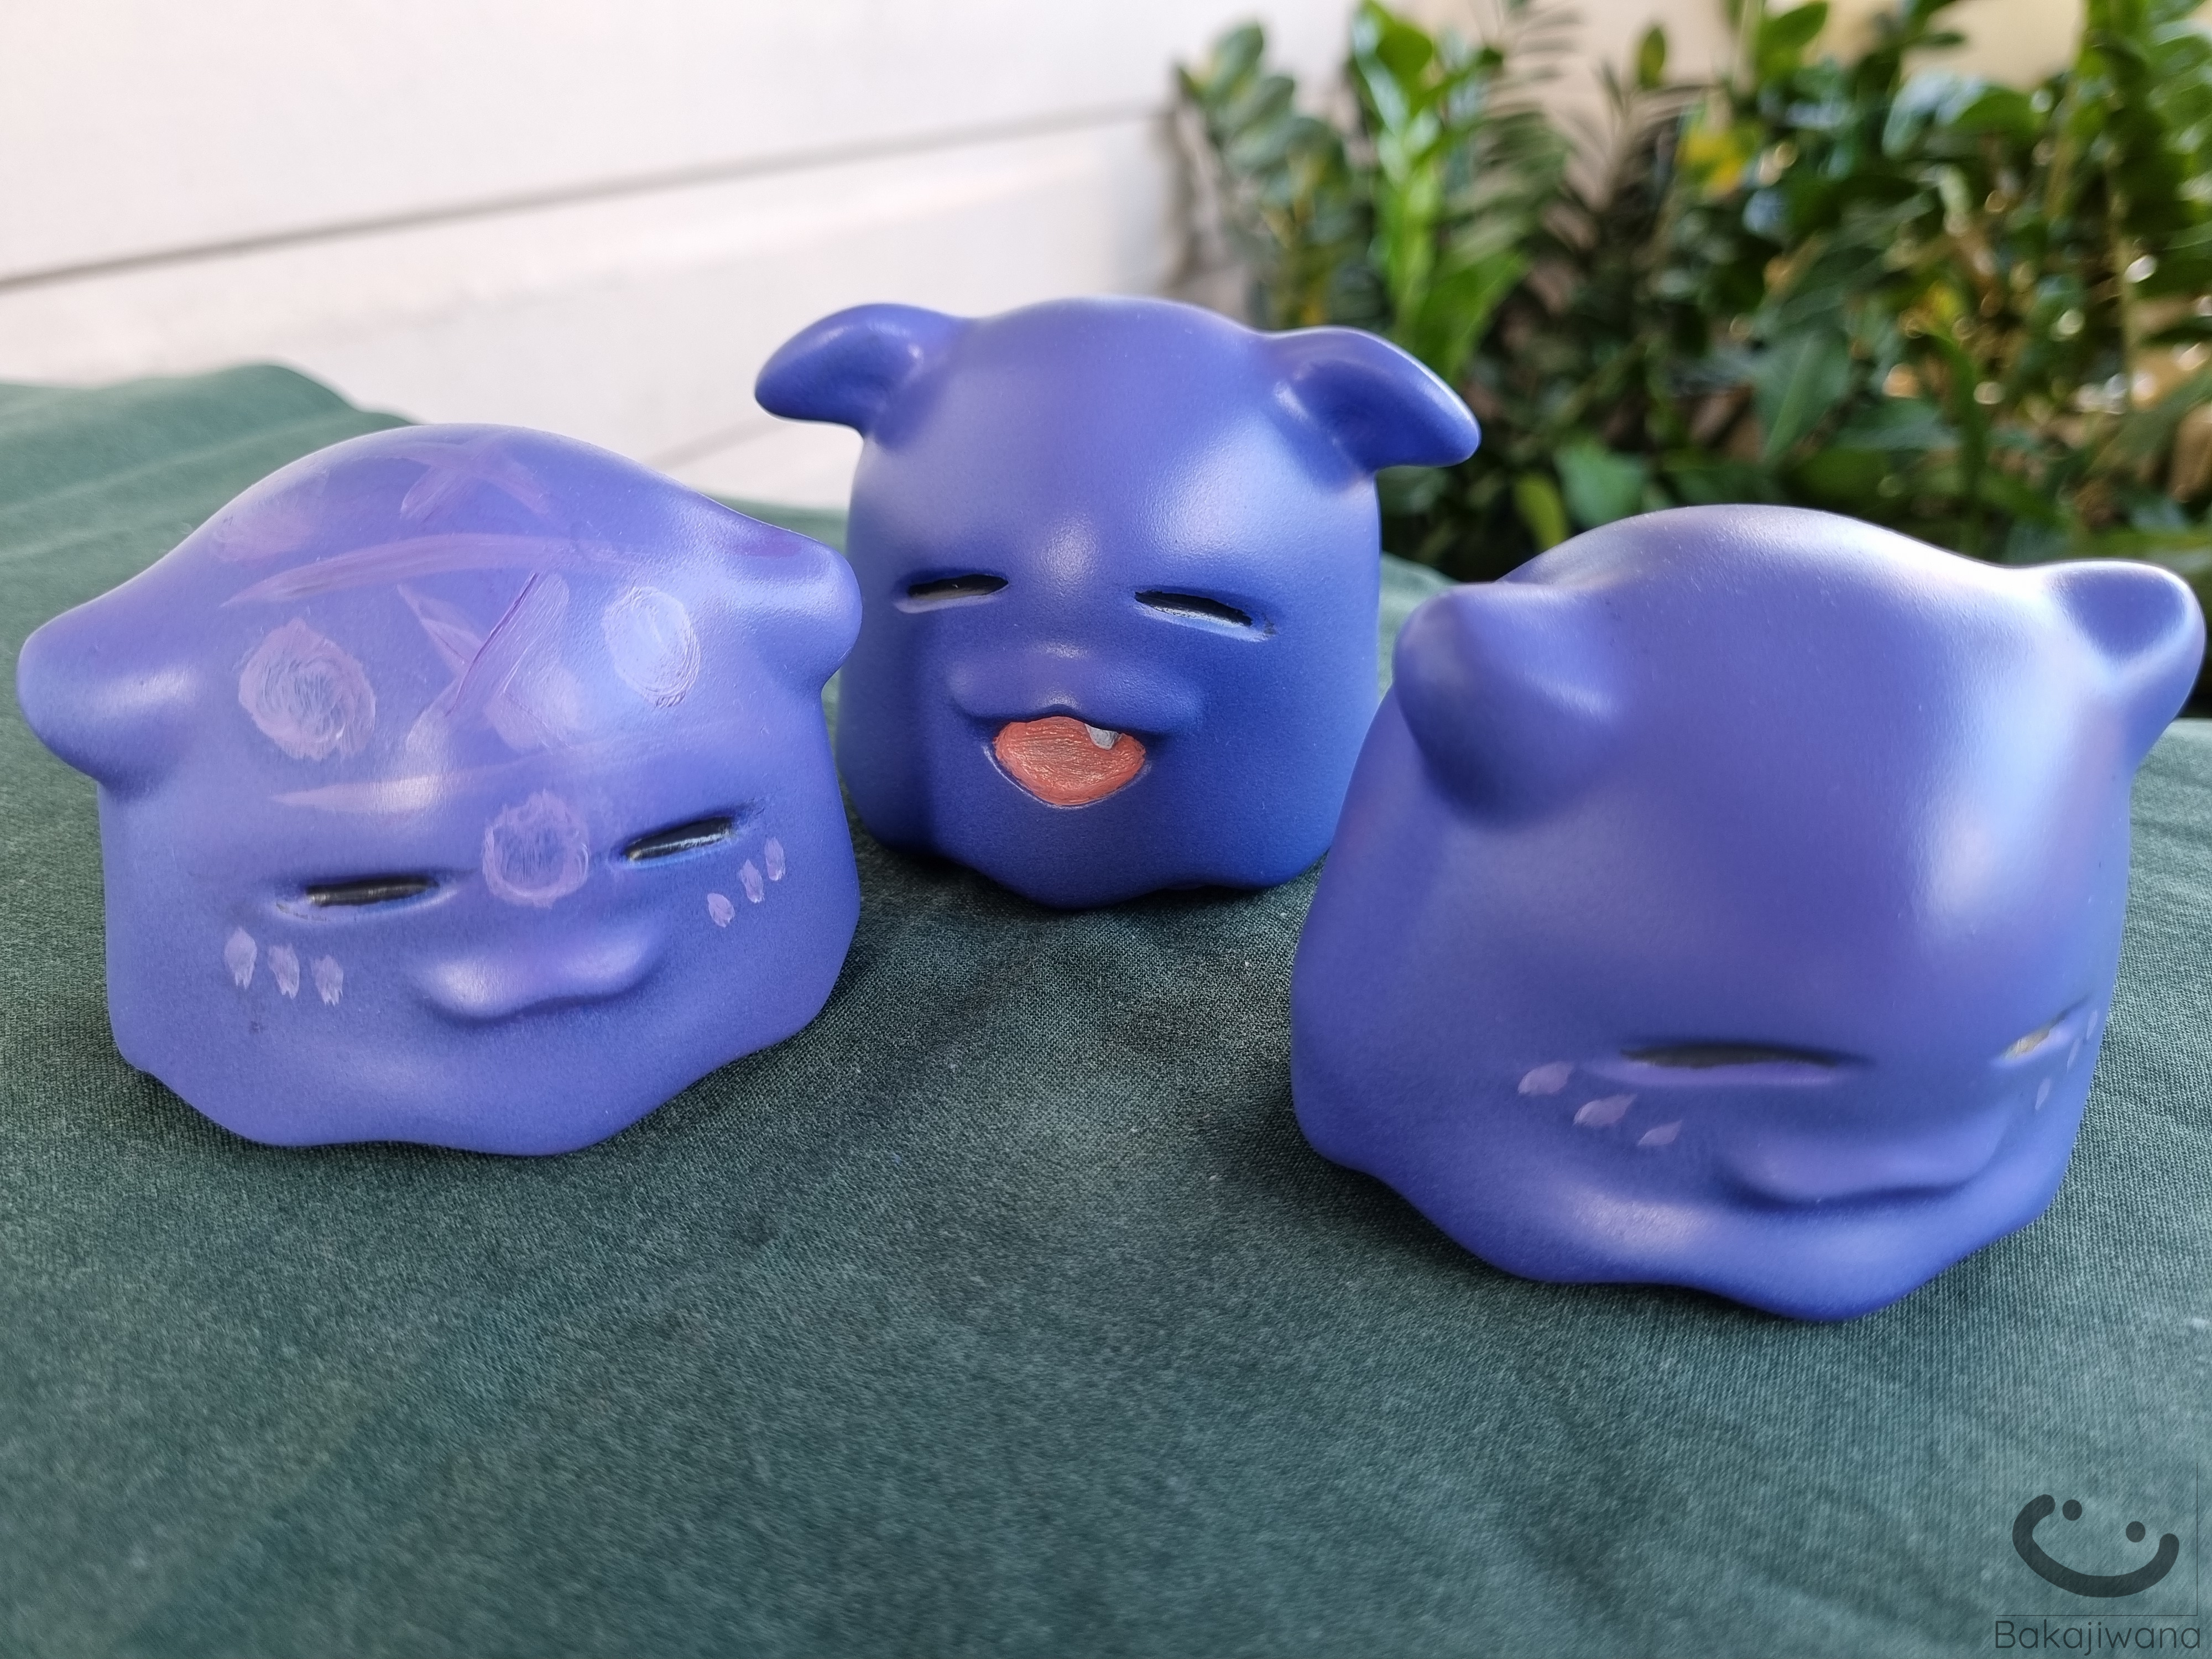
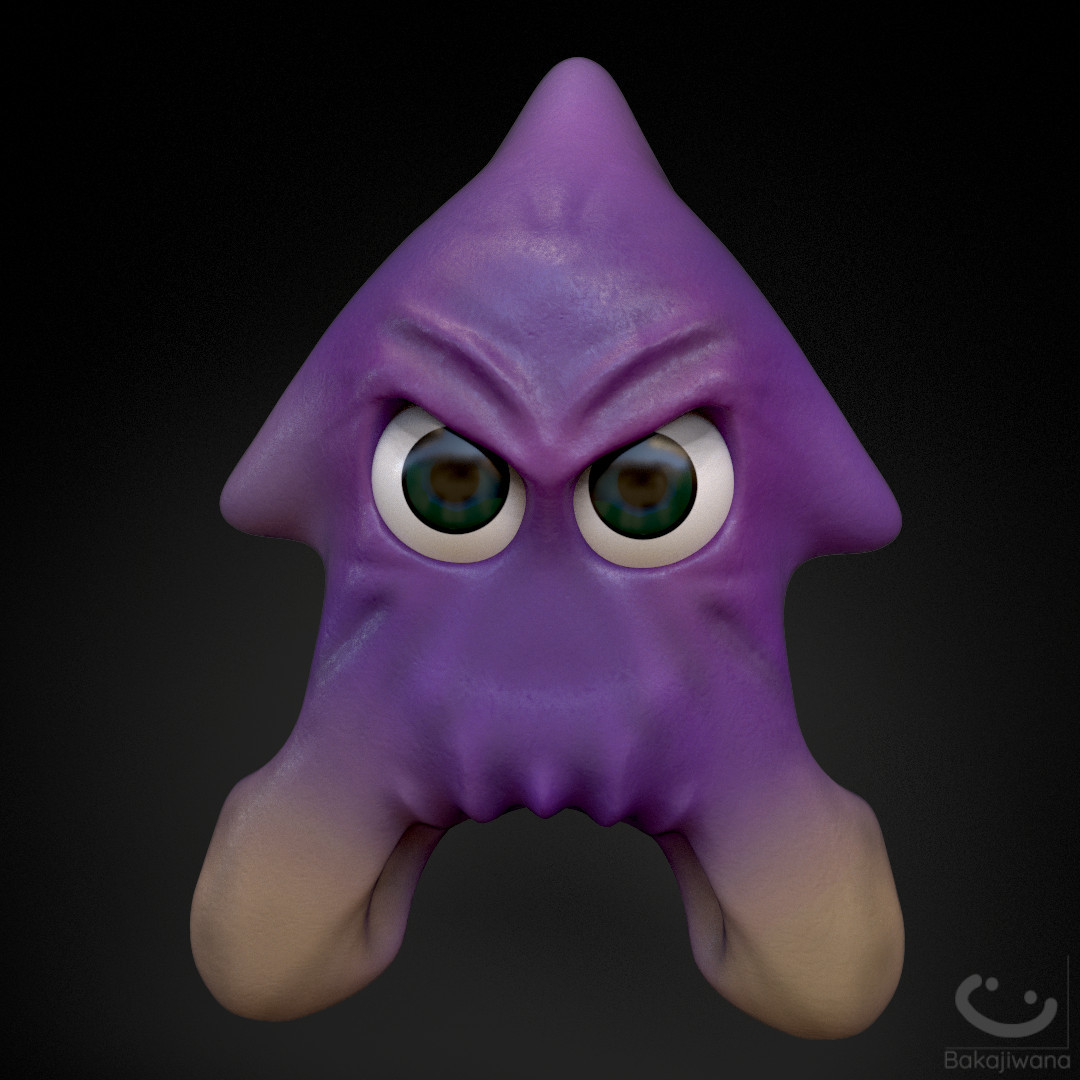
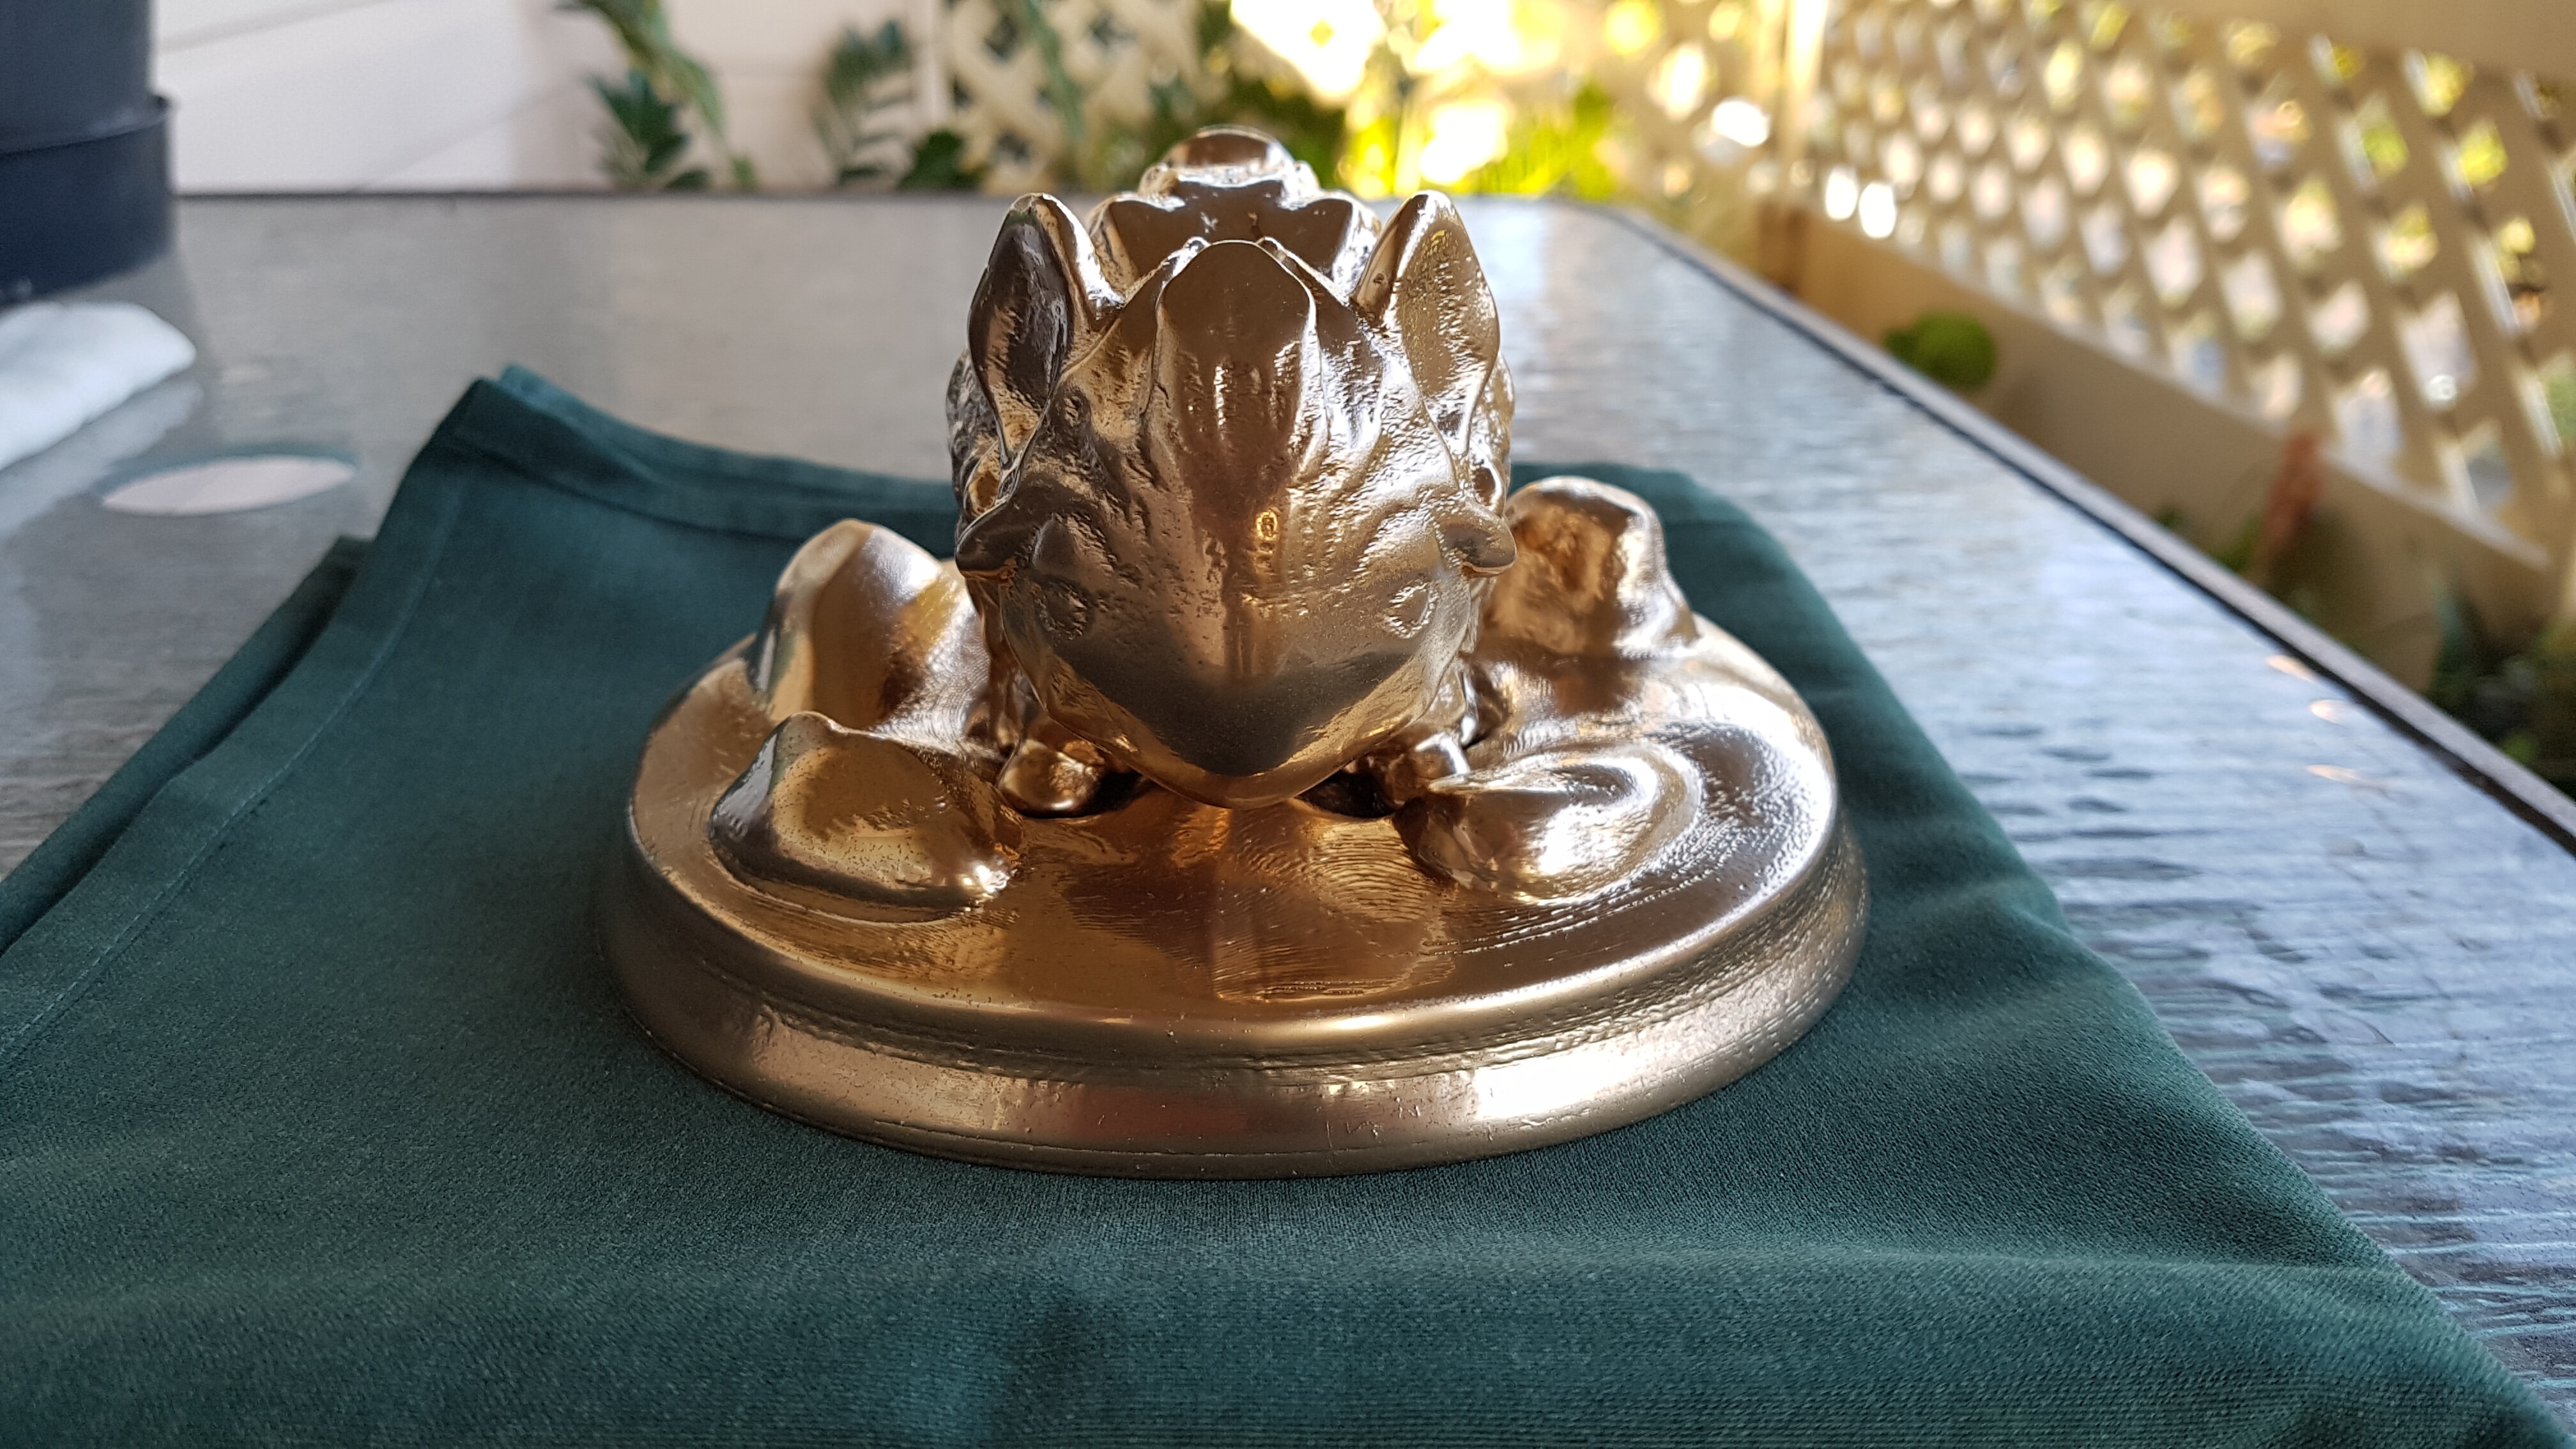
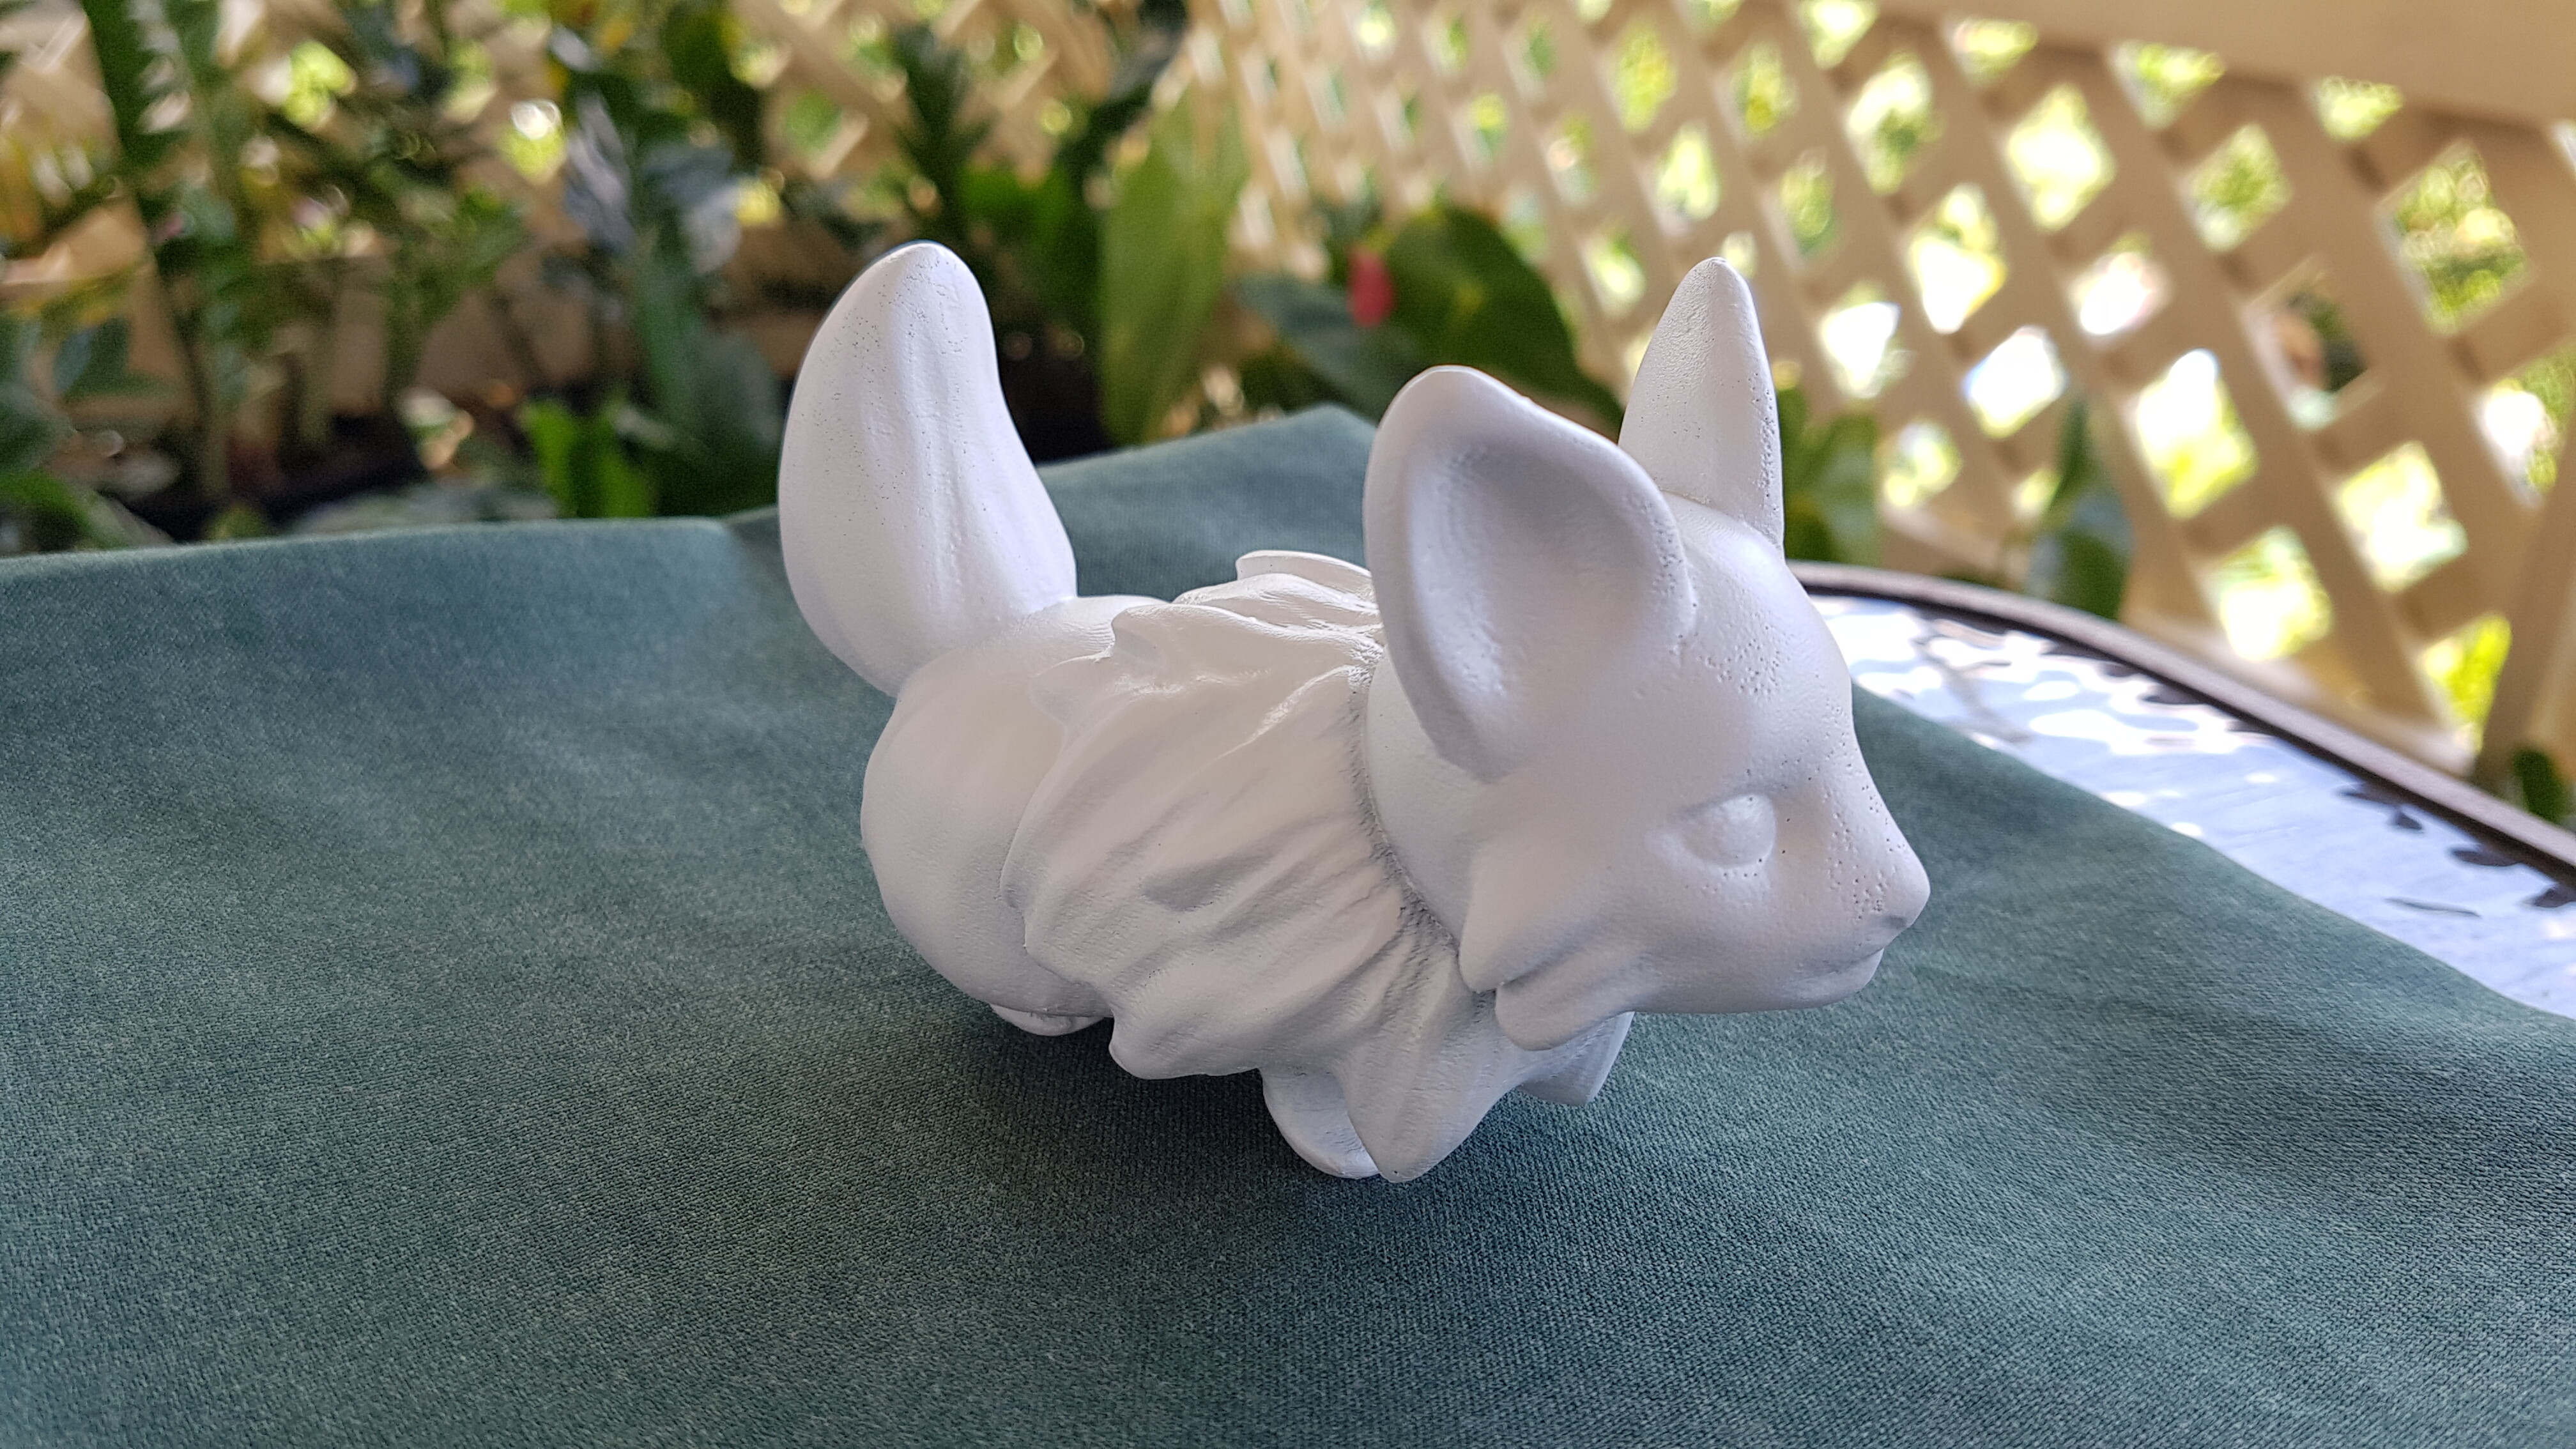
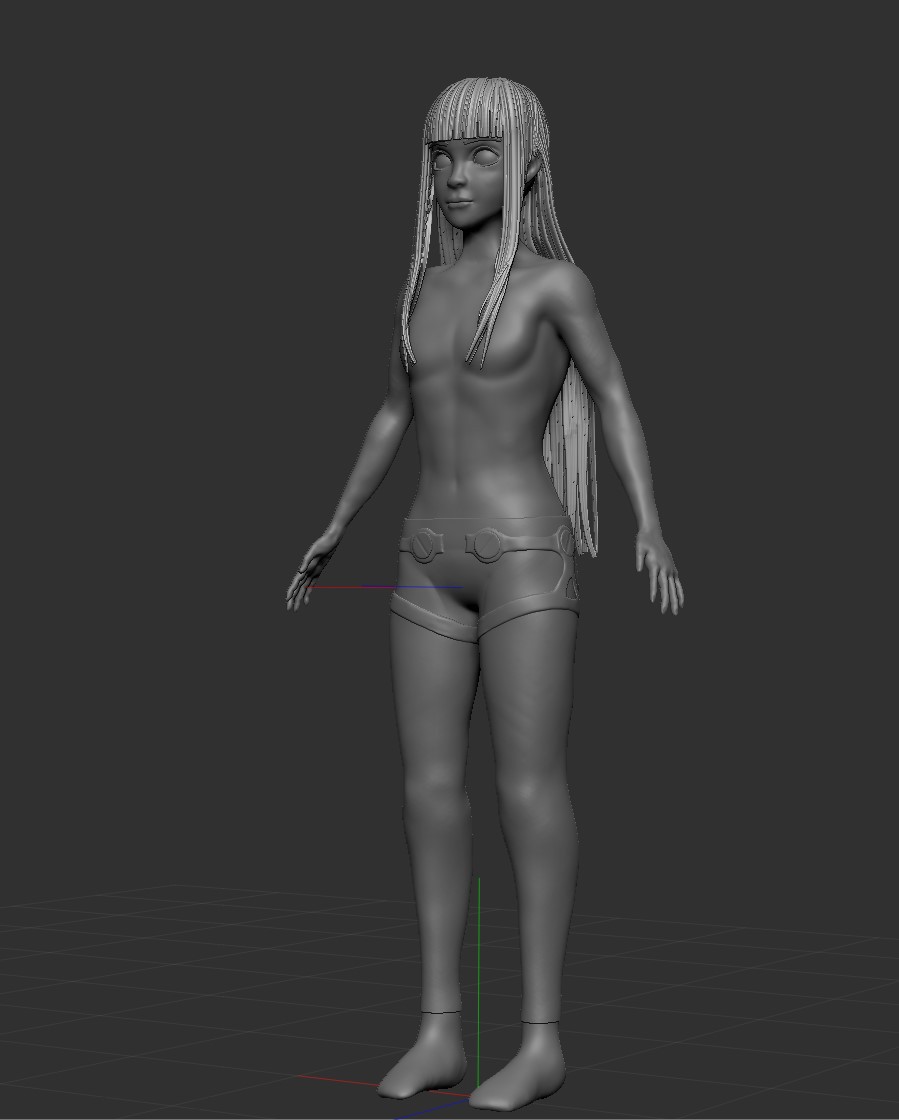
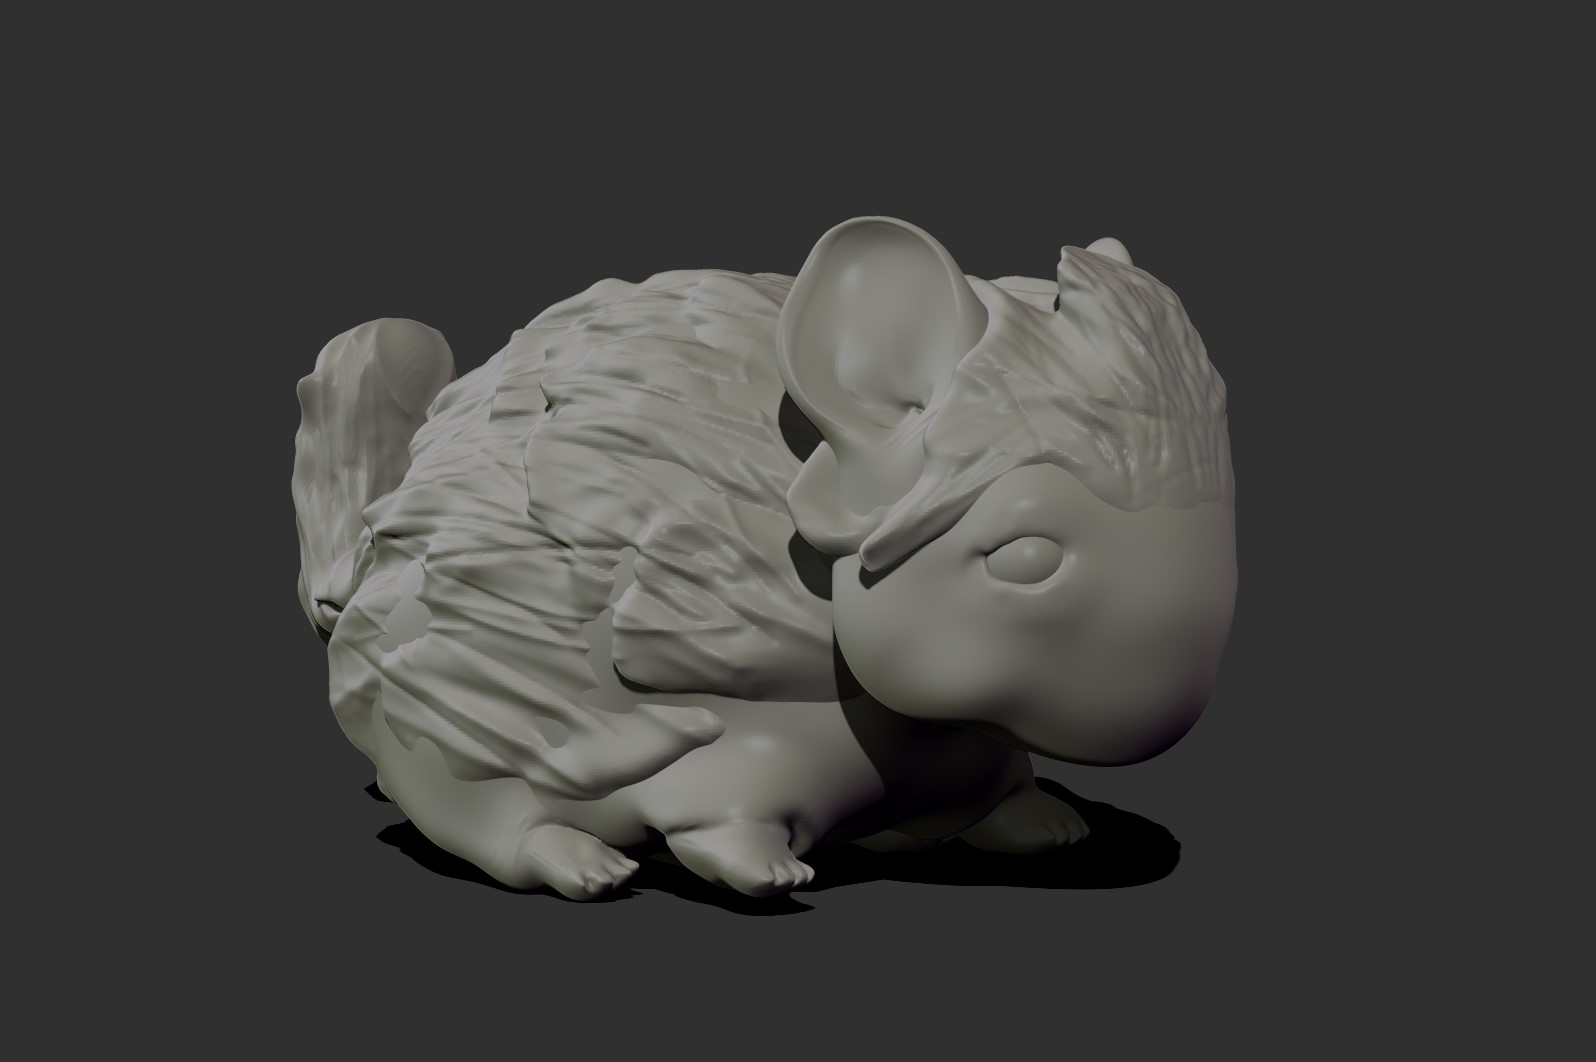
As a side sculpt I also made this