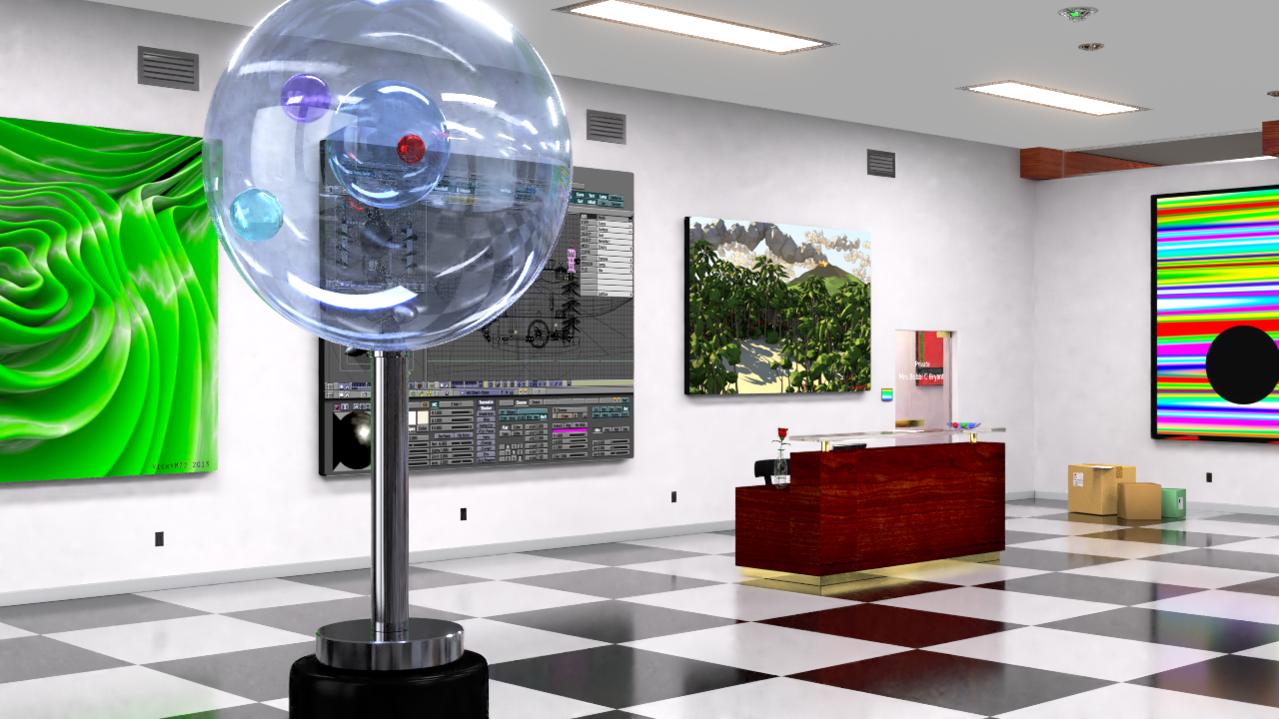
Hey, I’m using the gift from a young German called the denoiser. And, in this shot of a animation I’m using 250 passes which takes 3:40 with a pretty healthy CPU. My only problem is the blotchy walls. Is this just a trade off with the denoiser or something I can correct while keeping render times realistic for a home clip.
I have baked the walls already but somehow didn’t like the look if you will. Although I loved the render times. Anyway I have changed the lighting but it seems this blotchy thing is still with us. Does anyone have a cure or is this something we have to live with.
The blotches on the walls are caused by hot spots that the denoiser cannot get rid of. Bartek Skorupa has made a node setup having the same behavior of the denoiser and that is able to remove the hot spots. Another solution is to use the selective blur in Gimp on the walls.
Thanks @Akikun for taking the time. It seems several thing were in play. While I took the walls from baked back to a diffuse surface I left the ceiling baked set at a rather high value. Secondly I was clamping at 100 - 40 and in this case using no clamping seems to have better results with The Denoiser. Third I had the mesh lights in the overhead set to a high value for using the Glare node. And, forth using a S-Curve can introduce some of the blotches. The hot spots you mentioned seemed to be those jacked up mesh lights. Once again Thanks. It’s obviously isn’t going to be The 3rd and The 7th so I can live with this.
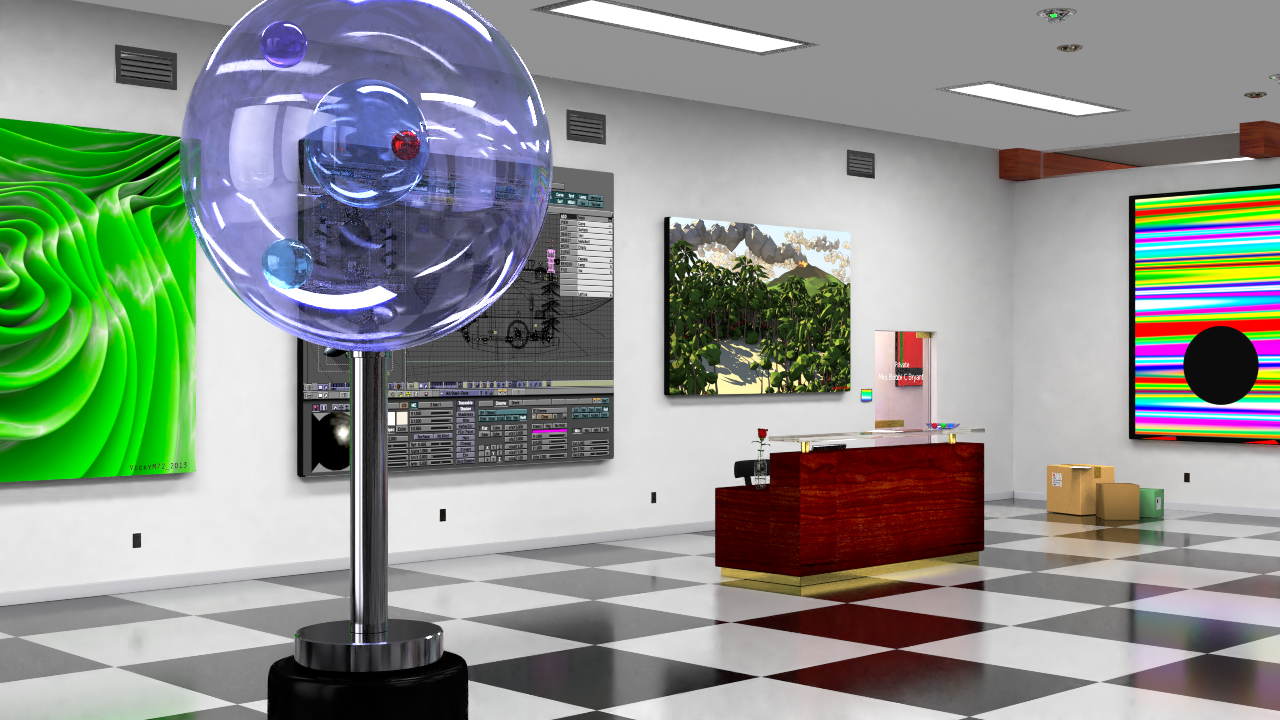
Even with the mesh lights, the blotches are on a very reasonable level on the first image. I used mesh lights once and the results were much much worse. Actually now the walls have a nice texture to them with some variation, avoiding the boring uniform color.
Thanks guy that was the reason to back away from baked walls in the first place to get a more subtle gradient. Not that it can survive compression coming out of Blender much less Vimeo / YouTube. But, also in the back of this place the overall lighting will be lowered for a video screen or two with the changing light from a emissive screen. However, somewhere in the process I went off the damn rails and now think it had nothing to do the young Germans denoiser.
Never use silly high emission values for camera visible lights as they cause gross aliasing artifacts. Split the signal; low strength for camera (and sharp reflections?), high or as required for the rest. Emission material should also have a material ID which can be used in comp to drive the glare node. And, if you have emissive screens, you might want to turn off multi importance sampling for those; the light emitted from those will be more grainy, but it doesn’t matter since their effect drowns out from the main lighting which is now less grainy. I typically turn off MIS for everything that doesn’t contribute/bounce lighting around in a major fashion (might be overkill). If the overheads are significantly dimmed down, then I wouldn’t touch the MIS for emissive screens as they provide a major contribution to the lighting of the room.
Edit: Sometimes I go probably beyond stupid in my hunt for cleaner and faster.
Mesh light - camera visible only (can be easily textured or put behind a thin grid).
Area light - glossy visible only (since they clean up faster). And you can assign easy/manufacturer values to them (important for relativistic lighting in some cases).
Huge area light - diffuse only (renders very clean).
Huge area bounce lights - diffuse only (needs to be colored according to what they simulate being bounced from).
If you have grand differences is light areas, you might want to split it up in two renders; two 100 sample ones added together (or 50 big/150 small) looks far better than a 1000 sample single render.
If you need a thick visible grid (typically metallic) in front of light, the mesh light will need to be glossy visible as well (and drop the area light). You will get more noise though but can’t be avoided I think. Example of what I mean (grid is a 3d metal object):
If you can live with faking the grid (just a texture/node based), somewhere around here recently posted a way to “directionalize” area lights - hugely useful. Example of what I mean (grid is just a texture masking the light on a single plane):