Problem using the Knife Project tool

Hello once again, I was wondering if I could get some help with a problem I’ve been having with using the Knife Project tool.

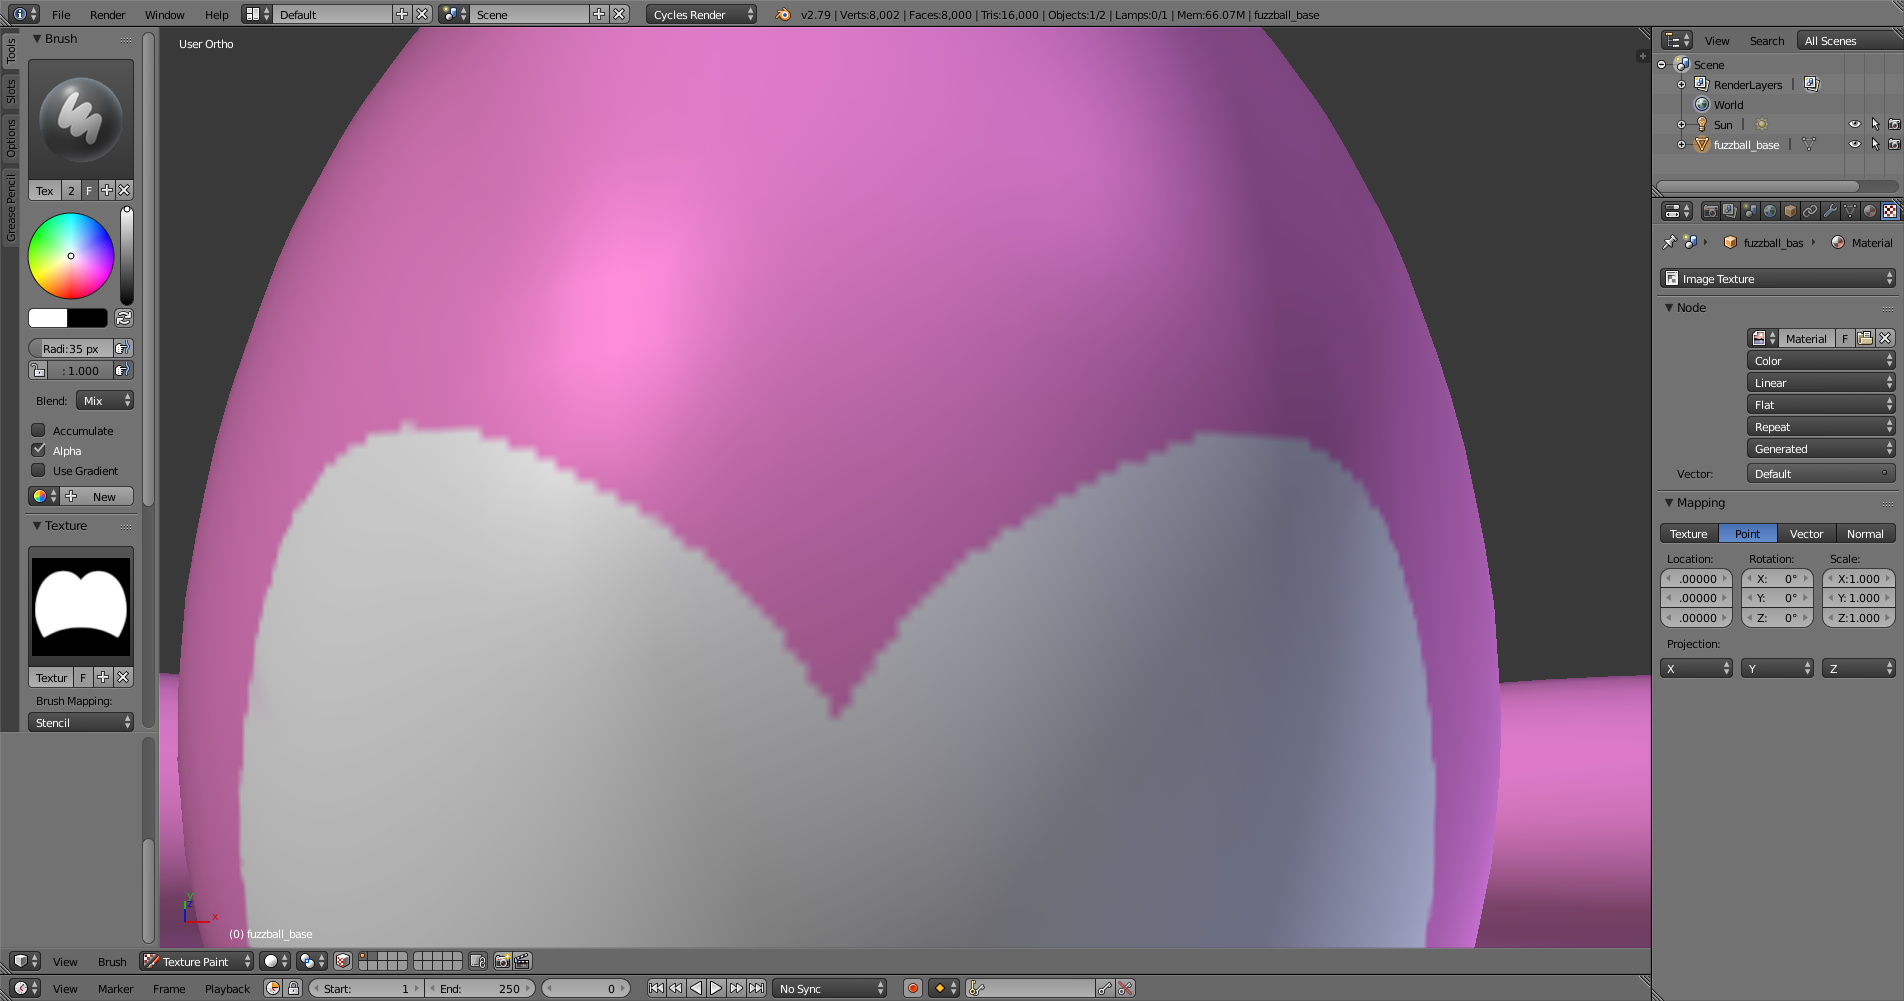
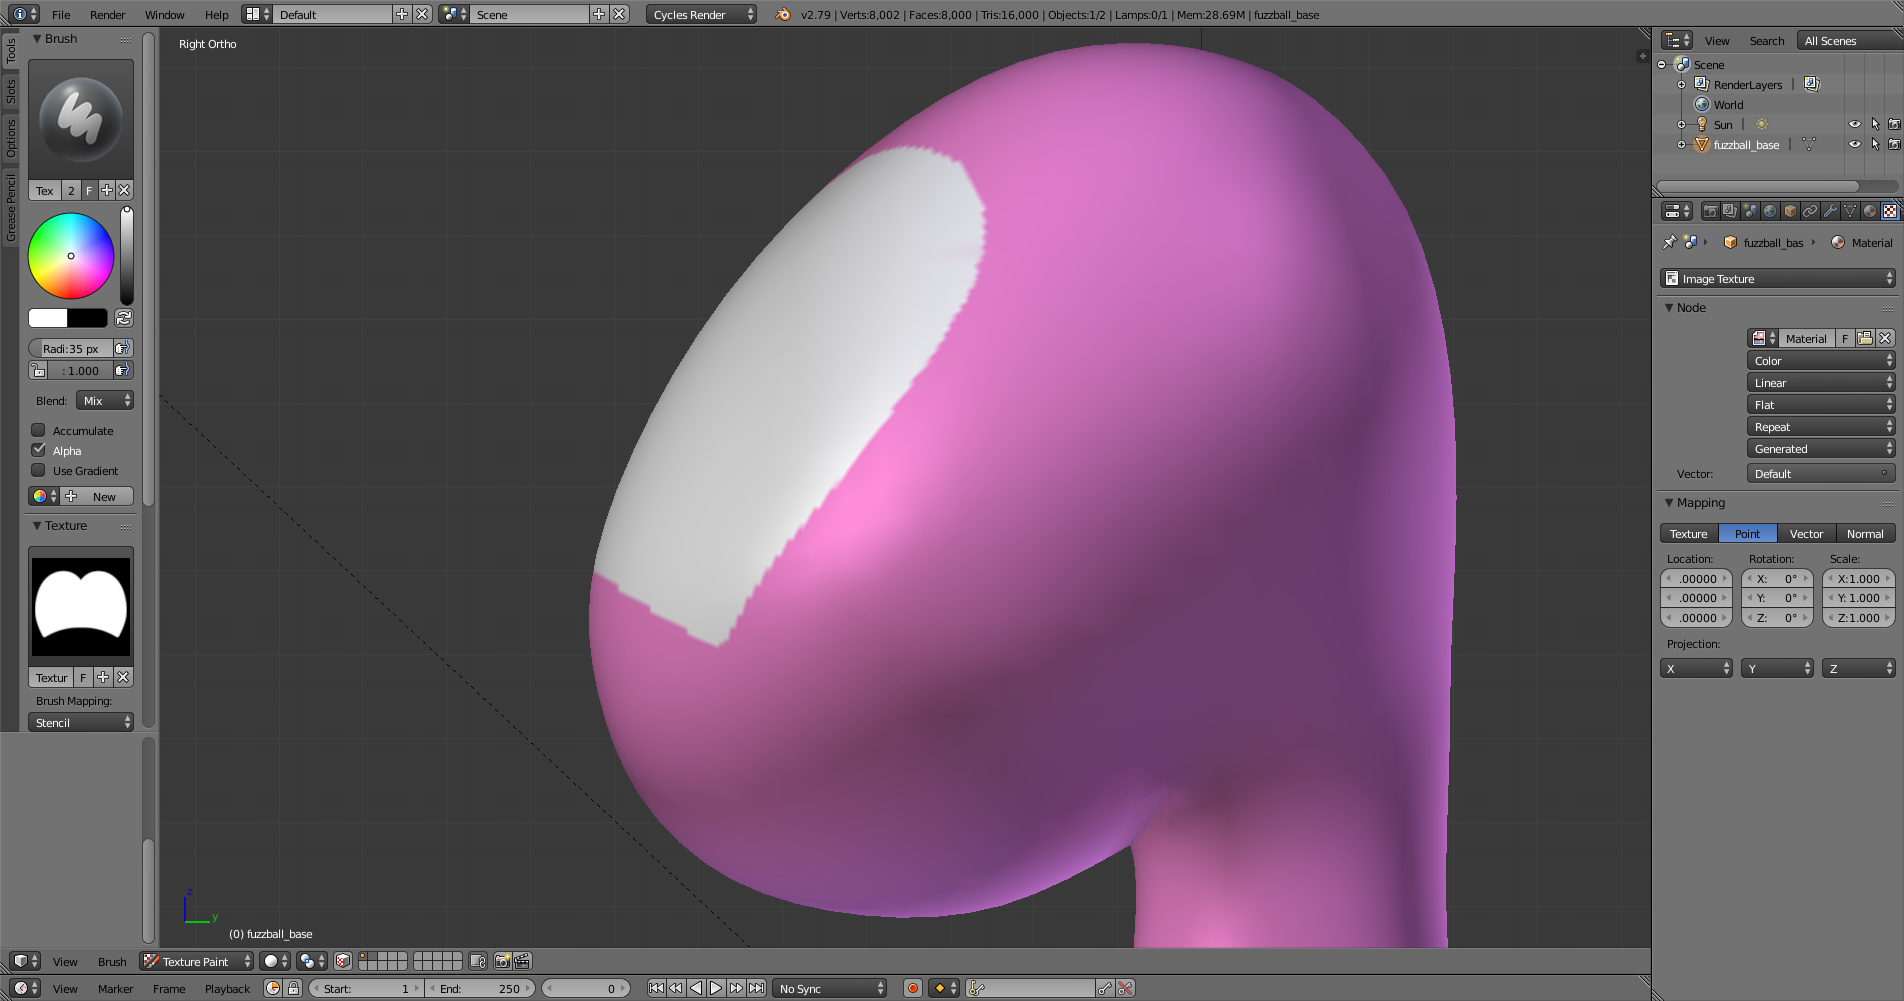
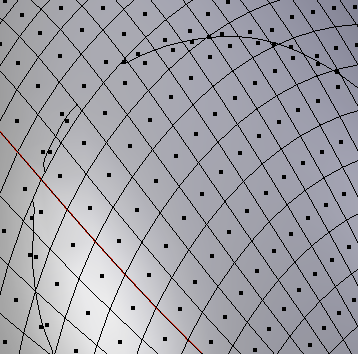
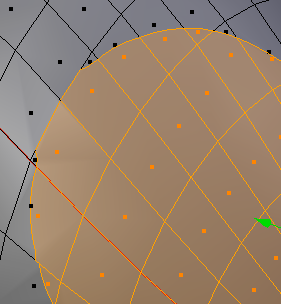
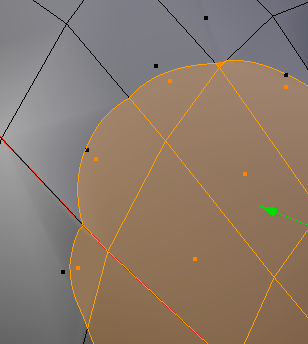
I’ve been attempting to use the Knife Project tool to carve a particularly-shaped outline into the surface of my model so that I can then create an coloured UV map image that I can then apply to my proper model without the outline carved directly into the mesh. However, when I use the Knife Project Tool to carve the desired shape into the mesh, I instead end up with an outline that is broken and distorted.


I could theoretically modify the image texture to fix the broken edges via GIMP, but the problem is that the broken outline also wreaks havoc with the UV map.

I tried lowering the resolution to see if that would help, but I still end up with a broken and distorted outline in addition to some noticeable distortion of the surrounding mesh area.


Any help with this matter would be greatly appreciated.

Sounds like texture paint or baking from a circle altered into your desired shape could achieve the above. You can cut too, just seems longer and unnecessary.

1 Like

I have been using Texture Paint to colour in the UV map, unless you meant that I should paint the desired shape directly onto the UV map rather using the Knife Project tool. The problem that I have with this is that I want the shape I want to put onto the image texture to be clean and even. There’s also the issue of the shape including sharp corners, as shown in the picture below.


Unfortunately, I don’t know how to paint the above shape unto the mesh’s image texture using the tools available, assuming that it can be done at all.

An alternative idea would be add the shape to an image texture via GIMP, but the problem with this though, is that due my model’s round shape, it would be quite difficult to figure out how to draw the desired shape onto an flattened image, and then apply it to a round 3D model without the drawn shape appearing heavily distorted.

You can paint the shape via a stencil in an Orthographic view. This is simplest and quickest for feedback as to whether it’ll look right.

You can use Project from View in an Orthographic view to make a flattened UV unwrap of the relevant faces, which can then be painted in GIMP and the like.

As said before you can also bake from a mesh of the desired shape. You can draw the outline with Grease Pencil on the Object surface. The strokes can convert to a curve, which can convert to mesh via Alt C, which can be given faces via F.
Grease Pencil can be used to cut the Object too.

I advise to try the Stencil way, example:

1 Like

Sorry, for the delayed response. Stenciling does seem to be the way to go, but I’m not sure how to convert the object I used to perform the Knife Project into an image that I can use as a stencil.


Never mind, I just remembered that I have a tutorial on an online Blender course I have that teaches how to bake a 3D model into an image texture.

I’ll try using the stenciling method to see if that’ll work. Thank you for the help!

Look like Yoshi style eyes. As long as you see all the faces that should be stencilled simultaneously it should work. The above image can be thresholded in an image editor to get the silhouette in black & white. Crop to square dimensions. Bring in as a stencil. Can adjust the scale of the stencil if wrong width and or height while stencilling. Set Ortho view facing the target faces. Paint.

If you can’t see all the the needed faces at once baking becomes more worthwhile.

1 Like

Oops, I didn’t notice there was another response to my question since my last message a week ago, sorry about that. I guess this is probably the best place to ask for some additional advice regarding stenciling, rather than creating a whole new topic about it.

I was wondering if there is a more precise way to align the stencil to the model. As I try to position the stencil, I am unable to get it perfectly centered on the model’s face, instead it always seems to be off by a little bit to either the left or right. If the stencil behaved like a model, I could just simply set the X-axis coordinate of the stencil to 0 to center it properly, but unfortunately I haven’t seen options like that so far.

The other issue that I’m having is that when you look at the shape of the eyes from the front of the model they look fine (ignore the blurry, jagged edges around the eyes, I just haven’t gotten used to the tools of texture painting yet), however…

…when viewed from a downward angle the shape of the eyes begin to distort, becoming more angular in shape:

Which isn’t what I want, as the eyes should retain their rounded shape when viewed from various different angles. I know that the distorting shape of the eyes is a byproduct of the curvature of my model’s face:

And so I ask if there’s anyway I can prevent this from happening without having to radically alter the shape of the eyes or if this is something that I’m simply going to have to learn how to live with, like avoiding camera shots where the camera is pointed at a downward angle at the character’s face.

Personally, I would say that the eyes are closer in style to Sonic the Hedgehog’s eyes rather than Yoshi’s. I’m not sure if that little bit of information is in any way useful or not, but I thought I should include it anyways just in case.

delete the half that bothers you and use mirror modifier
next time start modeling only a half & everything will mirror perfectly
don’t make dupes

tips:

  • mirroring creates a perfect center
  • distortion is constant in 3D perspective & it’s the reason why one working constantly adapts its PoV (circling around)
1 Like

Like Burnin said mirroring will work. You can also stencil from the Camera which has location and rotation numbers you can set precisely / zero out. Looks like you’ll want to zero out Location along X and Rotation around Y and Z.

Adjust Location Y and Z (~ -2 and 2) and Rotation around X (~45) till your view is mostly perpendicular to the target faces. Can Numpad 3 while doing so.

Numpad 0 gets you into Camera view.
Select the Camera, go to Properties > Camera and set it to Ortho.
Below that Orthographic Scale will act as your zoom.

Stencil as before. Make sure your stencil image is centered too else you’ll be eyeballing it again.

As for distortions you should try stencilling from different spots / angles from Camera view using Shift F to quickly iterate through some spots. Fine tune / center the one you like most from there. This will only mitigate things, some 2d won’t look amazing from every possible 3d angle.

1 Like

Sorry for not responding for quite a while, I’ve been busy with other stuff and I’ve only recently got around to trying fix my problems in regards in texturing.

Actually, I have been using the Mirror Modifier all along and I even keep a copy of the model that still has the Mirror & Subdivision Modifiers in place, just in case I need make some alterations. I was just using a version that had both modifiers applied for the sake of texturing.

The suggestion of using a Mirror Modifier for texturing actually gave me an idea for texturing, the idea being to use Texture Paint and manually paint the eyes on with the Mirror Modifier in use. By manually painting, I find that is a lot faster to make alterations to the eye texture rather than the lengthy process of having to create a mesh, convert it into a PNG image file to use a stencil and then having to figure where out where to position the stencil. Whereas by manually painting with Texture Paint I can move the view port around the model in a 3D space, allowing me to make changes that affect how the model looks from a variety of different angles.

However, the problem with manual painting is that the line edge around the eye ends up looking very messy and uneven. So I was wondering if it is at all possible to import the UV map into a image editing program like GIMP and somehow convert the rough, uneven line edges into clean, even ones.

I was also wondering that since I’ve been a Mirror Modifier for texturing my model what do I about the UV Map, since the UV Map was also cut in half when I halved the model itself. Won’t having the UV Map cut in half cause problems when you try to apply it to a model where the Mirror Modifier has been applied to it? Is there anyway to fix this without wrecking the texture work I’ve worked on so far?

  1. Yes, it’s possible to use GIMP… here’s a nice plugin: External Paint Autorefresh
  1. For perfect lines & borders use “Paths Tool”:

Or complement your pipeline with a vector paint app as is Inkscape.

  1. And, as for dealing with UVmap on a half of an object goes, a mindshift (an equation) - consider that half is an illusion of a full, perfect single object, since the other one on the opposite side is also another single object, yet perfectly mirrored. Both simple ones are making another, more complex higher level construct A.K.A procedural structure :wink:

I see nodes everywhere.

Hope this gets you moving forward. Have fun & keep it up!

1 Like