Hello!
Welcome to the skybox texture tutorial for Blender. The objective of this
tutorial is for me to share with you my method of making skybox textures of
scenes made with Blender. First of all, you’re going to need a scene to make
into a skybox.
So, lets start by removing everything that isnt necessary to the scene. Remove
all cameras and empties, and put your scene (and all lights, etc.) on layer 2.

Now, go back to layer 1. It should be a blank workspace with nothing in it.
Step1: Press Shift+C to center the cursor and your view.
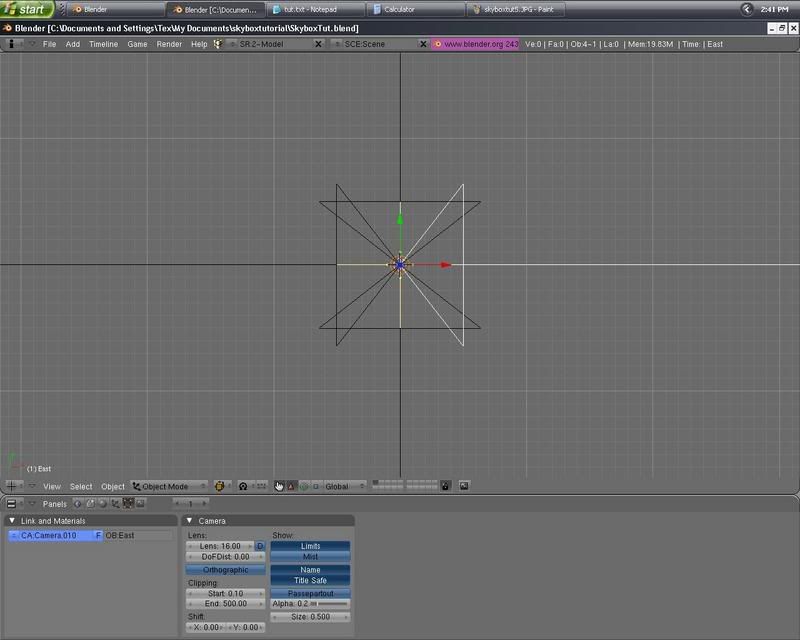
Step2: Press Numpad 1 to get in front view. Now press Space, go to Add –> Camera.
Step3: Go to the edit buttons window and copy the following settings:
Link and Materials Panel:
Rename the camera to “North” (the camera name is right next to “OB:”)
Camera Panel:
Lens: 16
Clipping End: 500 (You can adjust this according to your needs)
Enable “Limits”
Enable “Name”

Why is this important? If you dont set the lens value correctly, your skybox
wont line up at the seams. “Limits” displays how far the camera can see (based
on the “Clipping End” value), 500 should be good enough even for big scenes.
You can adjust the limit value to your needs. Enabling “Name” will reduce
confusion in the future when you’re rendering each skybox image.
Lets move on…
Step4: In the Scene Buttons window (F10), make sure “SizeX” and “SizeY” are
both set to 512. You can adjust the resolution to fit your needs, but anything
lower than 512x512 looks bad. If you want really high quality (provided you
have a simplistic game) you can even go up to 1024x1024, but doing so will
compromise performance.

Step5: In the 3D window go to top view (NumPad 7), duplicate the camera
(Shift-D) and rotate it 180 degrees (R-Key 180). Rename this camera to “South”.
Step6: Duplicate (Shift-D) the “South” camera and rotate it 90 degrees (R-key
90). Rename this camera to “West”.
Step7: Duplicate (Shift-D) the “West” camera and rotate it 180 degrees (R-key
180). Rename this camera to “East”.
Step8: In the 3D window go to side view (Numpad 3) and select the “North”
camera. Duplicate (Shift-D) the “North” camera and rotate it -90 degrees (R-Key
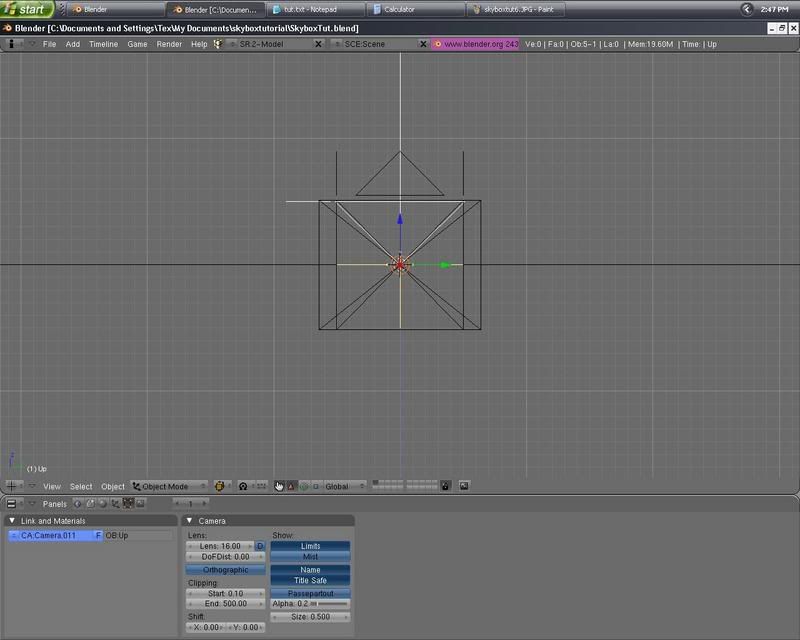
-90). Rename this camera to “Up”.
Step9: In side view (Numpad 3), Duplicate (Shift-D) the “Up” camera and rotate
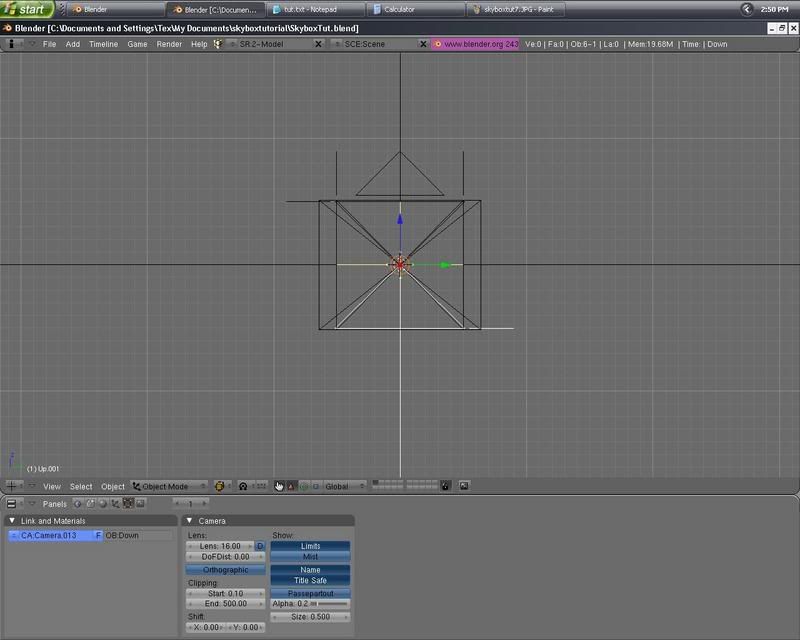
it 180 degrees (R-Key 180). Rename this camera to “Down”.
If you’ve reached this point you can get an ice cold drink and pat yourself on
the back. You’re done with all the boring stuff. The rest is simple.
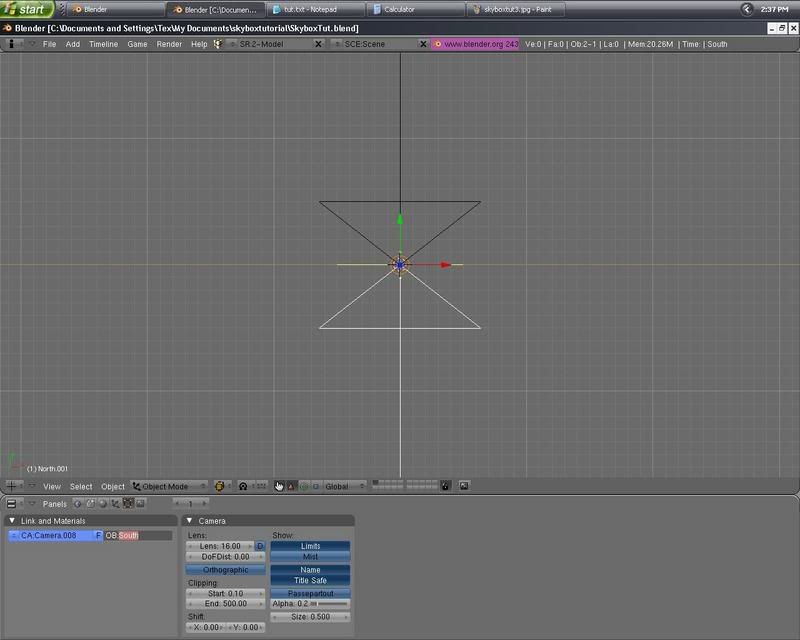
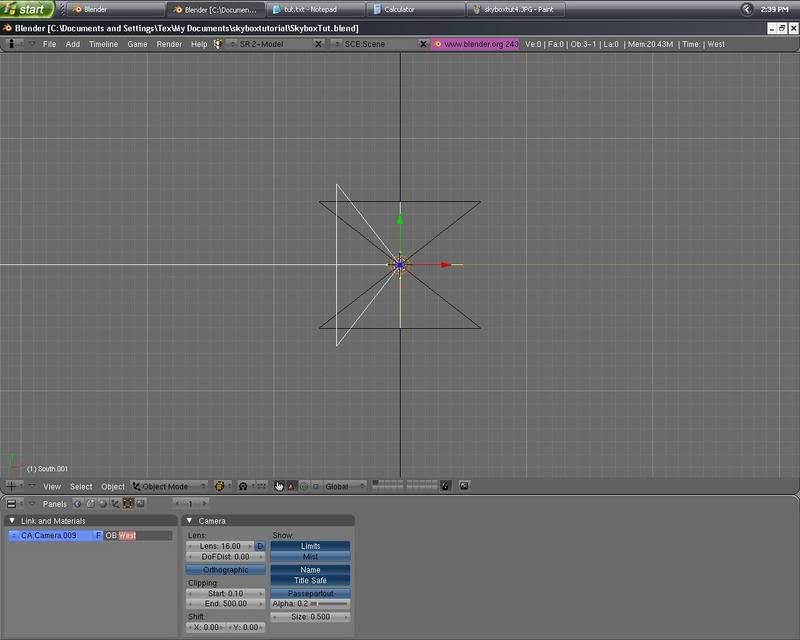
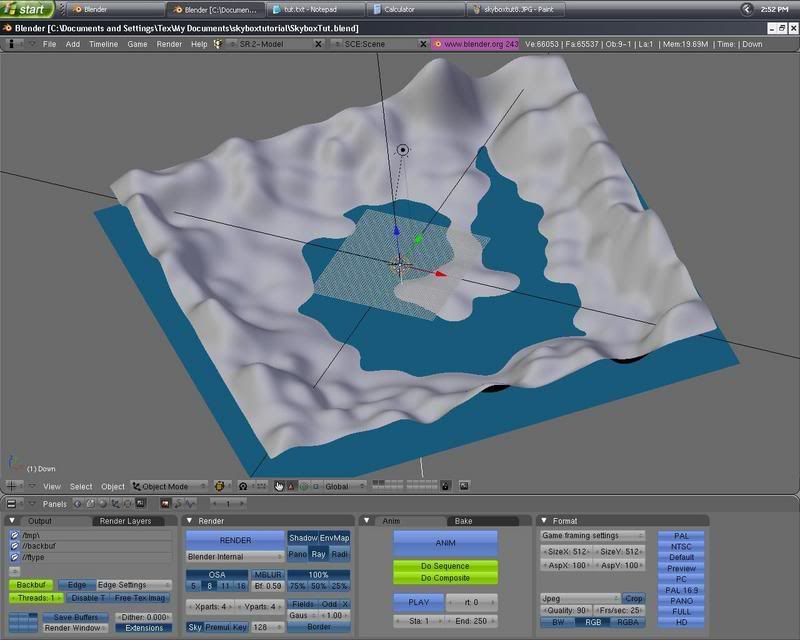
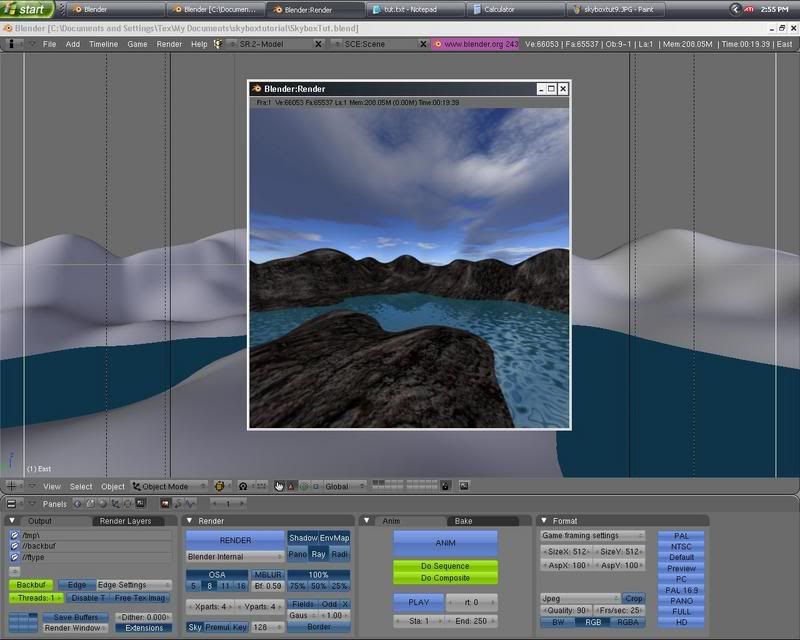
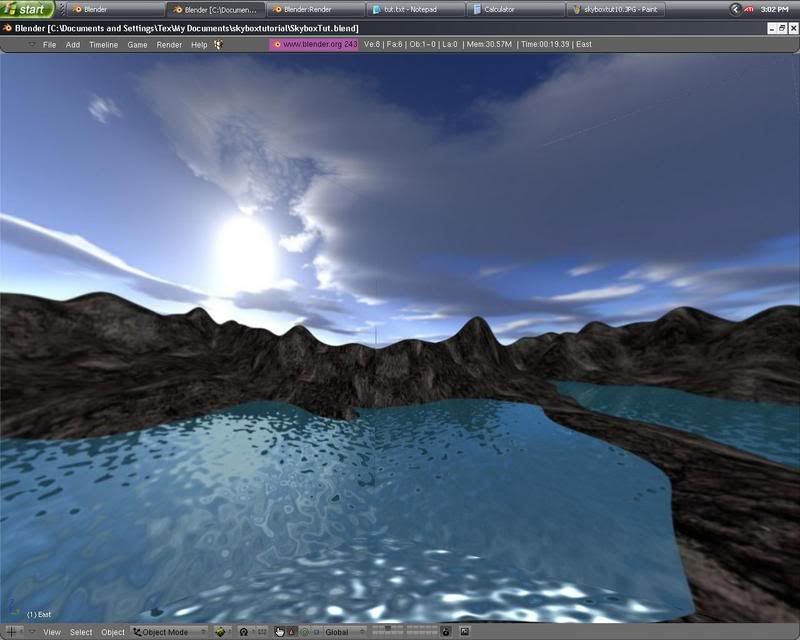
Step10: Hold down Shift, and select layer 2. Now both your cameras and your
scene should be visible. Your screen should resemble something similar to this:
Step11: Select any camera, and press CTRL+Numpad 0. This will make the
selected camera active. You should be looking out of the camera you selected.
In my case, it’s the “North” camera. Now render the scene (F12).
Step12: Press F3 to save the render image, and name it according to the
camera (ex. Skybox-North.jpg)
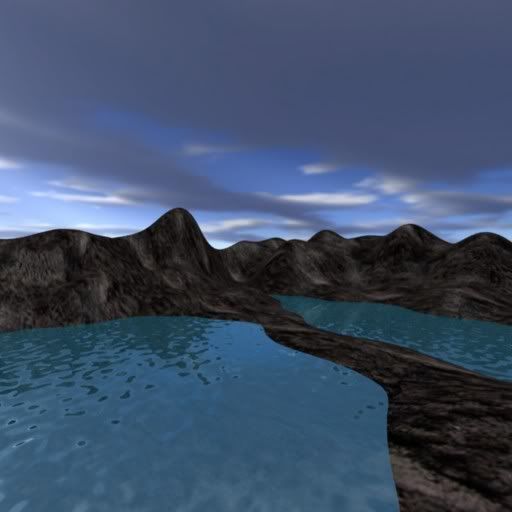
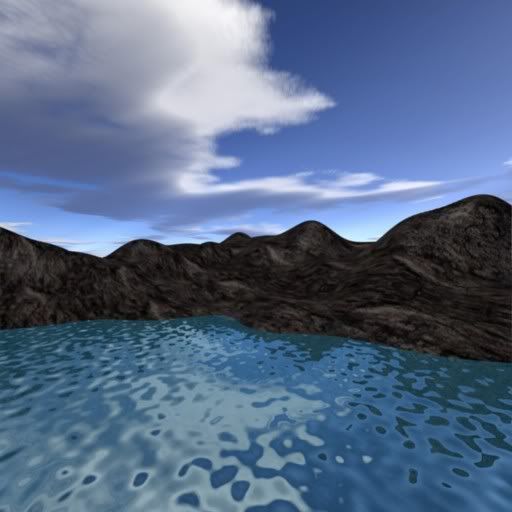
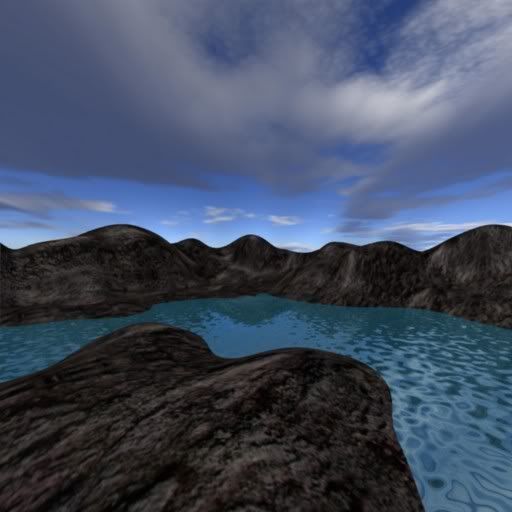
Repeat Step 11 and 12 for each camera. You will get a series of 6 images that
you can UV map onto a cube to create a skybox. If you dont know how to do
this, you can follow Social’s Skybox tutorial located here.
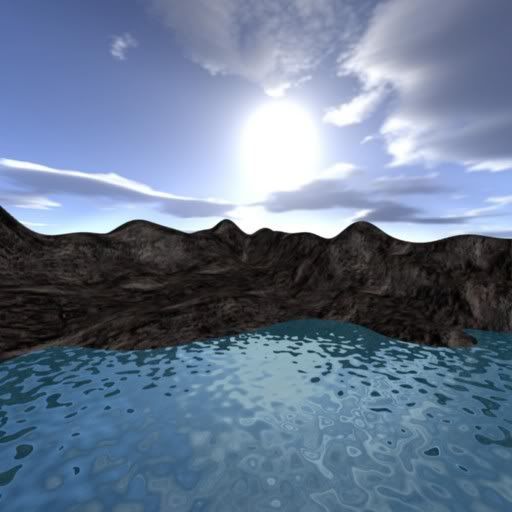
Here’s the end result:

Thanks for reading my tutorial, I hope you guys enjoyed it. I have created a template for you guys to use instead of having to set this up every single time you want to make a skybox. I will upload the file soon for you guys to download.
Happy Blending!