Hi, there, I know guitars are a bit cliche in the 3D world, but guitars are something I have a passion for, so it’s my best chance I think to do a longer (for me) project and not lose interest.
I will be replicating Eric’s exact model (right down to the scratches and smudges) that he used from 1964 up until it’s 2004 auction where it reached $800k:eek: Good ole Guitar Centre:rolleyes:
Here is my current progress, took me more time than I care to admit, I’m still finding my way as far as modelling is concerned, but if I can get the body down well, then I’m confident about everything else, especially my texturing.
I’ll be doing this one in Cycles HN. I think Cycles is ideal for this kind of project, plus I plan on using lots of texture maps, so It’ll be easier for me to set that up with nodes.
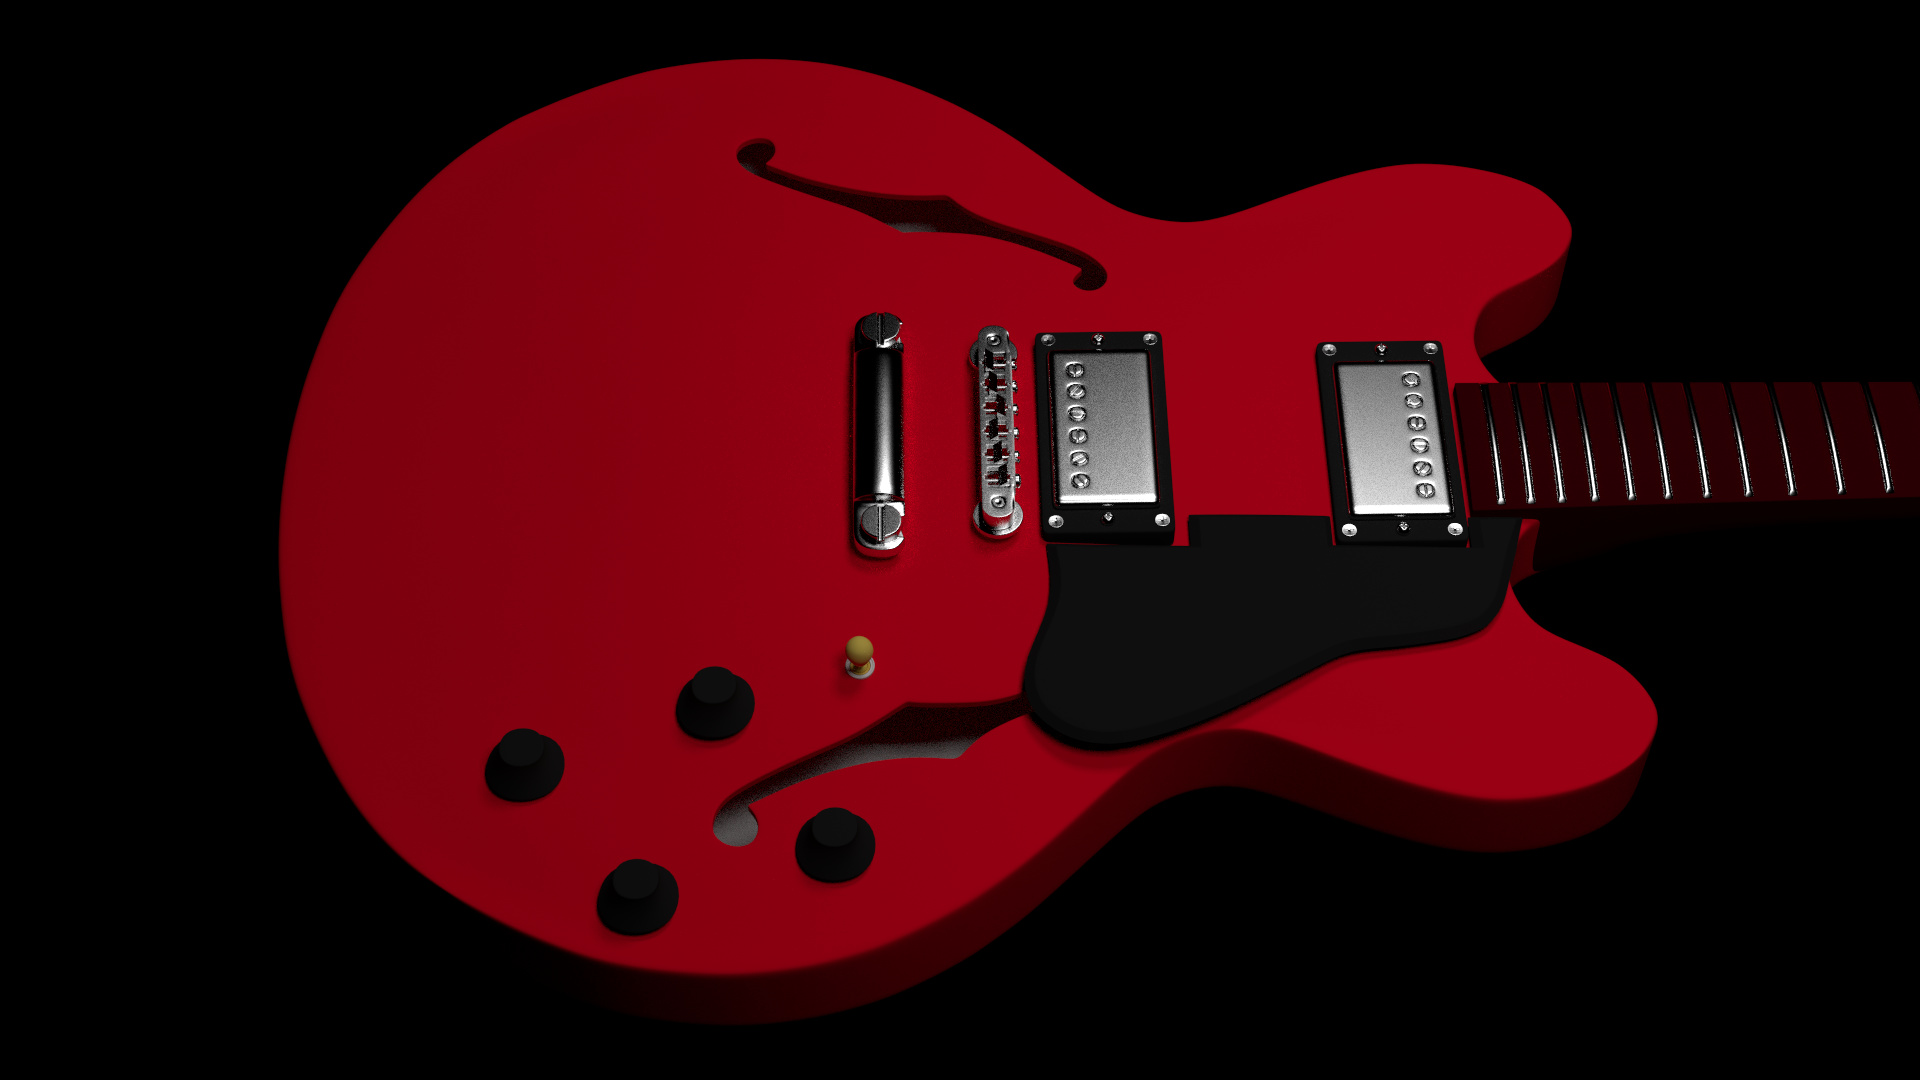
Here is the body modelling just about done. These are place holder materials. The body will have a diffuse texture, spec and/or gloss map, and a normal/bump map, same for the neck. Everything else will have at least 1 form of texture applied. I’m looking for an almost macro level of detail, I want to push this as far as my skill, patience and persistence will allow.
Thanks for the enthusiasm and comments so far HarleyNut, makes me feel more motivated. I think it was looking through your Casino/1AB thread that gave me the idea to do this in the first place. The question is though, have you done a Harley Davidson yet, and if not, when can we expect to see one?
I think you were right about the pickguard, I made it slightly thinner, plus tidied up the edges a bit too. I think part of the reason it looks thick too is the lighting, there’s a hard shadow making it look thicker than it really is, but once the lighting is set, that wont be a problem. Will post some more pics later, hopefully will have all the modelling done!
Body materials and textures are done (for now). I’ll try and post some wireframes, nodes and textures etc soon, I know I’ve been slacking in that department.
Looks really cool. I think if you were to add the numbers on the tone/volume knobs, some fretboard inlays and a rosewood texture for the fretboard it would look pretty much photo-realistic.
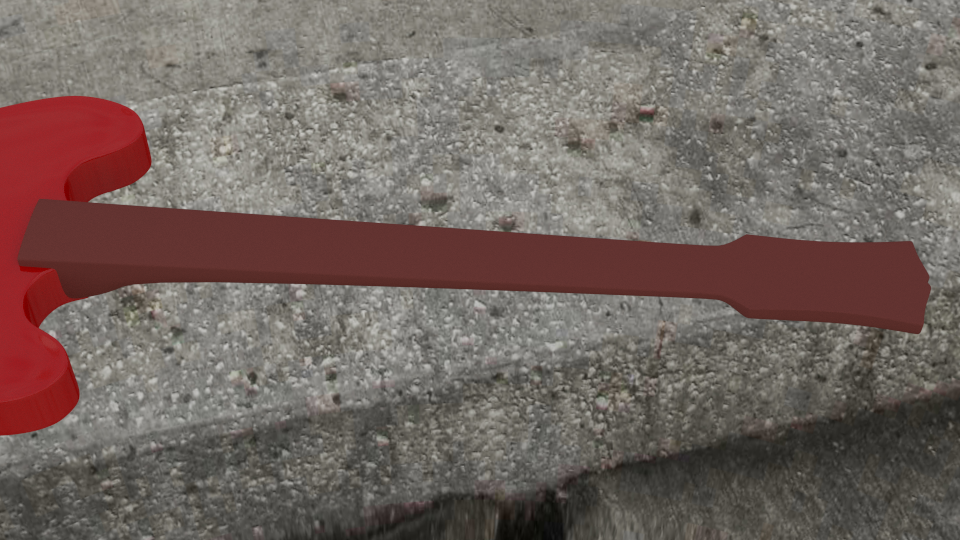
Duffy, thank you, I had completely forgotten about the bridge. Just like how I forgot to add the bend in the neck/headstock before I modelled the strings, facepalm moment. Oh well, thank god for ‘rotate around 3d cursor’ option.
Here is the latest render, the neck is now textured. Still cant make my mind up about lighting. I might even make a small simple scene, to get some light bouncing around.
.
One more thing you forgot The head of guitar never goes completely straight. You need to bend it a bit. Like this - http://www.freepatentsonline.com/D0483055-0-large.jpg … You will add much more realism. Beside of that i very like it. GJ.
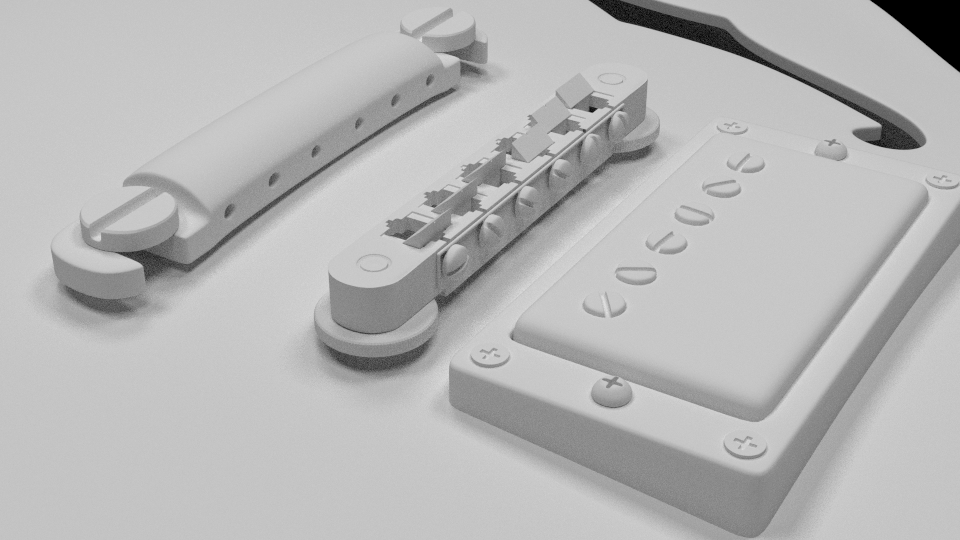
With the bridge I just need to sort out those black marks around the end pieces, its caused by painting on too low a sub-surf level. I also want to add some chips/dents that have a rustyness to them, at the moment the bridge looks like it’s been gone over with one of those wire brush disk spinning things they use to take paint of cars.


 The head of guitar never goes completely straight. You need to bend it a bit. Like this -