Need some feedback on improvements that I could make or possible techniques to use on future projects.
Go to Google or the search engine of your choice. Type in “Blender 3D car modeling tutorials”. Watch/read a few.
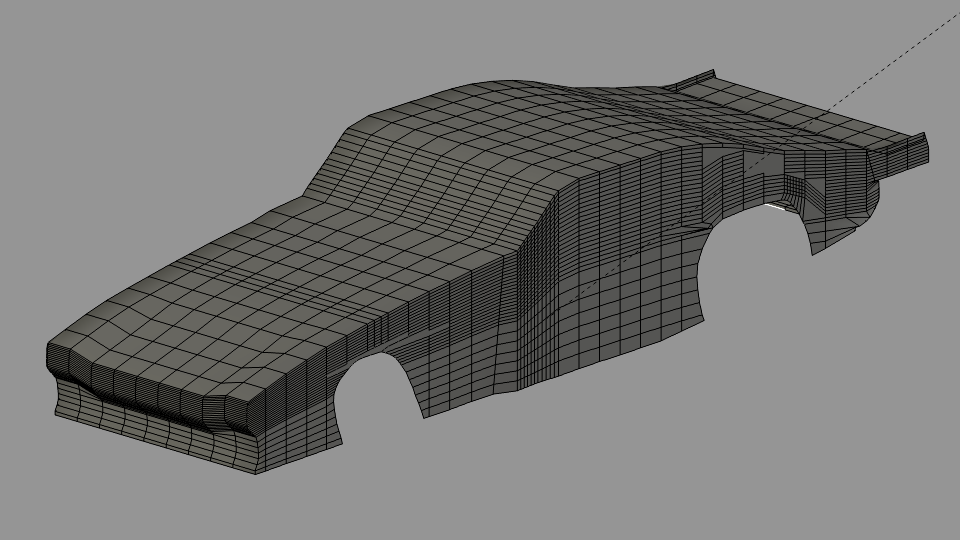
you are making a typical beginner misstke. you add edge loops whenever you need more detail. maybe you take a look at some of the car models on “blendswap”. What you also need is a general understanding for the topologie of a car. so it might be also useful to watch some tutorials of car modeling.
Tip: Ignore the Dark Scarab tutorial for a Chevrolet Camaro because it doesn’t teach you anything about topology and if your first time with any 3D modelling Program is to make a car and you do that tutorial you will get lost very quickly.
Firstly, you have far too many verticies, and Im not even sure why that many are needed. Its very messy and square, and you need to simplify the mesh.
If you are a beginner, I don’t recommend trying a car model straight away, its probably one of the hardest things you can model. First, get a basic understanding of topology and modelling. Follow some beginner tutorials…A pencil, coffee mug etc…
Then once you have been at it for a few months, come back, use what you have learnt, and try again to model a car.
Not trying to discourage you, the first thing I modelled was a Human Head, and although I failed the first few attempts, I got it eventually…so keep practising, and good luck 
Well, as most people here say, a car is probably one of the most tricky things to model, as it features very complicated curves and surfaces, that have to be modeled quite precisely…
I’ve recently been making a Lamborghini Murcielago model for a certain video project.

As you see, there are not so many vertices here.
Keeping the polys 4-sided and using edge loops can usually be a good thing - but all within reasonable limits.
This was the 1st time I actually modeled a car, by the way. And what I would suggest is the following course of actions:
- Position 3 (or more) background images with the orthographic car views in Blender for reference.
- Position a cube, sized according to those images.
I’d also suggest working on just 1 half of the car… the other can be mirrored. - Use Edge Loops just to give the car it’s basic shape - start with the right side, add loops and move the vertices so that they fit the car’s shape, then do the same for the top view, then for the front… one by one…
- You should have the basic shape of the car with neat mesh grid completed. After that, only use Edge Slide loops where really necessary (or where it just makes sense, because, for example, the whole surface should be a little smoothed). Mainly use Knife for adding features. Together with extrusions, weldings, and so on…
That’s it, pretty much. 
I hope the image I posted would be a helpful example showing the main topology.
I stopped with the car for now and will resume later. I wanted to render a tire and wheel I got from sketchup in cycles but when I imported the .dae the textures became well…
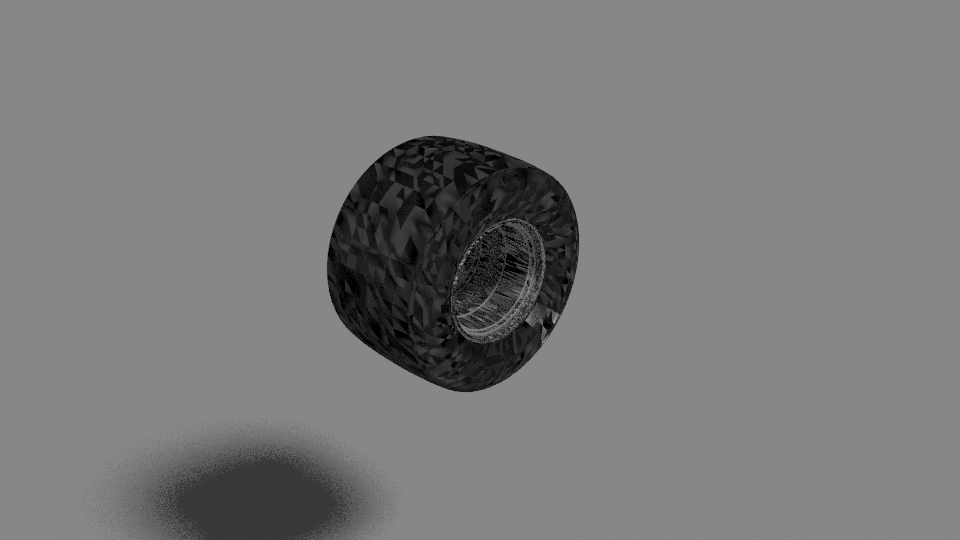
Super wavy and wonky. The preview for the download showed a smooth texture. Unrelated just thought you guys might know a thing or two about this.
