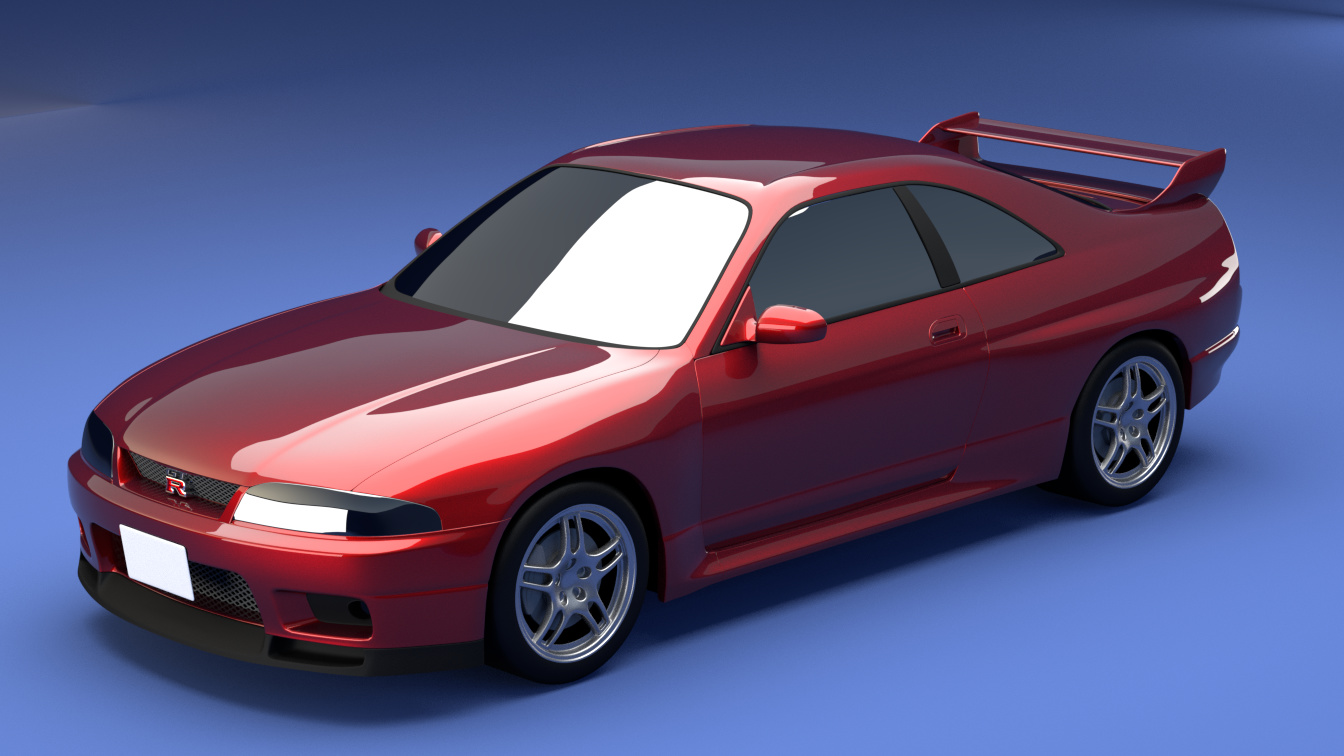
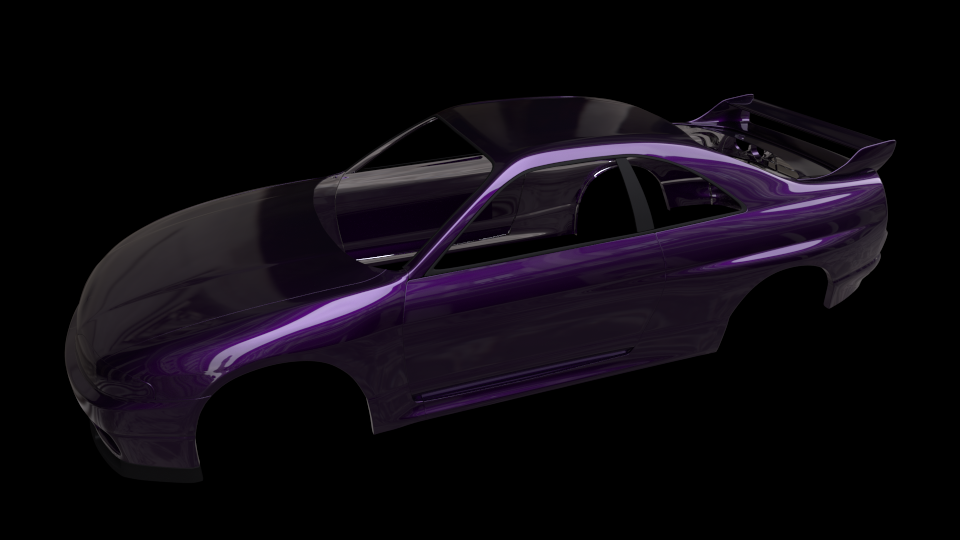
Hi everyone! decided to start a new model! this time i’m going with a car i really love, a R33 '95 skyline! don’t know what to do with the model at the end anyway, so any suggestion will be greatly appreciated! latest:

nice oldschool car, keep going 

it looks nice. In terms of what you could do with the car there is the classic put it in a showroom. Or if u want to go the extra mile you could make a nice render of it drifting round a corner on a raceway.


how did you do the plate work, i know its easy to make soft rounding shapes, but to divide them evenly in seperate plates, is there some tool for that ?.
Very, very nice work so far! 
thank you for your interest and comments guys!
how did you do the plate work, i know its easy to make soft rounding shapes, but to divide them evenly in separate plates, is there some tool for that ?.
that is a problem i struggled with my entire experience with car modeling in blender! i’m used to think about modeling car in the classical NURBS way. When i started using blender, i found out NURBS was just horrible in blender. i basically have the whole shape of the car in mind, and than think about panel lines later, which i cut them with the knife tool, separate by selection all the parts, than extrude the border edges, and bevel them. in the next post i’ll be showing you everything!
Very nice progress! I’ll be sure to follow this.
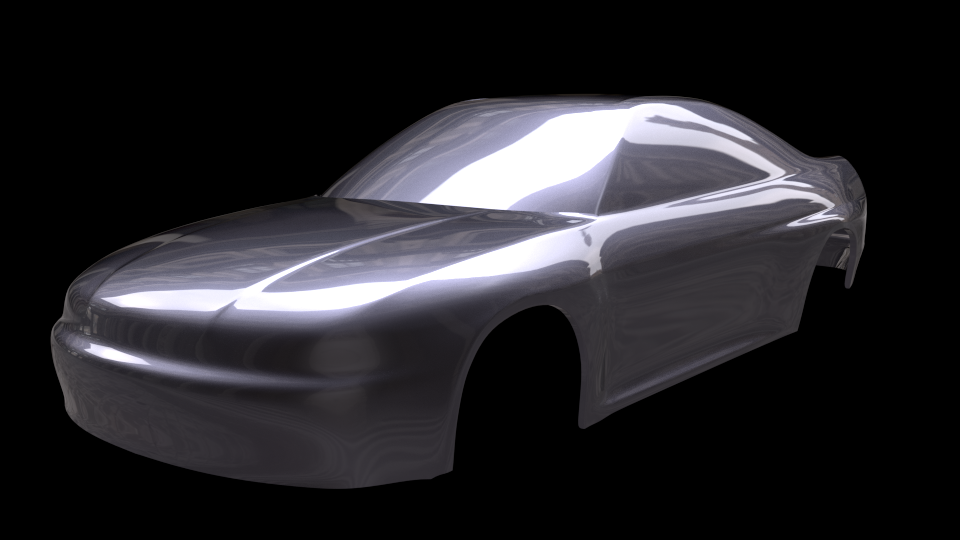
Yeah, nurbs in blender… You seem to be doing just fine with mesh modelling. If you post some matcap screenshots or somesuch we can help with bumps and such.
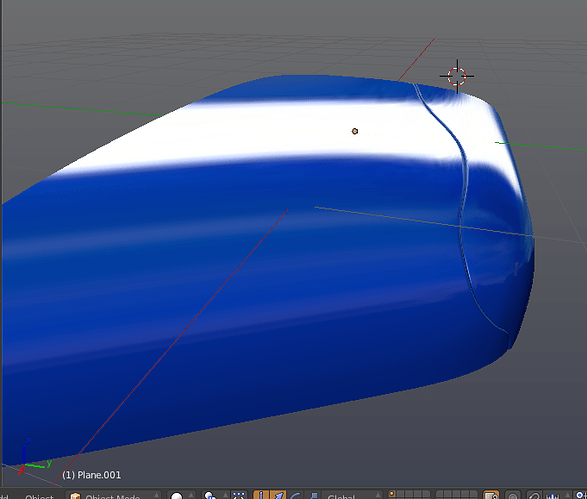
so, this is basically the way i (try) to keep the shape of the car separating the different “plates” or whatever you want to call them, i call them panel lines! 
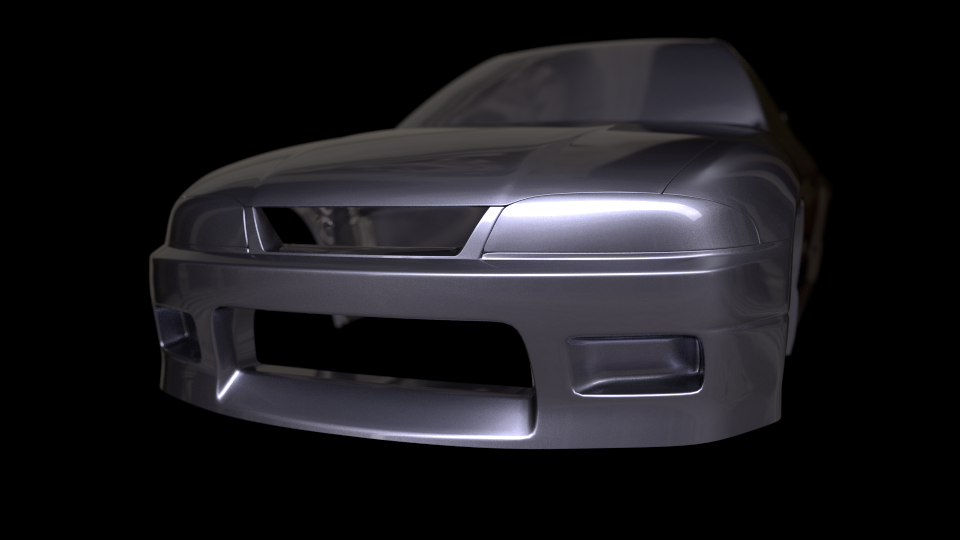
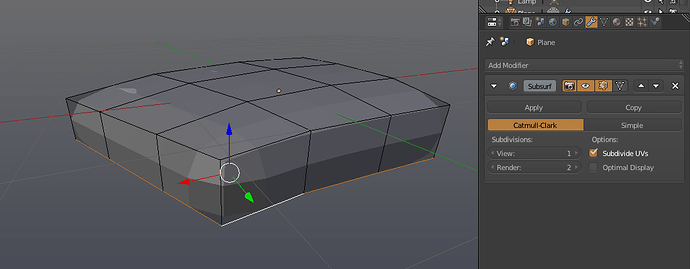
start by modeling the shape, and subdivide it
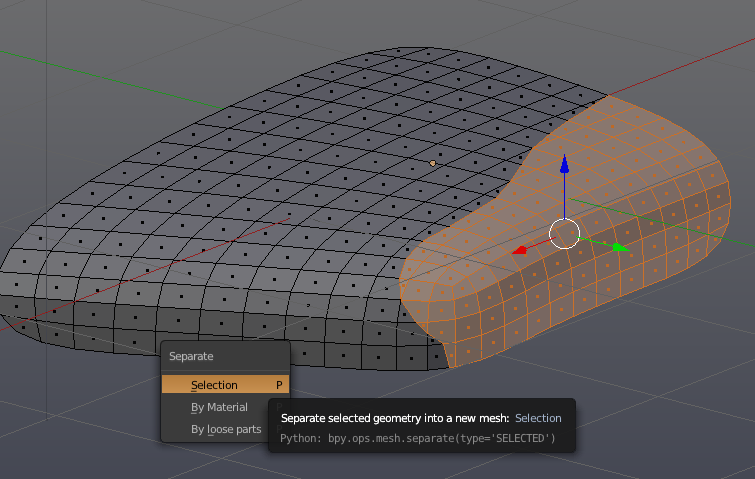
apply the first level of subdivision, cut with the knife tool the curve you want to draw, and separate by selection the two pieces
extrude the edge profile and bevel with 3 segments and profile to 1.000, do the same with the other piece
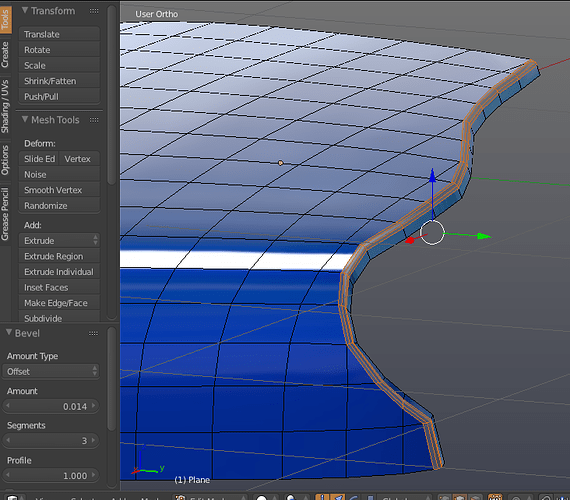
apply a subdivision modifier, and you should end up with this-> -next post-
Attachments


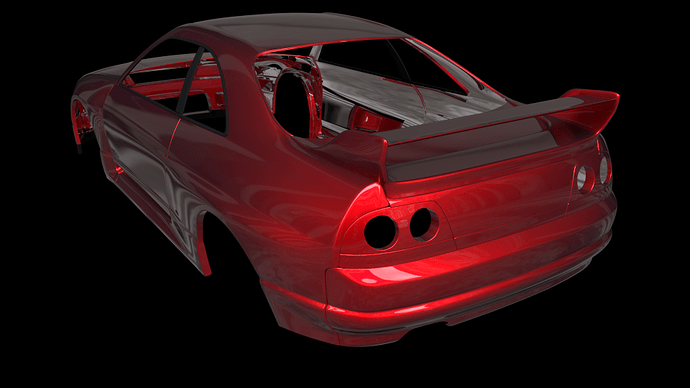
i know this is a pretty fast way to f**k up the topology, but it is the only way i keep continuity. there are a LOT of horrible errors in this model, you always have to pay attention all along the borders for any problem or unnecessary faces, especially triangles. until the reflections on the surface are ok, i don’t bother that much about topology.


Your topology may not end up being ‘the best’, but you’ll still end up being ahead of many/most models because you started from the smooth base which is necessary no matter the method.
it looks good, keep it up!
I agree, while it’s not “perfect” or “correct”, that doesn’t make it wrong or bad. Your results are very good!
You might want to tighen up the edges of some of the panels by adding an edge loop. For example, that panel below the GT-R logo has too much curviness in the corner. (I hope this makes sense! ;))
Well you can limit the problem by set meshes edges on the right place of the “cut” instead of use Knife… when possible off course…
The Bevel part is the most important there… I was search a good technic for it, and yours is really good. Thank you for the tip. I will just try to limit the use of knife by work on the meshes before.
I see 2 things, allways keep the same extrude lenght, then the same bevel curves.
@Wolverine96 … i think its just needed to add a loop there for mark the edge.
I love this GTR Logo…
Just done a quick testt oon an aventador roof… thatt work fine, just need find the right bevel “size”
