Follow-up to MODS-12 (Mobile Oxygen Delivery System) - I’m planning on doing at least something in Blender every day* for 100 days. (These may not be consecutive, I’m not going to commit myself to something that intensive, but I’ll do my best.)
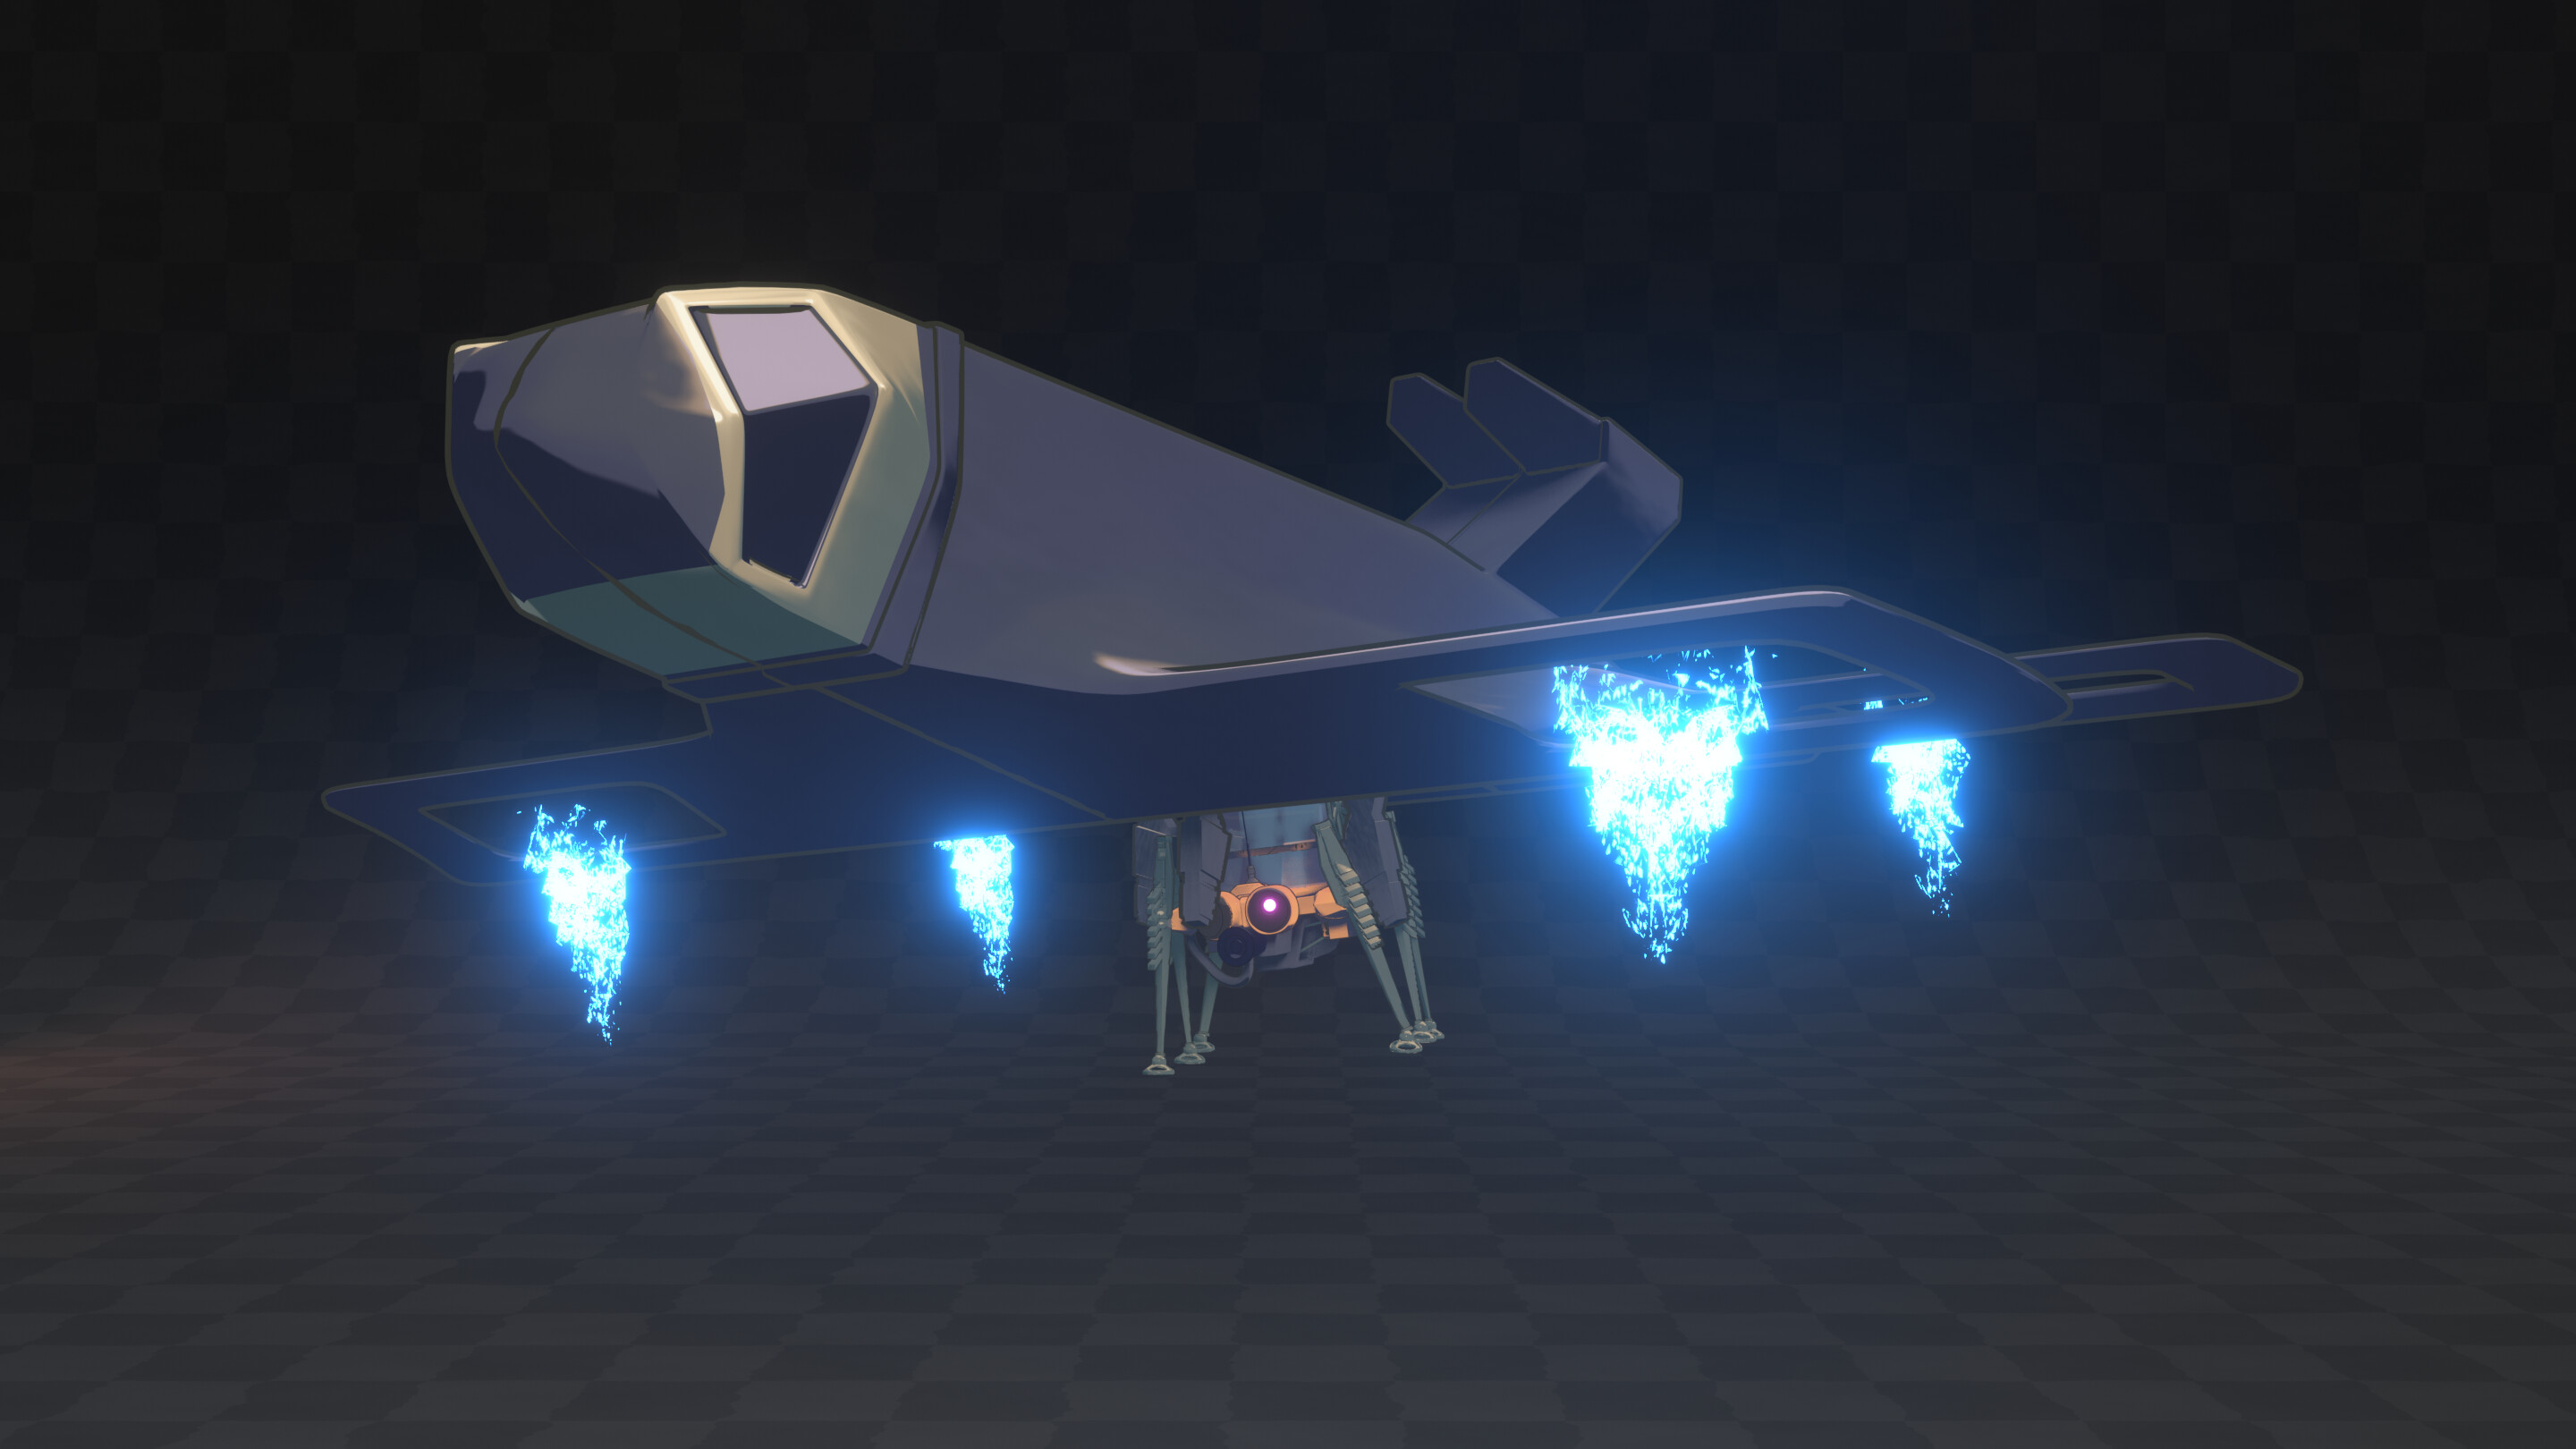
Today I had about 30 minutes in Blender, so I wasn’t able to do very much at all. However, I made a dropship for my little robot dude I made yesterday.
Post processed:
Personally, I don’t think this looks very good, I’m thinking this need a LOT more detail to actually look good. The shaders I made for the robot I reused, but they definitely need more detail to look good. Still, what’s important is that I made something. The one thing I do really like is the texture of the plasma flares. Procedural texturing is one of my stronger points. Everything else is my weaker point Hopefully over the course of this experiment I’ll be able to grow as an artist.
Under normal circumstances, like if this were a full project, you’d just use this as the blockout and work on detail afterwards, so I wouldn’t be too hard on myself. I like that you tied it to yesterday’s robot for context; it can be fun to develop a scene over time (as long as it doesn’t become a straitjacket). I used to do that with writing exercises; it helped me get over that initial “blank page” hump.
And that plasma is cool!
Good on you for eking out those 30 min in a really busy day.
I agree with this completely, although I’m realizing now I’m not actually 100% sure how I would move forward on that. I’ll add “progress from blockout to detail” to my (increasingly-large) pile of things to practice
Tomorrow I’m finally going to have a ton of time, so I’m hoping to put a few hours into Blender. We’ll see, I can dream if you have any suggestions about what I should do with that time, hit me with em. I’m planning on doing something realistic- recreating something off my desk for practice- and then something entirely non-realistic for fun
References really help me to progress from blockout to anything at all – composition I can do without help, and then my mind abruptly goes blank because I have no other translation skill between what’s in my head and what’s in the viewport. But if I have a concept to look at (not my own since I can’t draw), then I can move on. I do it a lot like I program – stepwise refinement.
I don’t think I know you well enough yet to make useful suggestions on what art to make; the only thing I know about your art is that you like stylization and NPR (also the DC comics love is pretty apparent). Hm… Maybe a bit of a thing for Japanese aesthetic too? I don’t know what you most want to improve either, or where you feel you ought to push the envelope.
This is a really good challenge, as far as I know is tremendously difficult but only in terms of fear or ambiguity. But in terms of practice is all about muscle memory.
The most obvious way is to go through this precious exercise, is to utilize the most standard creativity workflow that goes into full stack.
Ideation: Think it in imagination, sketch the idea with grease pencil.
Prototype: Do the block out with lowpoly models and kit bashing
Iteration: Perform a corrective pass
However the steps are not prefixed but kinda they put a few guidelines. As they might go for example:
1. prototype (start with some 3D shapes - ie spaceship)
  1b. ideation (sketch with grease pencil - ie desert background / wasteland / smoke puffing up)
2. iterate (find BG images / find free models and assets / find free geometry nodes / find smoke particles)
3. iterate (put things in place / compose everything / fix materials / render)
4. iterate (polishing / polishing / polishing)
Note that typically if you are lucky you might get all things in place magically and go only through step [1]. Other times you might be very experienced and go through steps [1] and [3] right at once. Perhaps you might get stuck on step [4] and not be happy at all while stucking there for days and days.
So you kinda will have to place the “hard limit” and turn into a completionist. As for example in Scrum typically a good idea is to stick about a week into doing something (which is for you about 3 days part time provided that you work only on your free time). Is not enough time for everything, but on the other hand is enough time within the restrictions and required results you want to accomplish.
Sometimes things will go bad other times they might turn quite good. But the point is once you accumulate enough created content sure you have increased your capability in many ways.
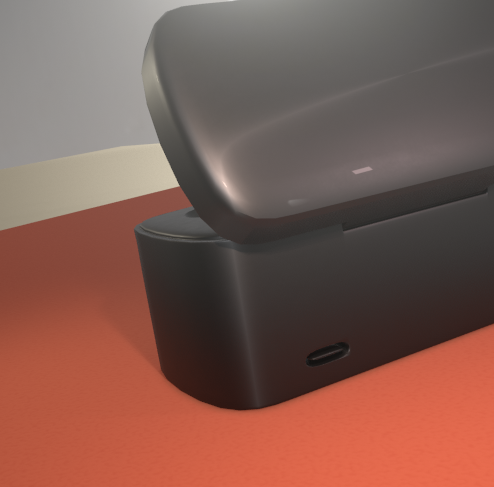
In addition to the render, here’s a viewport screenshot of the USB-C port on the back:
I can’t honestly say I enjoyed this, (I didn’t hate it), but I wholly recognize how important it is to do exercises like this. I definitely learned some things about modeling, lighting, and texturing, and while the composition isn’t great, it could also be worse.
On the flip side, there’s a lot that didn’t go well here. You can see quite a lot of artifacts from my Boolean modifiers for the earbuds themselves, and I’d say I’m 85% happy with the shader, it’s close but not perfect. In addition, I think the lighting might be a little too harsh. Still, this was really good for me.
With the exception of the holes for the earbuds, I quad-modeled everything. I know I should have quad-modeled those holes as well, and/or retopologized to remove the artifacts… but I’ve already spent two hours on this, and it’s starting to feel like enough of a chore that I’m calling this particular model a day.
I fully recognize the importance of this workflow, and I’m planning on practicing it at some point. My goal for today was just to step out of my comfort zone, go for realism, and practice modeling something real.
Anyway, for anyone that sees this, my goal is to improve as an artist, so please rip this apart without hesitancy or mercy
I neglected to reply to this yesterday, so I’ll make a quick sidenote. After a fair bit of self-reflection recently, I realized I really don’t have much practice with most of the artistic fundamentals. For that reason, I’m going to try to get a good mix of A. realism- focusing on modeling, lighting, and detail; and B. stylization- focusing on stylization techniques, building a scene, and texture painting.
I also need to gain some 2D art skills, so I’ll be trying to update my 2D sketchbook as well. I’ve realized one of my biggest shortcomings is my inability to generate concept sketches, and I think getting my drawing up to that level will make my 3D work 50-60% better off the bat.
To the other half of your statement… I don’t think I’ve really nailed down my “style” for myself either My ultimate goal- not for this project, this is more like a 20-year goal- is to be able to tell the stories that come to me in dreams through animation in Blender. My dreams are vivid, highly plot-driven and intricate, and heavily stylized. While I don’t think it’s possible, nor do I think it would work well, to exactly replicate that highly imaginative style, I do find a traditional 2D-esque animated workflow to be a good medium for expressing it, hence why a lot of my work veers towards the 2D-stylized realm.
Again, I need a lot more work on the basics before I can commit myself to that, so I’m not worried about that right now.
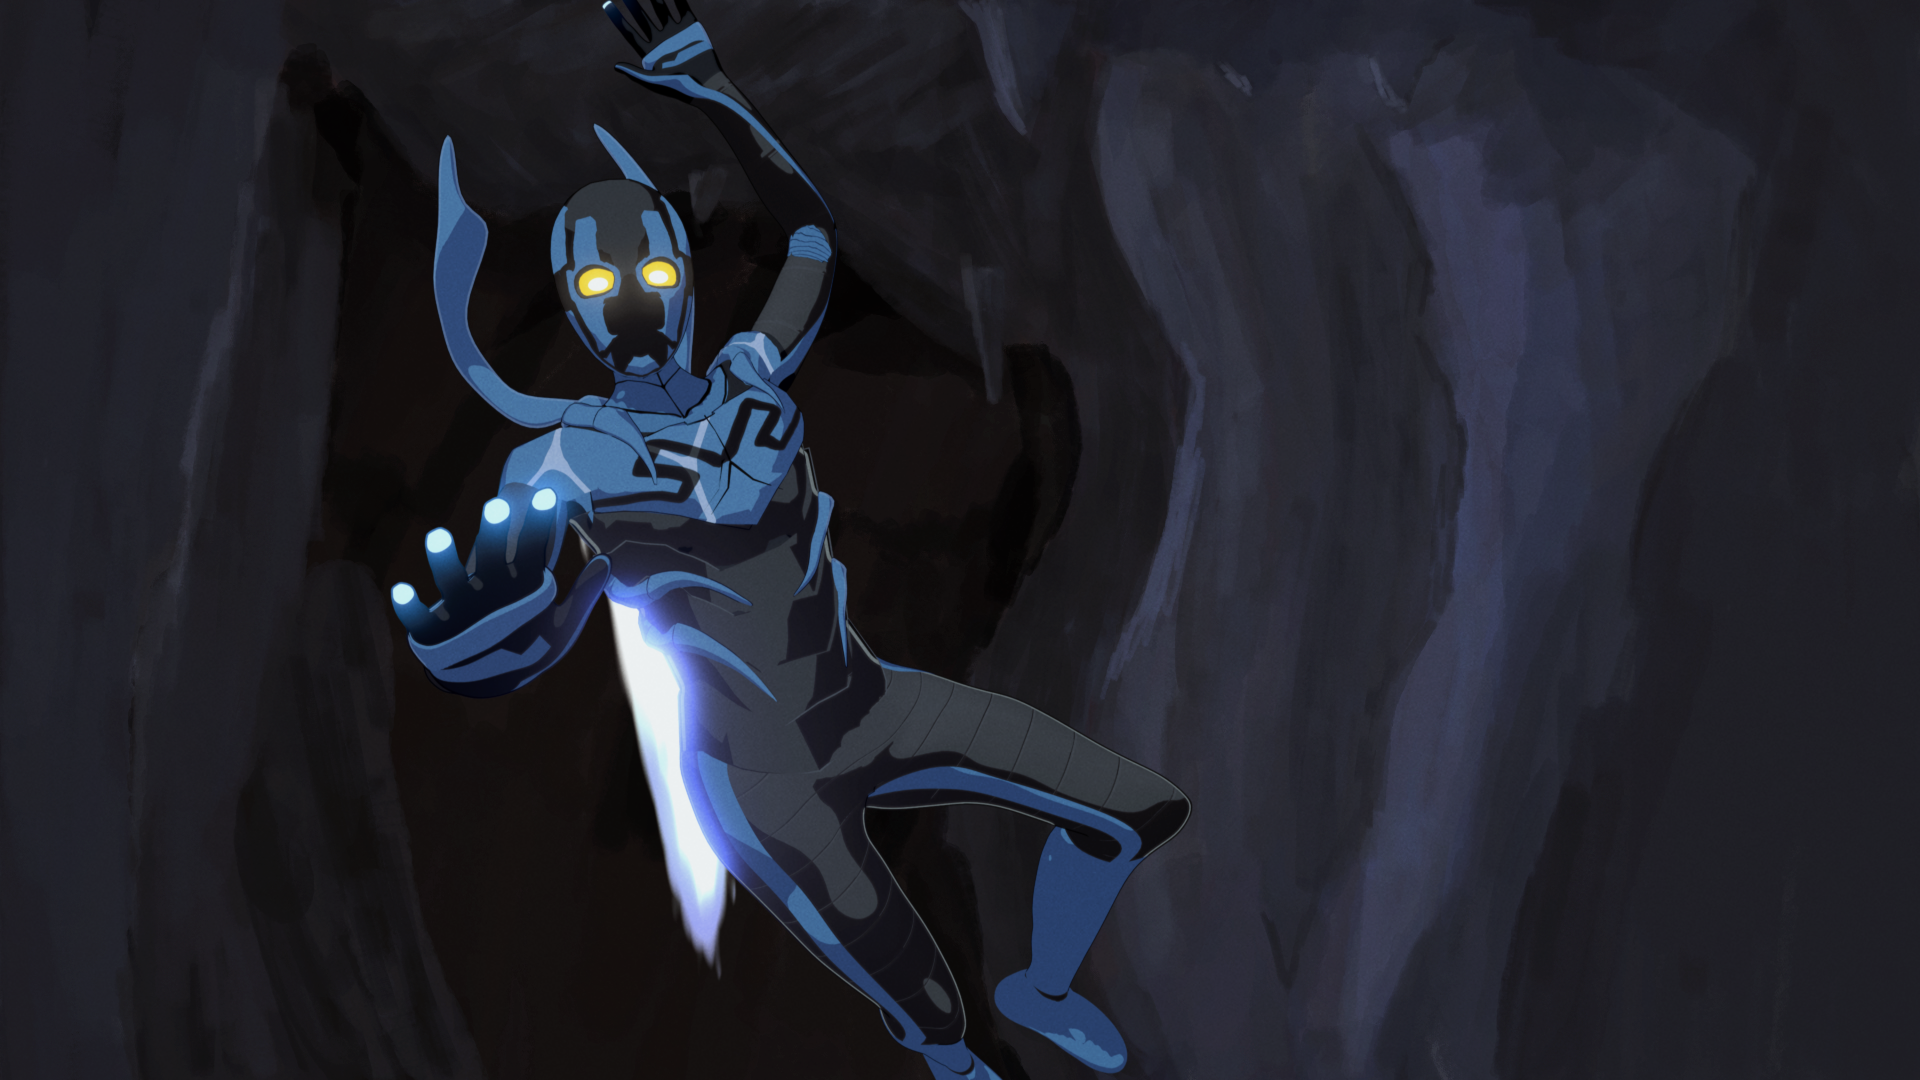
I’m planning on illustrating a graphic novel (or webcomic series, it’s still being decided) an author friend is writing in the near-ish future. The style for that will be more or less this: MODS-12 (Mobile Oxygen Delivery System) but with more hand-painted elements in the backgrounds. Once that project officially starts, I’ll be leaning more into hand-painting and stylization just for the sake of that project, but last I heard, that’s a few months out still.
Anyway, that’s a lot of information, sorry It’s good for me to write it out, it will be helpful to refer back to this later so I can remind myself what I’m doing and what I should be focusing on
This.
A more important skill in 3D (especially stylized) than some willing to give credit to. It definitely requires a lot discipline… neglect to practice and - boom! - you lose all the XP muscle memory The horror…
[My poor hands hurt so much after latest attempt, I wish I practiced more ]
You would know, your sketches on your WIP thread right now are the main inspiration behind me getting my butt in gear and working on 2D seriously, your sketches are incredible
Don’t apologize; this is exactly the sort of thing that’s useful, primarily but not just for yourself, but also for others to know how to focus possible suggestions.
(It’ll be interesting to watch your 2D sketchbook. Being able to draw even just rudimentary concept art is the skill I am most lacking myself.)
aww, thanks.
I can say the same for your’s and Piranha’s dedication to improving the skills - it makes me kick myself into practicing again (though I’ve yet to develop a reasonable schedule)
Hi! And yay! You started something as well, I might become the only one not to…
Anyway, so far, so good! I like your spaceship, The base is what I struggle to get right always, so I think your concept is nice and unique. Good luck!
After spending lots of time trying to figure out the best rendering techniques, or photography techniques with lighting composition etc.
Instead of becoming more interested in realistic and natural rendering, I reverted back to stylization as well. And in that respect there is a lot of tinkering and throwing all of the the standard techniques into the recycle bin.
As for example if you really want simple realistic rendering, the result will be something like the news, where everything is plain and dull (nothing more and nothing less - just the render).
However in terms of professional photography, you will have to guide the light yourself in various ways.
As for example in outdoor render with natural sunlight it goes without saying that you will have to put extra golden reflectors to hide the grey areas and make the subject more alive.
Typically, in high-end product visualization you will have to place dummy white reflectors (invisible to the camera) so they “hug” the surface of the model and create more variation.
Imagine for example that you “paint with reflections” instead of the brush as normally artist painters do.
I saw a cool tutorial once, where someone wanted to render a bath tub faucet, and used such black shapes, so they would create more curves on the glossy reflection.
P.S. Perhaps there can be other ways to use streched matcaps or painted textures, so many ways can be explored. Though with invisible objects you can control the reflection in real time.
Thank you for sharing your perspectives there’s some really good ideas in here, I’m looking forward to hearing more of your ideas and I’ll do my best to internalize them
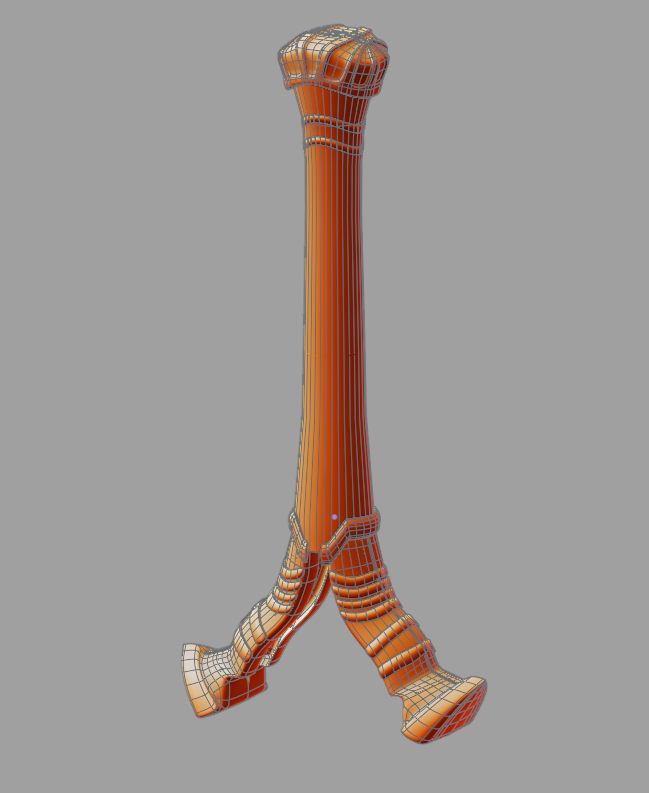
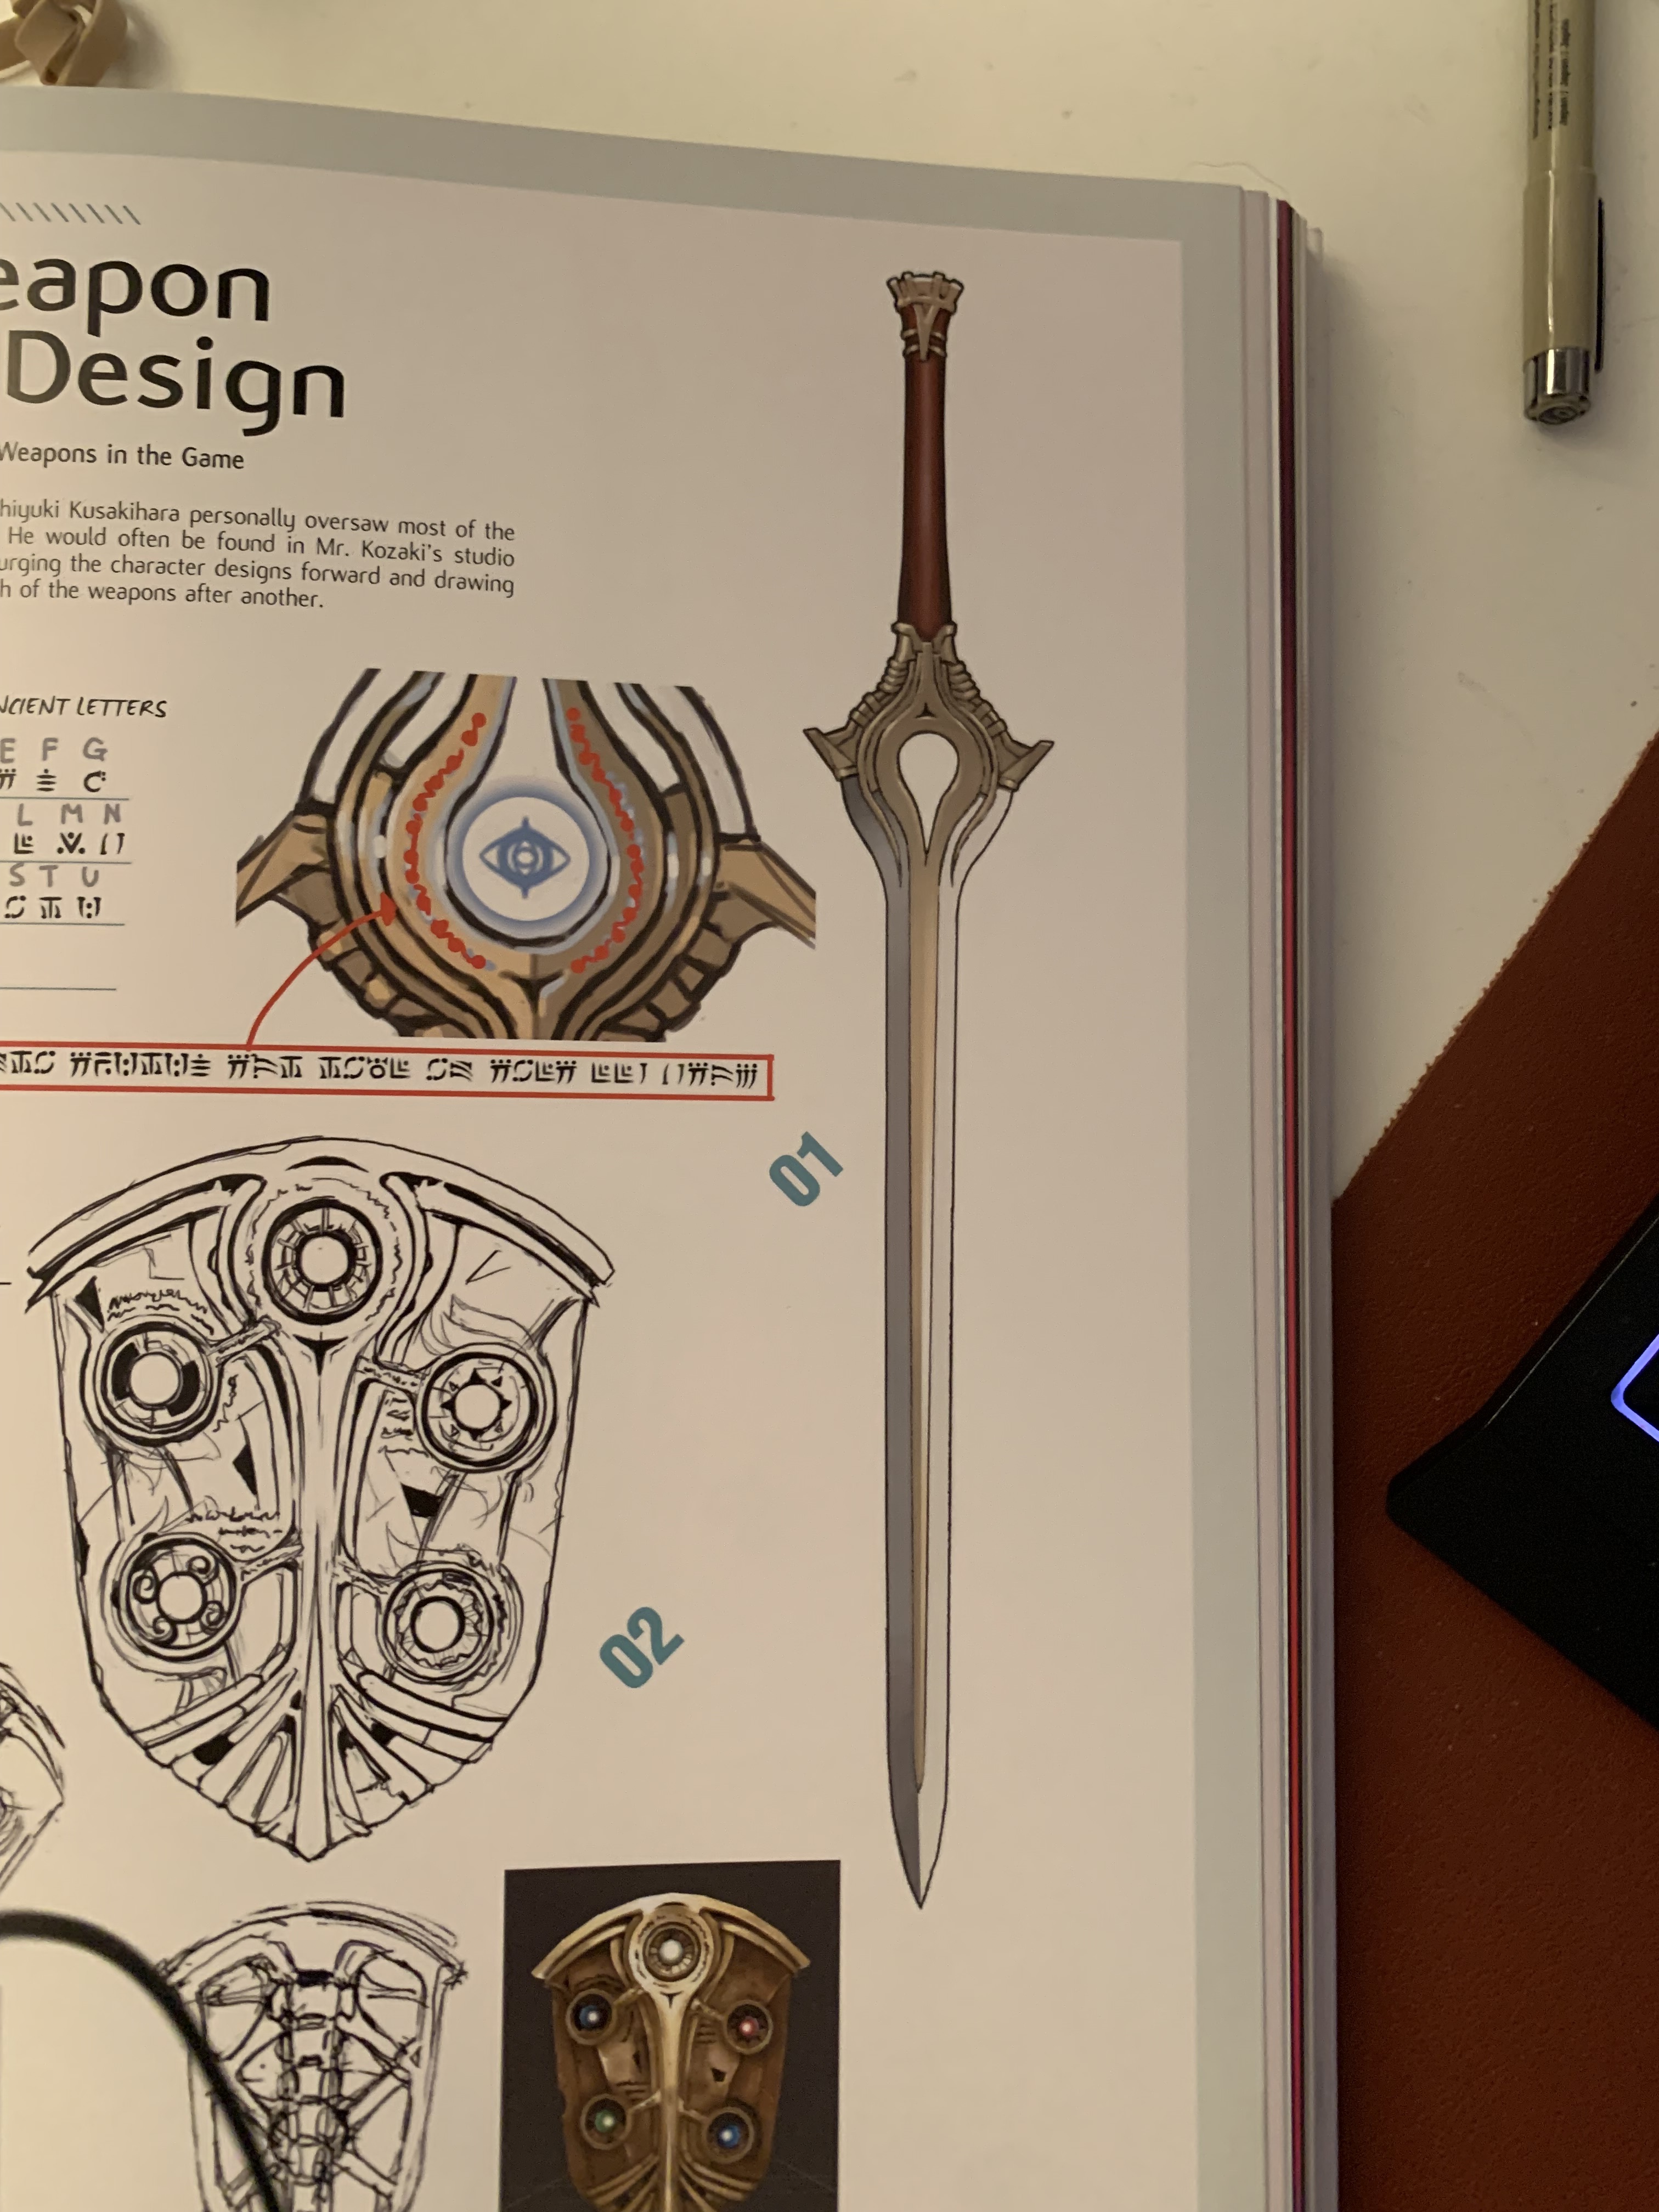
This is a good modeling exercise, as it’s a deceptively simple form that actually requires quite a bit of thinking to get right. To make things extra hard for myself, I’m not using any 3D reference, and relying wholly on the original 2D concept art:
I plan on making the sheath as well, which has a very beautiful design I’m too tired to get a picture of right now. More updates tomorrow Feel free to rip this apart, although admittedly there’s not much to rip apart yet
I really wanted to finish yesterday’s work today, but I’ve been oscillating between sick in bed and asleep for the last 24 hours. I’m a huge fan of immunizations but I have the great misfortune of being a lightweight, literally, I don’t have enough body fat to cushion from the blow of flu shots I should be fine tomorrow, so I should have an update then.
In the meantime, I have enough energy to share some fun facts about the sword I’m modeling, and you have to listen to them because I’m sick
the blade is impervious to time and damage, but the hilt is not. Due to this, the appearance of the sword changes every few years or so when the hilt is re-crafted.
this sword can only be used by people of a certain bloodline with certain genetic markers. These genetics seem to be dominant- of the 6* people you’d meet in this game of the exalt bloodline, 83% of them have it, and a mother without it can have a son with it.
This leads to my personal favorite fun fact- it incidentally confirms something rather horrifying about another Nintendo character, Kirby. Kirby famously inhales people and borrows their abilities. Chrom and Lucina both use the Falchion in Super Smash Bros, and Kirby gains the ability to use the Falchion by inhaling them. This means that Kirby has the ability to selectively splice his victim’s DNA into his own, like a reverse virus
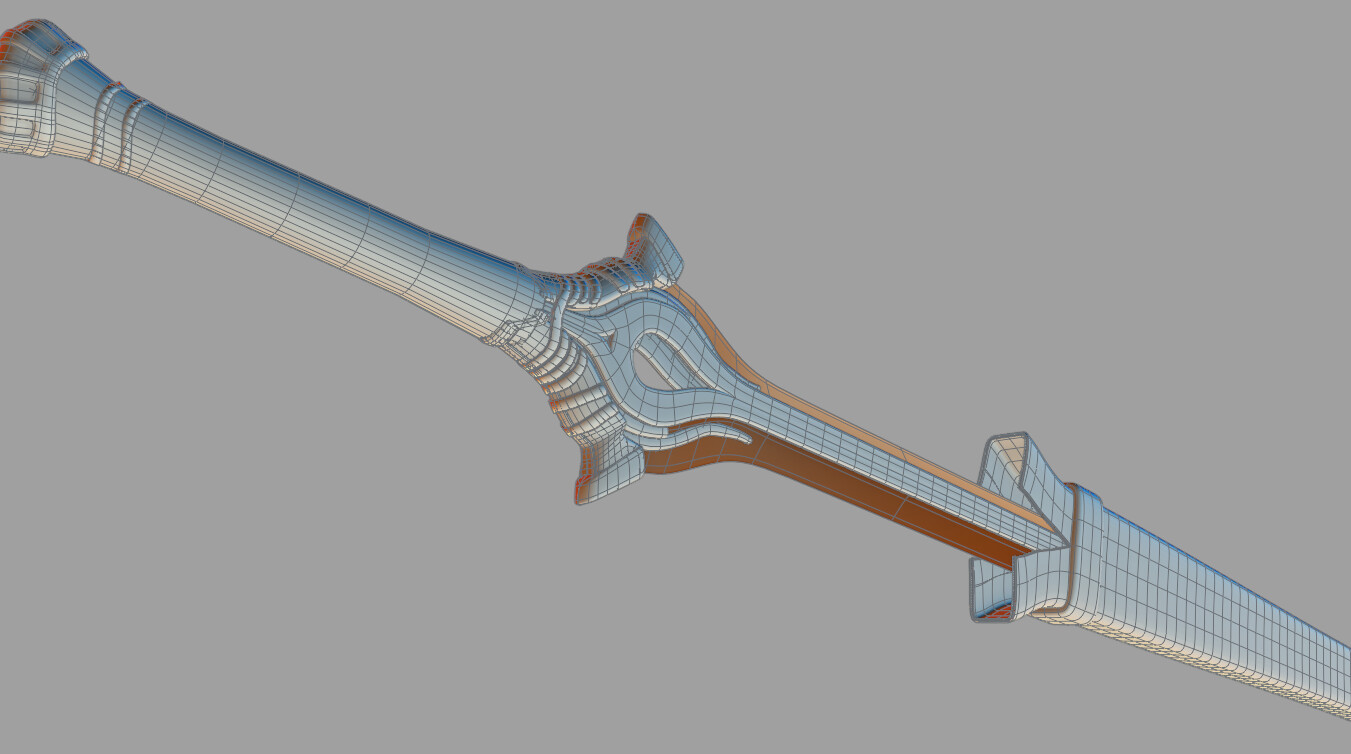
I’ve said quite a bit about this already, so I’ll let these speak for themselves mainly
Other than that, as mentioned, this was really good modeling practice for me. The presentation could probably be better, I wanted to keep it clean and focused. I’m as always very open to feedback there.
One thing that was especially challenging was the shaders- not technically, but deciding if I wanted to stay true to the concept art or the in-game shaders. I decided to forgo the intense glossiness of the in-game shaders and stick with the concept art look. I chose this route because my focus for this exercise was modelling- I also didn’t add the stitches on the sheath, simply because I didn’t want this to snowball into something massive. I wanted practice modeling a shape like this, and I got it
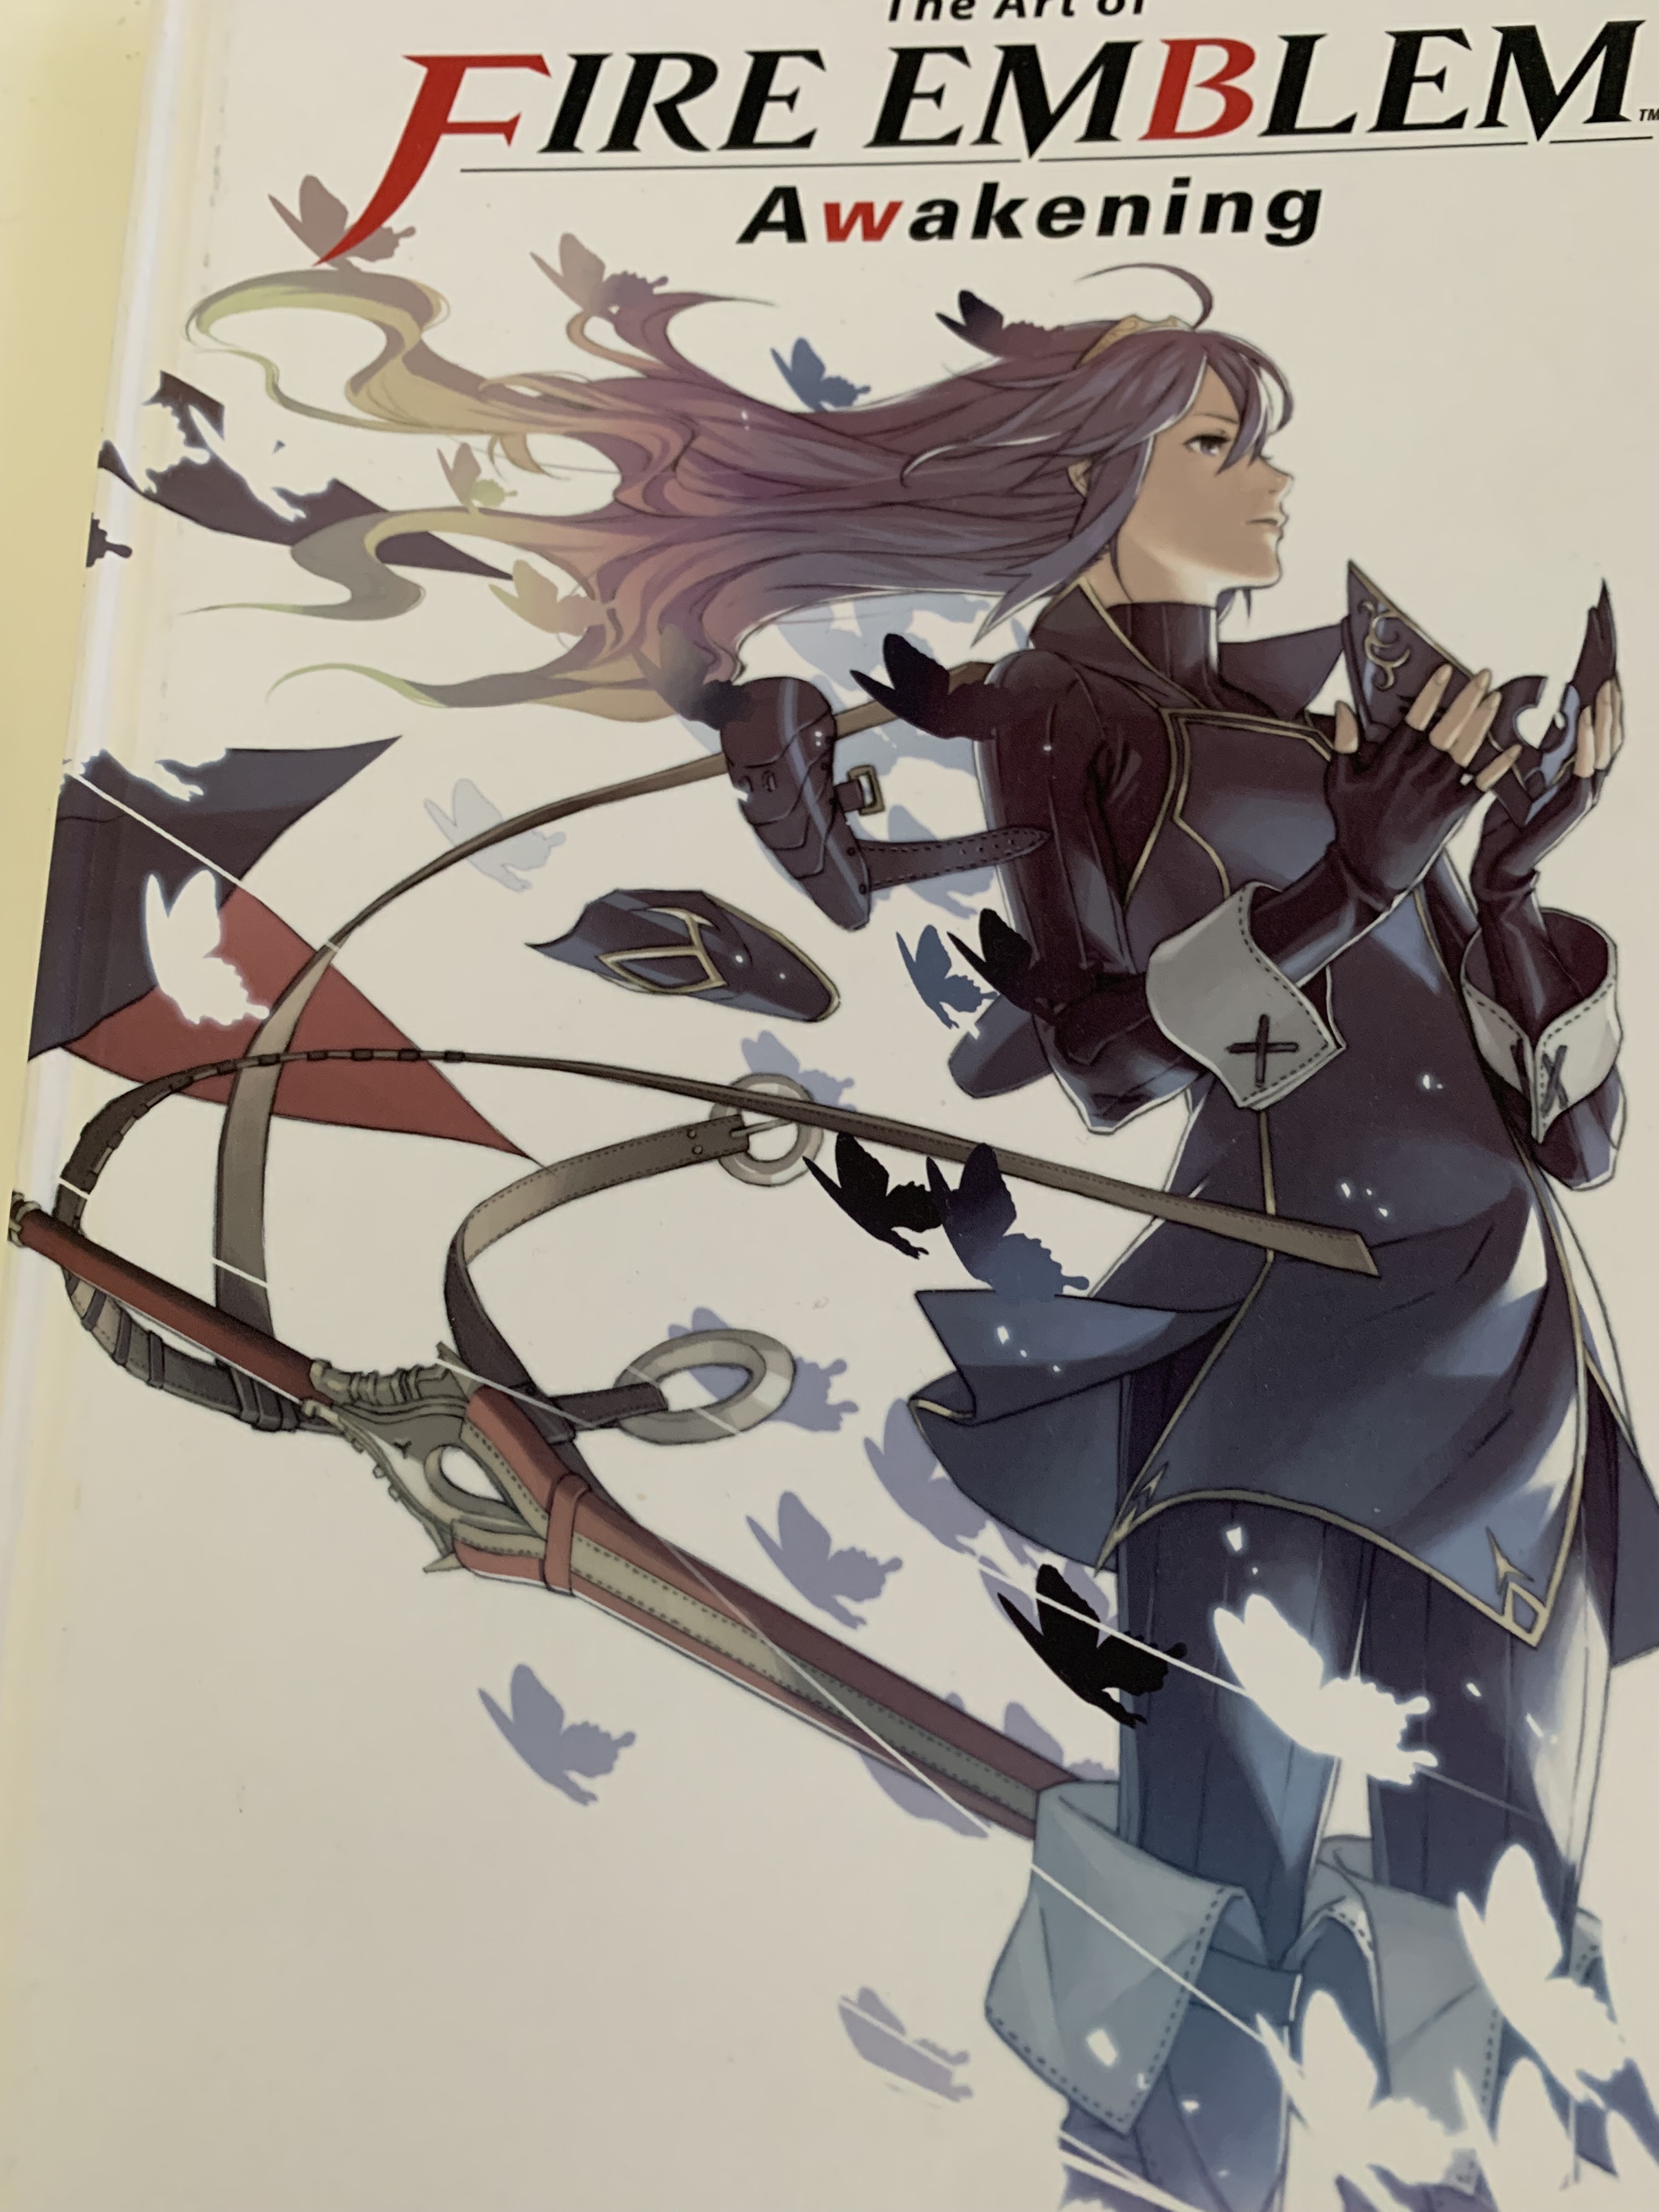
While there’s no official concept art for the sheath, the cover of The Art of Fire Emblem Awakening did well enough as a reference:
(Discourse was wondering whether I knew I could send you a personal message instead of responding a 4th time in this topic! We definitely need more intelligence in automated processes.)
I like your choice of shaders. I realize why they made the swords all glossy in the cutscene, but this is way more suited to concept presentation because it is so much clearer.
I don’t mind that you reply so often- I find it highly encouraging, it’s probably the only thing that’s going to get me through the 99 days
I’m glad you like the shaders, your thought process mirrors mine. The other problem with super glossy shaders is that you have to have something to reflect… you can’t really make an attractive mirrors shader without a full scene around it. I wouldn’t be opposed to making a full scene someday, something like that cutscene maybe, but that’s definitely not a days worth of work


 - Two Falchions")