Hi,
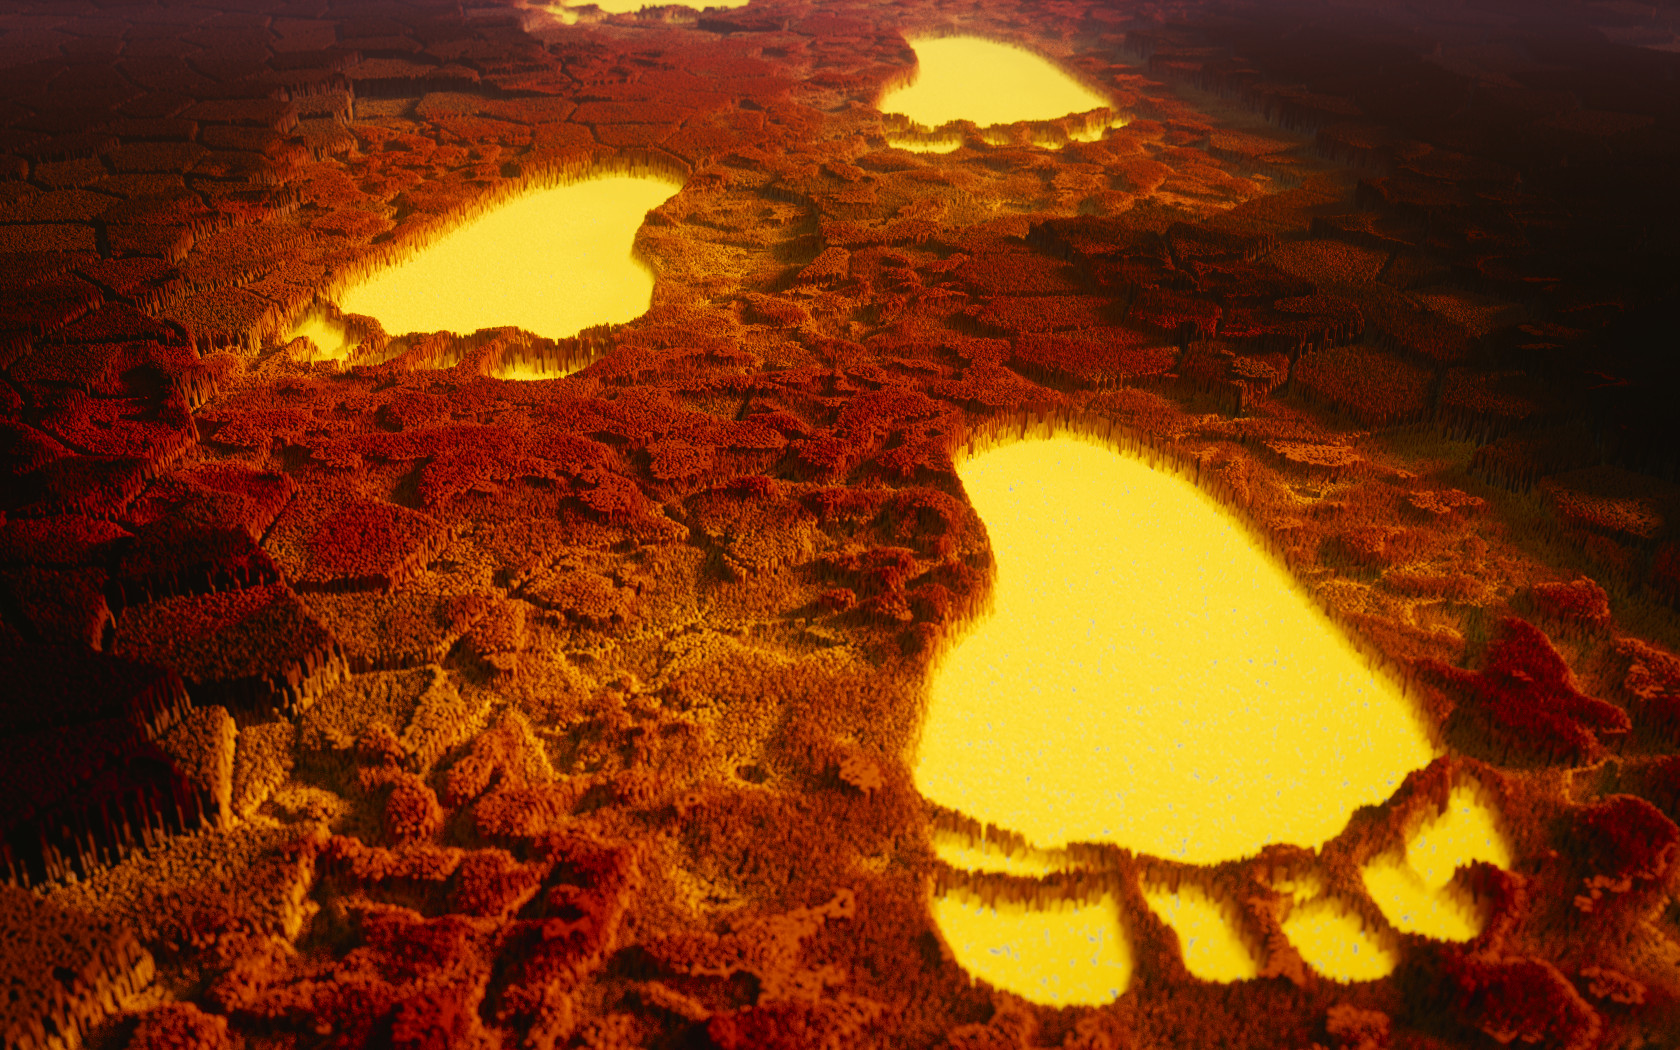
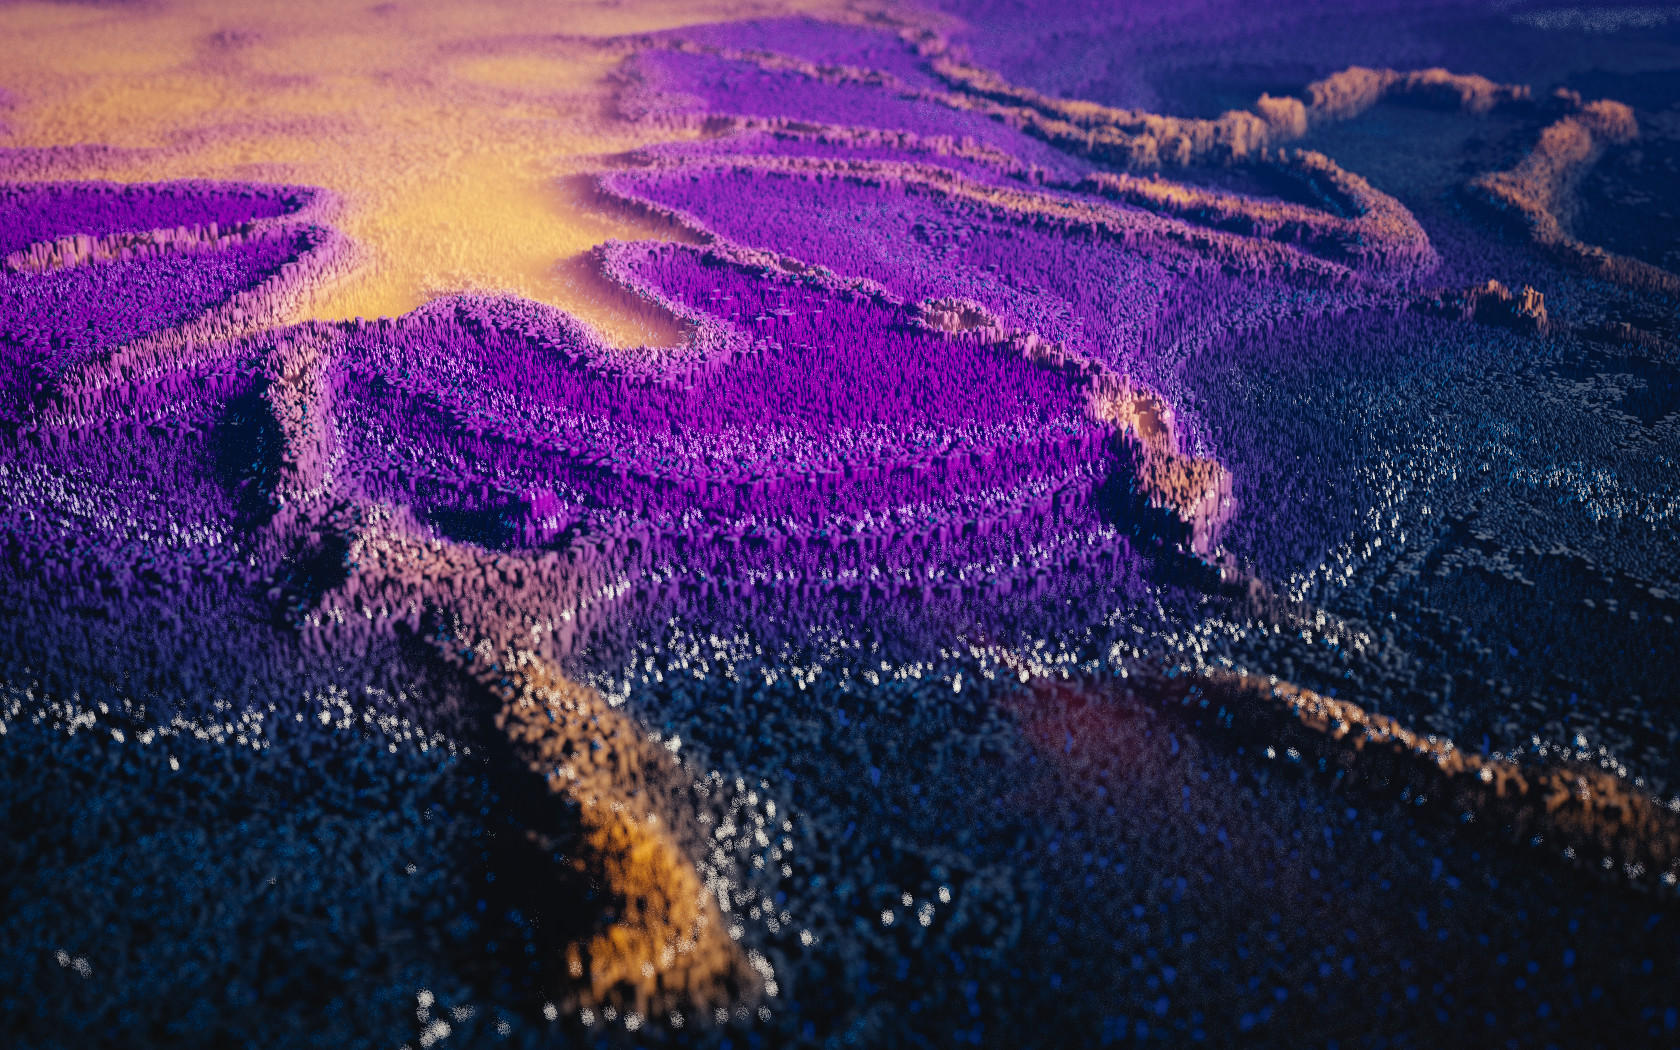
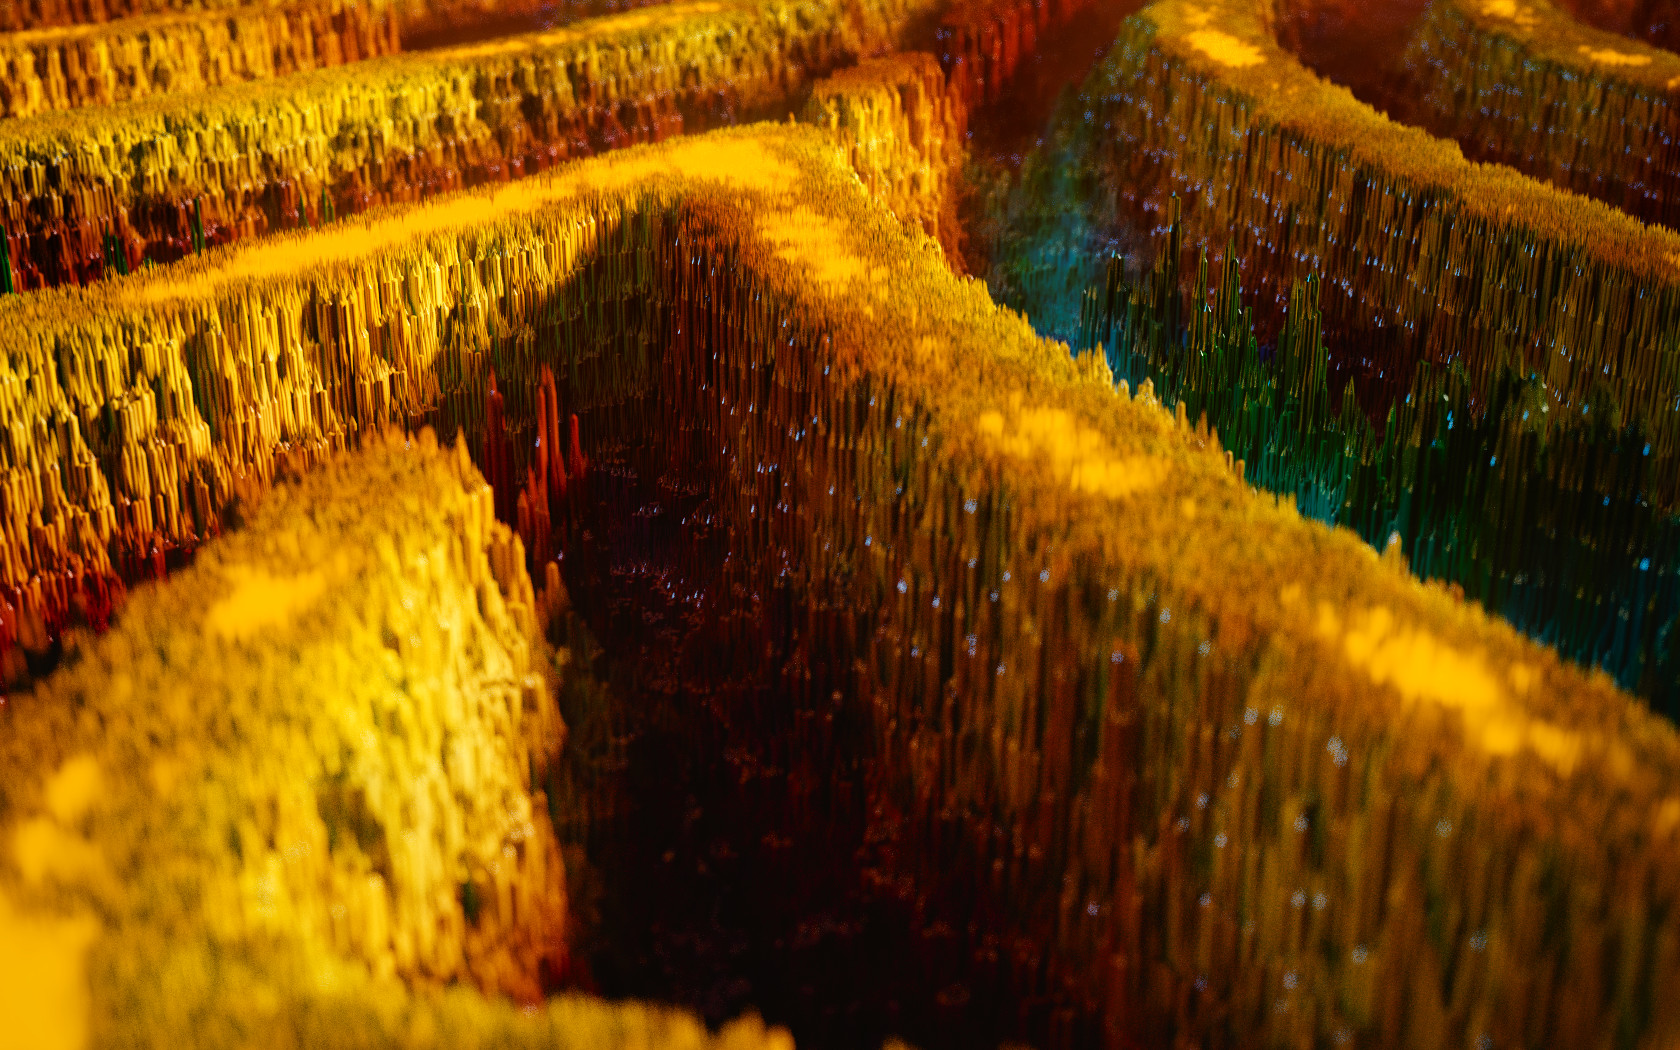
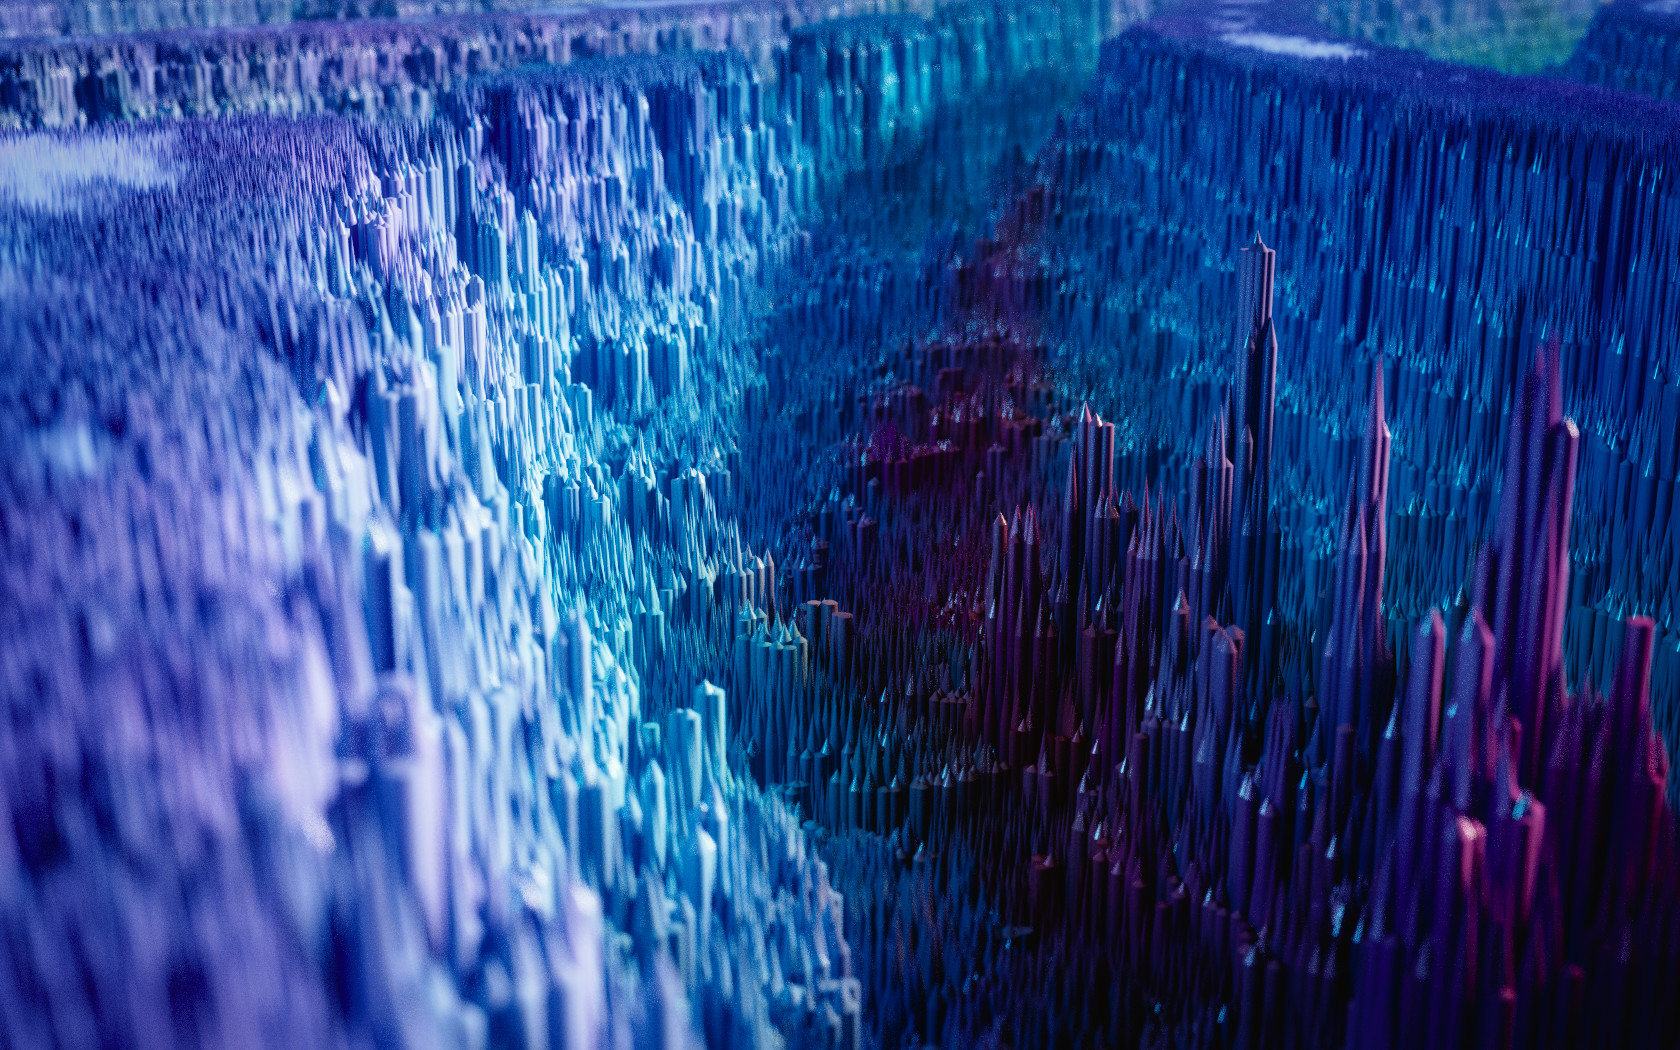
here are some shots created with the cycles hair particles. Probably everyone already saw this:
http://leegriggs.wordpress.com/2014/06/28/xgen-color/
but I only discovered it yesterday. So now I’m hooked. Thanks Lee… :eyebrowlift2:
Enjoy
Hi,
here are some shots created with the cycles hair particles. Probably everyone already saw this:
http://leegriggs.wordpress.com/2014/06/28/xgen-color/
but I only discovered it yesterday. So now I’m hooked. Thanks Lee… :eyebrowlift2:
Enjoy
I love these abstract landscapes. Really beautiful those you post.
Recently I saw this post:
http://www.blenderartists.org/forum/showthread.php?347754-The-New-Experimental-3D-Art
Unfortunately it is hard to find tutorials about how to achieve these abstract landscapes. it is even difficult to get someone give you some information about how to make it 
I found this where no particle system is used:
http://www.cutsquash.com/2014/08/abstract-landscapes-blender/
Do you know another tutorial for Blender?
Amazing! I really can’t find anything to critique. My vote for the feature row!
Thank you for the links. I´think they are good tutorials and you can certainly achieve nice things with them. I just took another approach on the
subject. But I’ve made a small Blend for you (and people who are interested)
Basicly -> Paint / draw an image in gimp (works best on different Layers for best control over your colors)
         -> Make a B/W image of the image after you're satisfied with your results (the brighter parts will result in longer hair particles,
              the darker ones will be shorter)

         -> Add a simple plane inn Blender and unwrap from topview (Bounds) . Mine's always as big as the grid-floor.

         -> Add a Particle System with 20000 Particles and 100 interpolated children.

         -> Under the Particle Tab there's an option called "Textures", so create a new one and then go to the textures-tab to find your
             particle texture there. Set it from Clouds to Image/Movie and choose your BW-picture that you created in Gimp / PS.

         -> Under Cycles Hair Rendering, set the tip the same size as the Root  (1.0)

         -> Set the Mapping to UV (default is Generated) and if you do a still image, the scroll down and unckeck the "Time"-Influence
              and the check "Length"

         -> The Shader for the plane is quite simple with only the Color-Texture ->Diffuse -> Mixshader with Glossy (you can of course go
               fancier if you like, for example add a BW-Image to mix with an emission shader to get some parts lightin up)
Thats basycally it  So here’s the .blend: (Textures are packed in)
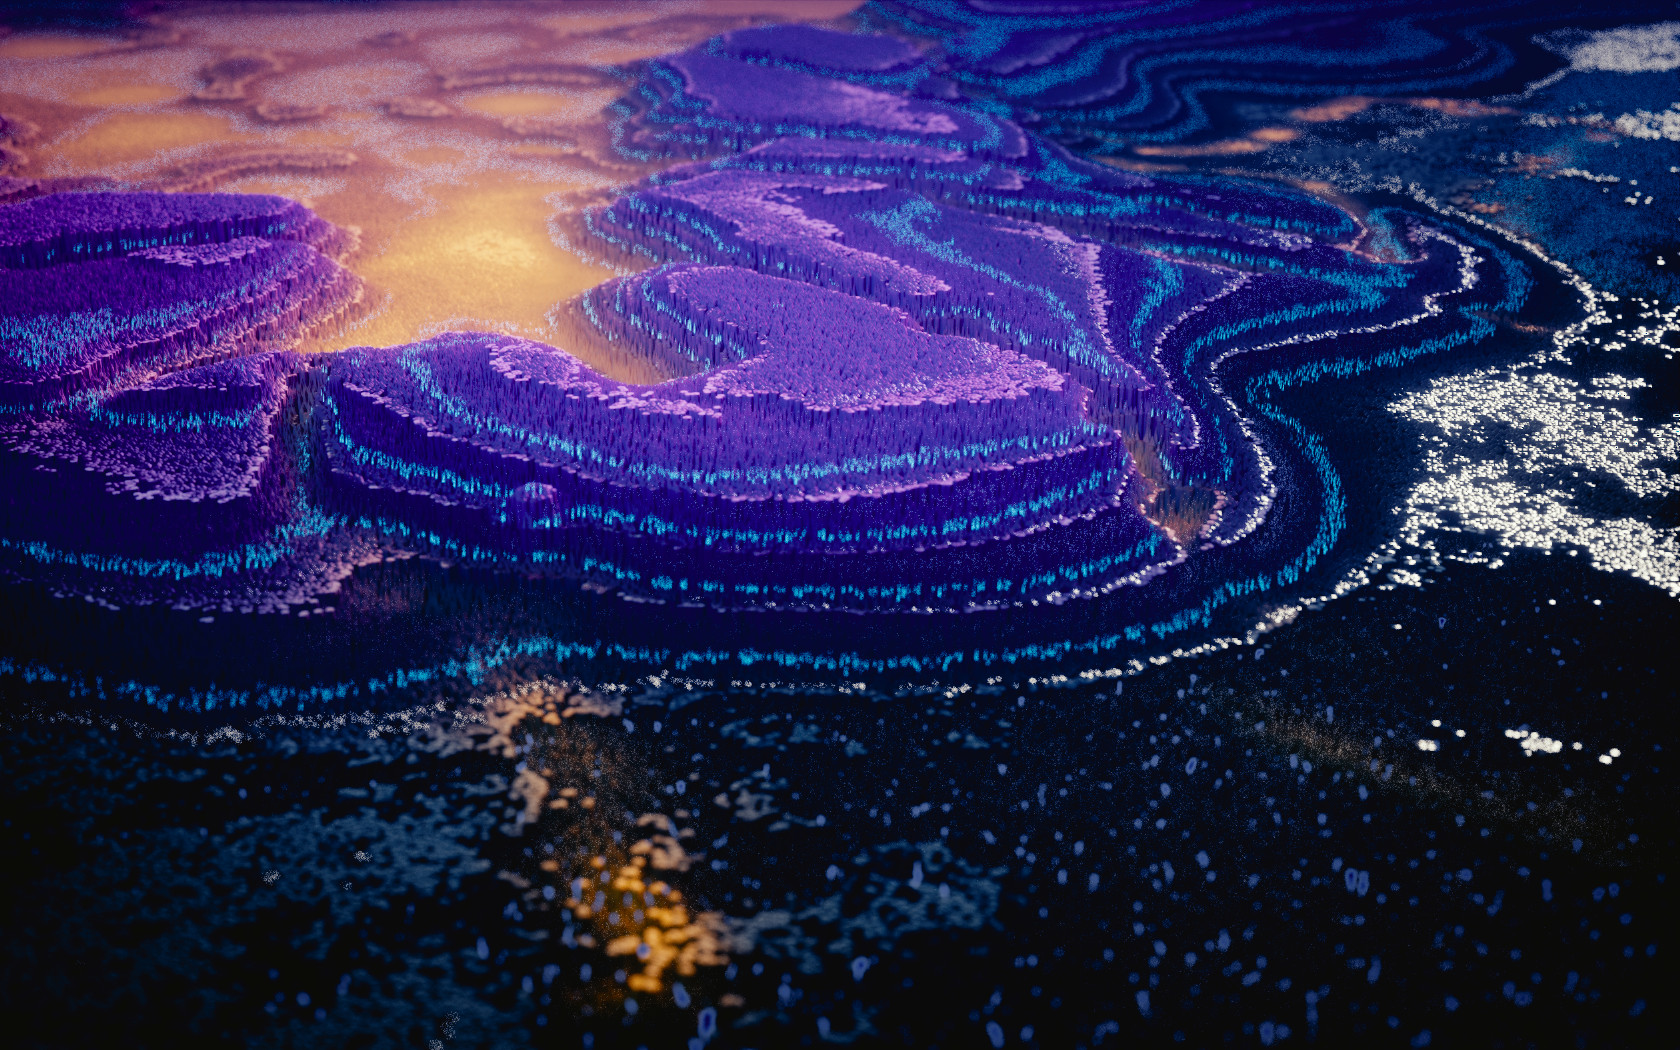
and how it looks:
[](/u/Benjamin_Dod
Benjamin Dod[/B) Glad you like them
Chris
That’s the nice thing about Cycles having a hair system where the strands have an actual shape, you really can’t do something like this in BI (at least not with particle hair).
The smattering of fiber-optic style lighting in two of the images look like a nice touch, though there looks to be holes in the giant feet image where you can see the grey background that’s the default in Cycles.
Chris, Thank you very much !!!.
I really appreciate that you have taken your time to make this tutorial.
So, now to experiment with this and lots of fun guaranteed!
Those are absolutely fantastic. I wrote the tutorial at cutsquash.com, but didn’t even think of using a particle system to achieve the same effect. I’ll have to try your approach when I get back to Blender! I don’t know much about the workings of Blender, so does any body have any opinion on which approach would be faster/more efficient, both in rendering and the live preview?
Justin Pinkney, thanks for your tutorial too!
I think if you use Cycles, in both cases the performance is similar. Perhaps using Path in particles system performance is faster. But if you use Object instead of Path (like a cube), performance in viewport is quite similar. With particles, set the objects to display in the viewport is simpler by reducing the number in Children > Display. But with Duplication Verts you can reduce the objects number to display reducing Display subdivisions in SubSurf modifier, or adding the modifier “Decimate” and Un-Subdivide, playing with it and disabling it during the render.