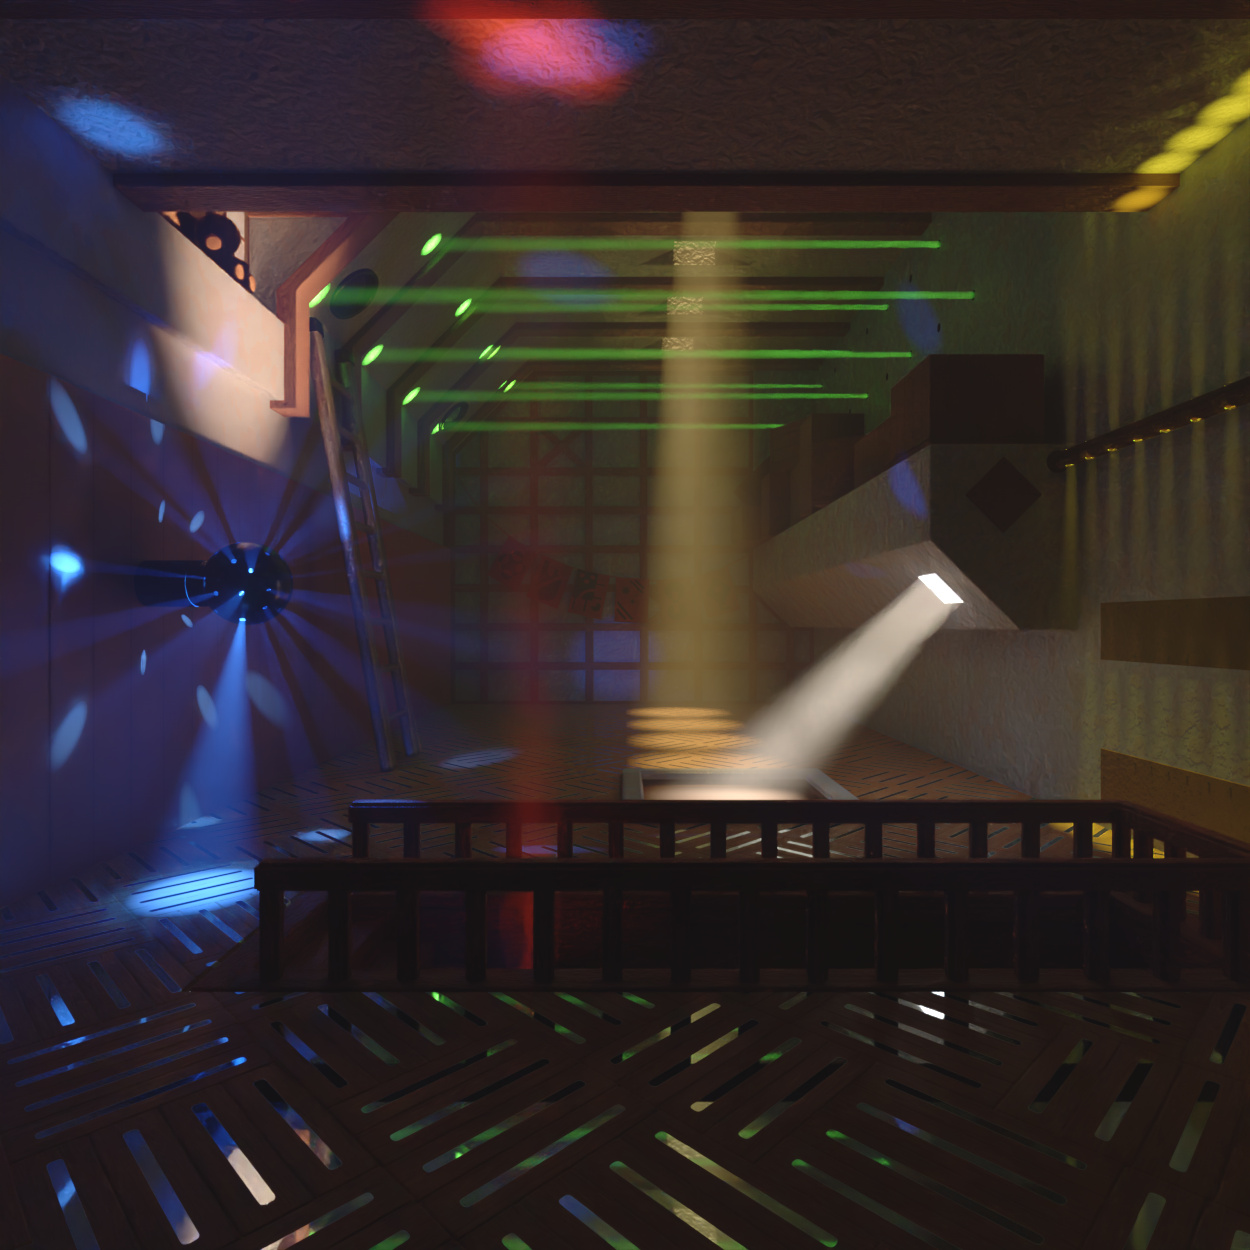
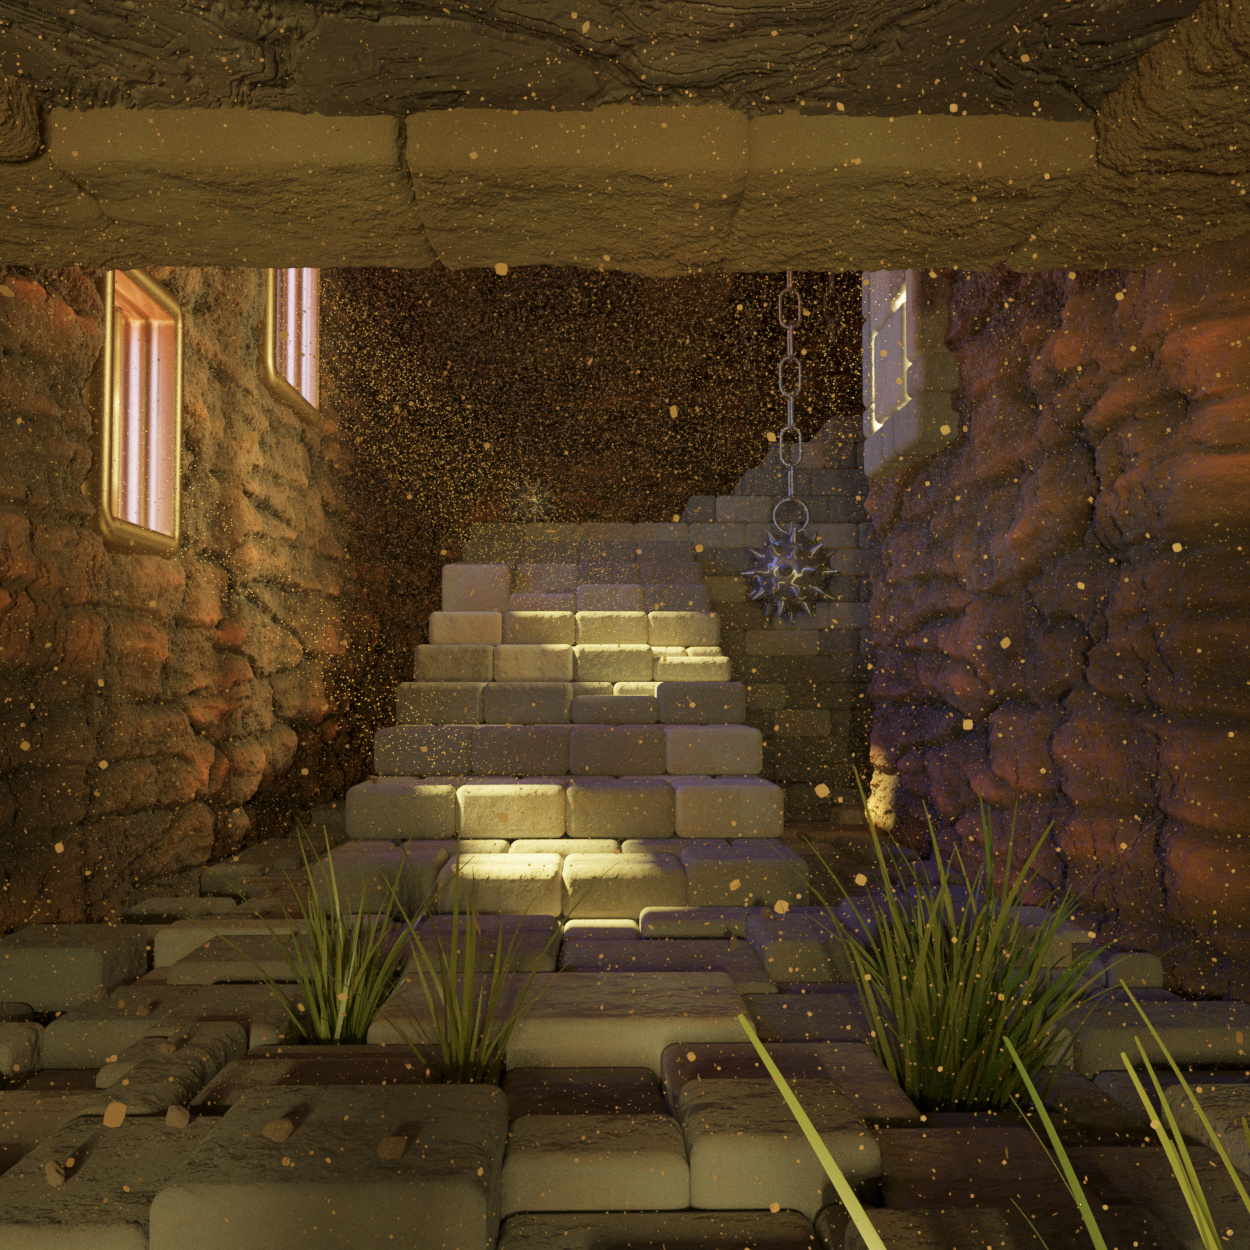
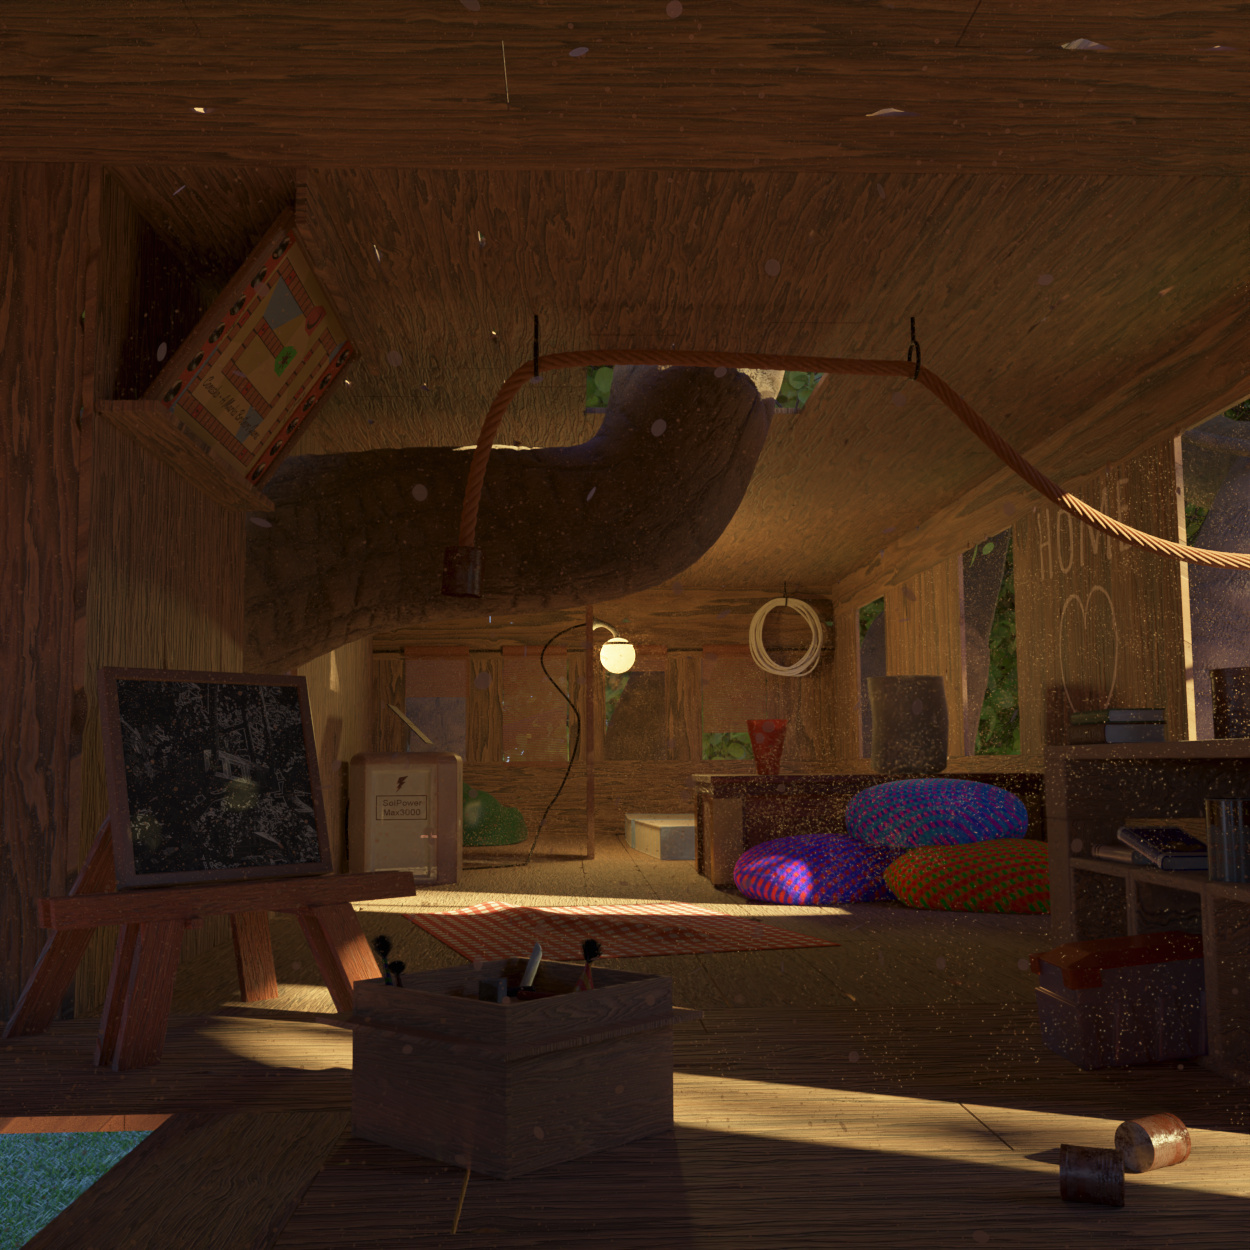
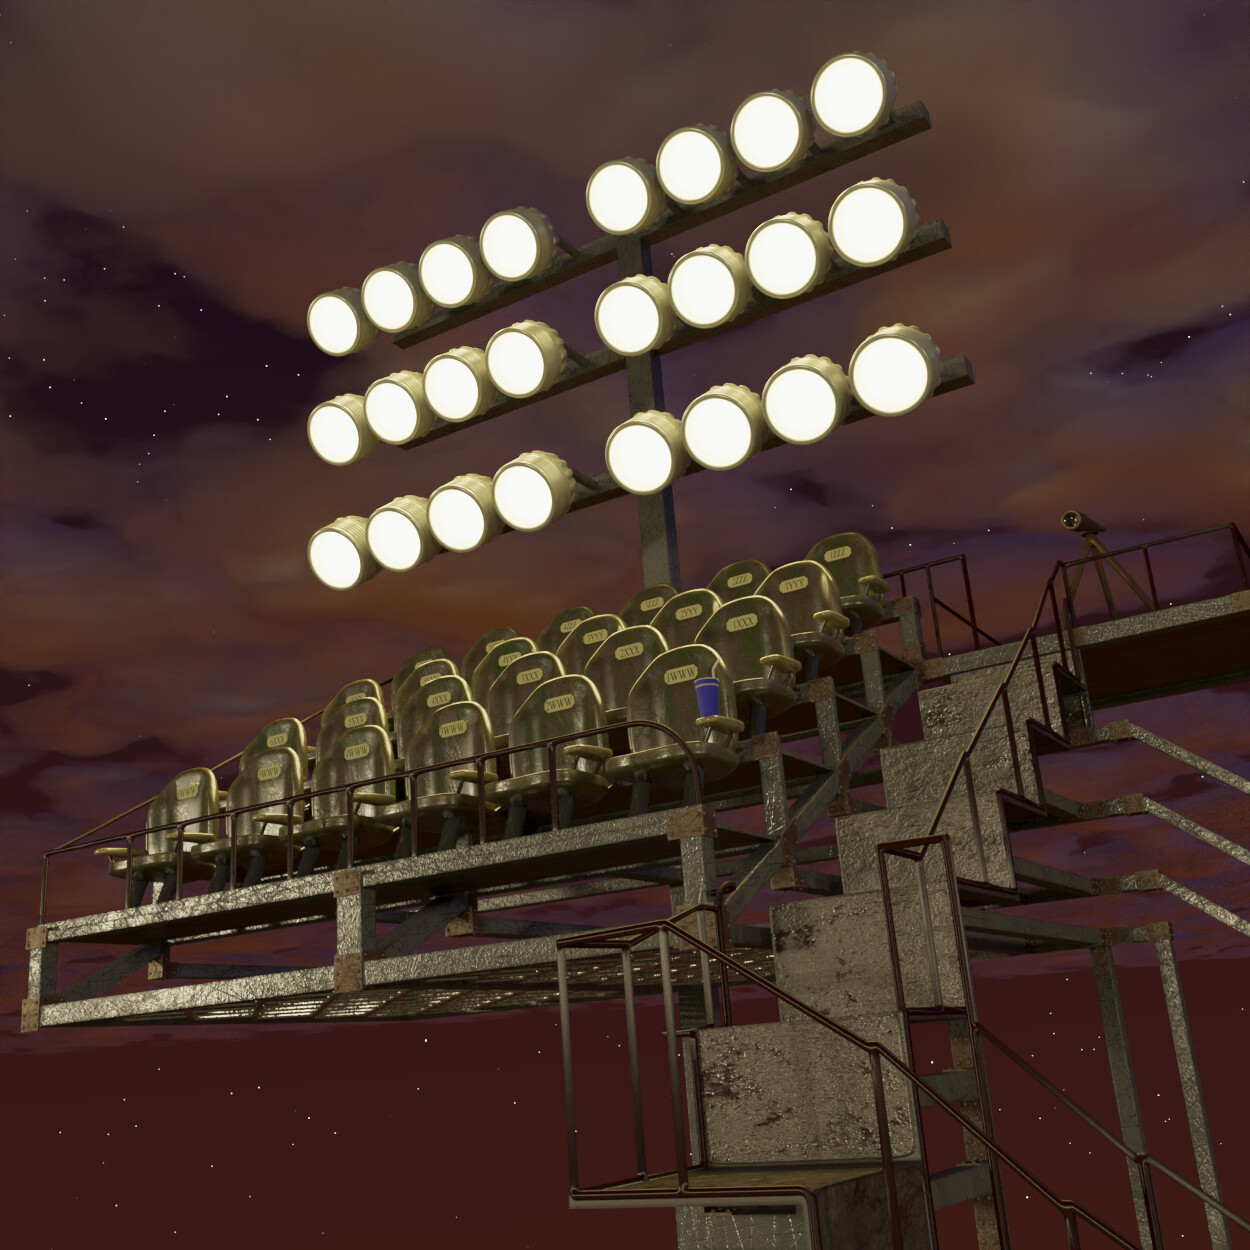
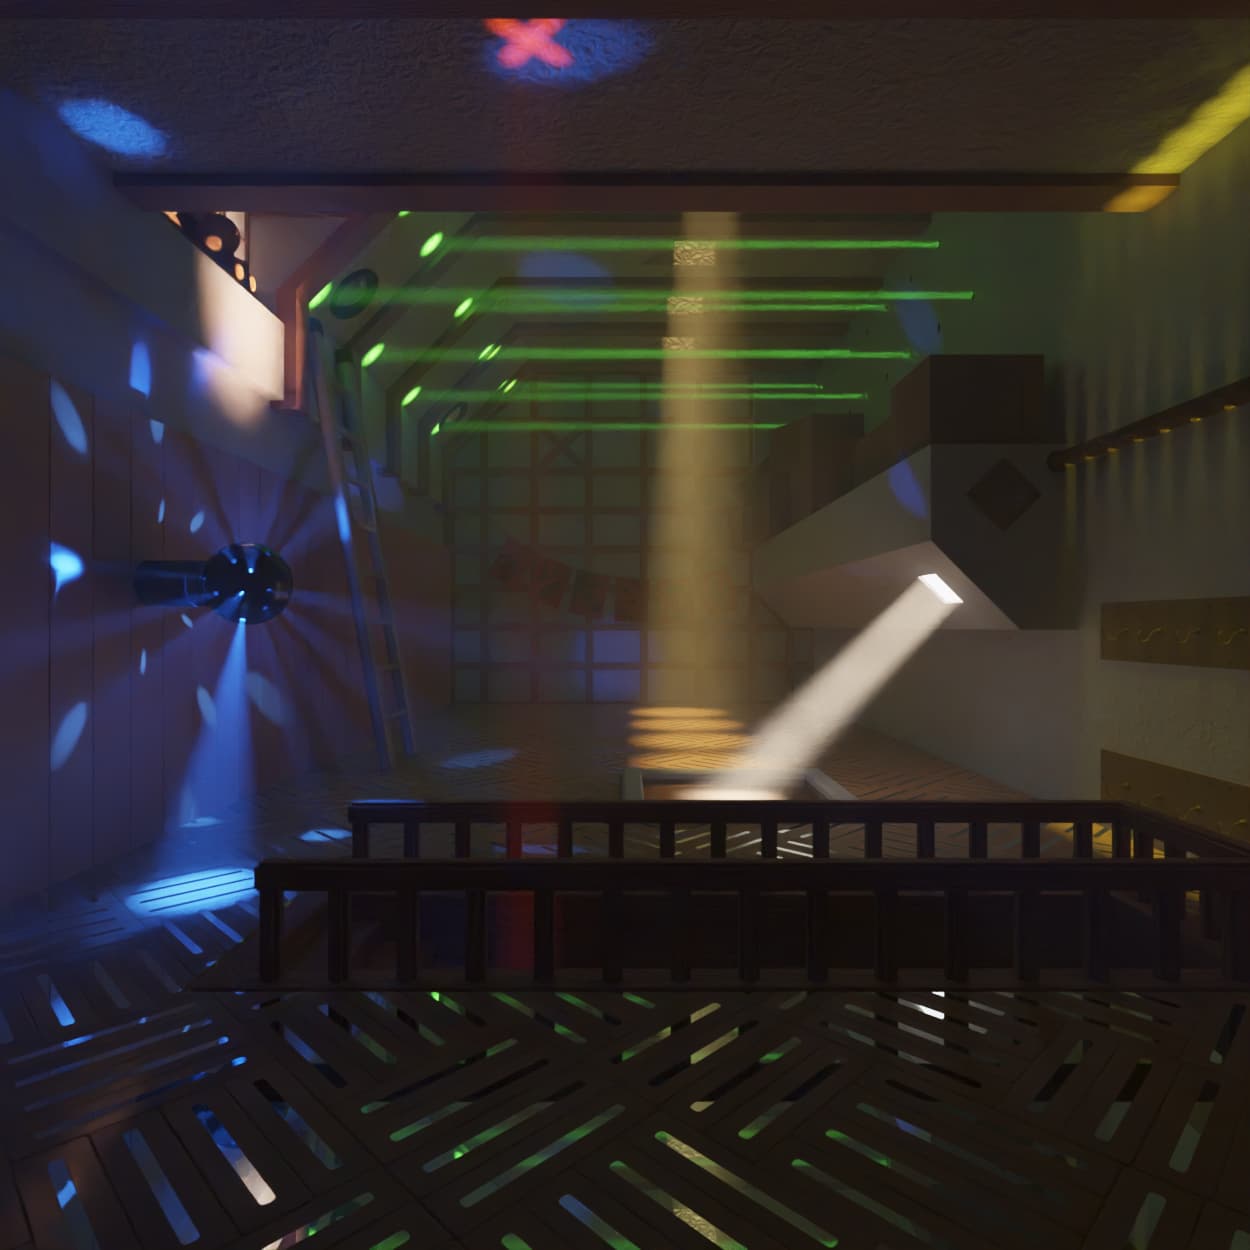
Thanks to the Light Trees GSoC branch, I was able to render out Shaft Attic with much better clarity and cleanliness in a fraction of the time it took originally (even though both version used OIDN to clean up after the render).
There are other changes, the tonemapping was improved, the integrator was switched to plain path tracing, and the saturation of a few lights were fixed. The sampling was good enough that it took very little work in post to fix up a couple of spots.
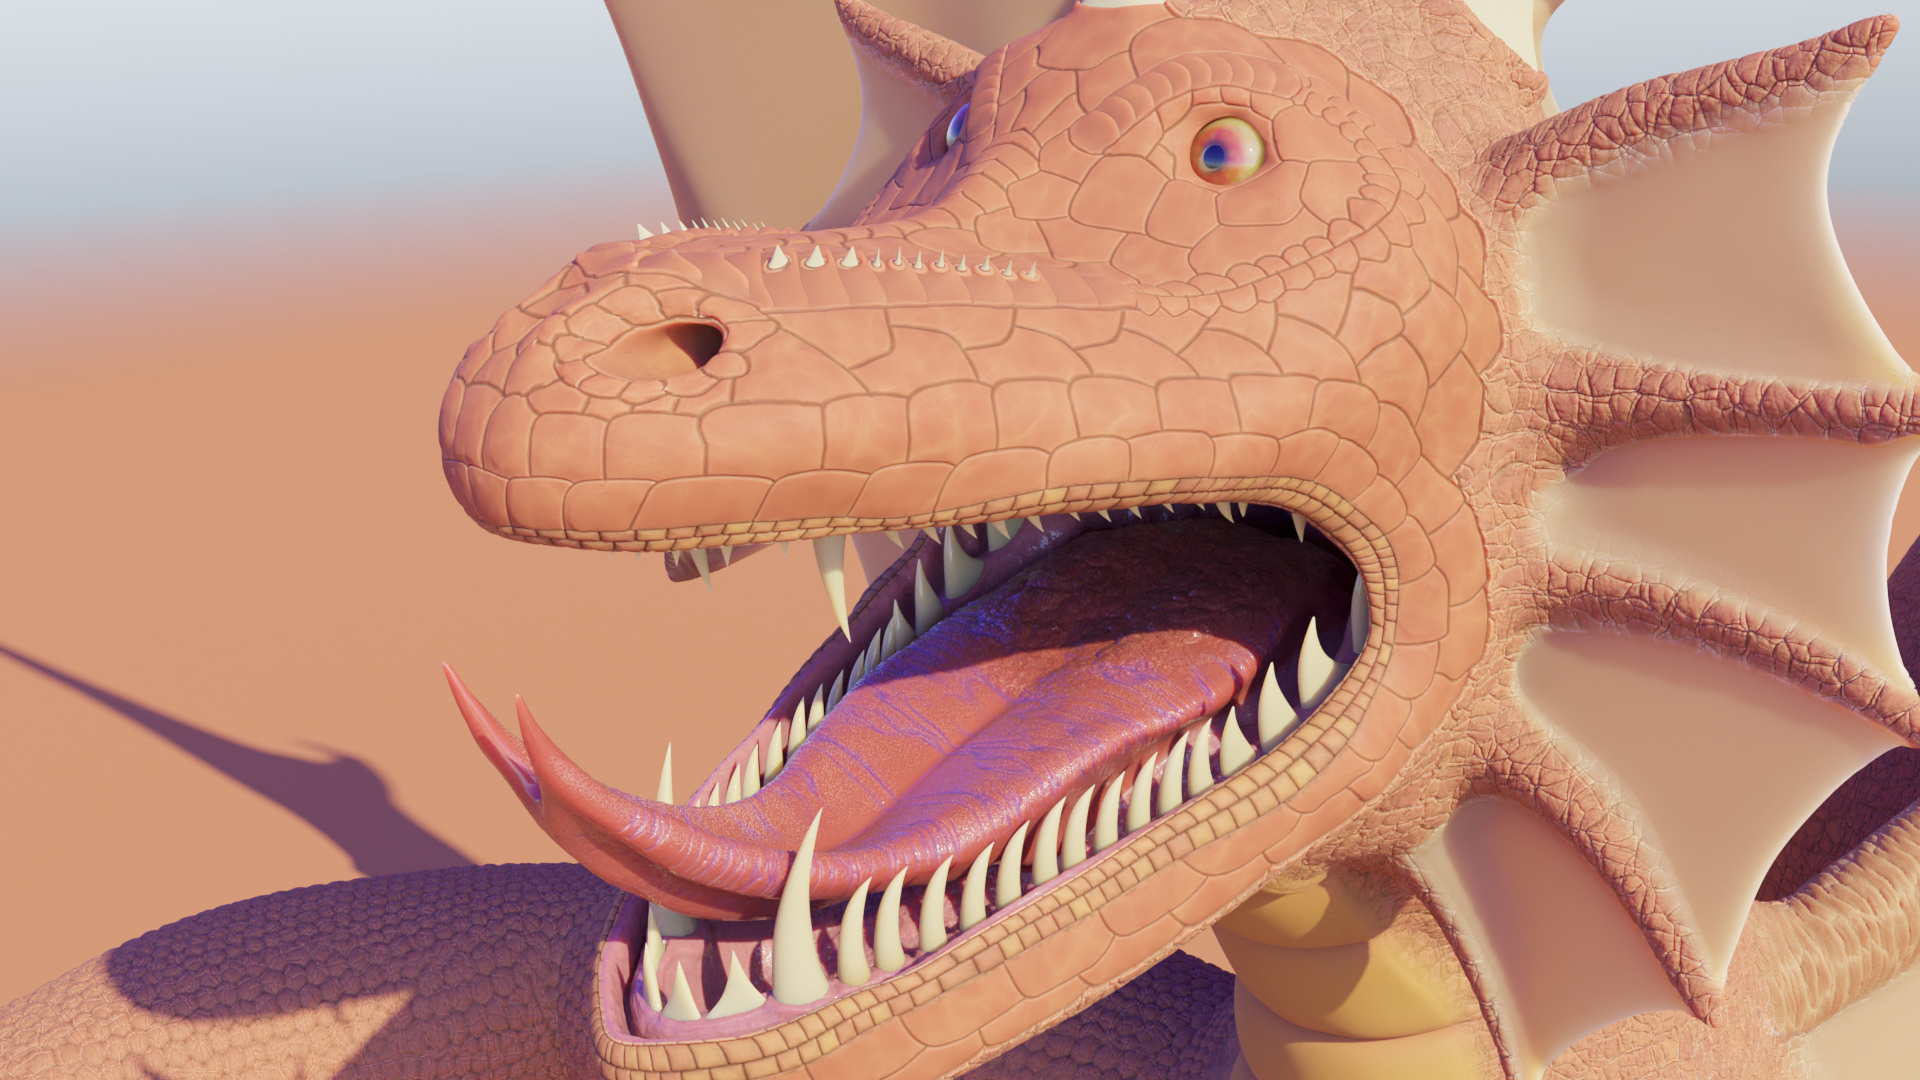
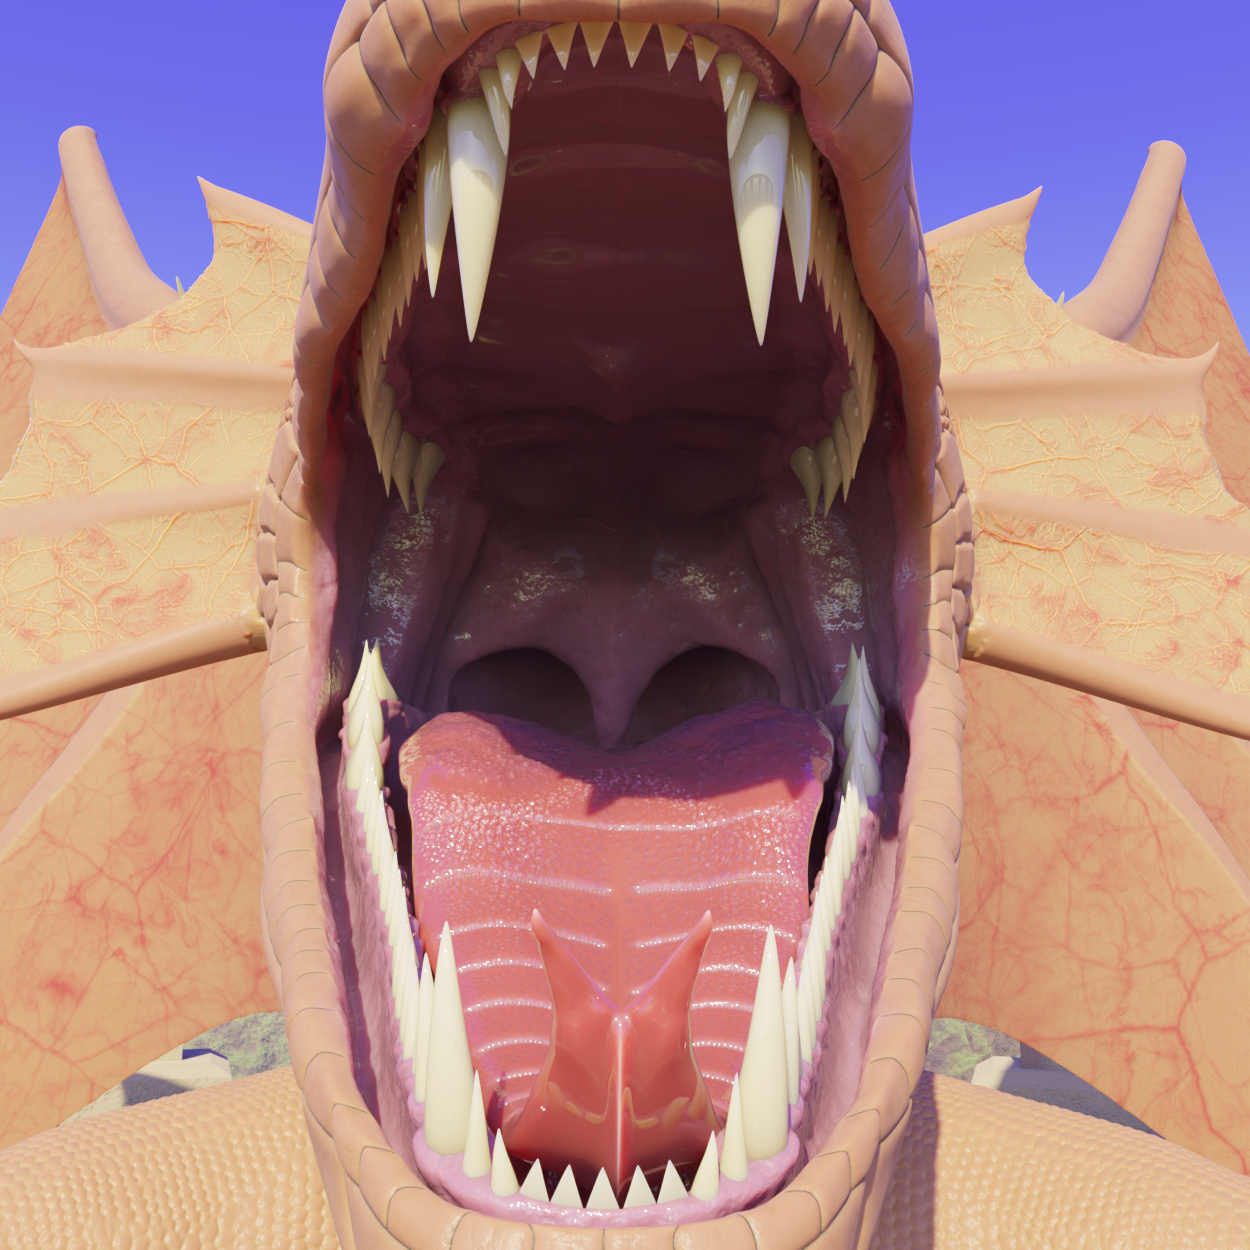
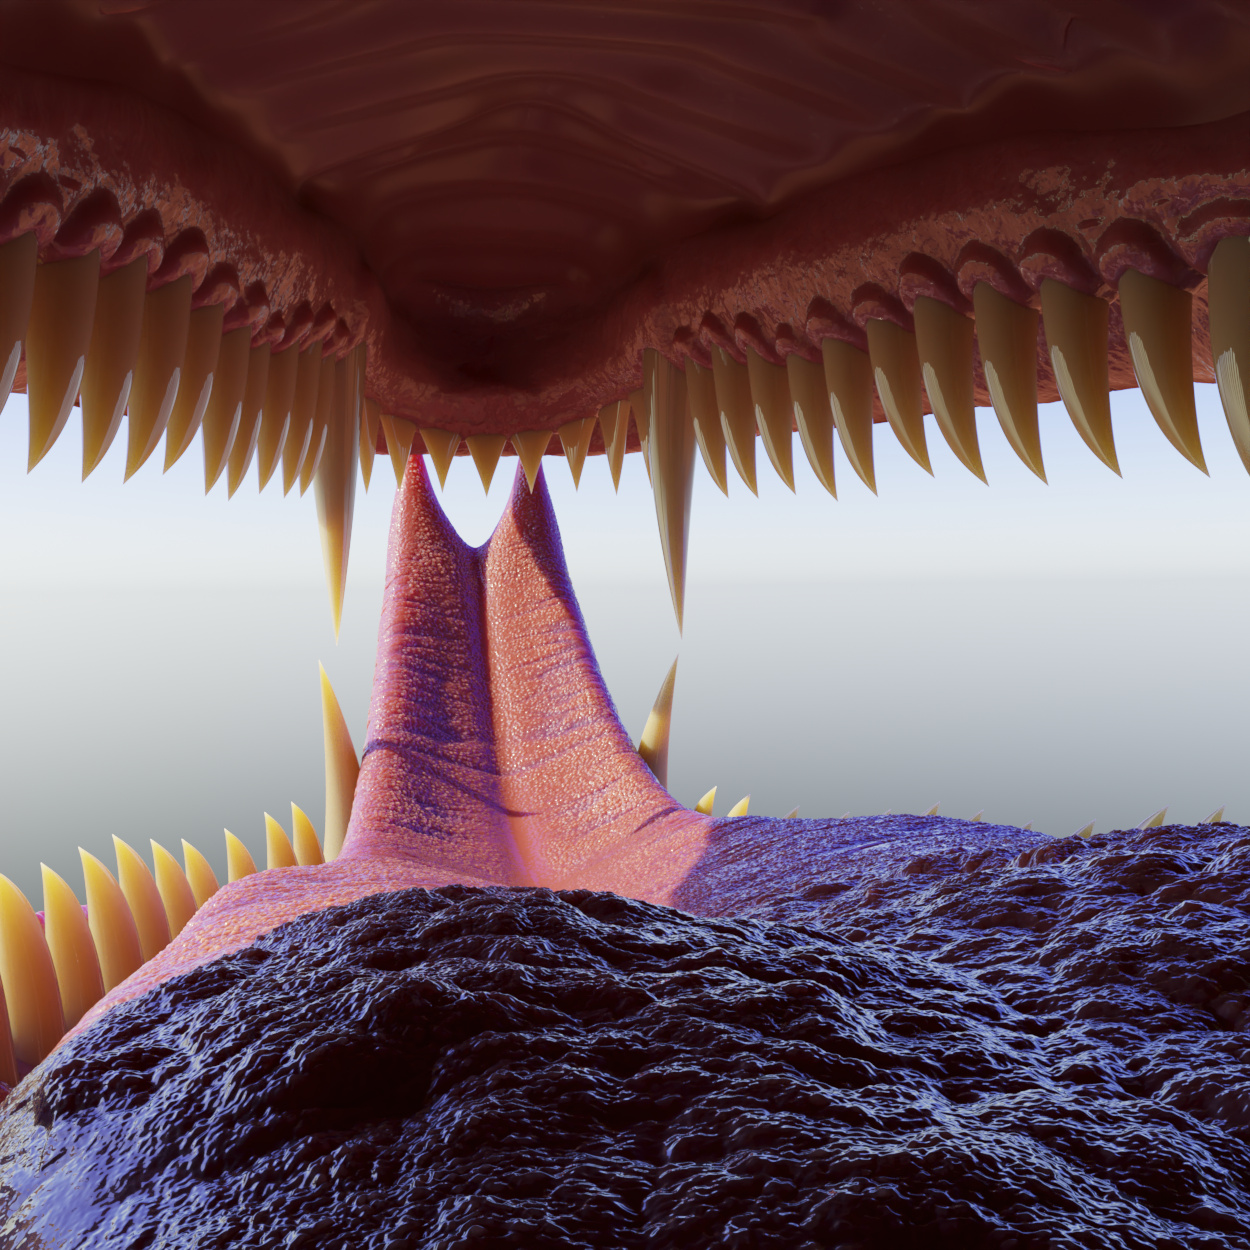
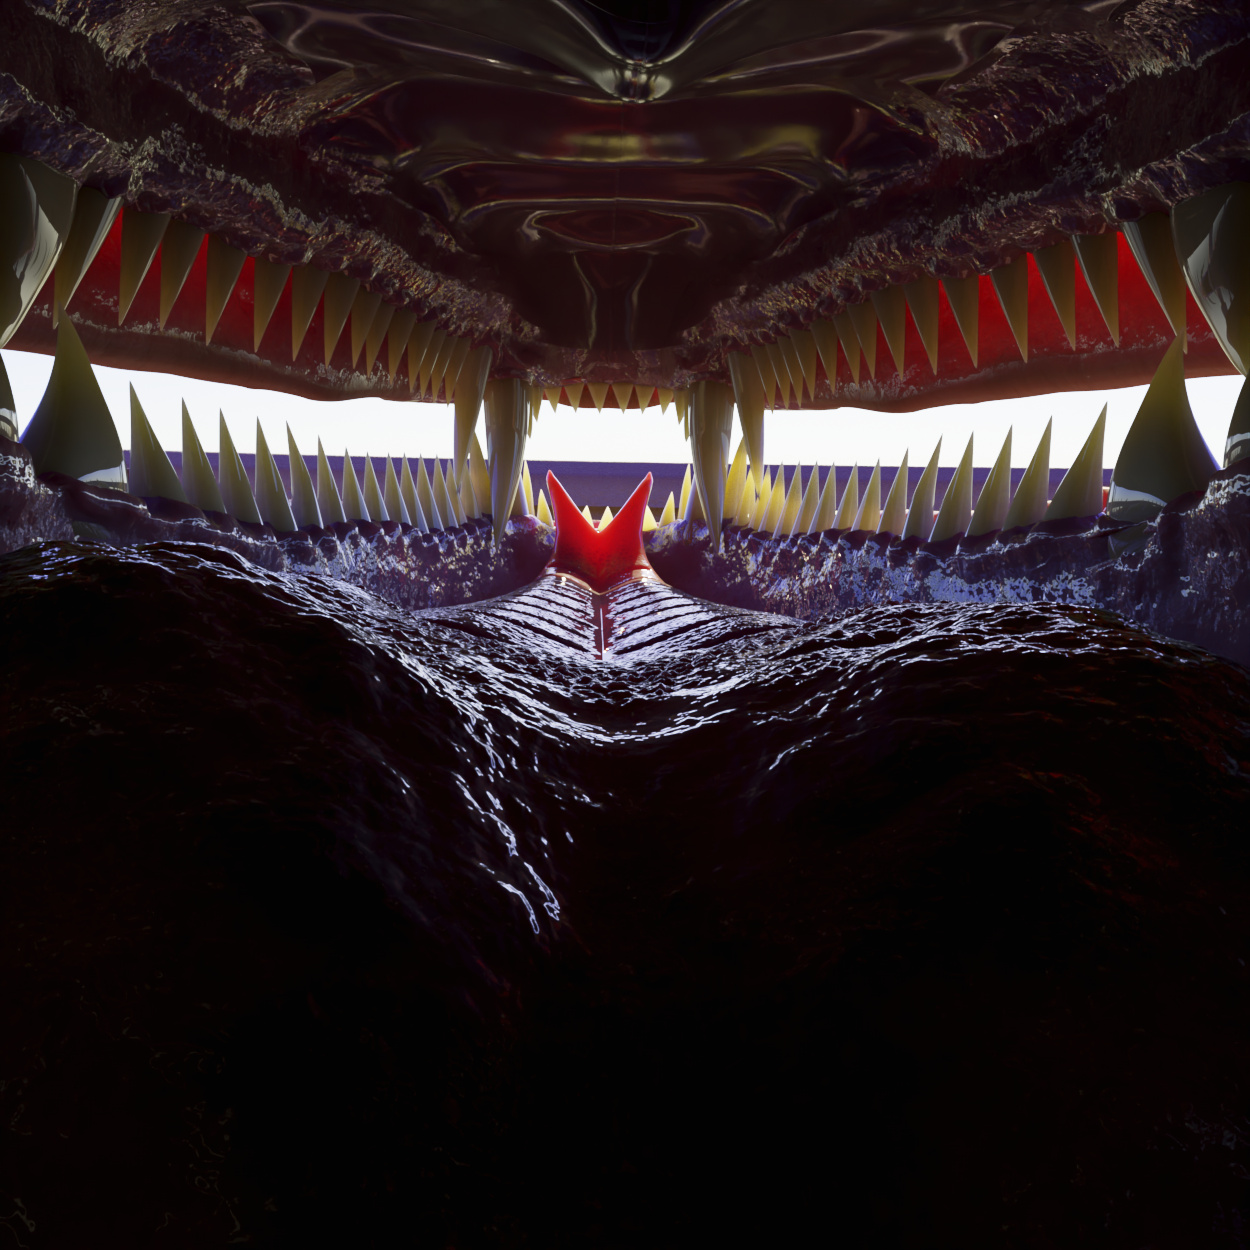
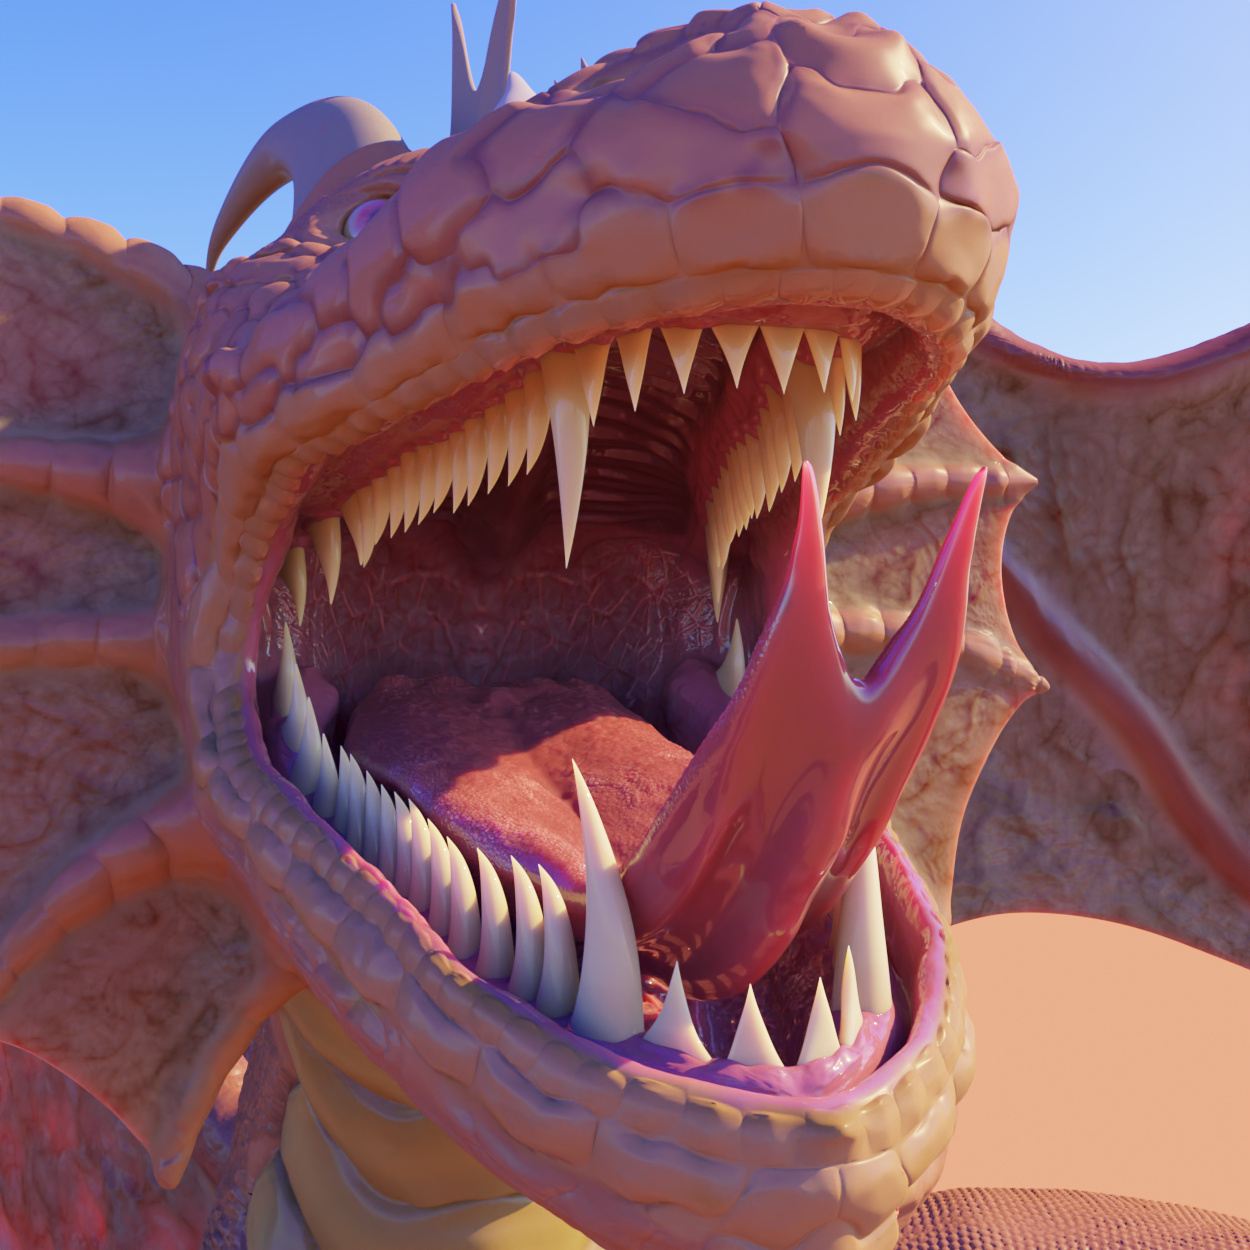
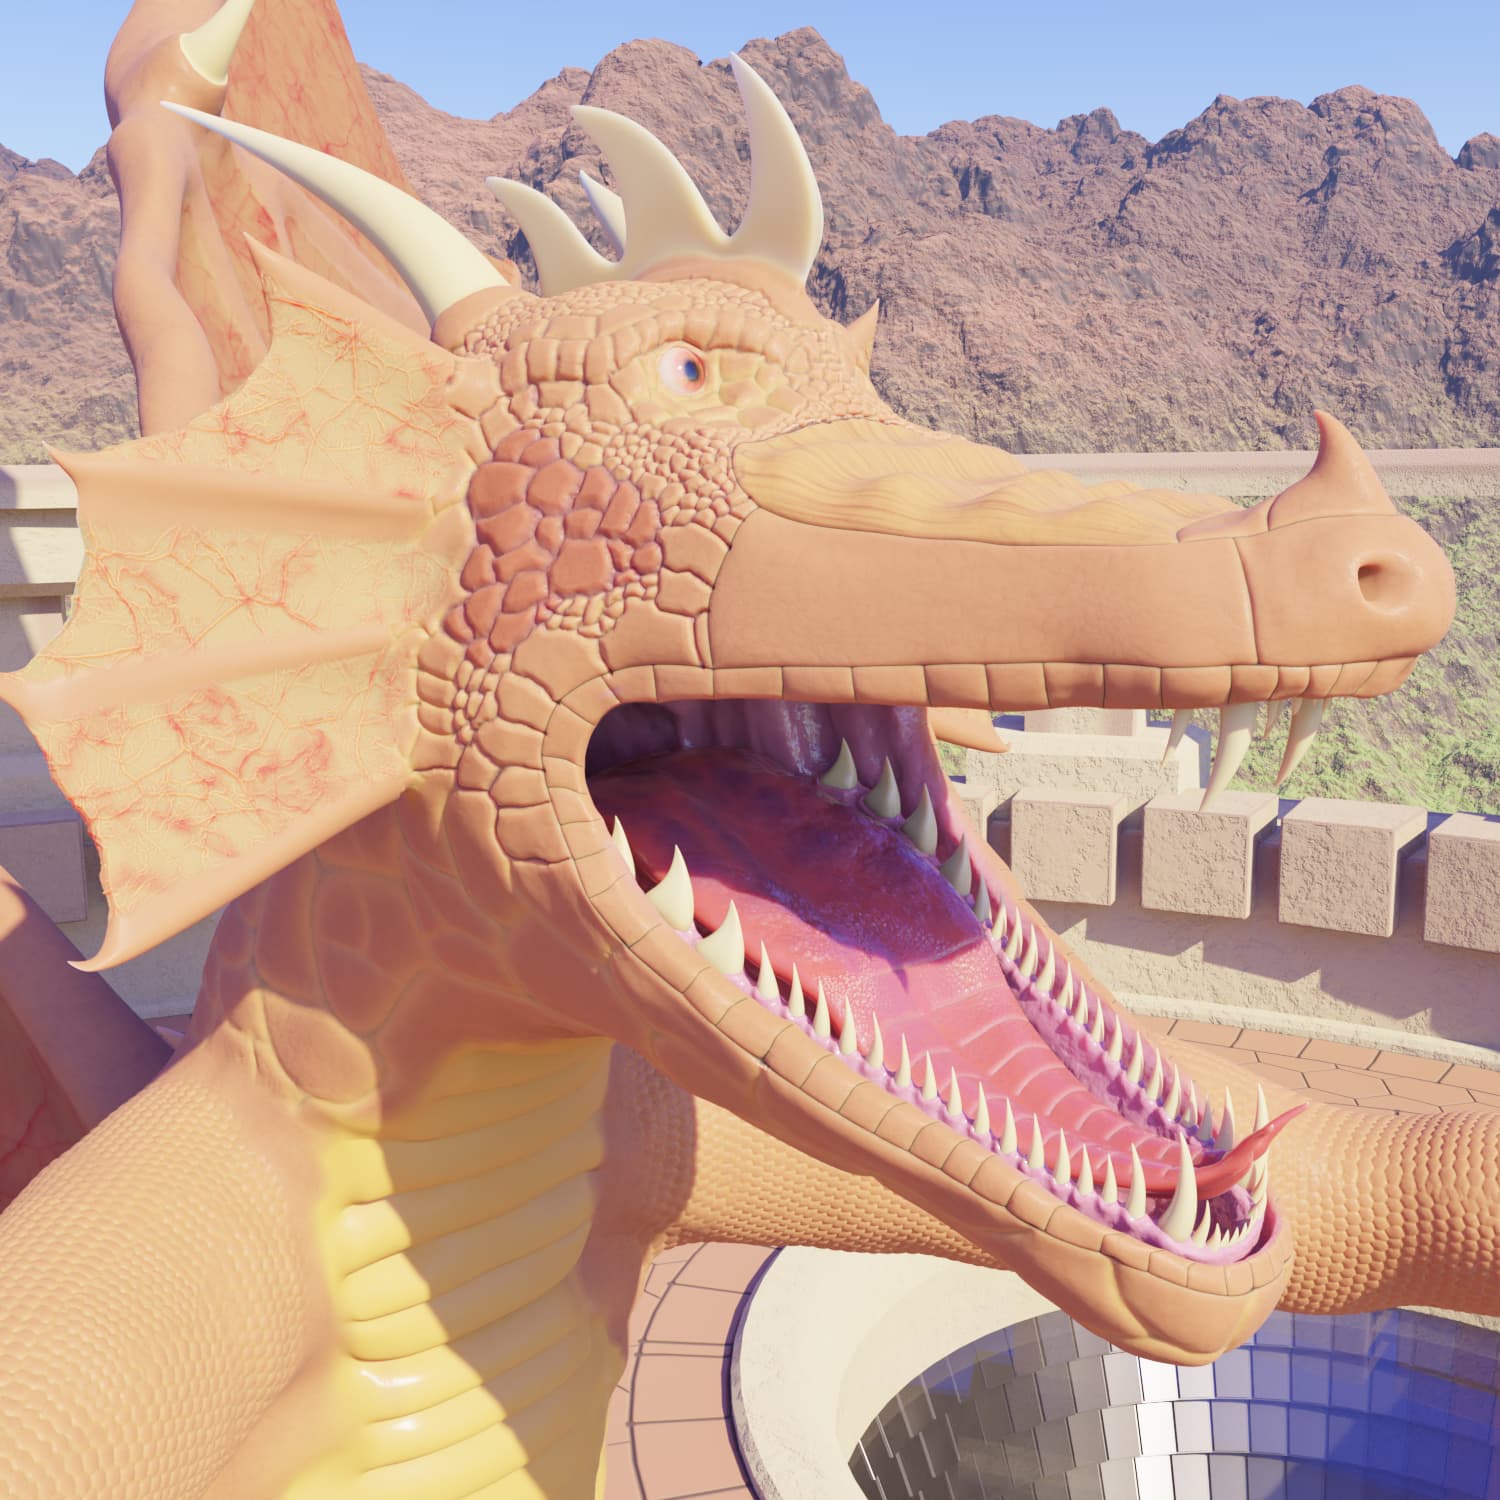
With the new sky model (with edits) combined with OIDN 1.2, combined with yet another tonemap tweak, I managed to create the most realistic revisions yet of my Dragon models (as they contain things like improved contrast and color). The first one does not have the experimental sculpt work though (as I find the method I use now may mean more complex shading, but overall more leaves a lot more room to change things non-destructively).
Compared to the original revisions, it is almost like you could see yourself meeting them in real life now, until you realize they are carnivorous and might be hungry.
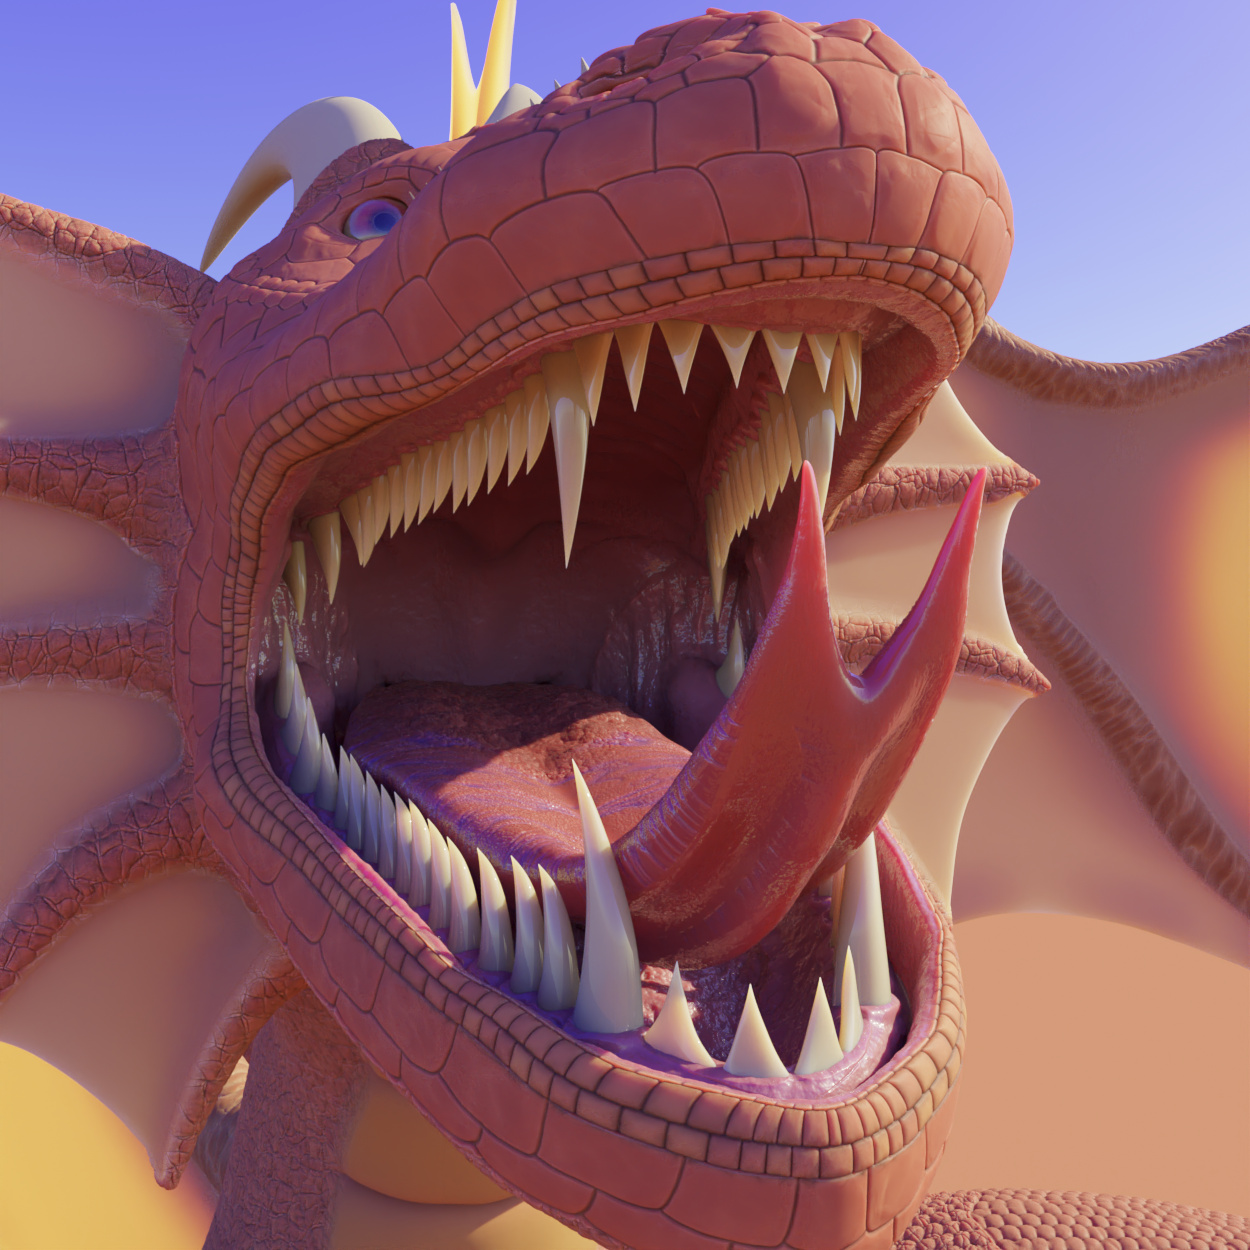
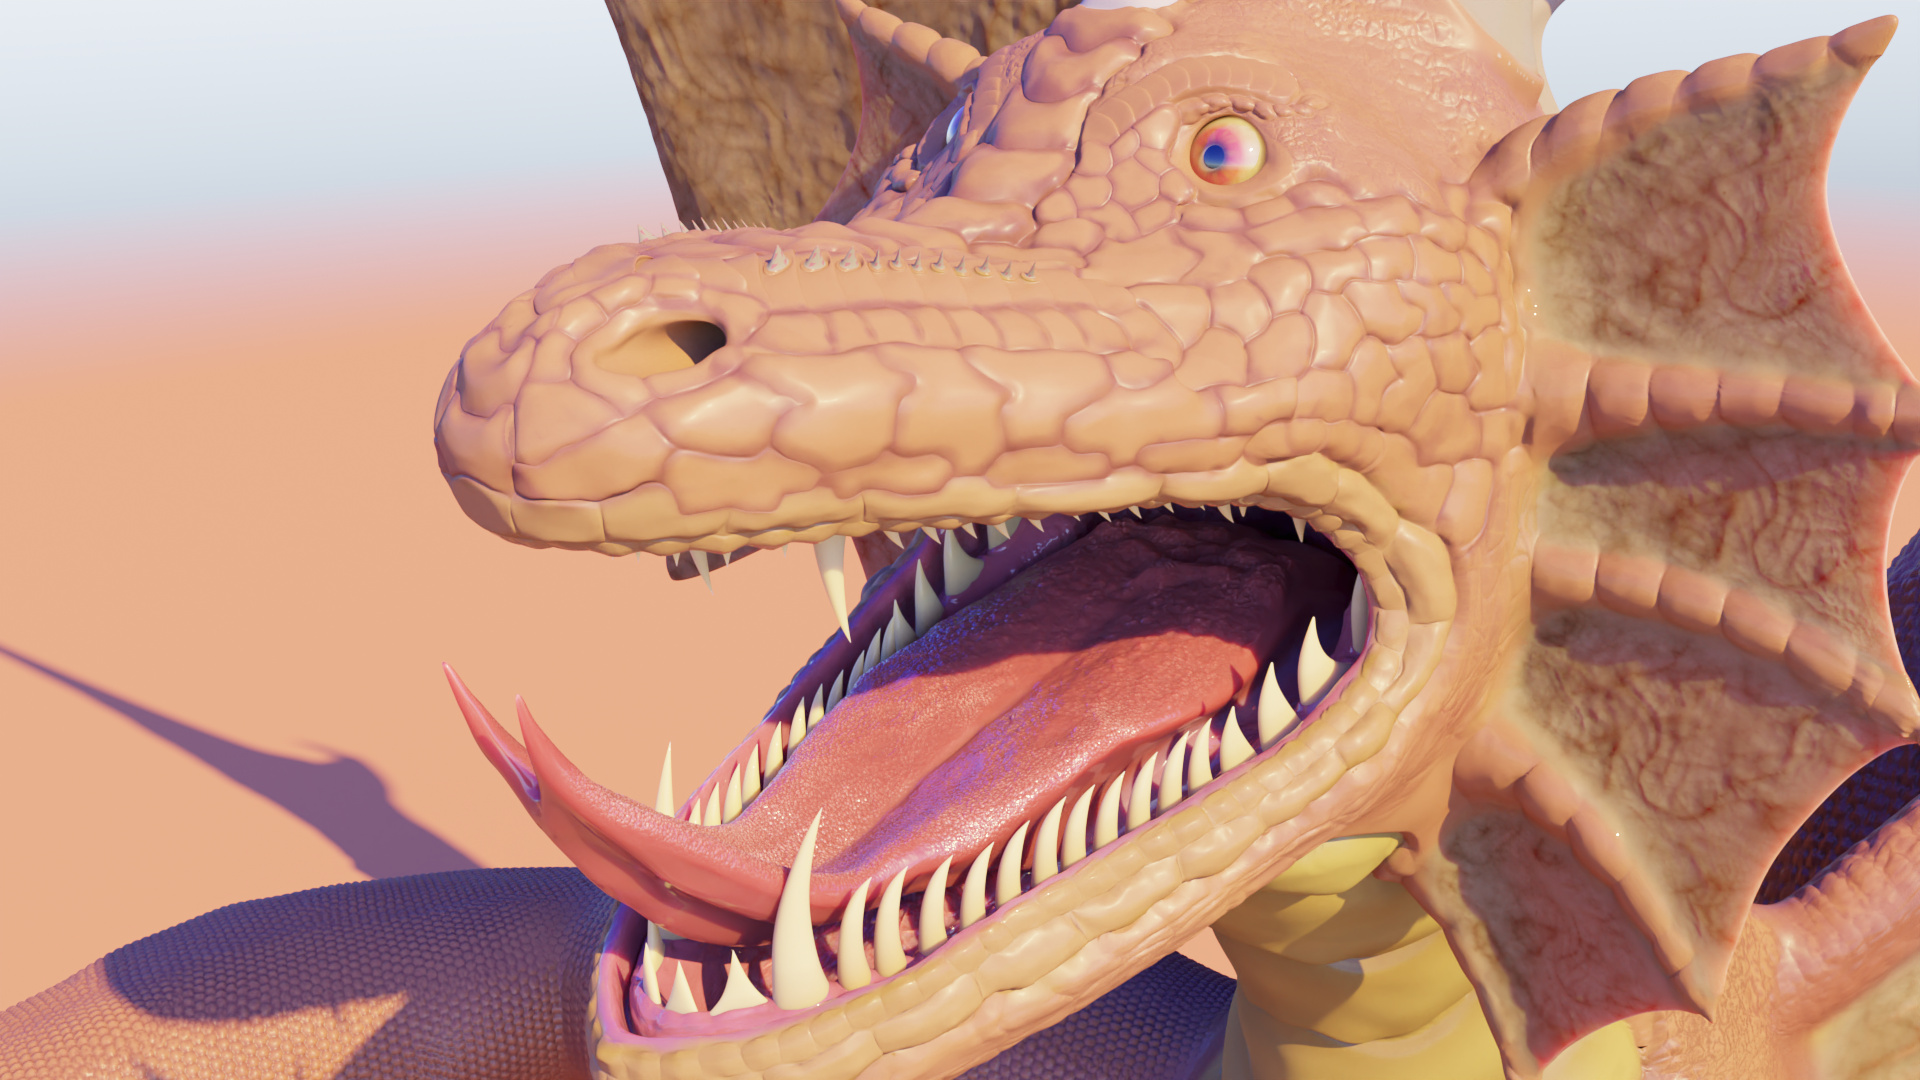
I finally got the sculpted version of my Dragon model to where the renders are looking passable (even though there’s plenty of room for improvement yet).
In addition, the last few months has seen me rendering further improved versions of existing images using the ‘final’ tonemap, and made a lot cleaner with adaptive sampling and IODN denoising (not to mention the new sky).
Sometimes the difference is a bit more subtle, but all of the above images had a boost. The advances Cycles has made has helped me iterate faster than ever (even with the higher resolution).
Continuing to make the portfolio of Cycles images more consistent in terms of quality, along with the bump in resolution and the general shading/detail enhancement.
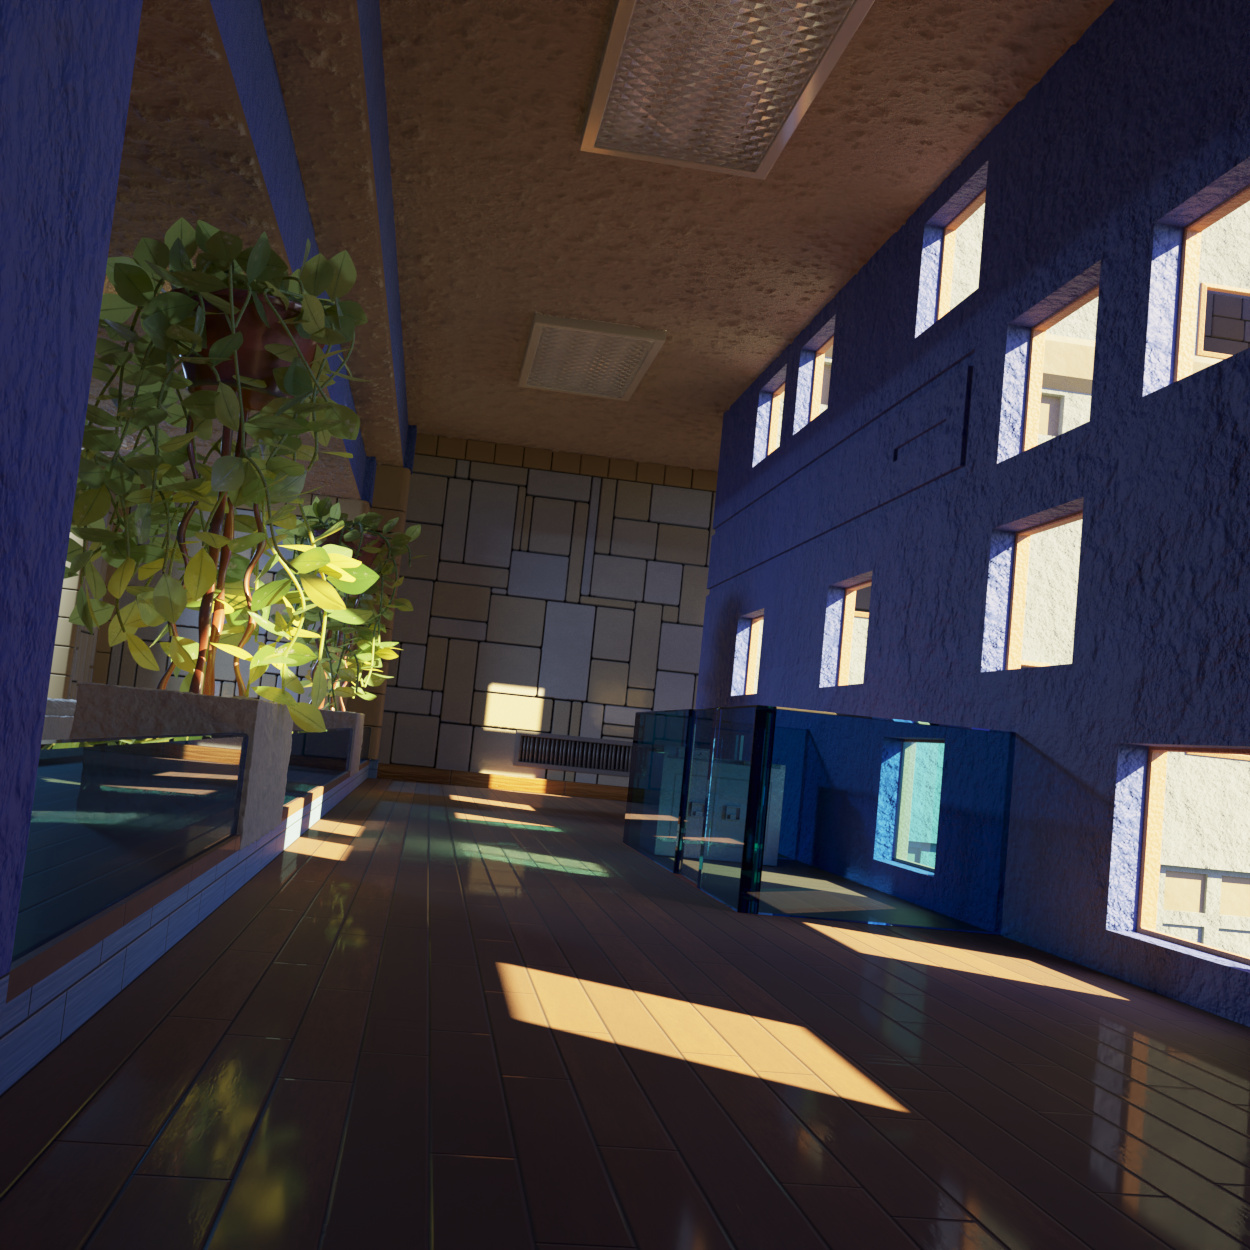
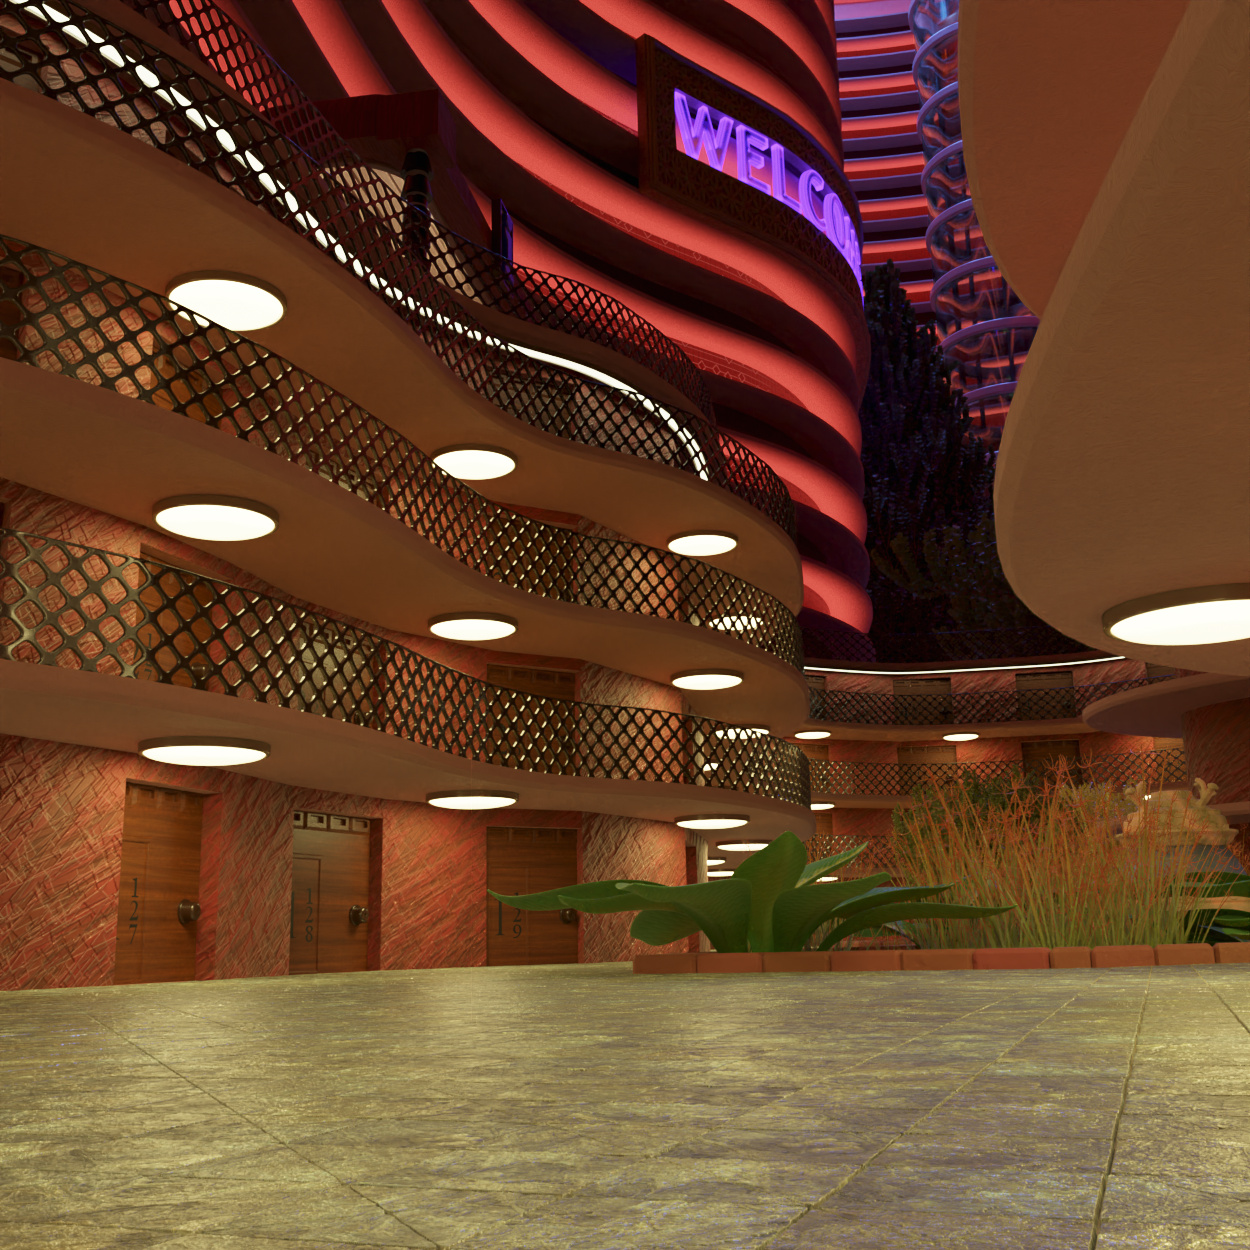
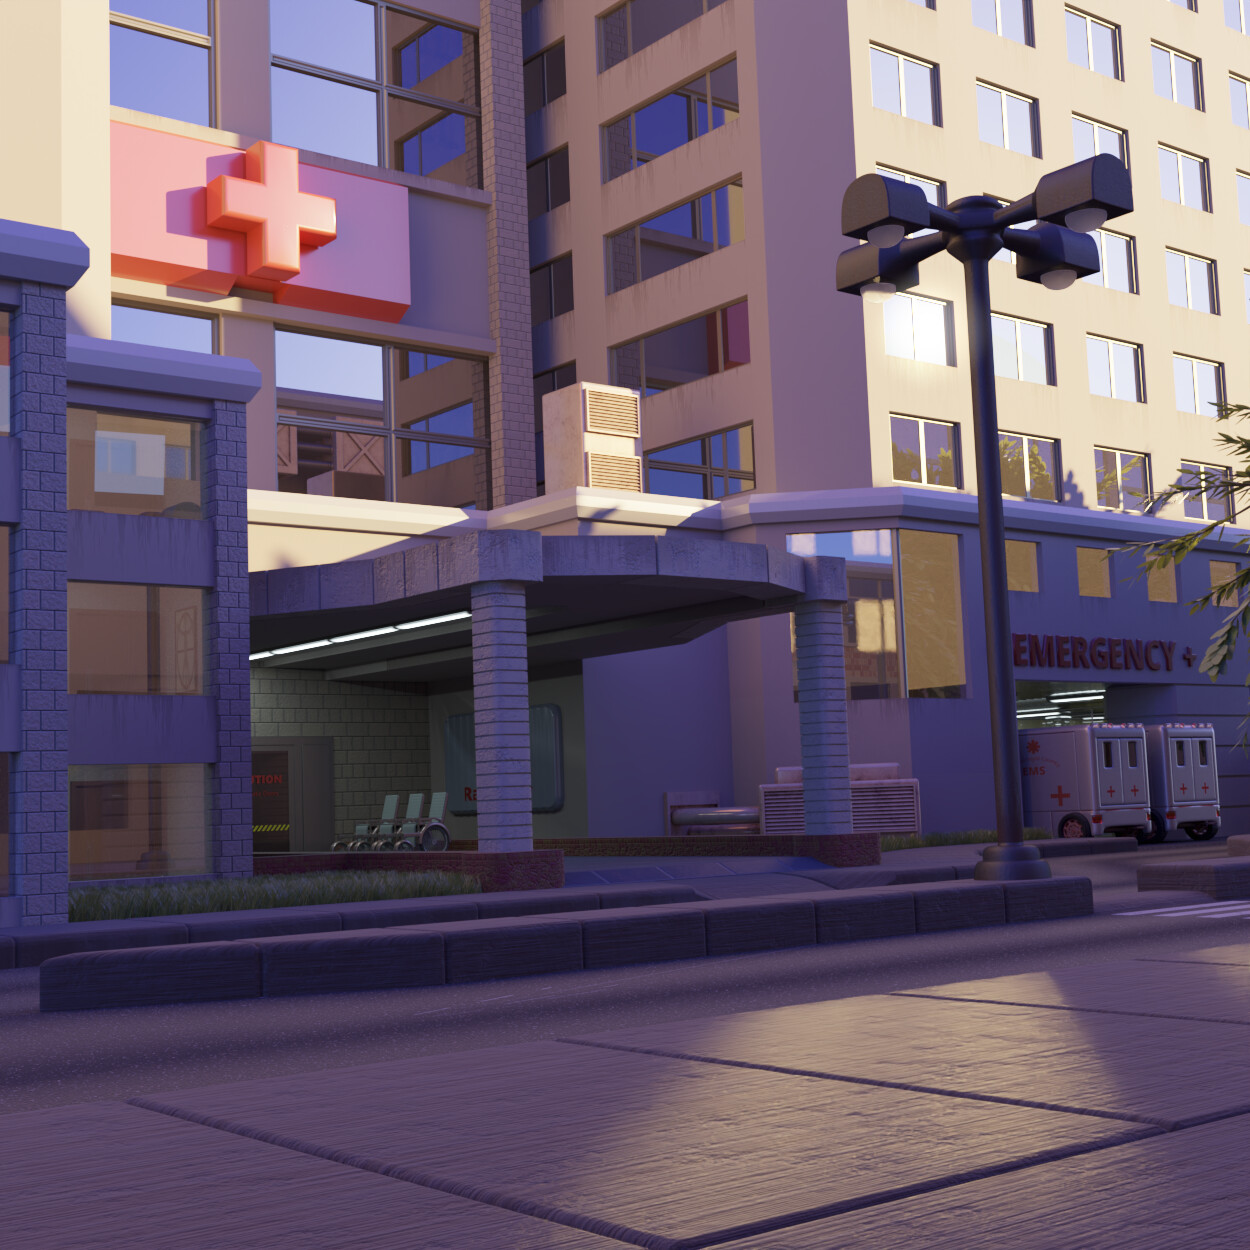
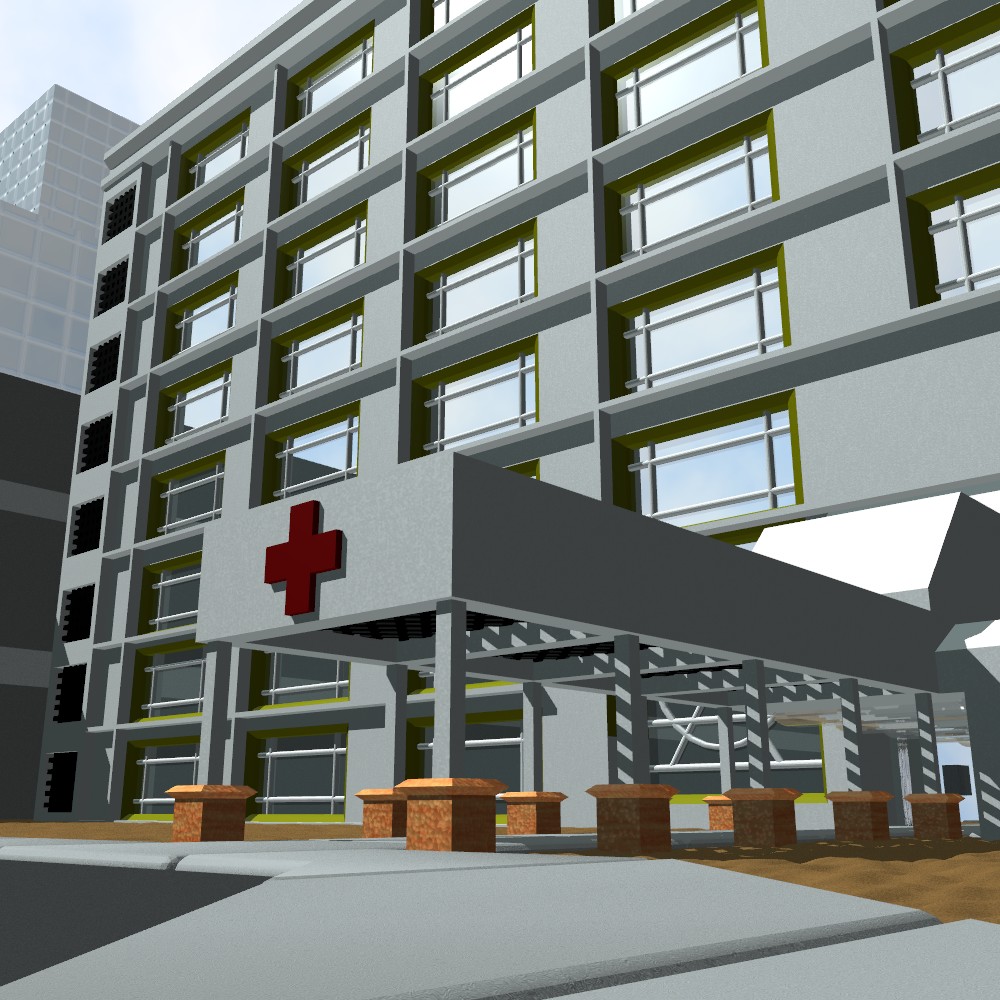
Yes, a brand new image and not an enhancement. This is a far more detailed and a far higher quality rendition of one of my earliest ideas, which was an image of a hospital. I also can’t stress enough how important Cycles having adaptive sampling was for the highlights on the ground, as it did in a day what would’ve taken up to ten days otherwise. I am serious about that, because adaptive sampling works with progressive refine and I can see what the remaining time stat starts at and where it ends at when stopping the render.
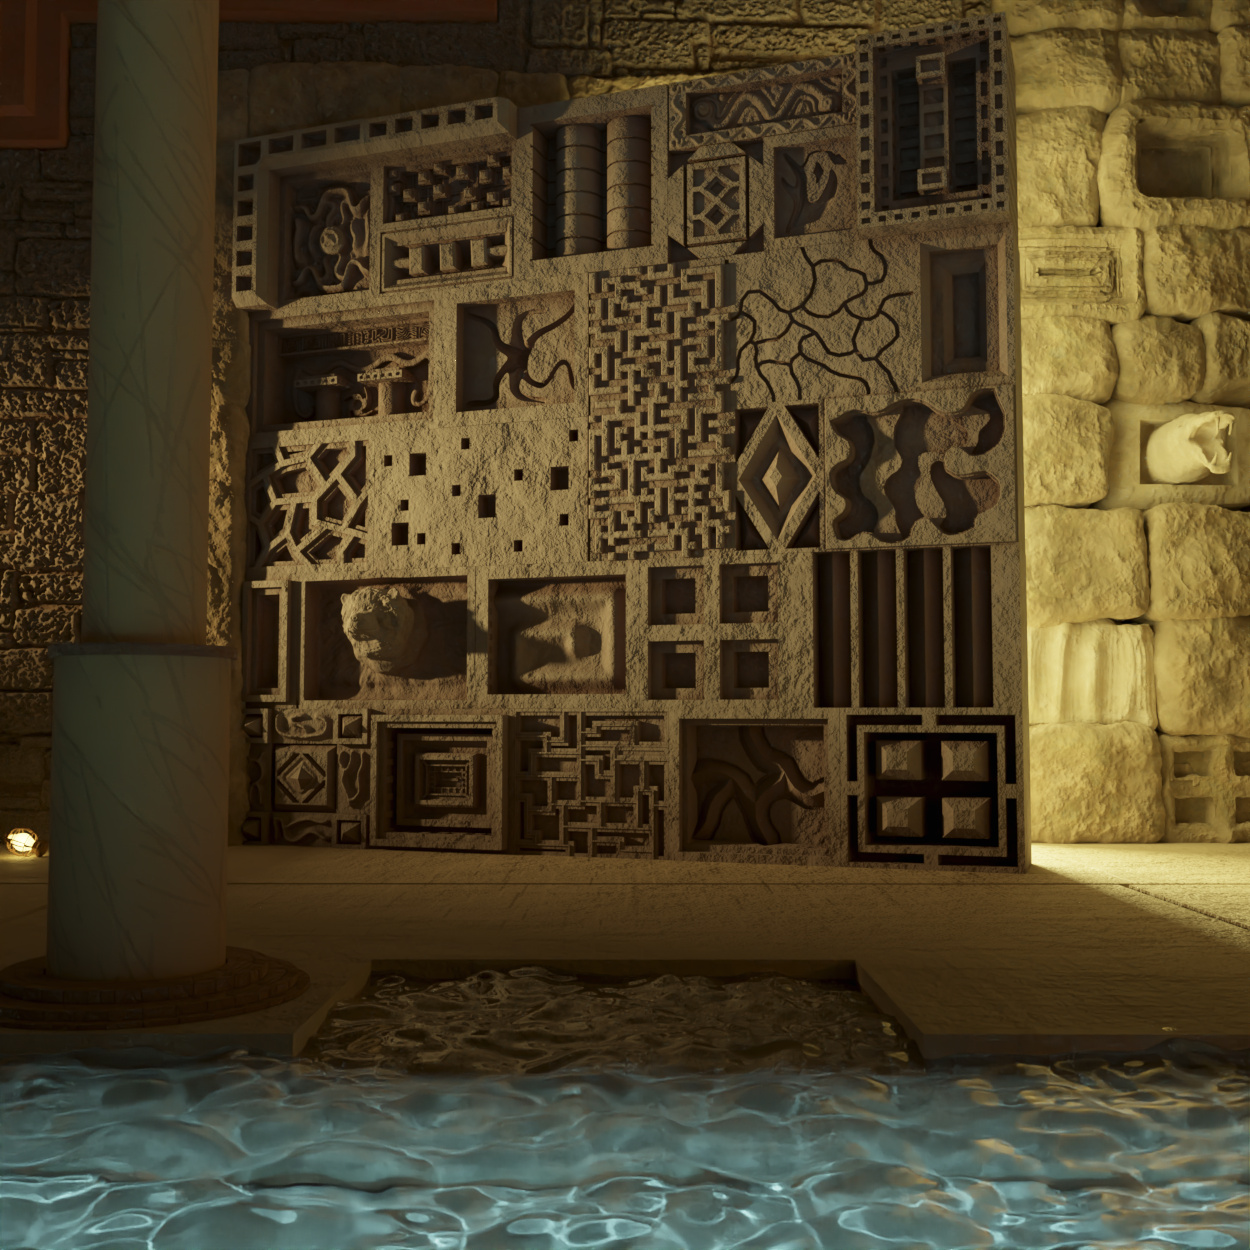
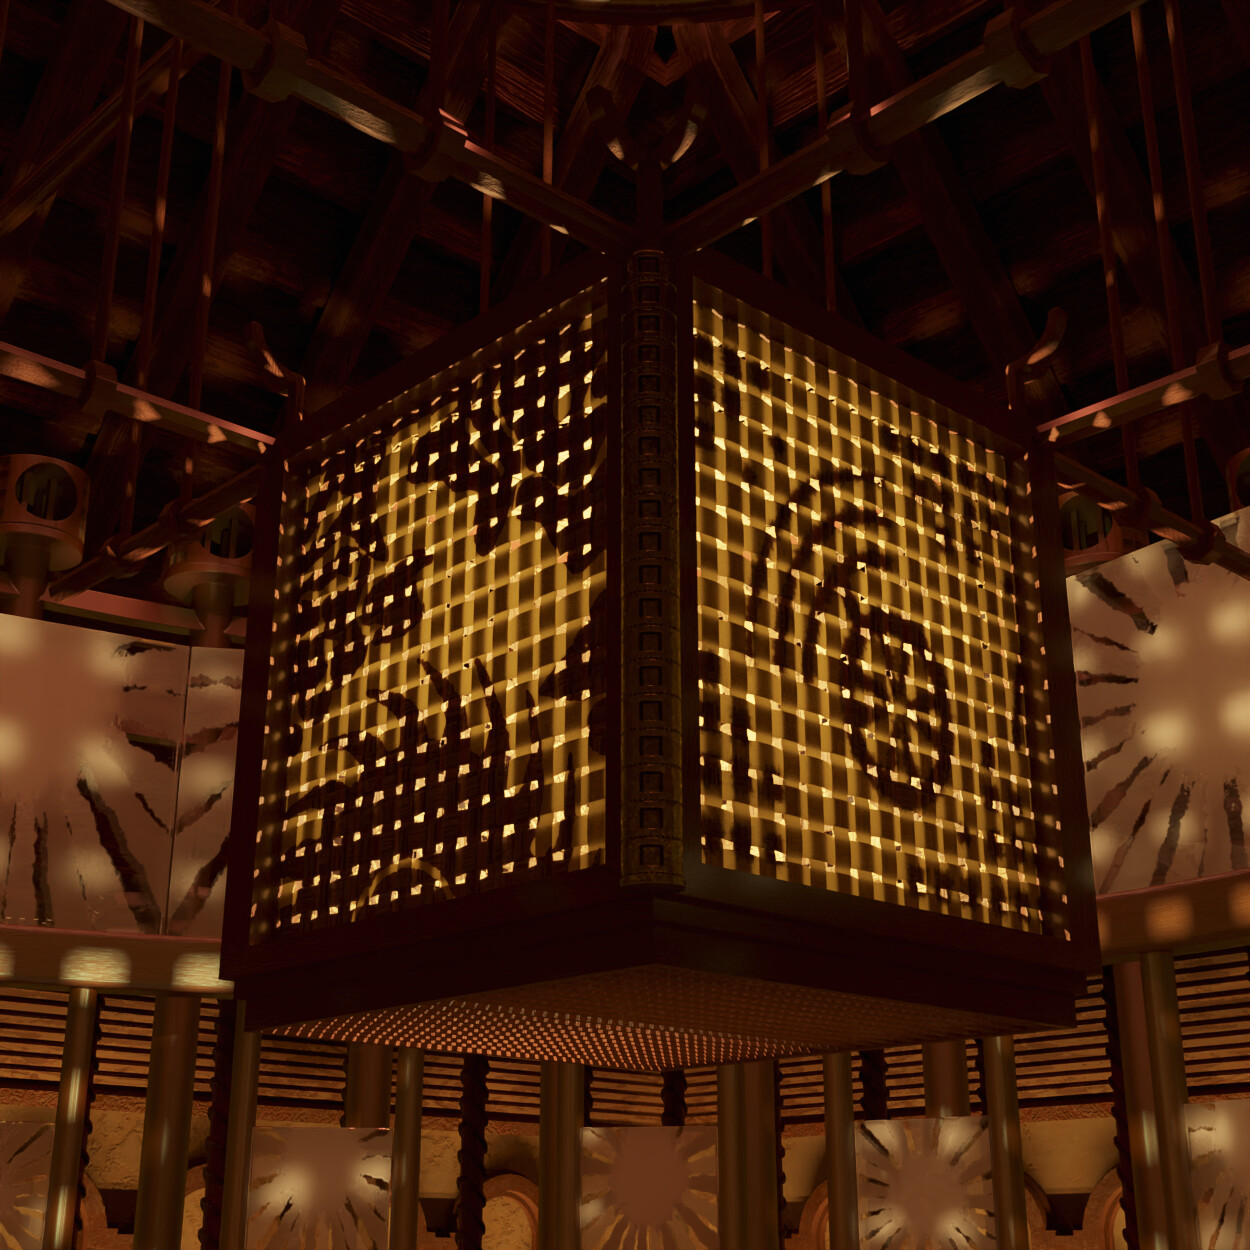
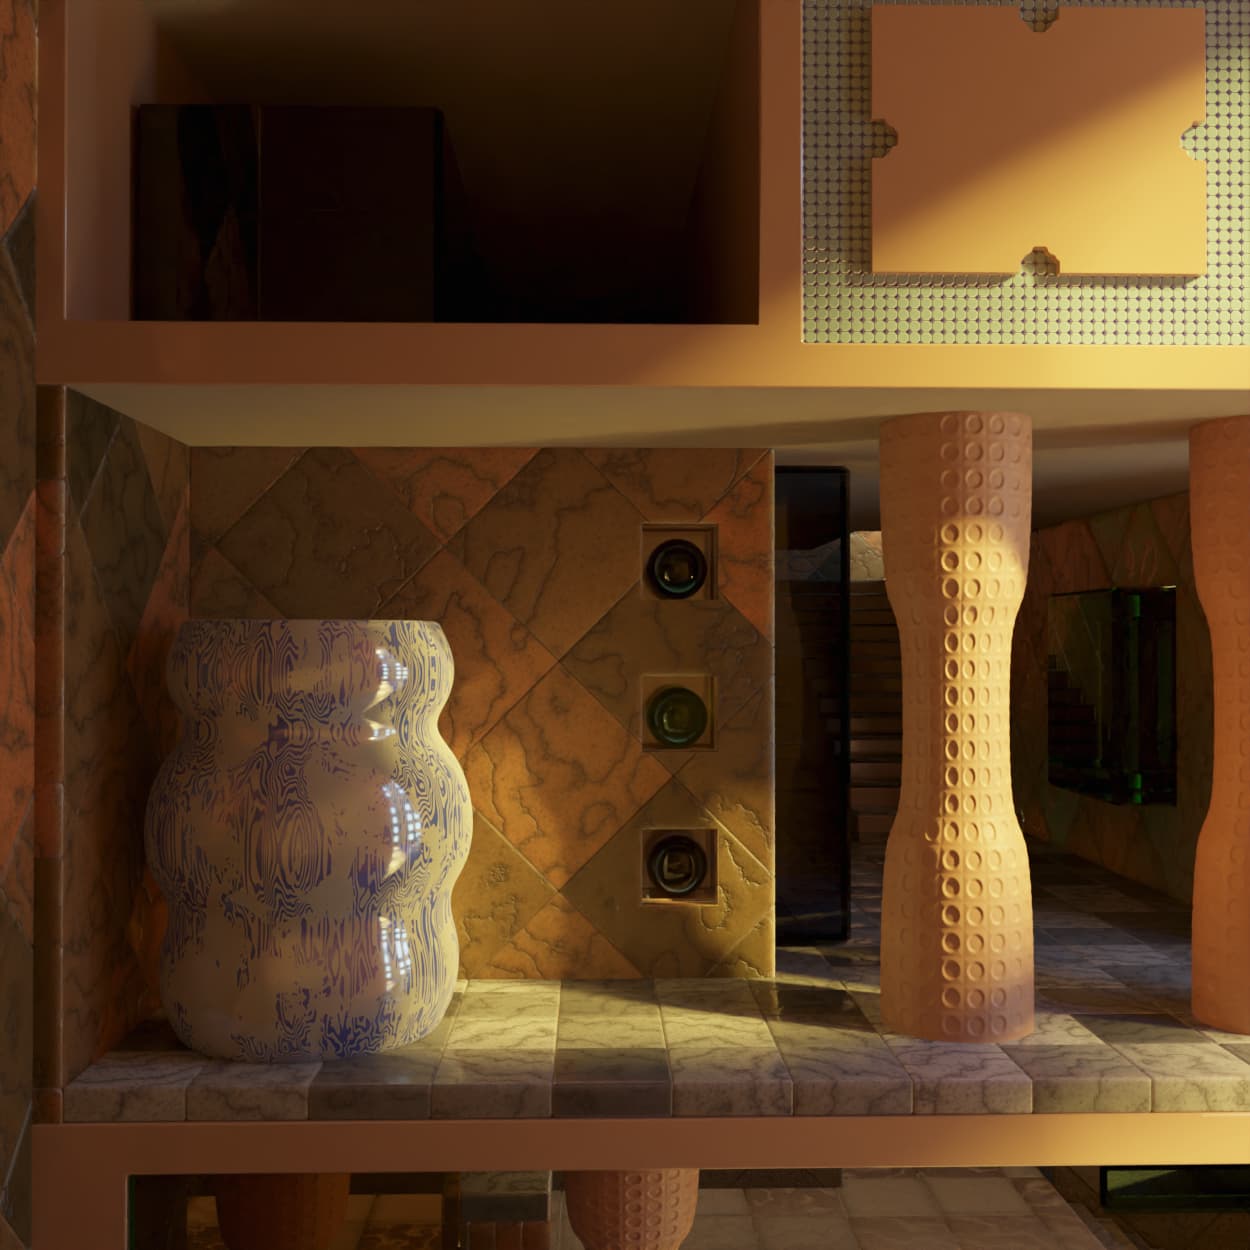
The second of three original images I have started and worked on around the same time as The Medical Complex (in other words, this was not started and completed within a few days). One of the points was to make something where other images of mine, or a version of which, could be used as textures (which I think worked very well here). As I was working on it, it came to my attention it could use a tinge of Japanese influence, since that for one thing is something I have not done very much of.
The third image is still in progress, so I wouldn’t really expect it to appear in this thread as quickly as this one.
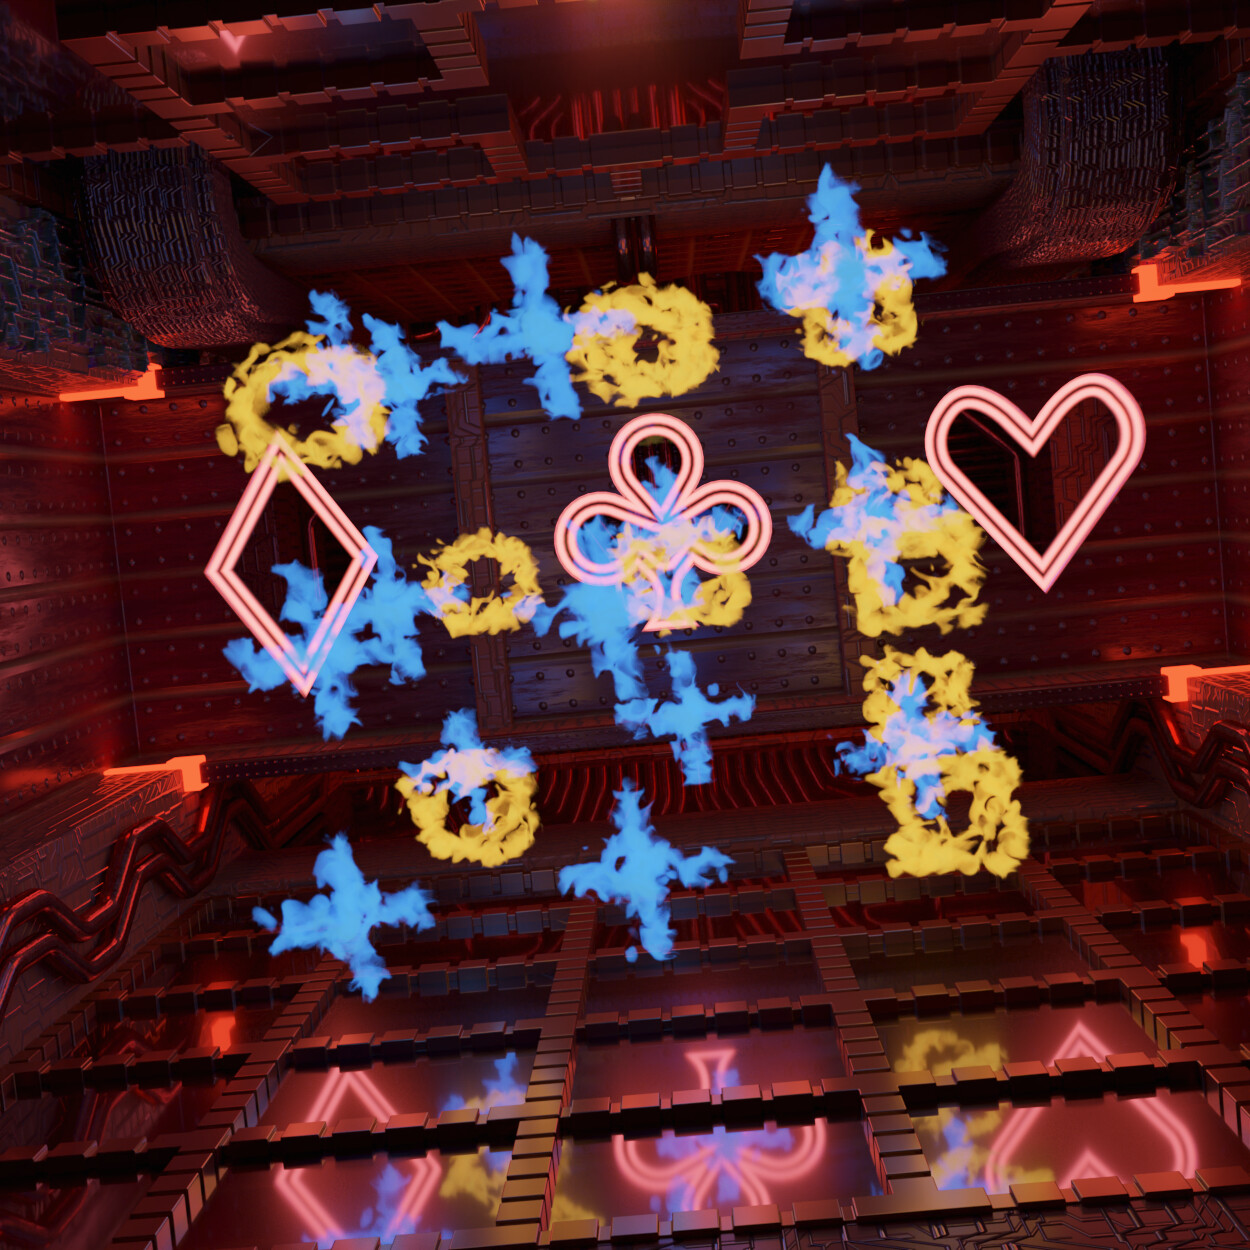
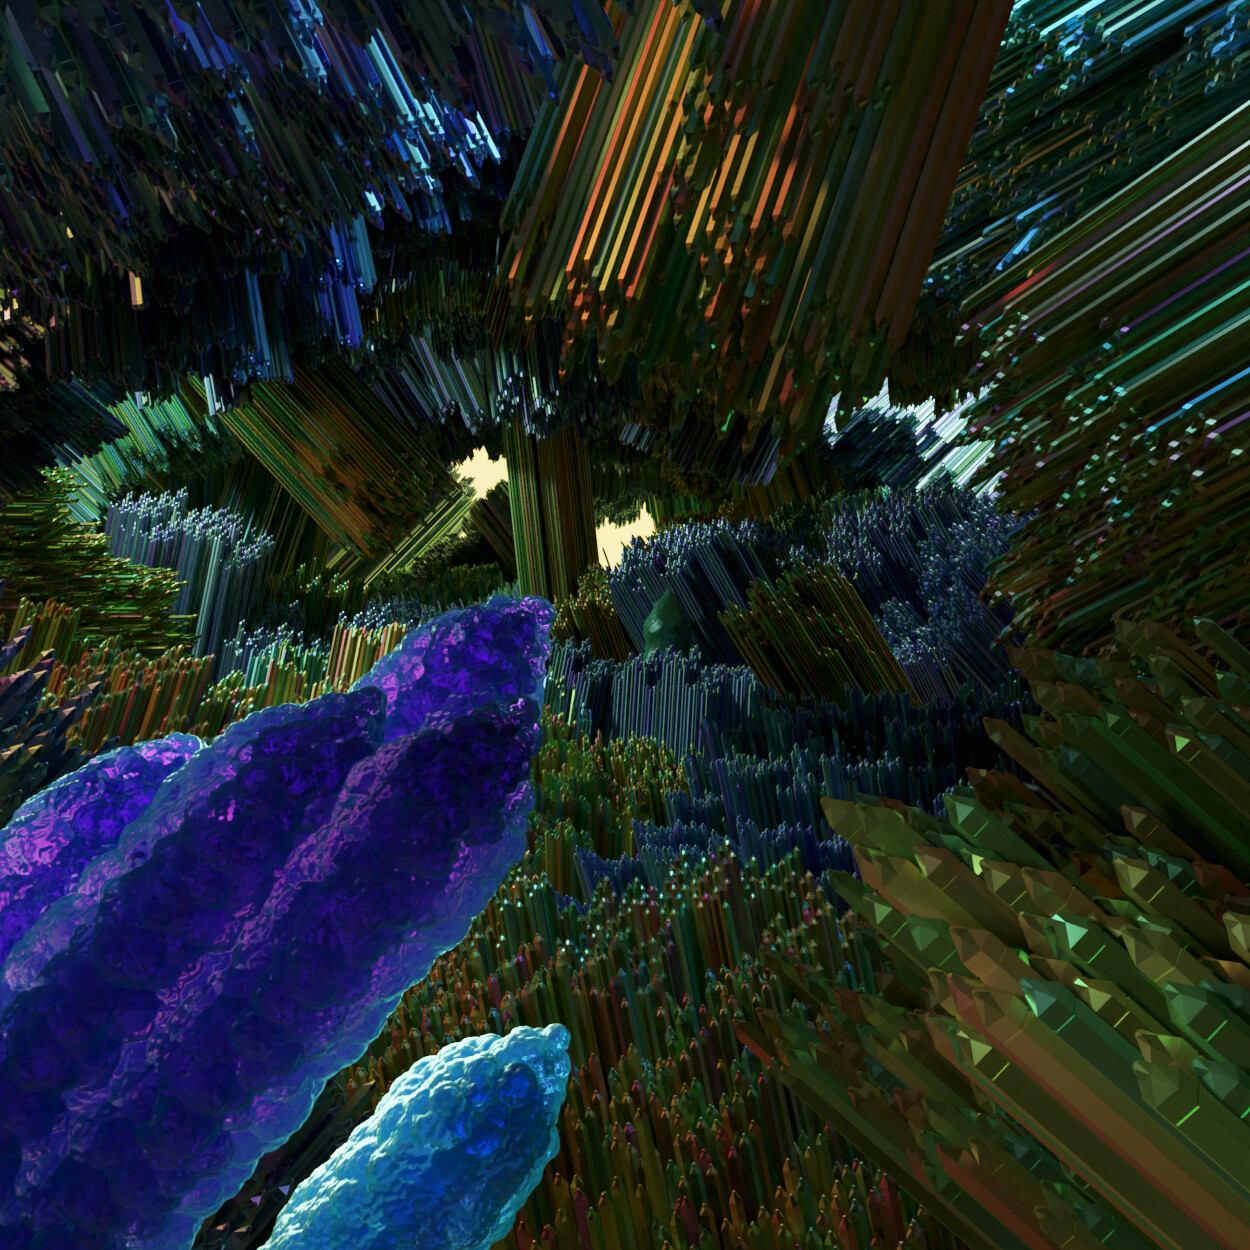
The third of the three original images that were being worked on at the tail end of last year, which was completed a few weeks ago (but I forgot to post). The big highlight is the use of Blender’s new volume object, which worked quite well for the effect I was going for. Imagine a 3D tic-tac-toe drawn in air, but in the end no winner was declared.
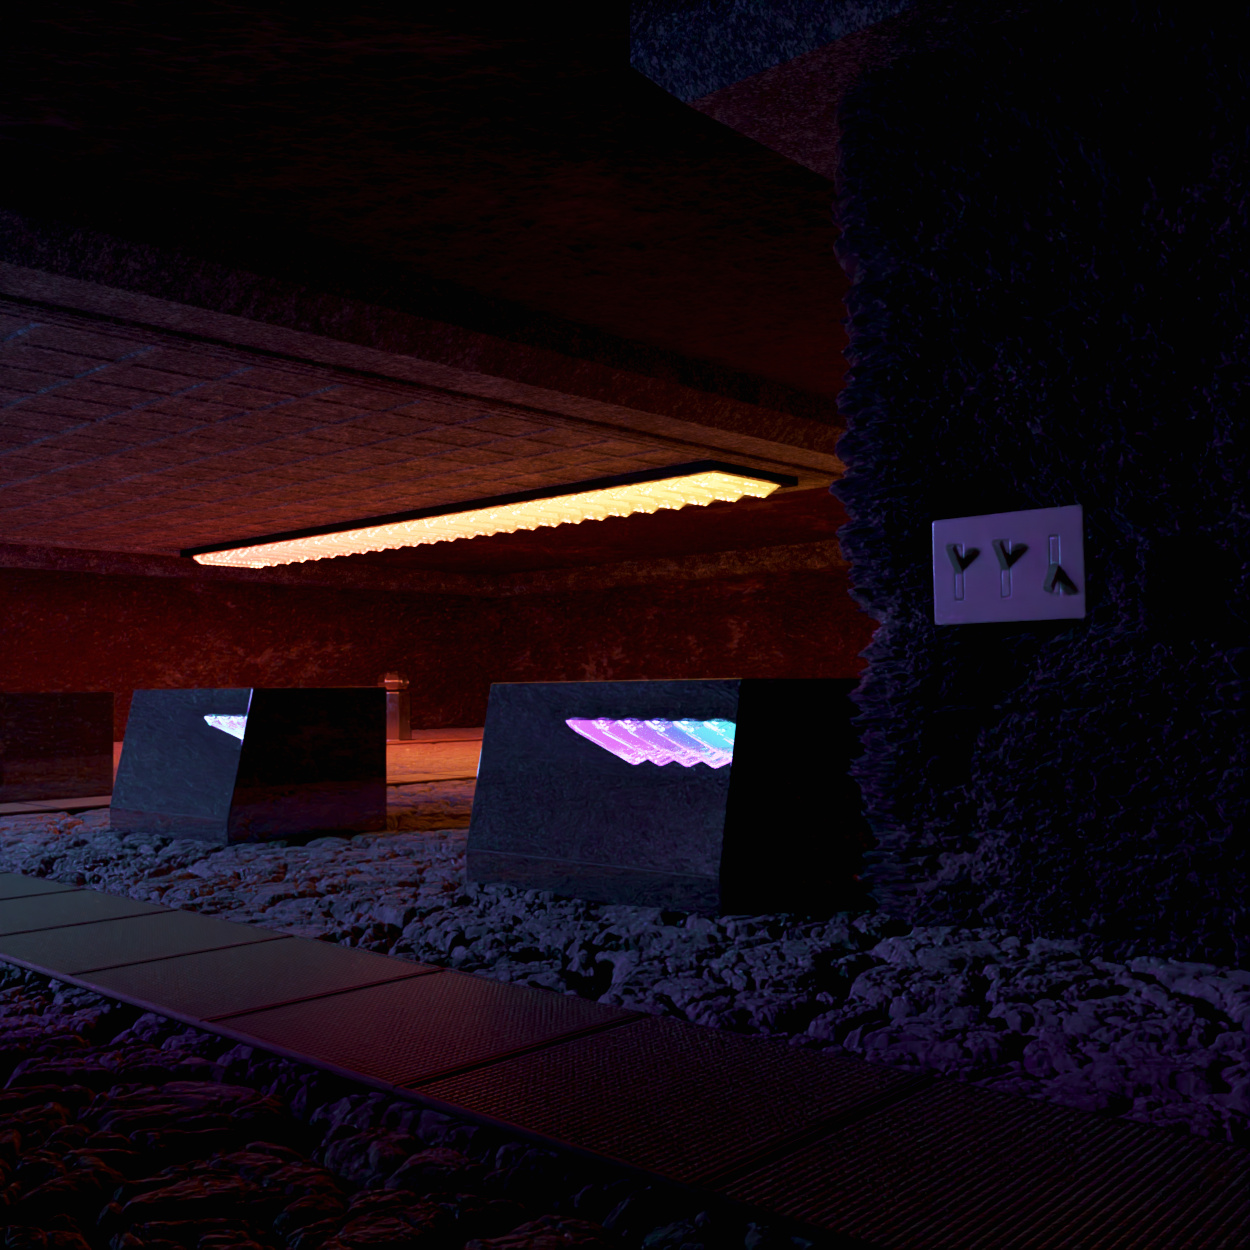
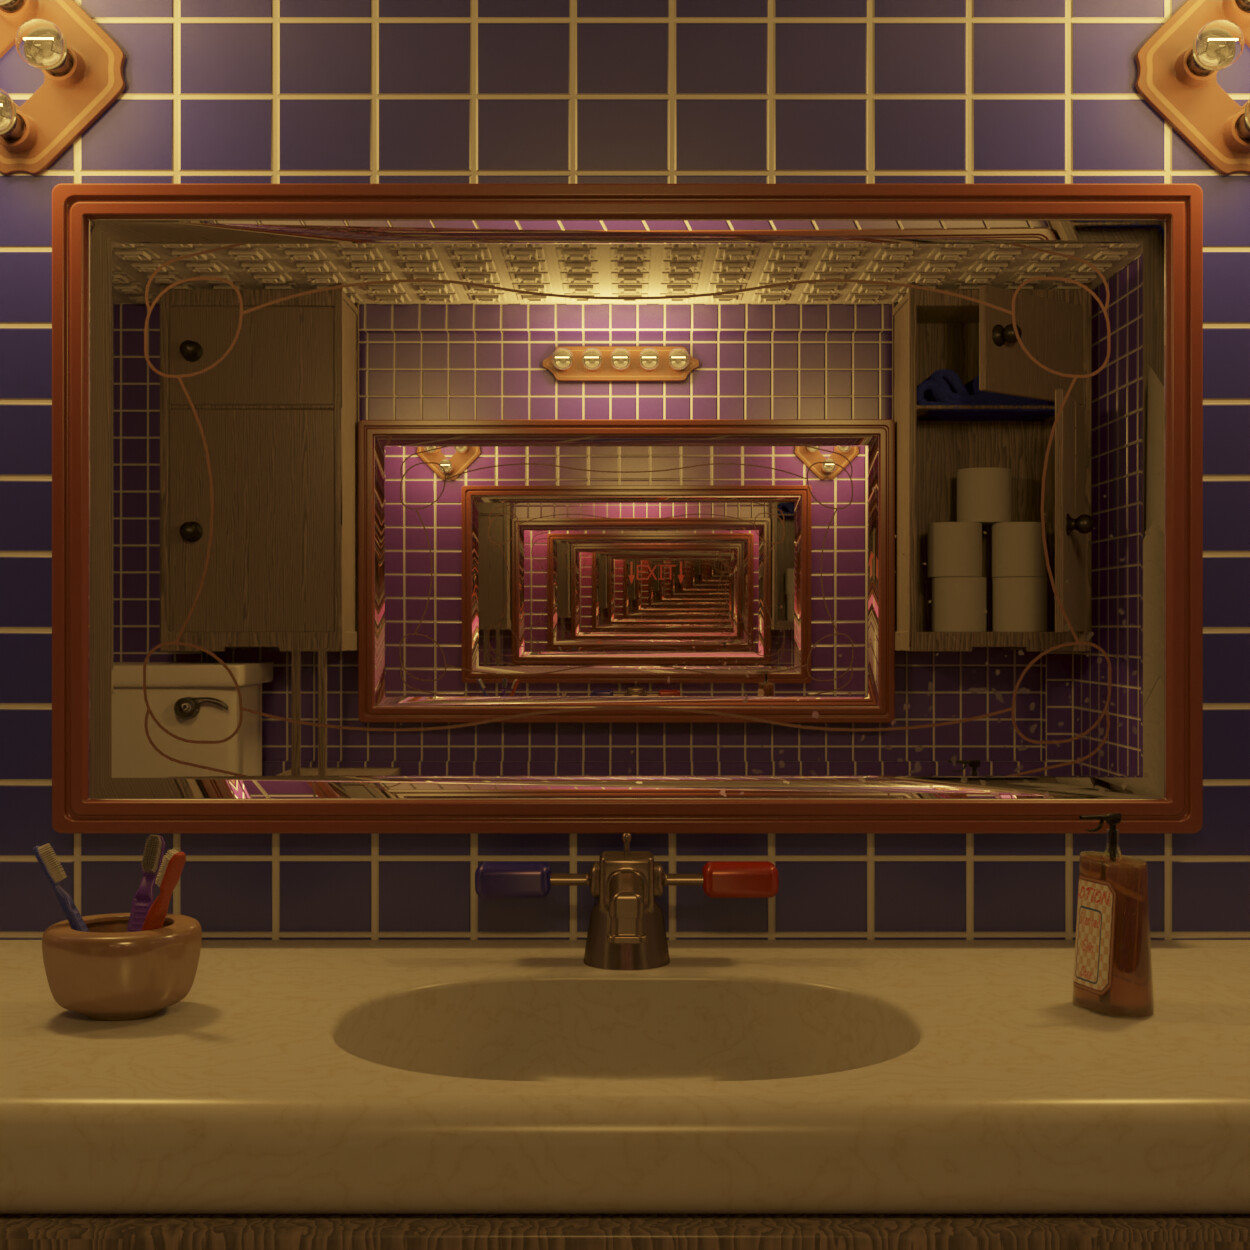
Done sometime last month, it is somewhat based on one of the earliest images I have ever made (which was supposed to depict two reflecting endlessly in a bathroom like setting). That was with BI though and it was limited in how many reflections it can do. Now Cycles does not have that problem, but I didn’t want just a straight endless reflection as it was not interesting enough, so one of the mirrors is tipped and tilted just slightly to create the curving reflection path.
In addition, lightpaths were used to change the color of the wall the deeper you go along with making an exit indicator appear somewhere in the middle (hence the ‘journey’ part).
A bed so comfy it literally glows with softness, something even Mike Lindell’s company can’t match. That is not to mention it is in the most pleasant place possible, a bedroom made of cloud, high in the sky, during a starry night, something which would be all too appealing for me to retreat to amid the events of the last year. The volume object worked wonders here, and it should also be mentioned that this was one of the first projects to directly benefit from OIDN 1.3 and its vastly improved detail preservation (which is so good now that a multi-pass setup now has a hard time topping it).
For the most part, this is another old idea revisited, cloud rendering has come quite a long way from Blender 2.3x.
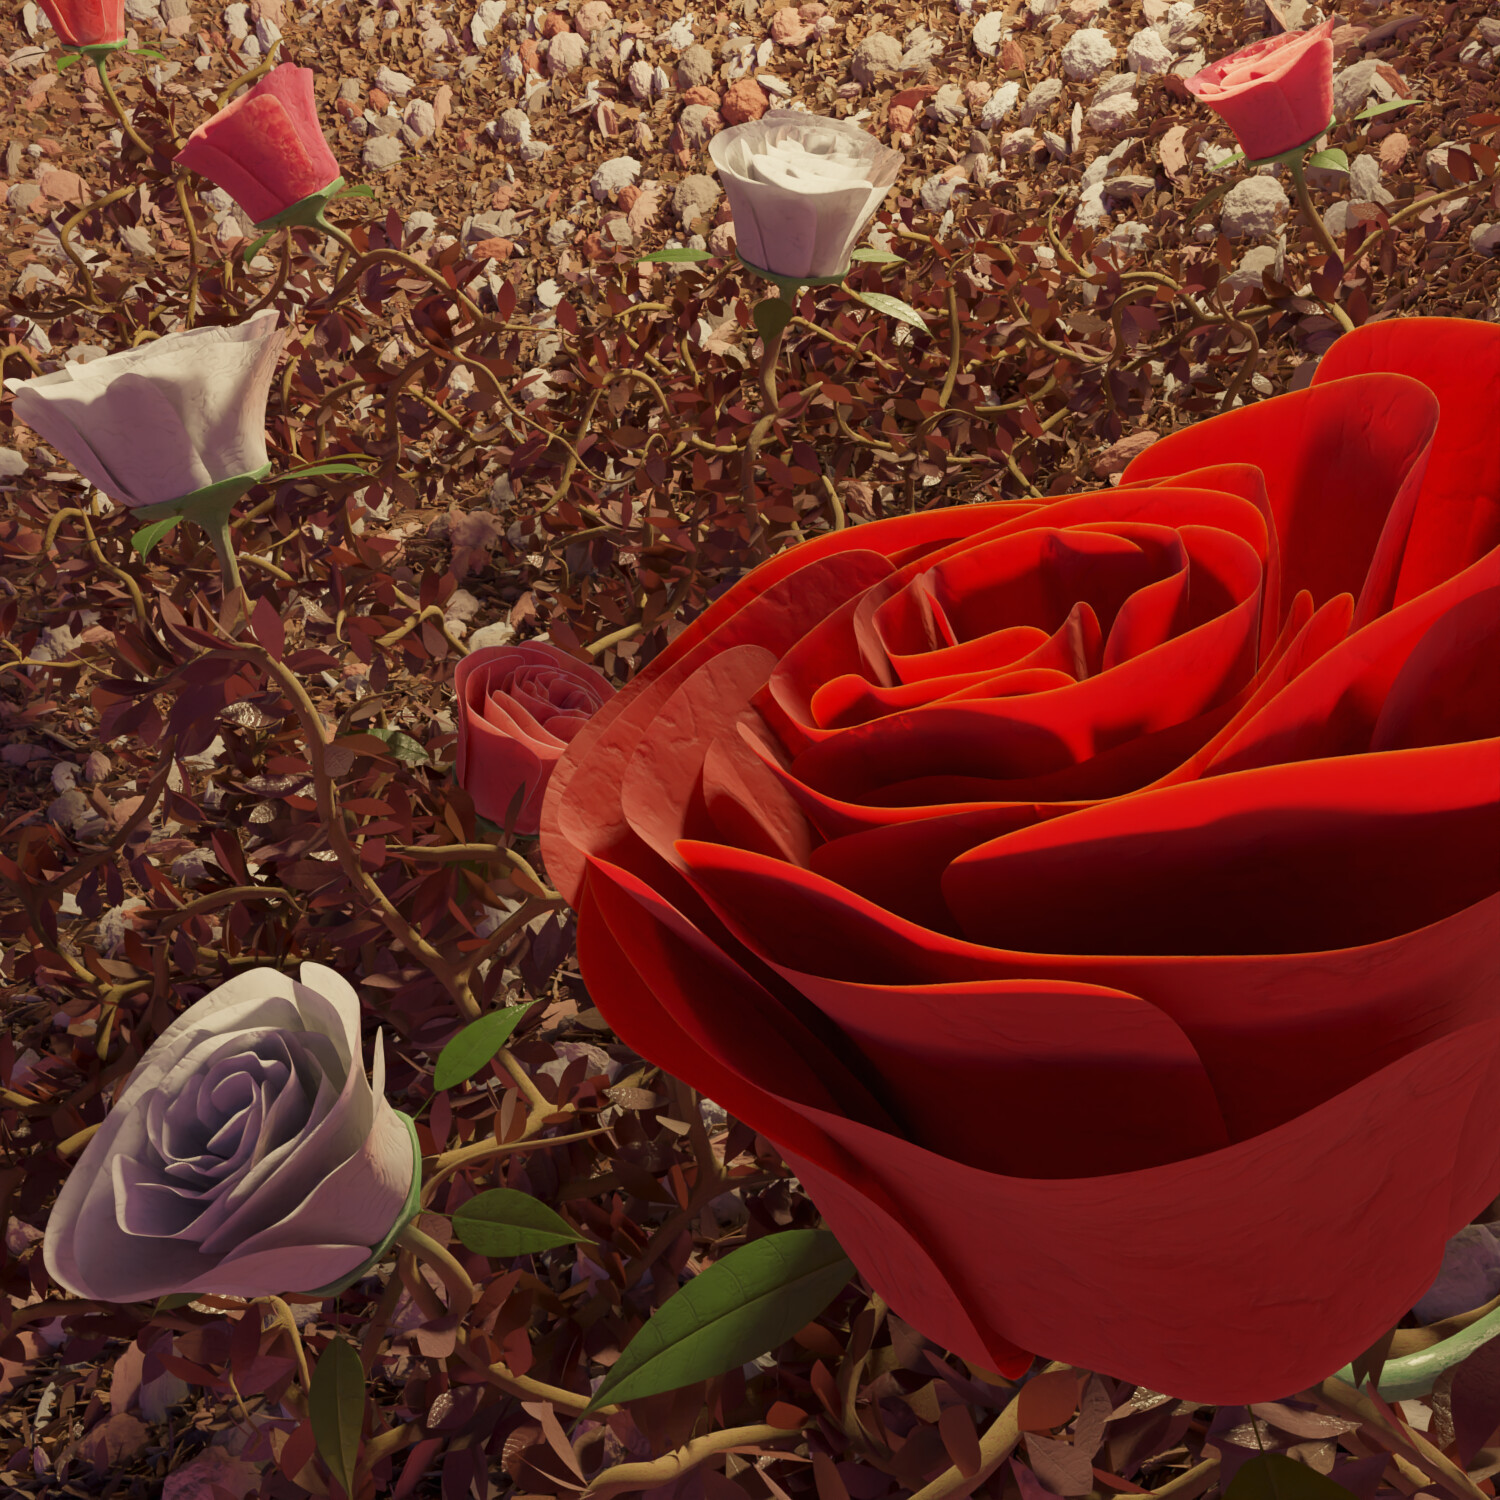
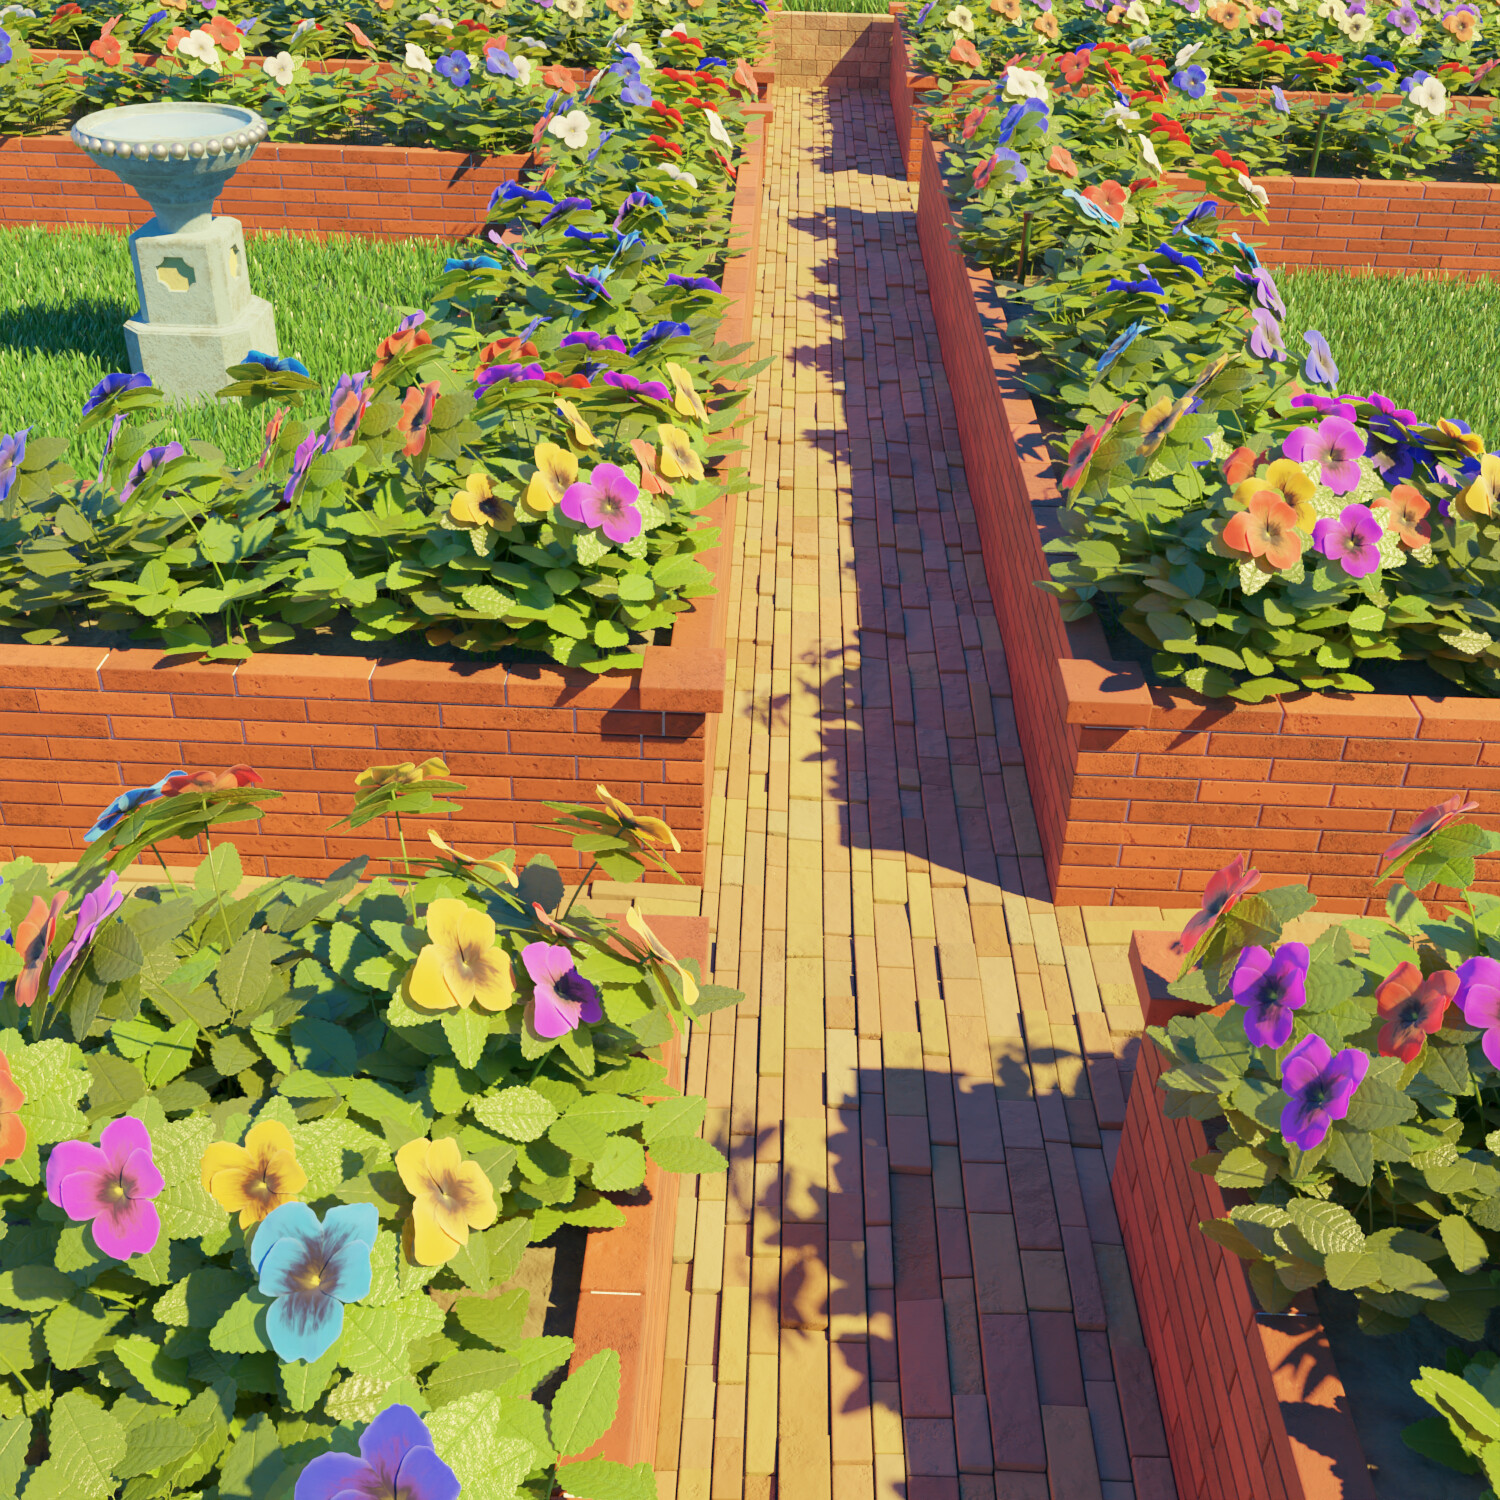
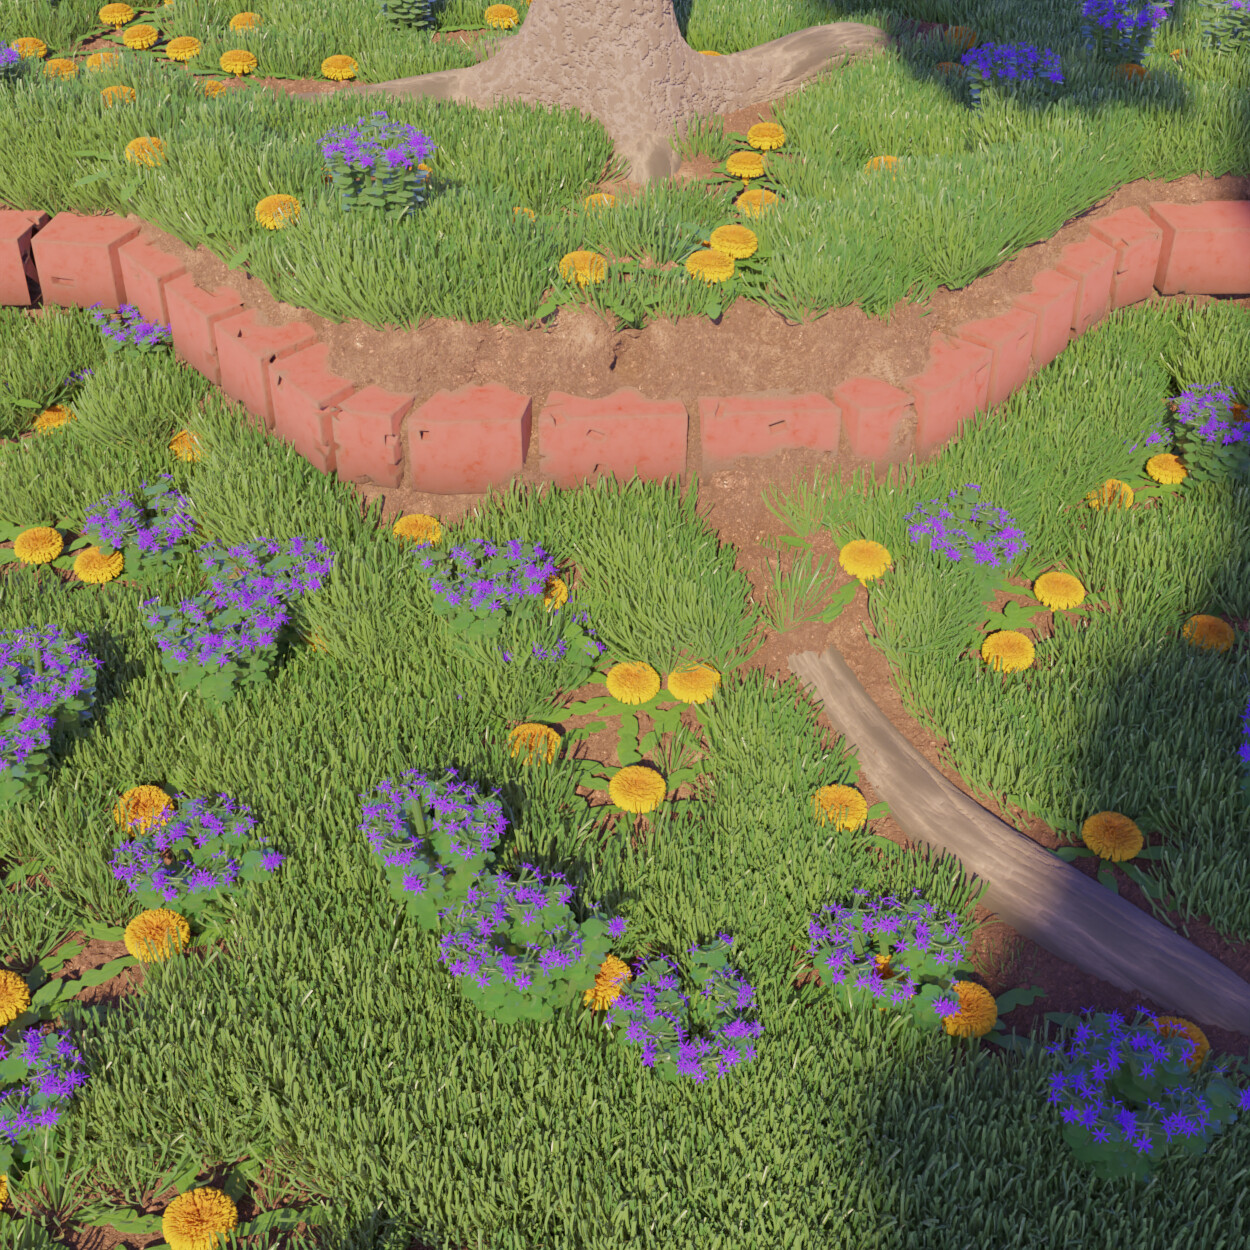
All four of my flower pictures have been updated recently, and with the help of denoising are now all at 1500x1500 pixels. I also jettisoned a number of particle-based scattering setups for more sophisticated ones based on geometry nodes (which greatly helped in areas like avoiding overlaps).
Good grief another flower picture? This isn’t just flowers though, imagine a weedy yard filled with the native plants of your region of the globe. In the US that is oftentimes dandelions and an assortment of purple and other colored flowers (even though this image just contains the first two). It was a good way at the least to give Geometry Nodes a test run as a core component. The new node tree type was utilized for soil modeling, scattering with rules (no overlap with the tree), and the bricks. It ended up making Blender quite lethargic, but everything worked more or less.
Started as a way of playing with curve instancing in Geometry Nodes. The scene ended up evolving from a simple array of boolean spheres in a flat surface to what is clearly a metal piece under an apparatus that punches holes. Another reason why it took a while is because I was waiting to instance objects that would rotate based on the normals of a curve object (which was weeks after the initial resample curve node was implemented). The result, a swirl of punches in a metal plate with a swirled brushing pattern.
The impact was unusually dramatic for this one due to the original leaving something to be desired even in the area of energy conservation. With the help of adaptive sampling and denoising, the full quality potential could now be realized.
With vastly enhanced denoising in Cycles X (so good now that multi-pass is not needed) and with all shading in Cycles X now functional, Shaft Attic and Dragon Discovery are far closer now to being fully realized (in spite of not using shortcuts).
Shaft Attic also now makes use of the new beam control for area lights (for properly sampled beams and highlights). Now I just need the plans for multi-light sampling, Next Event Estimation, and Path Guiding come to fruition.
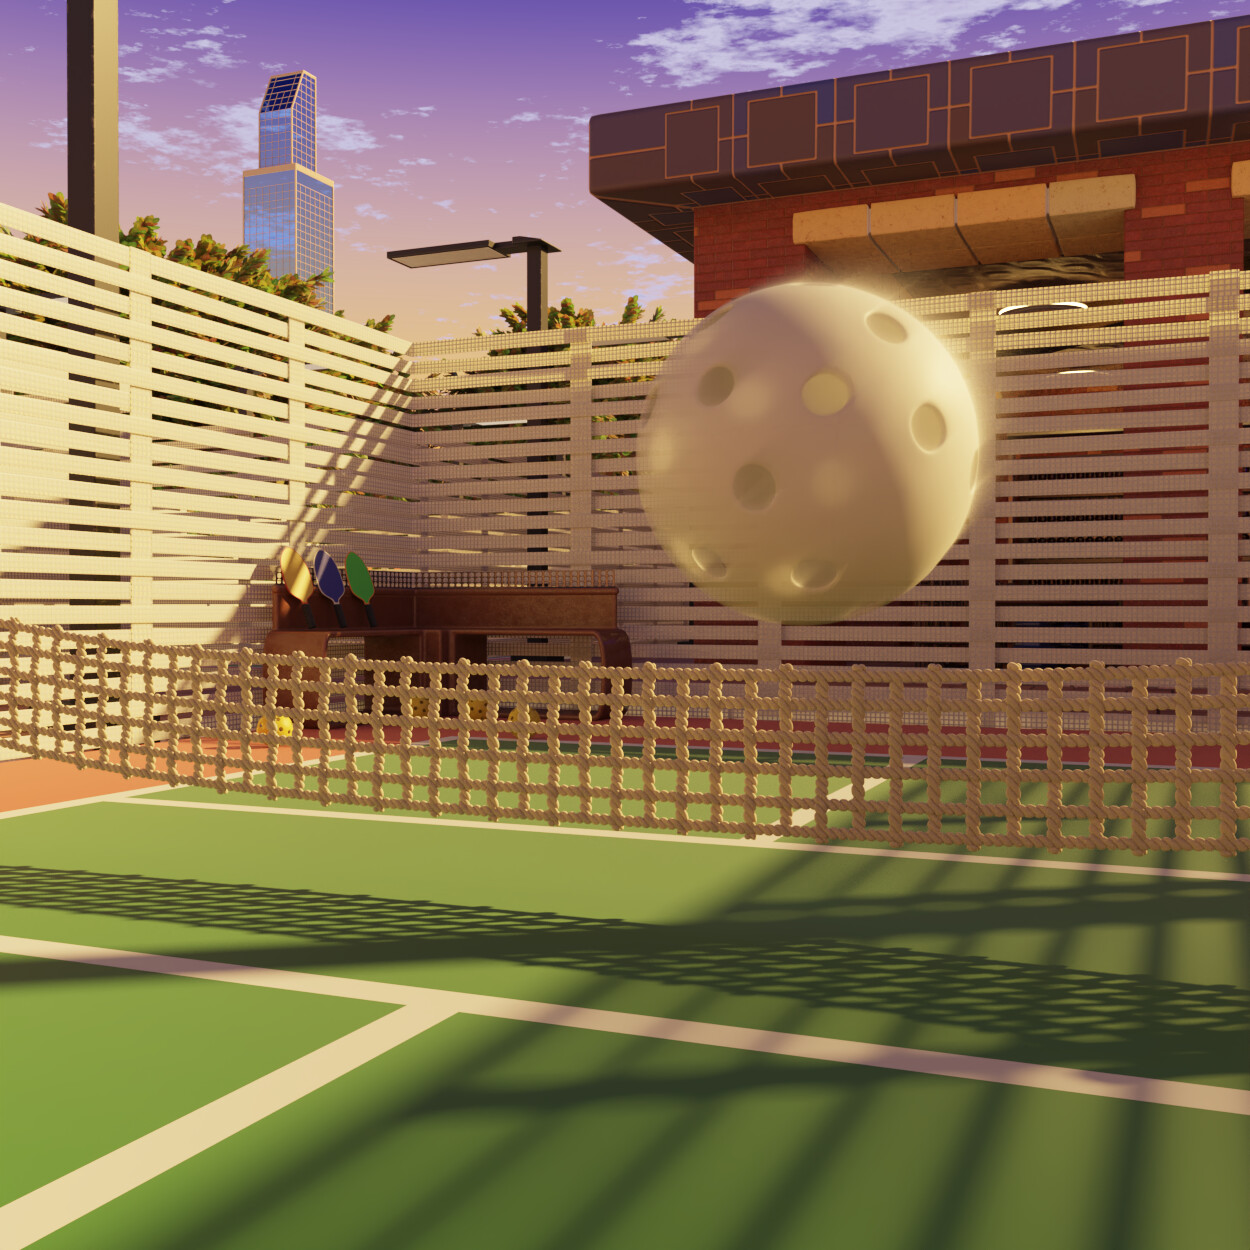
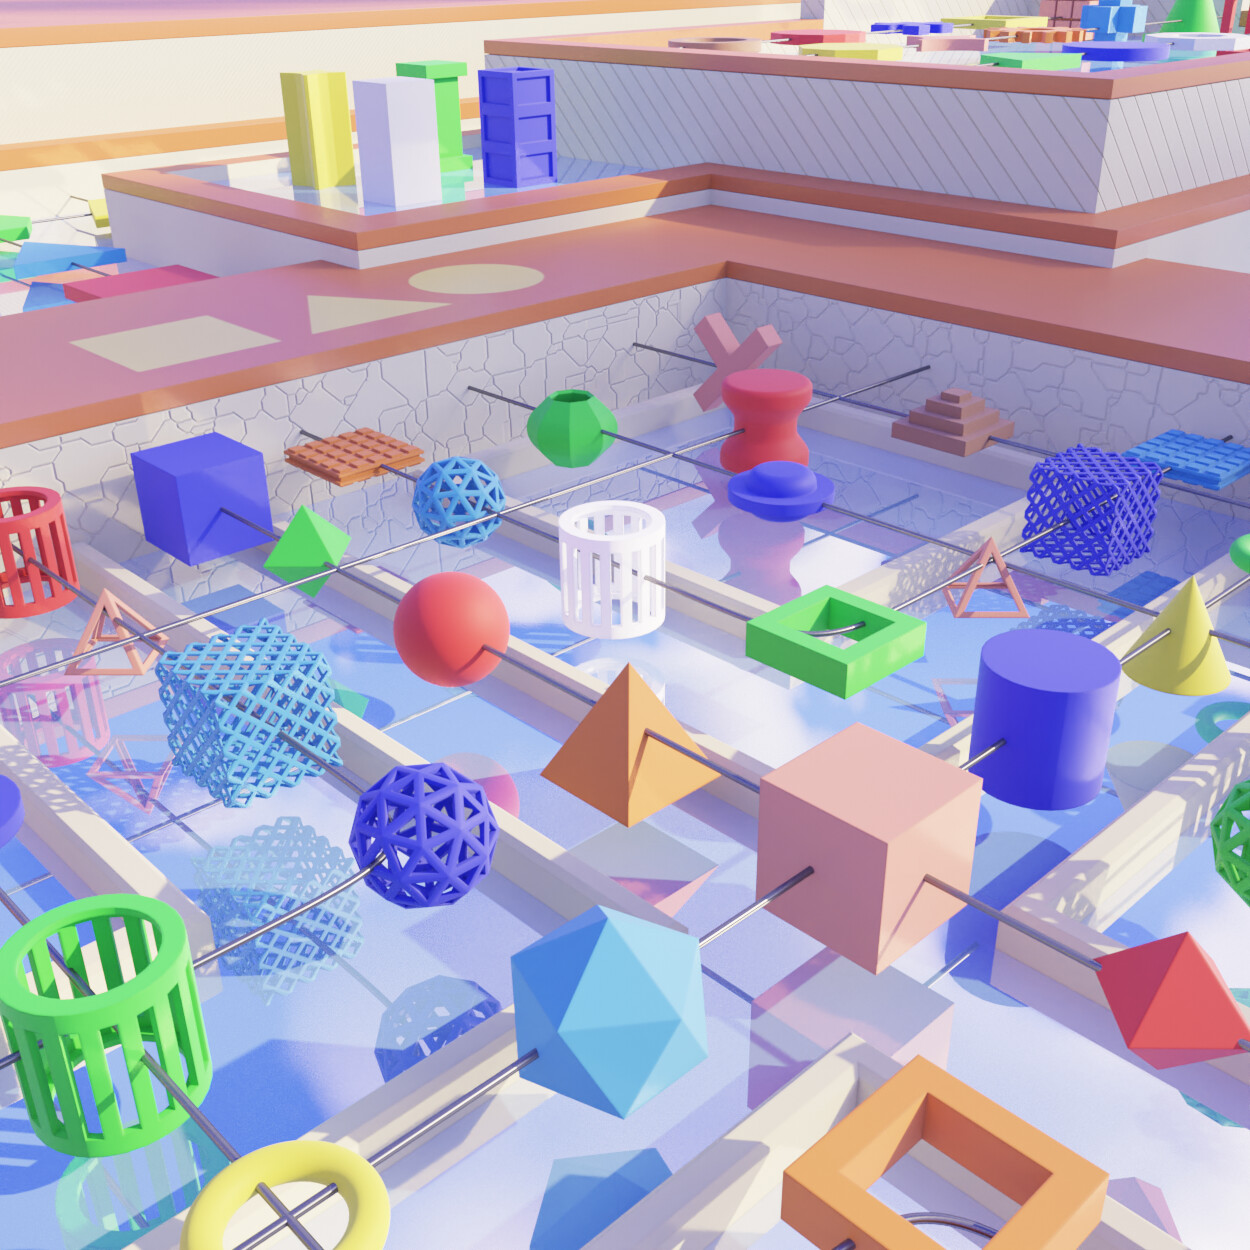
Based on a new sport that is rapidly expanding across the United States, Disc Golf.
It is in a nutshell a sport set up like a gold course, but you walk the whole length and throw discs which resemble little frisbees. This similarity even goes down to the fact that you often have a set with drivers, midrange disks, and putters. The genius of the sport is that it is very easy to get into and the price of entry is far lower than normal golf, but the fact your throw has to take height, wind, length, ect… into account means it is hard to master, and some courses can become ridiculous in their difficulty.
In the image, I take the difficulty aspect with some Greek theming and raise it up to absurd amounts, how in the blazes do you get your disks way up there? A lot of credit also goes to the new Geometry Nodes with fields, which automated a lot of detail and saving a lot of time.
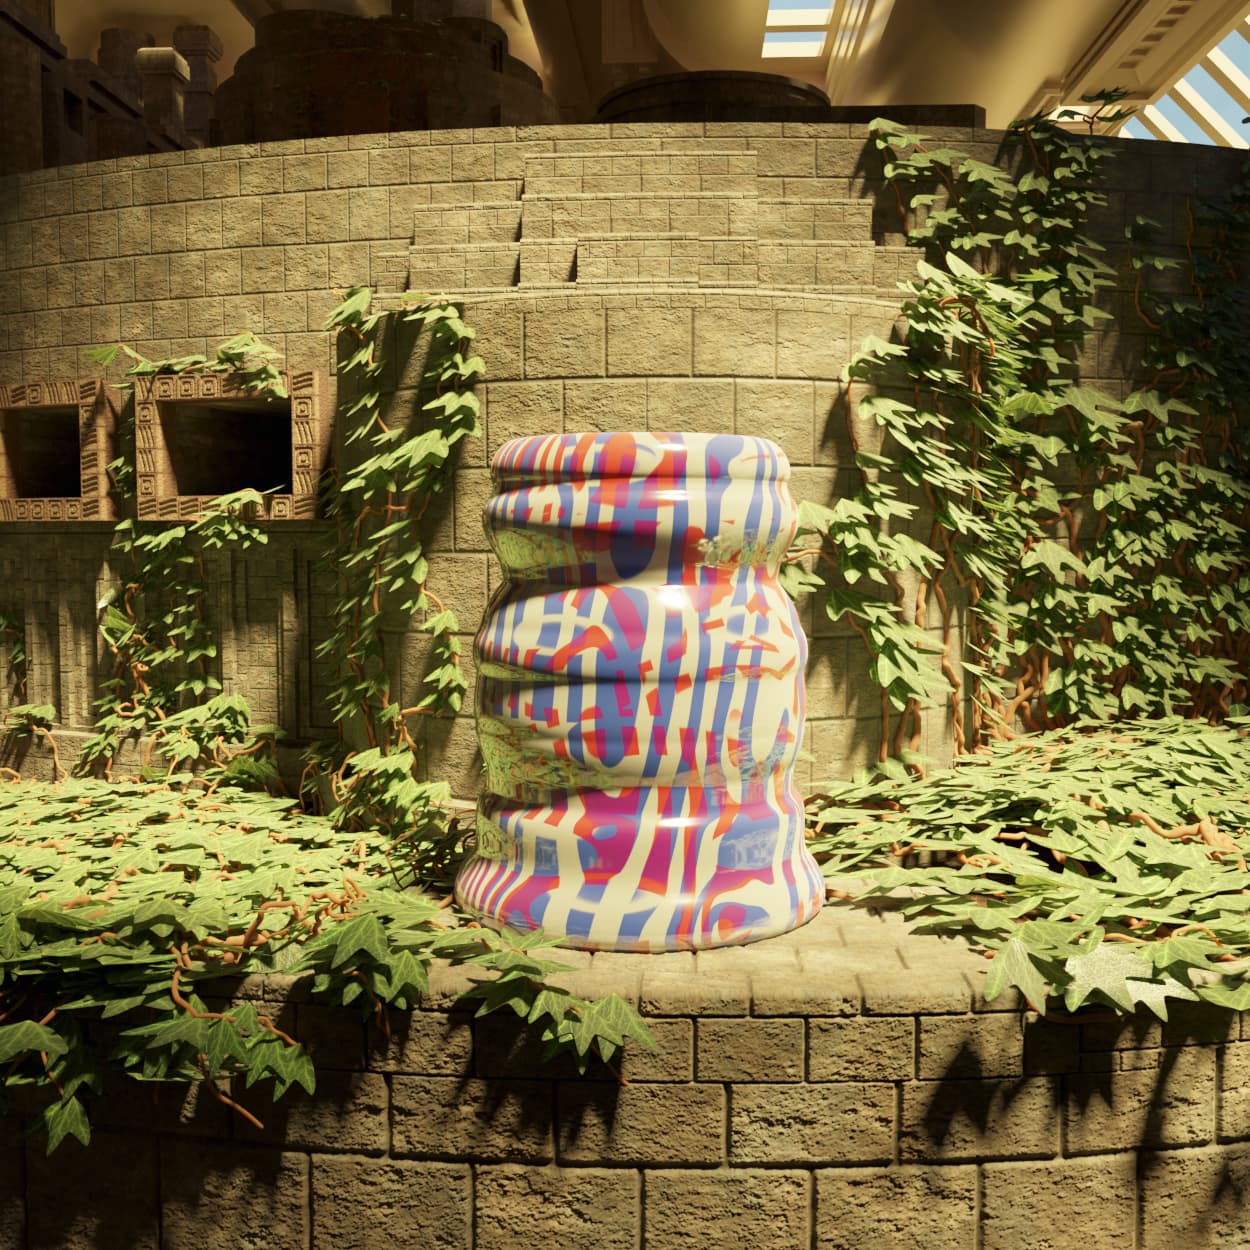
In addition, the last two months have seen more enhancements of previous scenes. The entire Finished Vases series for starters got full enhancements in the areas of detail, tonemapping, shading, you name it.
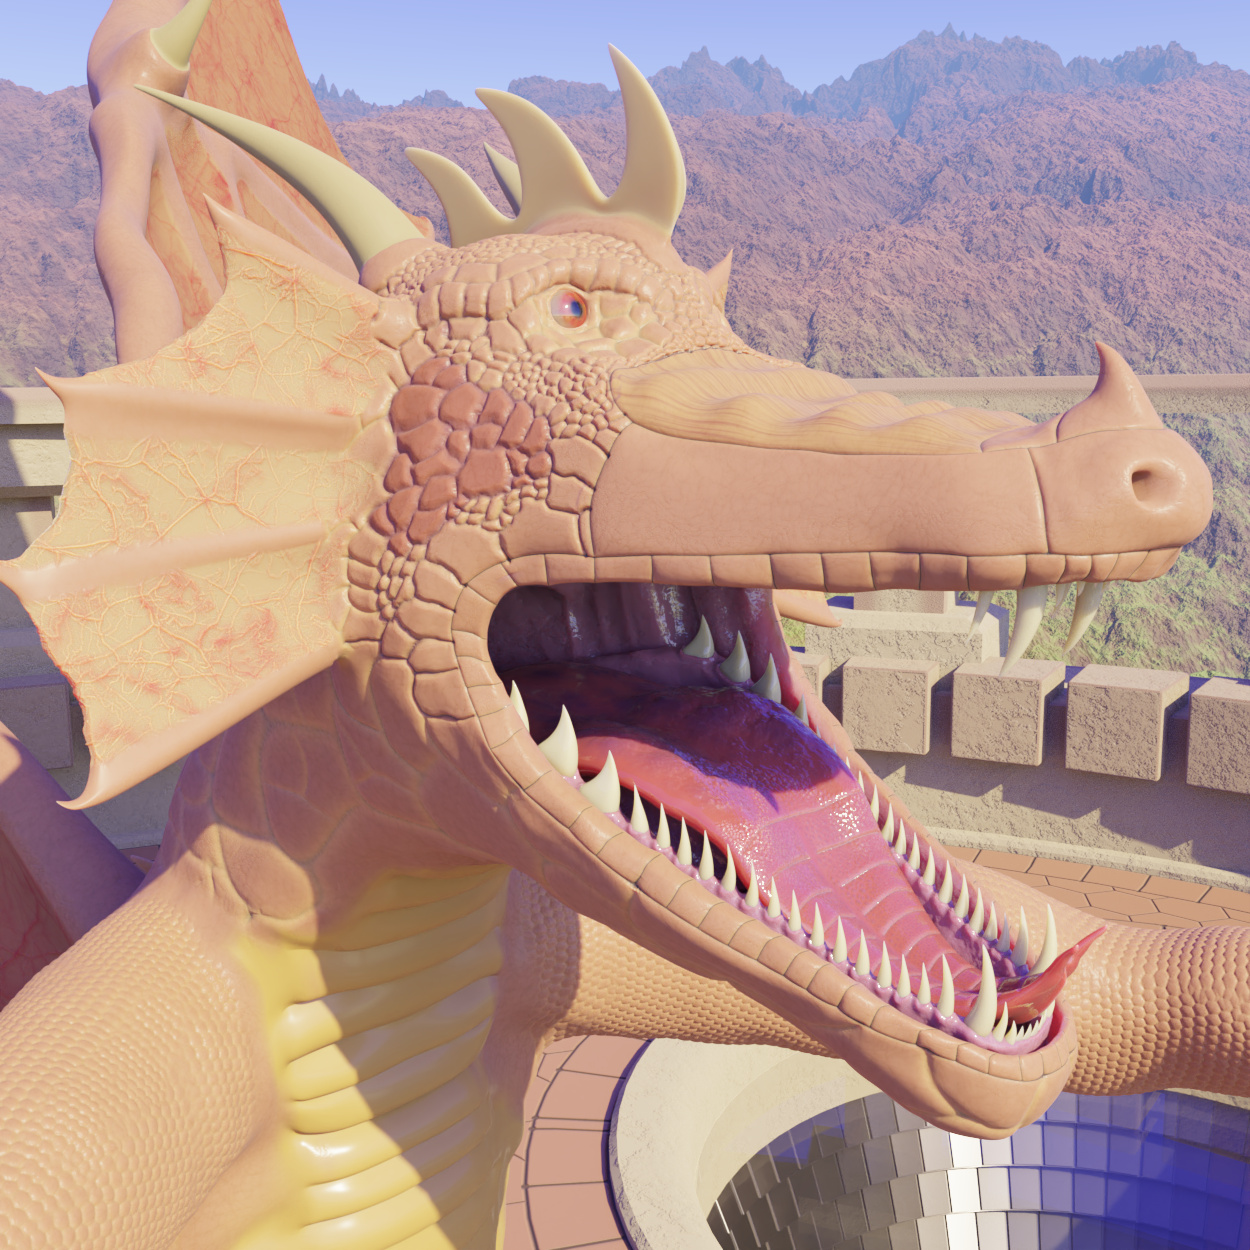
Regalis Draconis also got an upgrade (well, technically both of the signature Dragon models got a touchup due to the new SSS anisotropy. The adaptive sampling in Cycles X also made it possible to have proper highlights with the sky (since that can require up to 100,000 samples for full convergence and it is very fast once it is only highlights being sampled), but this one also saw the background touched up with Geometry Node Fields).
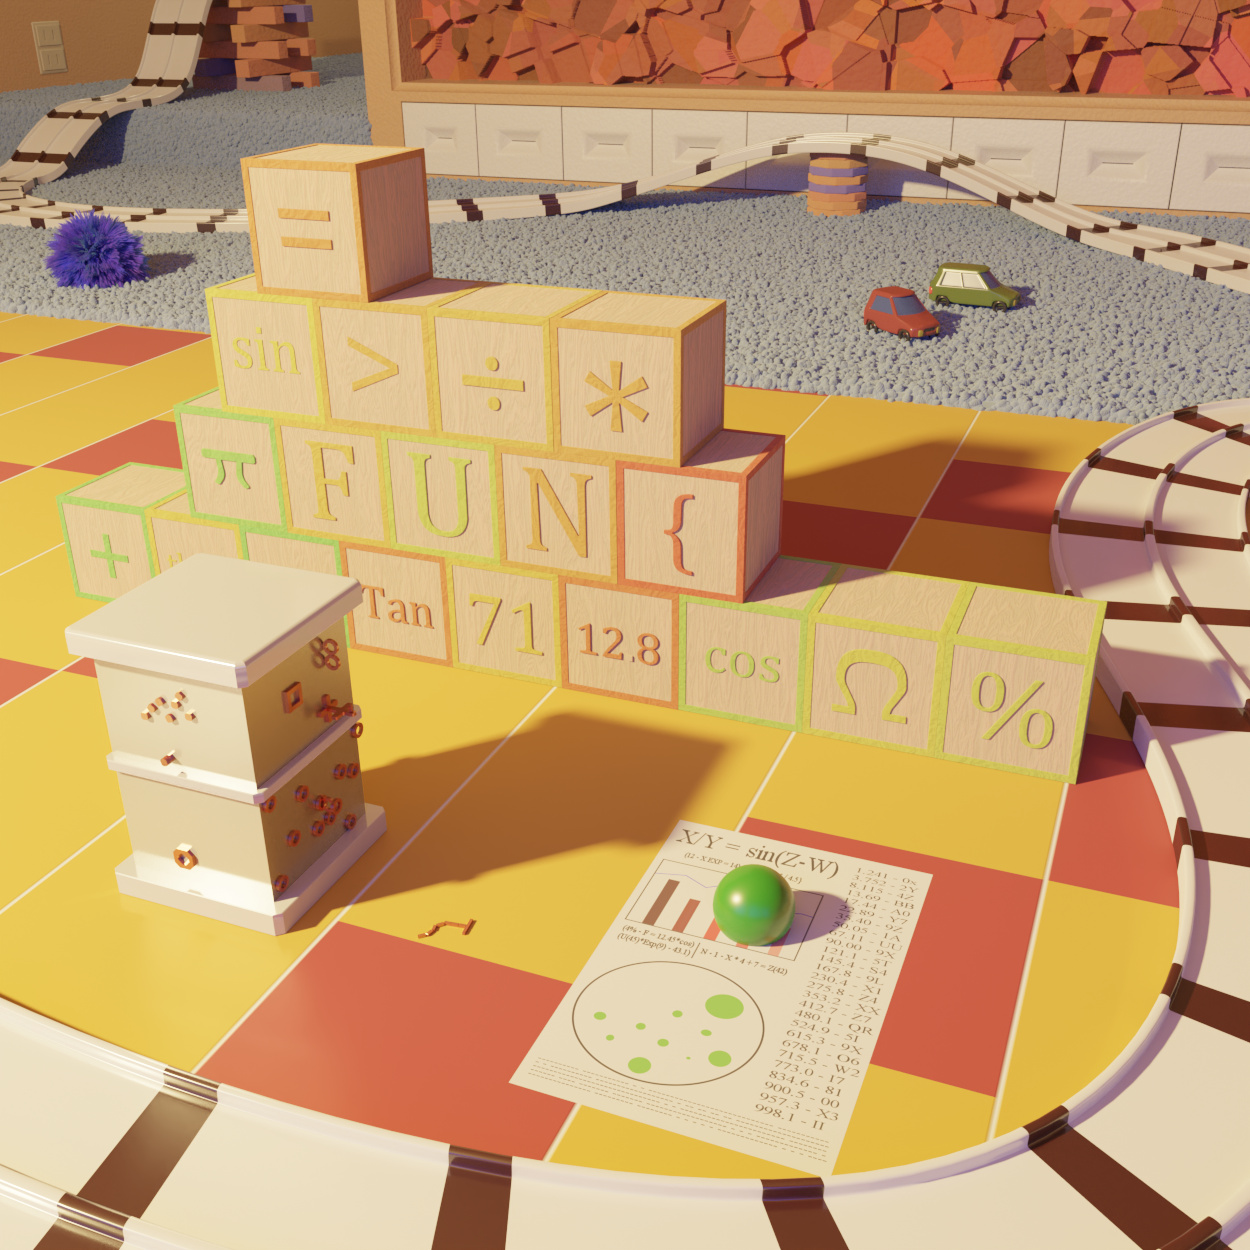
More evidence that Geometry Nodes is becoming a larger part of how I create scenes, the symbols are randomly placed on faces by a node tree, most of the tiles on the ground are also laid out by nodes and given random rotations here and there. Overall, it is a simpler scene than the Disc golf one, but a relative quicky compared to the times needed to create work that fits my current standards.
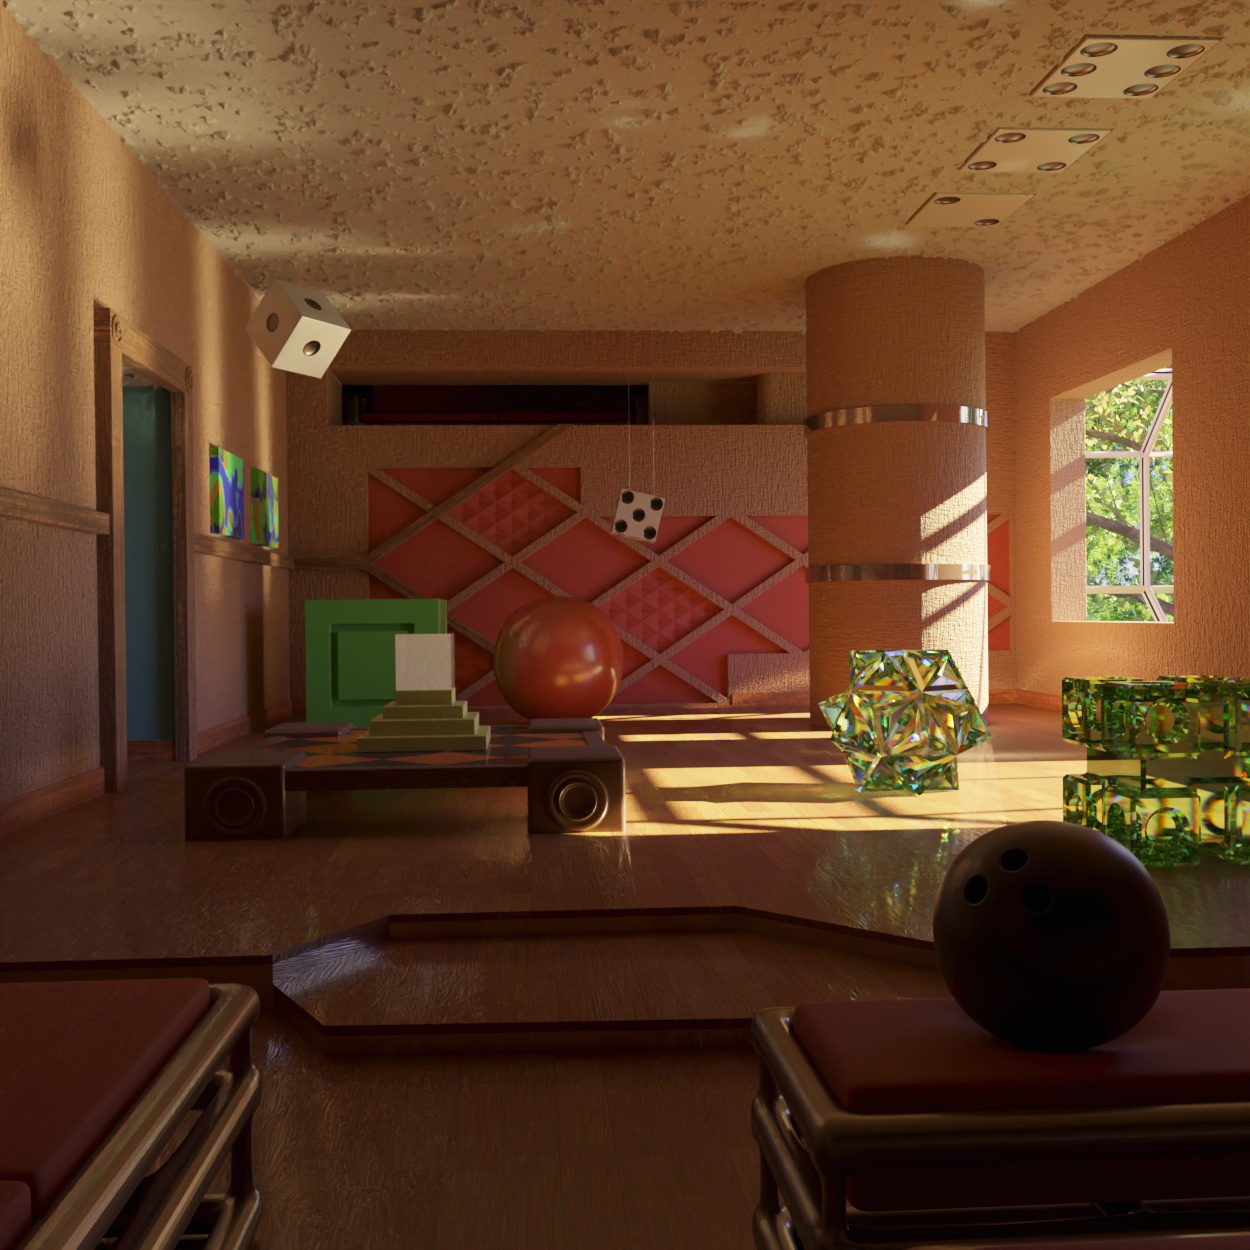
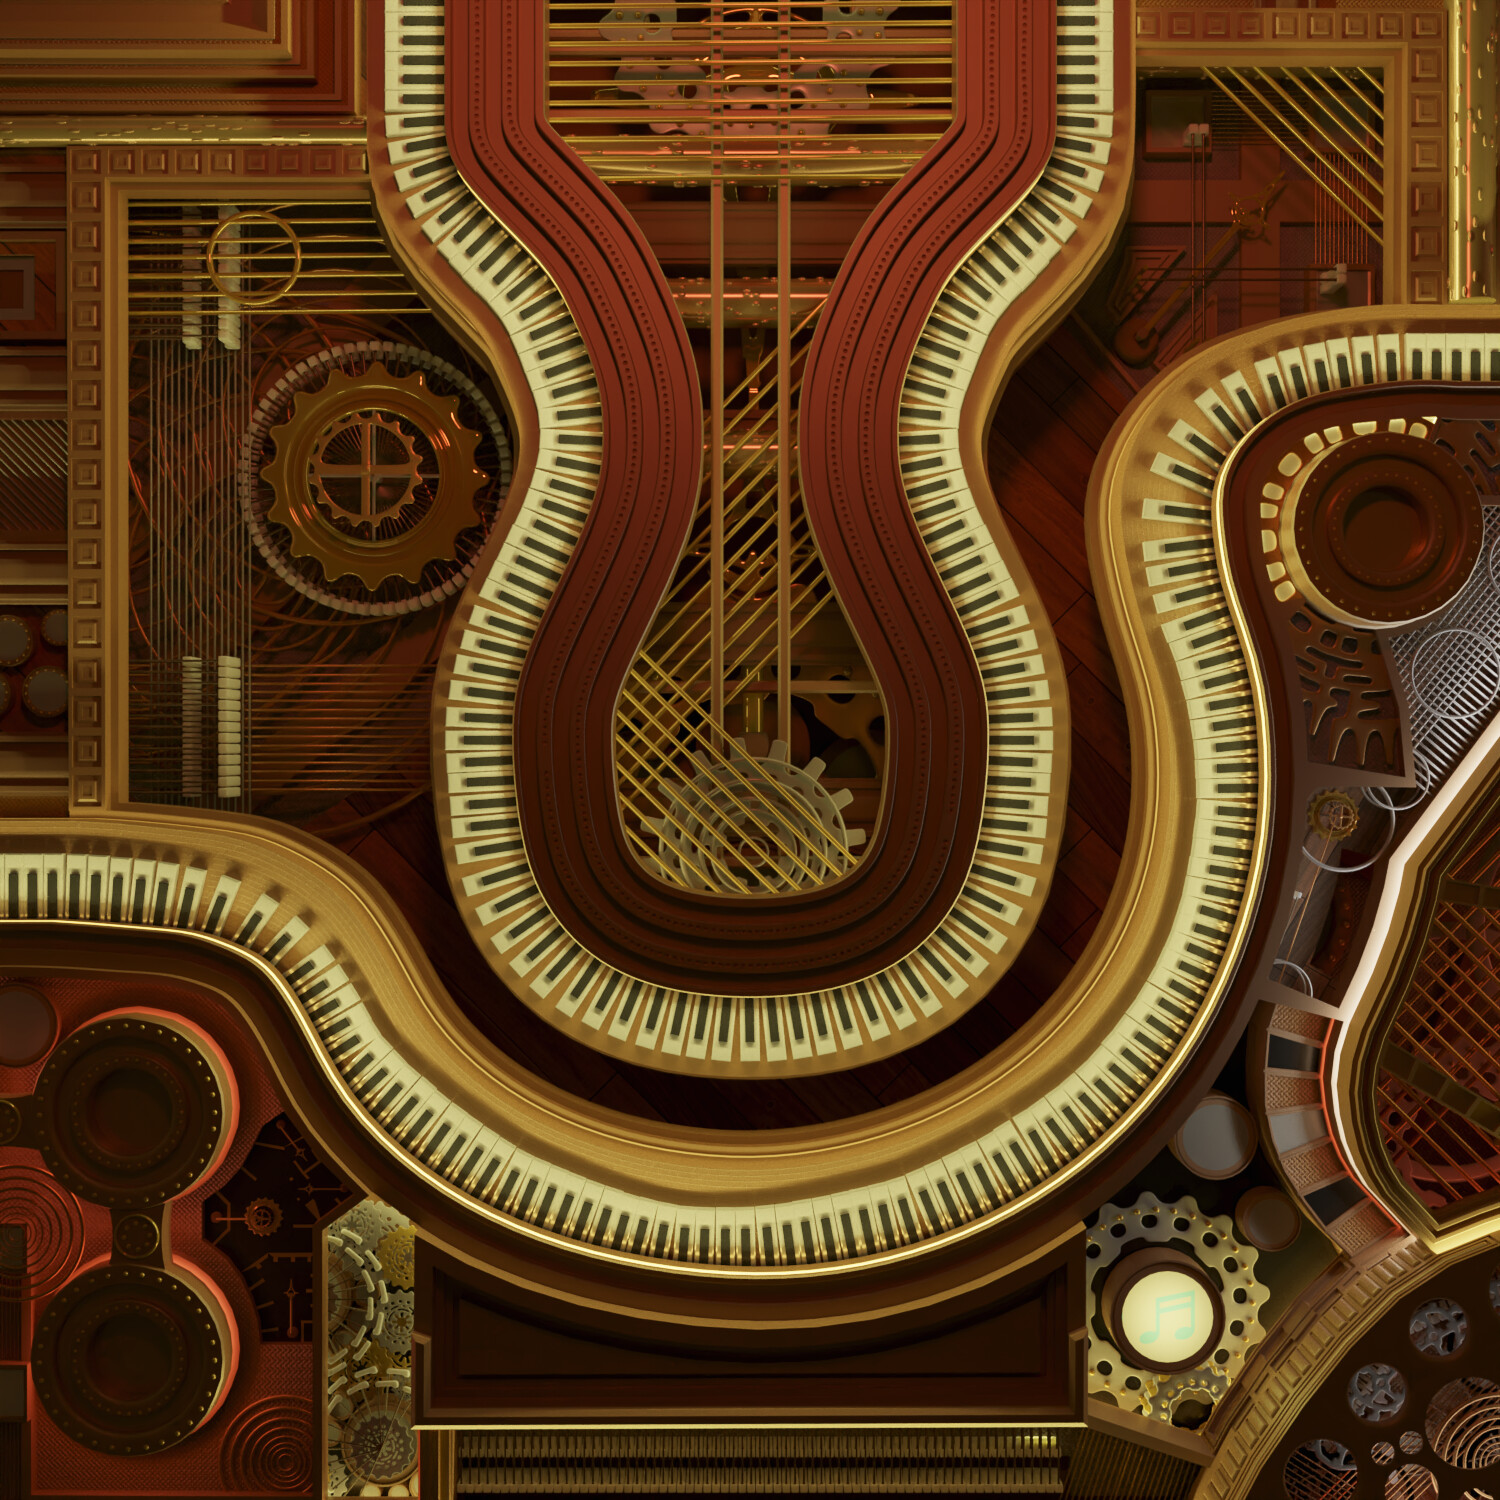
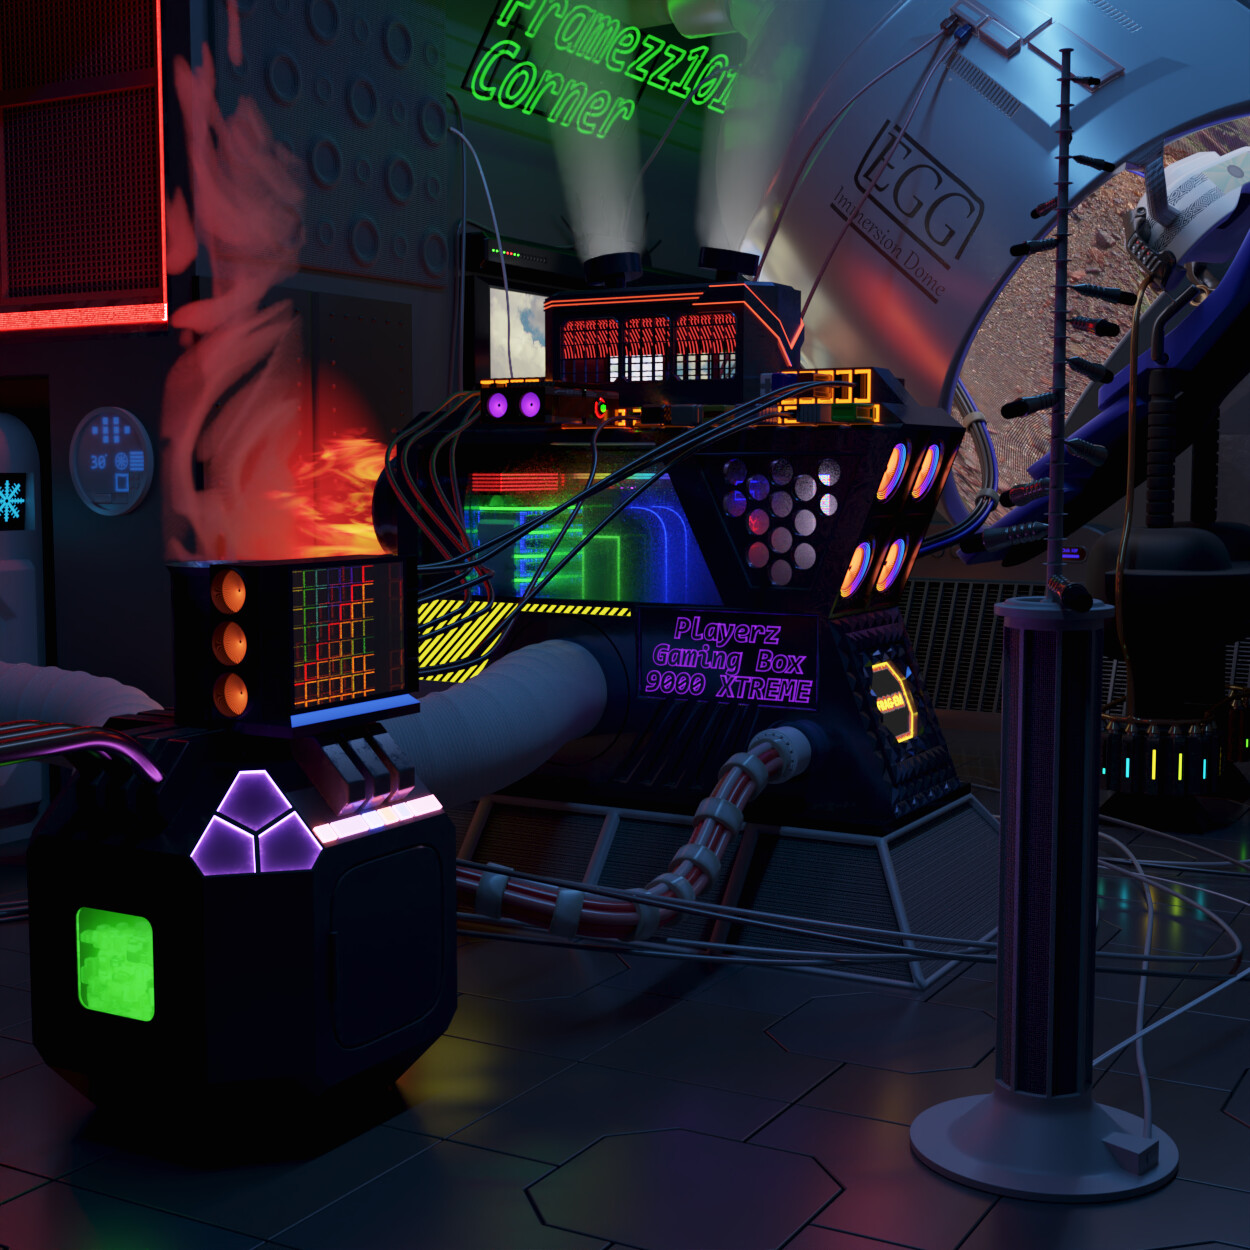
A homage to the fact that avid gamers could not care less about how beefy their power supplies or cooling systems must be, because it is all about the Frammezz. I figured then, how much absurdity could I cram into a hardcore gaming PC setup since I have Blender to create one (with no limits on financial resources and no boundaries set by common sense).
The result, a machine dripping with LED/OLED displays, lights, various parts packed on the motherboard, whiz-bang features to help you brag about your play performance, peripherals big and small, over the top power and cooling delivery, smellovision, and even blinged out HVAC. I wouldn’t recommend actually building this, but such a machine in such a room might actually find a buyer, you never know.
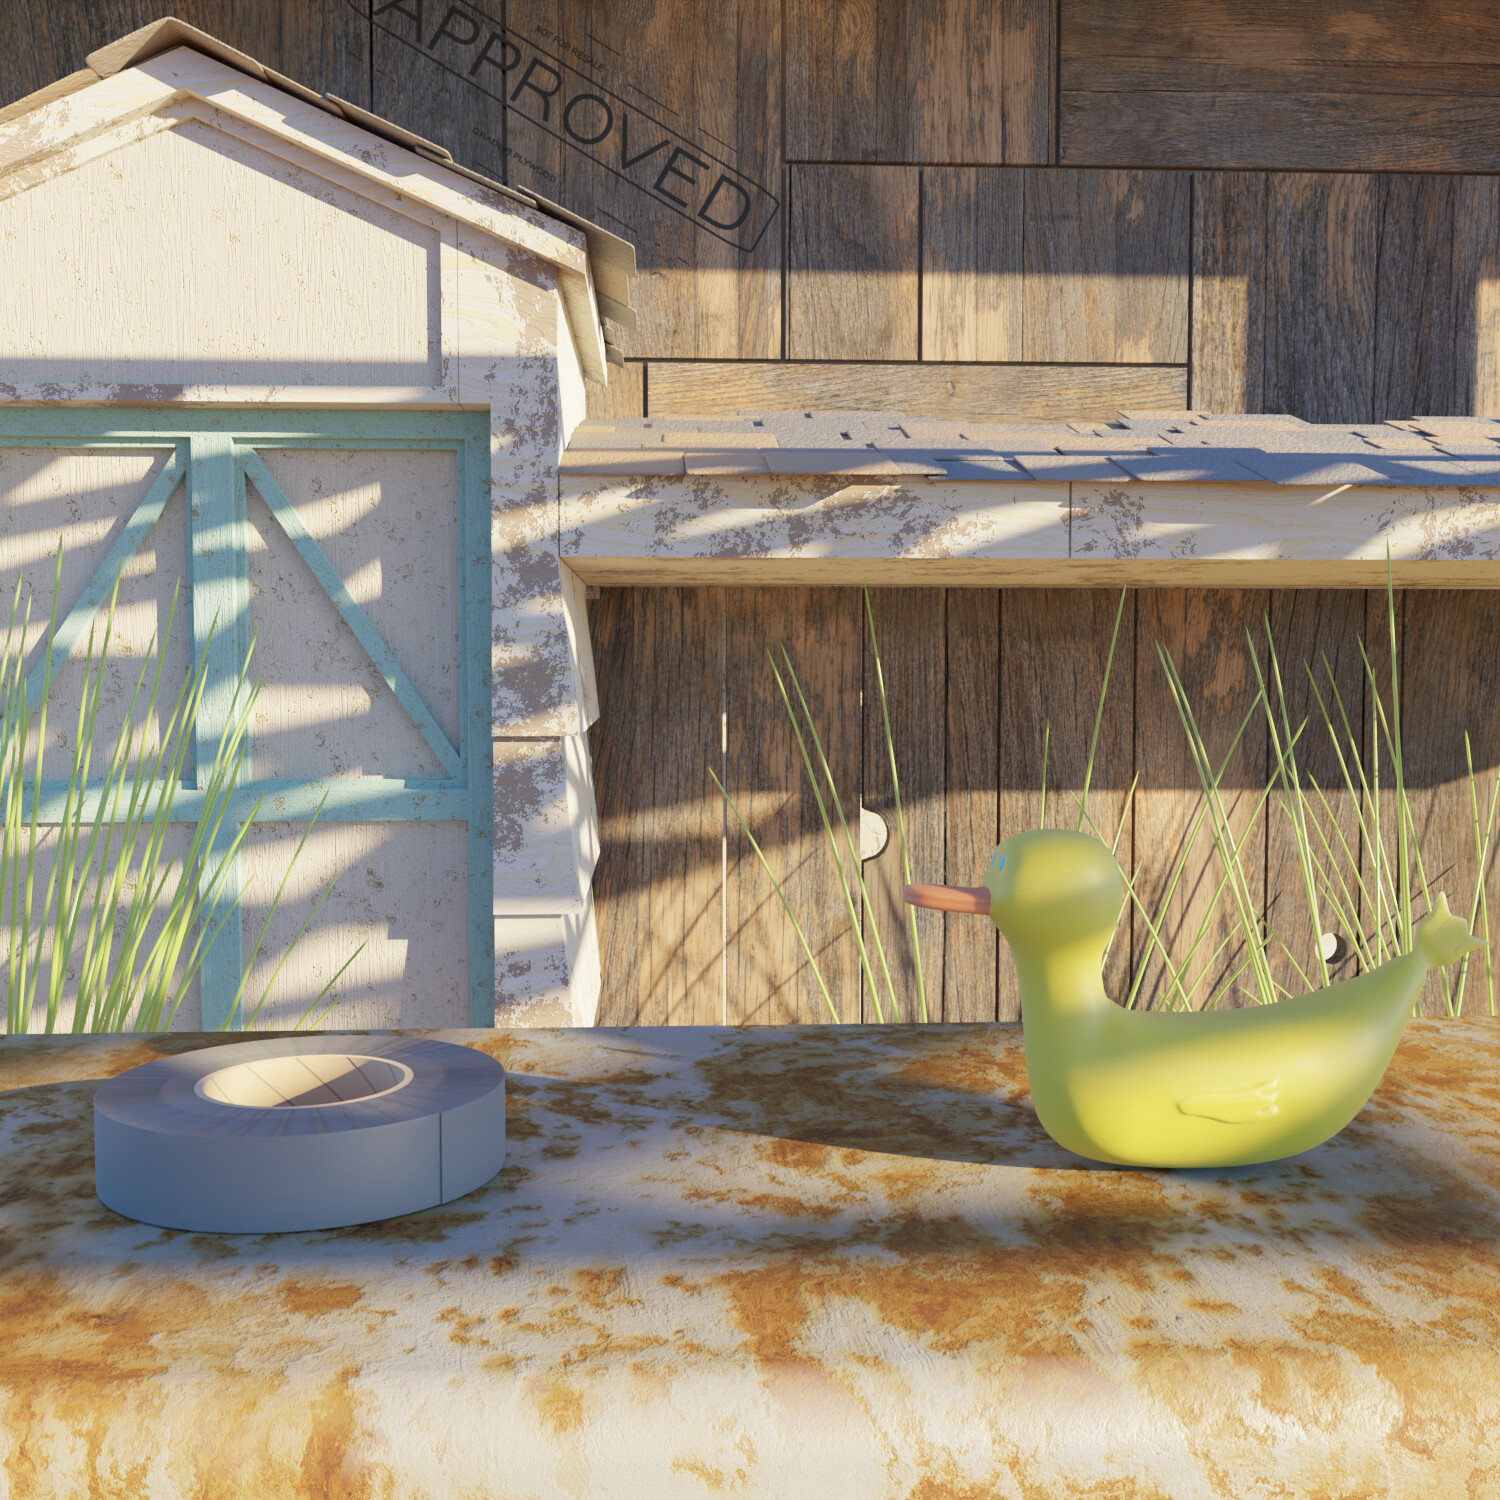
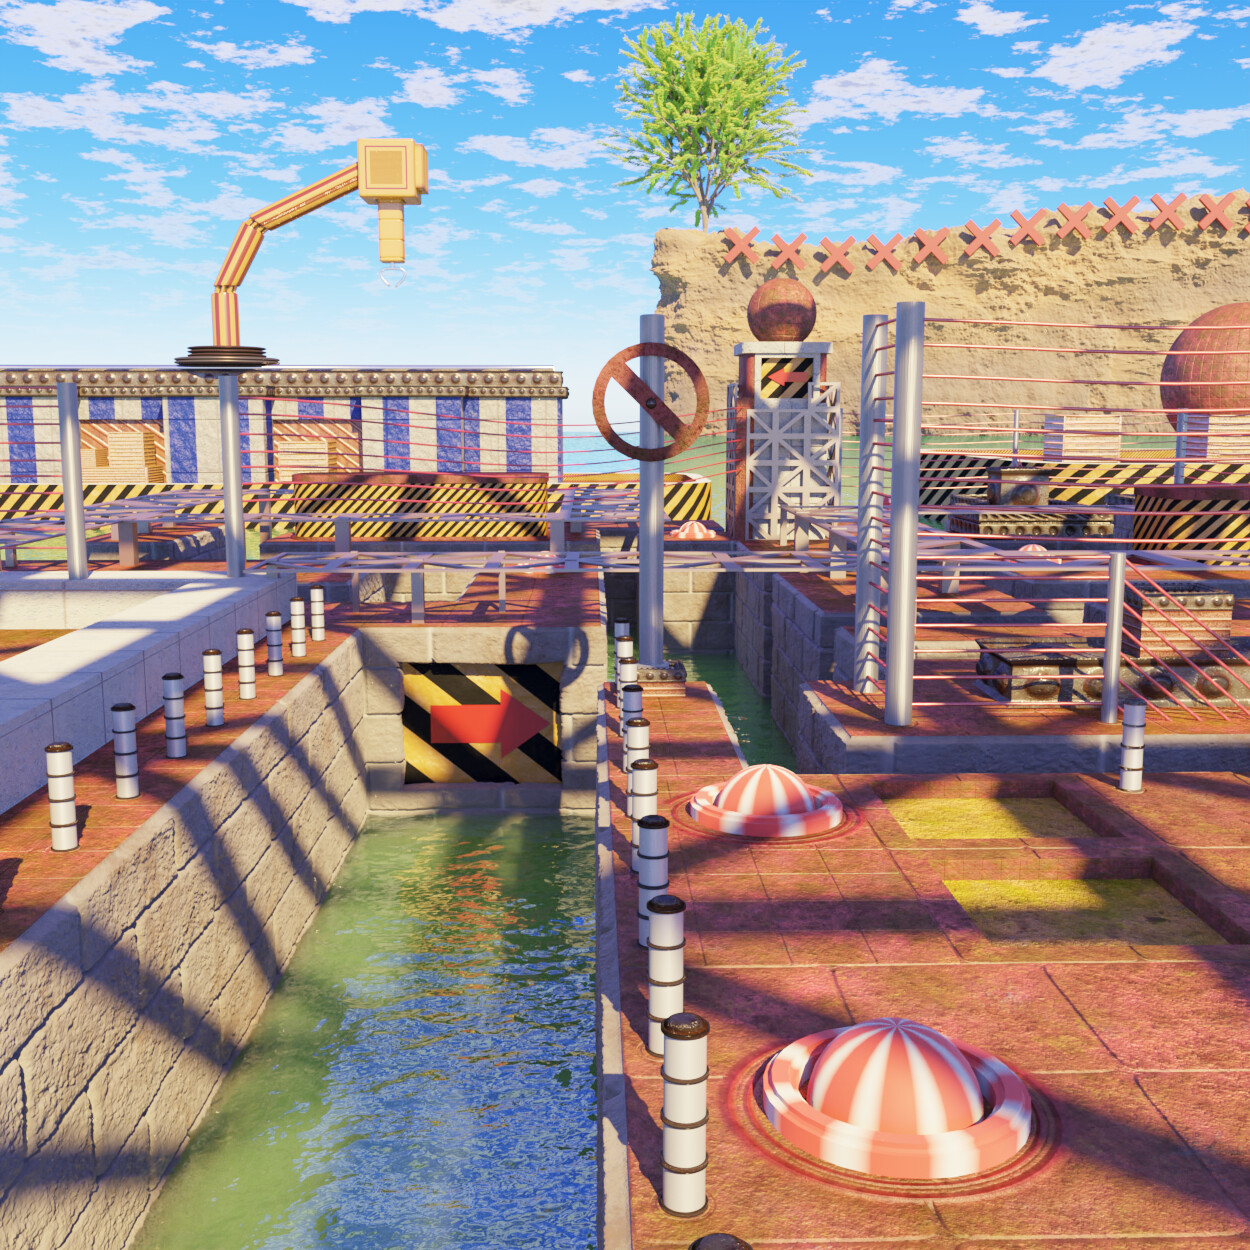
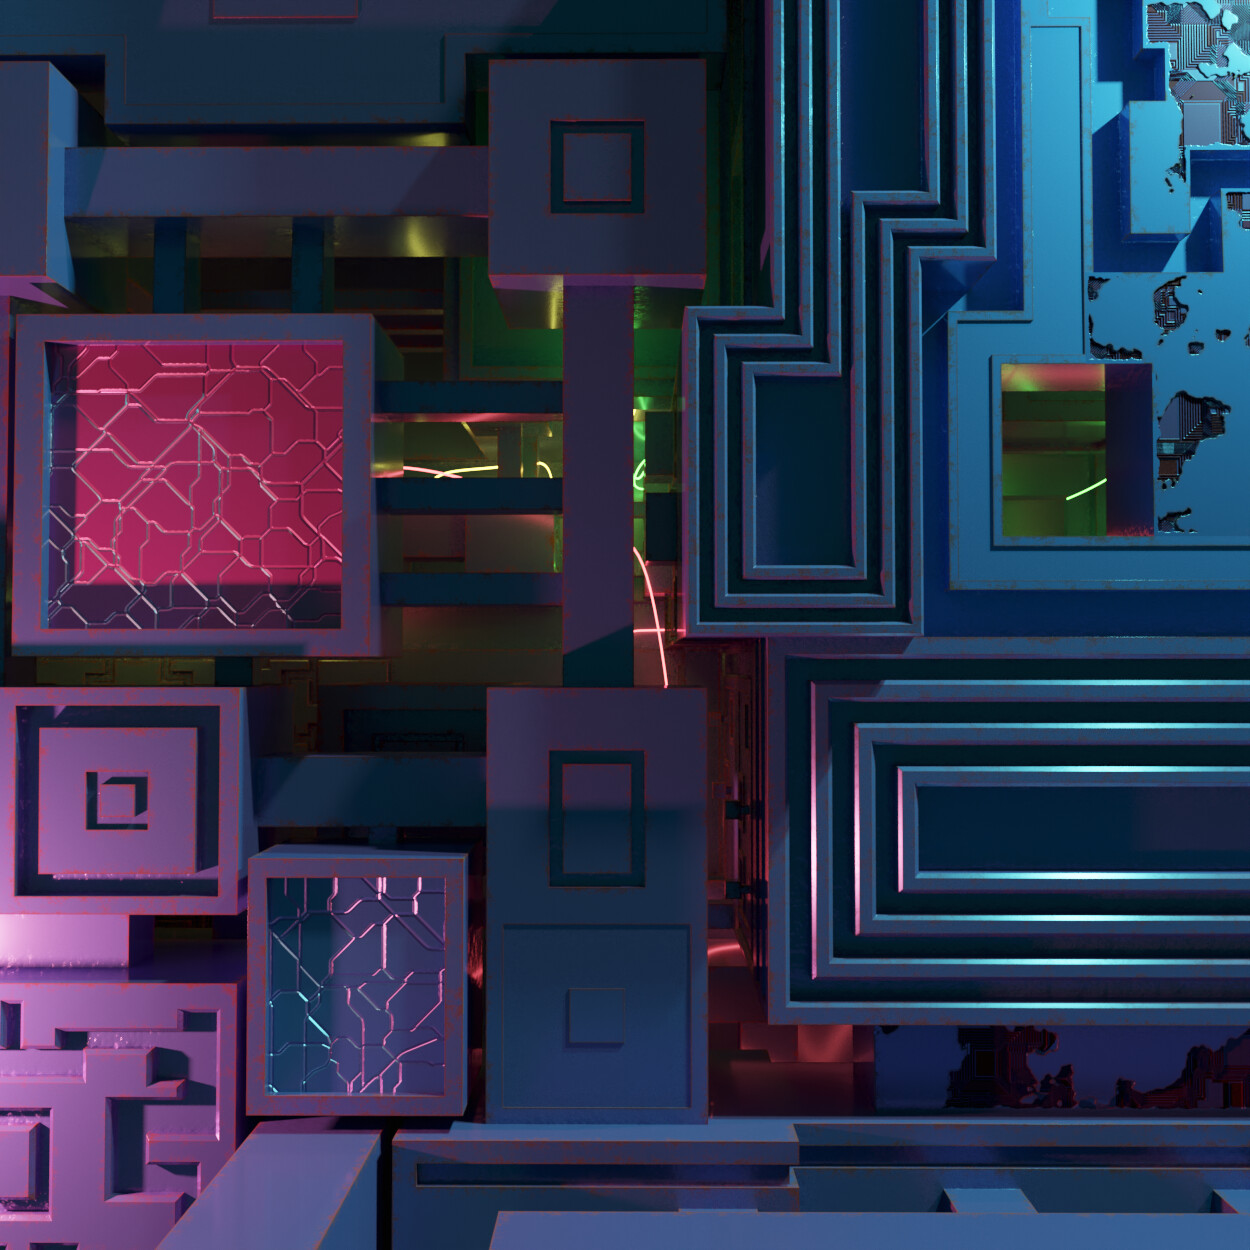
The second of what could eventually be a series of “The ____ ____ Ever” images. This is not an ordinary lock, but a rather secure one that would take an incredible amount of time to fully solve. Technically, I did not actually hash out and visualize a massively recursive system that would be proven to work, but I am not actually building such a thing in real life, so it only needs to look the part.
Give the Blender core team a big hand for their continued work on Geometry Nodes, as the amazing possibilities they open up for curves is a major reason why this kind of scene was possible without flooding the outliner with helper objects and other rigs (that is also not to mention that in many cases the custom modifiers just worked, which greatly sped up the process of creating such detail as well). Even the socket holes in many objects were procedural.
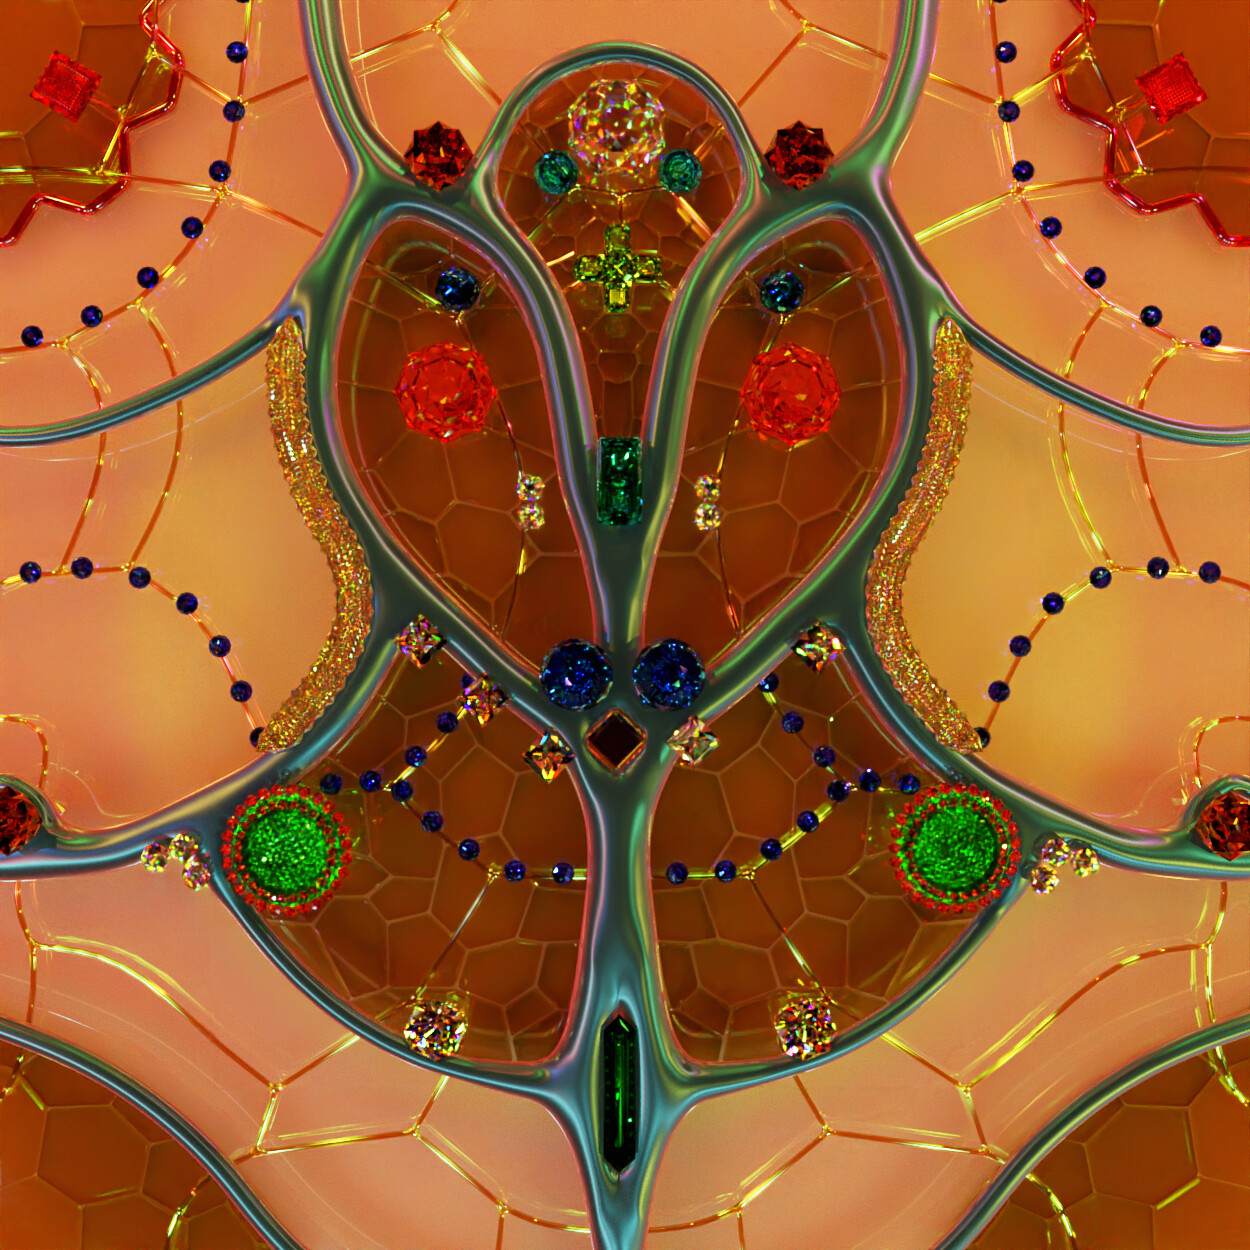
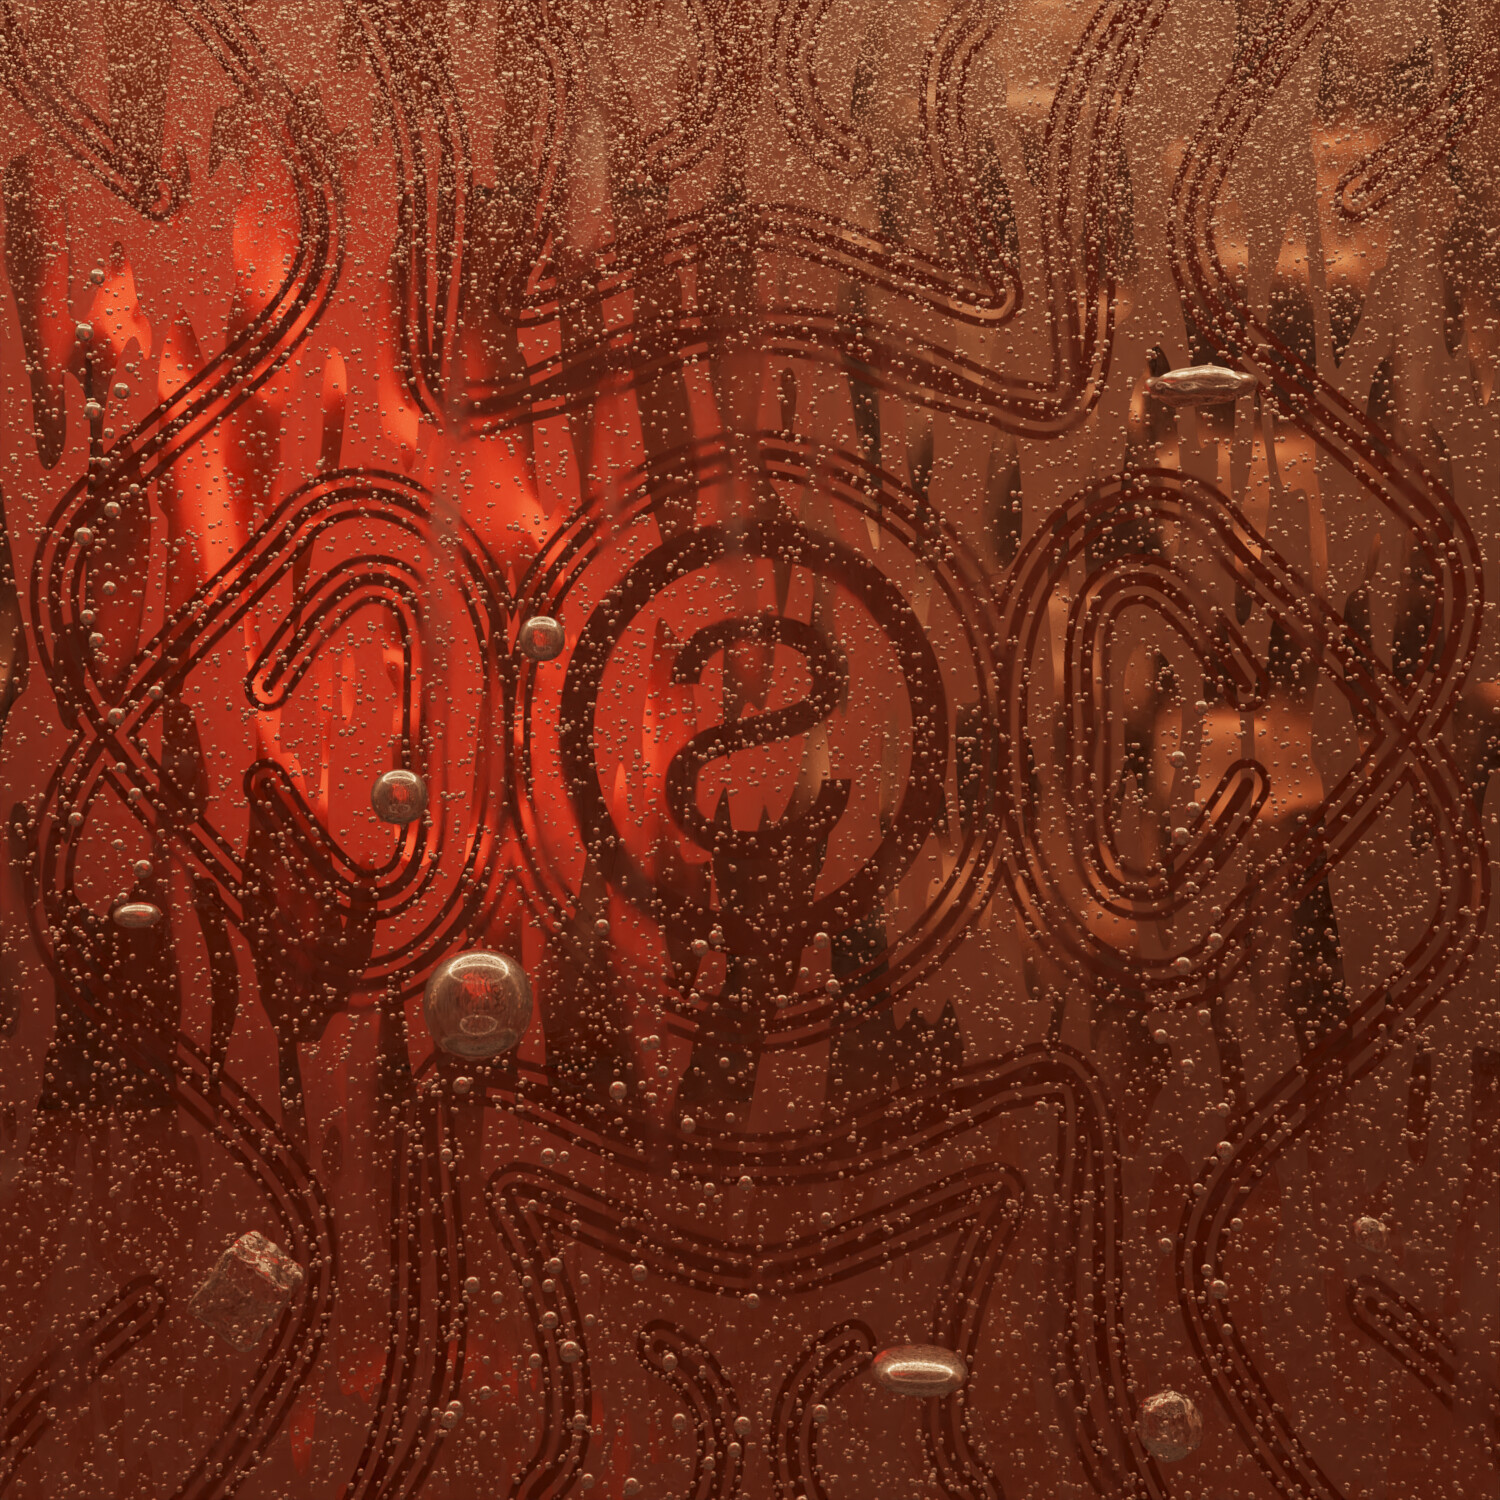
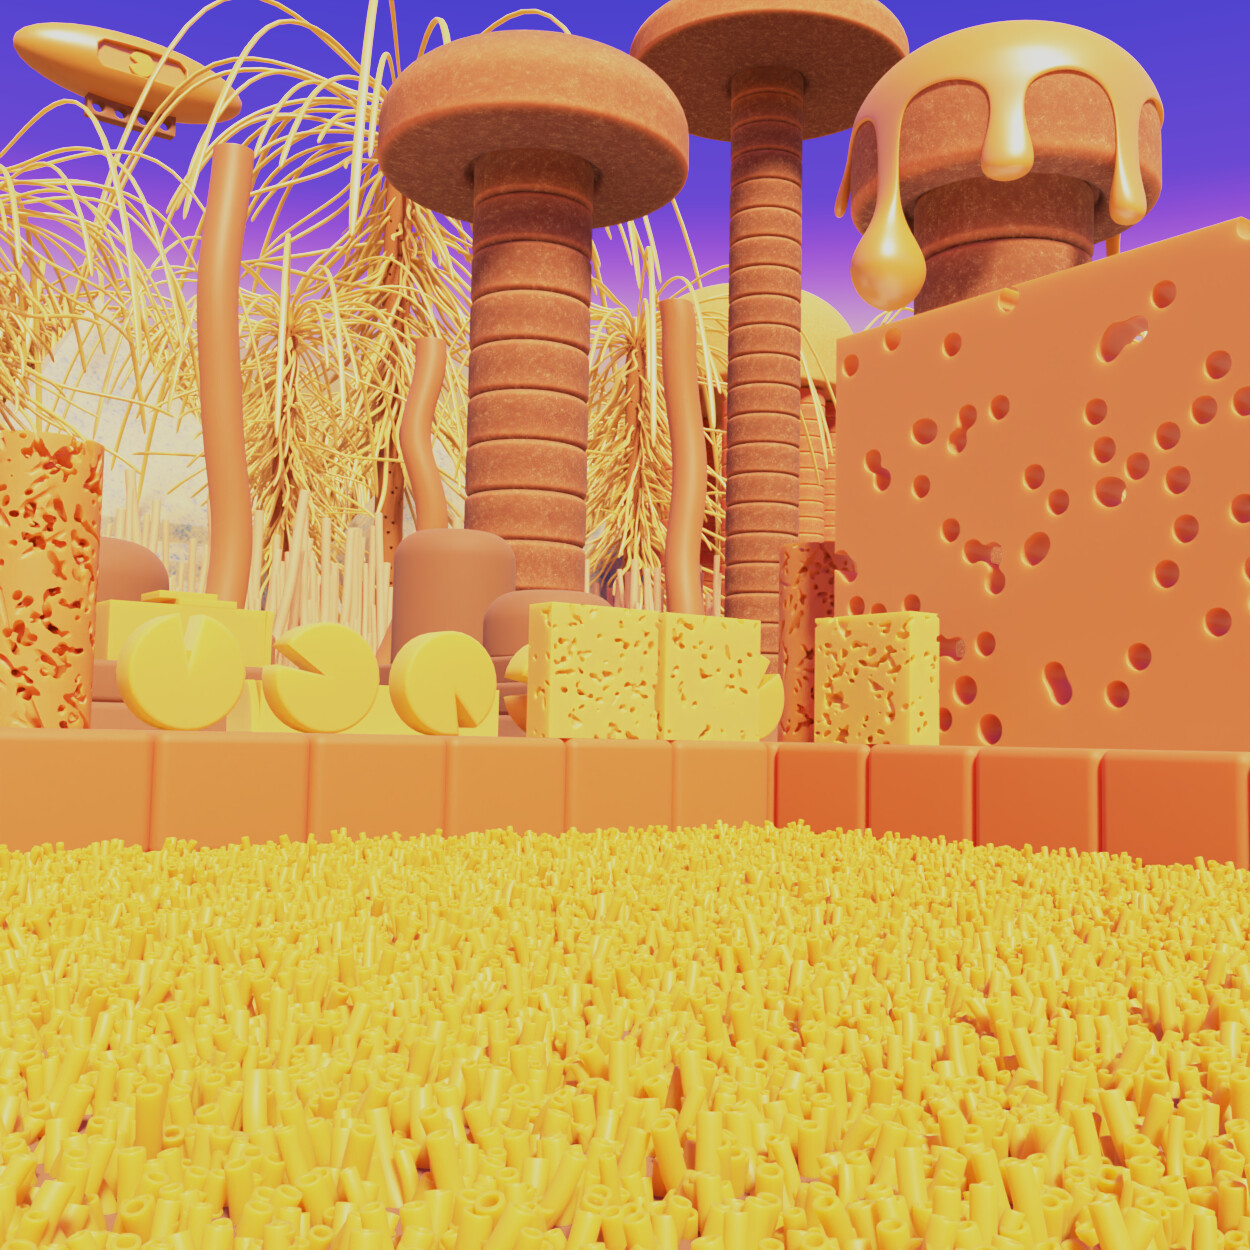
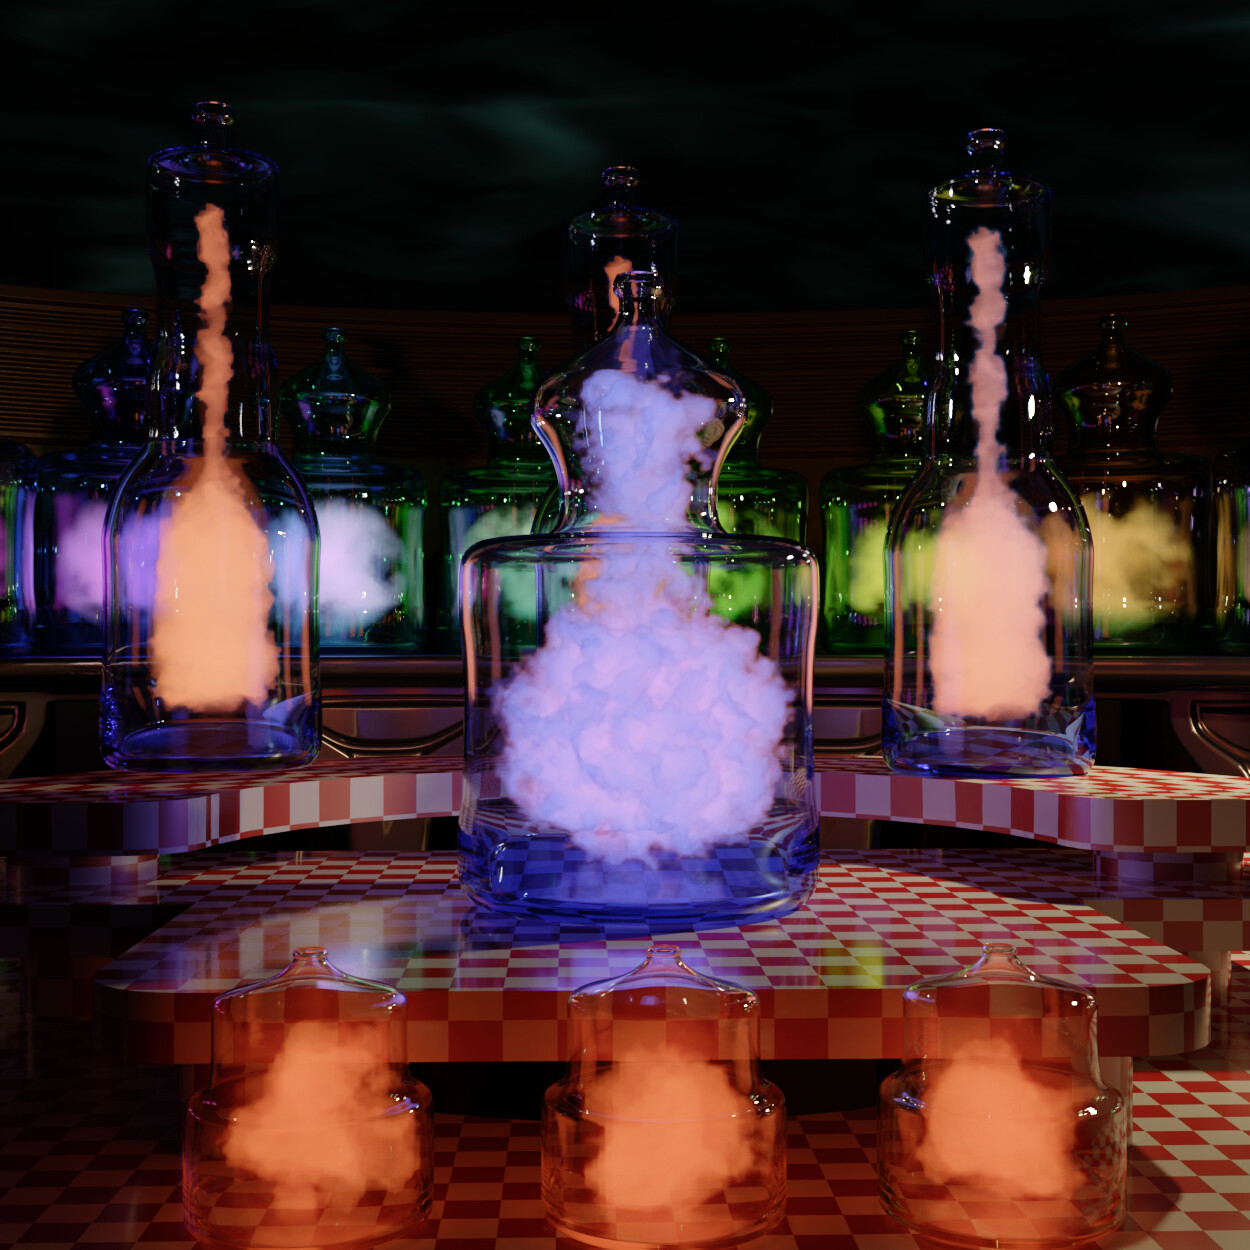
More than a decade ago, when Blender was fairly basic in terms of rendering features (no volumetrics ect…), I made an image designed to show visual effects in a bottle and called it Bottle Effects. Now, especially with the highly advanced AgX tonemapping from Troy making the rounds and Cycles being capable of really advanced volumetrics (with OpenVDB), it was time to make more bottles with even more effects inside of them. The result is Bottlier Effects, with more bottles and more effects. The new tonemapping has a really good impact on volumetrics in general, whether it be simple absorption in the glass material or the smoke. Then there’s the adaptive sampling with the scrambling controls, which worked well with denoising to make sharp yet clean caustics possible.