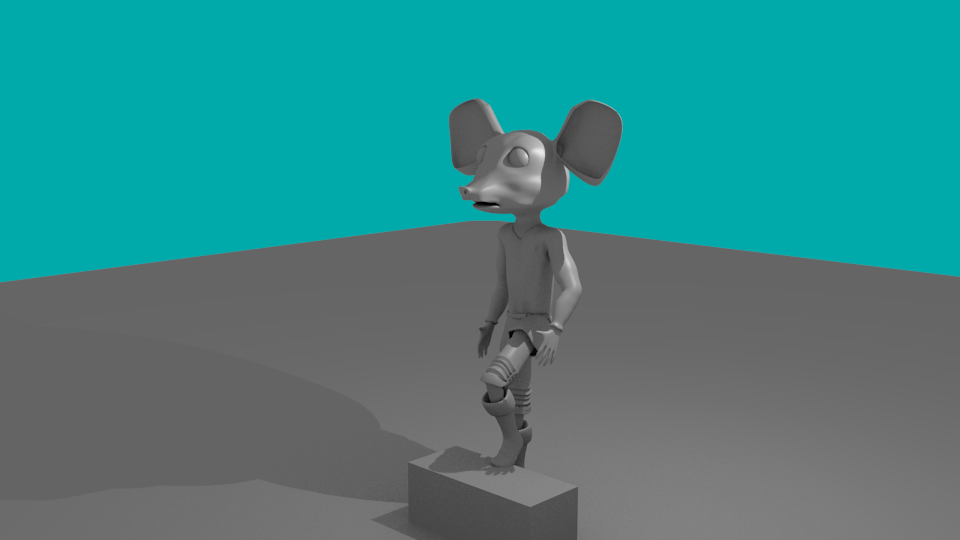
I’ve been trying to rig this mouse model that I modeled for a project of mine but no matter what I do I cannot get the model to rig correctly. Whenever I try to get the hands rigged and useful they get this weird noodle effect or look like Mr. Fantastic Pictures are below any idea how to fix?

If you are referring to how the inside of the bent fingers are collapsing, that’s a fairly common problem. Pose the lower arm back onto the upper arm (so the hand is next to the shoulder) or pose the lower leg so it’s folded back onto the upper leg (foot is around the ass area) and you’ll notice the same problem.
To really see what is happening, start with the default cube and scale 2x on one axis, doesn’t matter which one, but just one axis so you have a rectangle. Add a single bone armature, tip at one end of the rectangle, root at the other end. With the bone in edit mode and selected, do a ctrl-w -> subdivide, now you got two bones. With the mesh in edit mode, add a loop cut at the junction of the 2 bones. Now join the armature and the mesh with whatever method you prefer - parenting with auto weights, add armature modifier and weight paint manually, etc… With that set up, enable wireframe view for the mesh and rotate the last bone in the chain. If you rotate the bone 90 degrees, you’ll see those loop cut verts really collapse and scale down.
Best way to fix this is correct topology and weight painting. Minimum of 3 loop cuts at the junction of any two bones. Never rely on auto weighting, it only gets you about 1/2 way there. I never use auto weights, as I don’t like cleaning up a bad paint job. I believe 90% of deformation problems are poor topology and weight paint.
3 ways to fix the other 10% of bad deformations would be a driven shapekey, mesh deform modifier, or the use of ‘fan bones’. Driven shapekeys I think is the easiest. You pose the character so it deforms badly, create a shapekey and edit the mesh to correct the problem. Add a driver to the shapekey and use a bone’s rotation to drive it. You’ll probably need to get into the graph editor and create a custom curve for it to work best, which is always fun… yea
Mesh deform modifier requires a 2nd lo-poly mesh over the character’s mesh and it’s deformed by the armature. Areas of the mesh are set up to be deformed by this modifier instead of the armature modifier via vertex weight groups. Works well with fat characters, I used it on a cartoonish fish video tutorial I created for just the body of the character, and the face used a normal armature on it.
The fan bone idea, in this case since we are only talking bad deformation with a bone rotated in one axis, like a finger, is to add an additional bone at the junction of 2 bones. This additional bone rotates and scales as the control bone is rotated. In the case of a finger curl like your pics show, it would scale along it’s length and would be weight painted to the mesh.
Follow the Vimeo link in my signature and look for the cartoonish video tutorials. Lot’s of videos there, but the rigging parts of the body, I show how to use the mesh deform modifier mixed with a normal armature. In the face rigging parts of the tutorial, I show how to rig up 2 shapekeys triggered by one bone. The first key engages as the bone is rotated, then when the bone is rotated further, another shapekey builds on top the first.
whew…
Randy