Hi
I try to do this, but i’m stuck at step 6: the paint does not appear here
Can somebody tell me what’s wrong?
My file is here
Hi
I try to do this, but i’m stuck at step 6: the paint does not appear here
Can somebody tell me what’s wrong?
My file is here
Is this something like what you’re looking for?
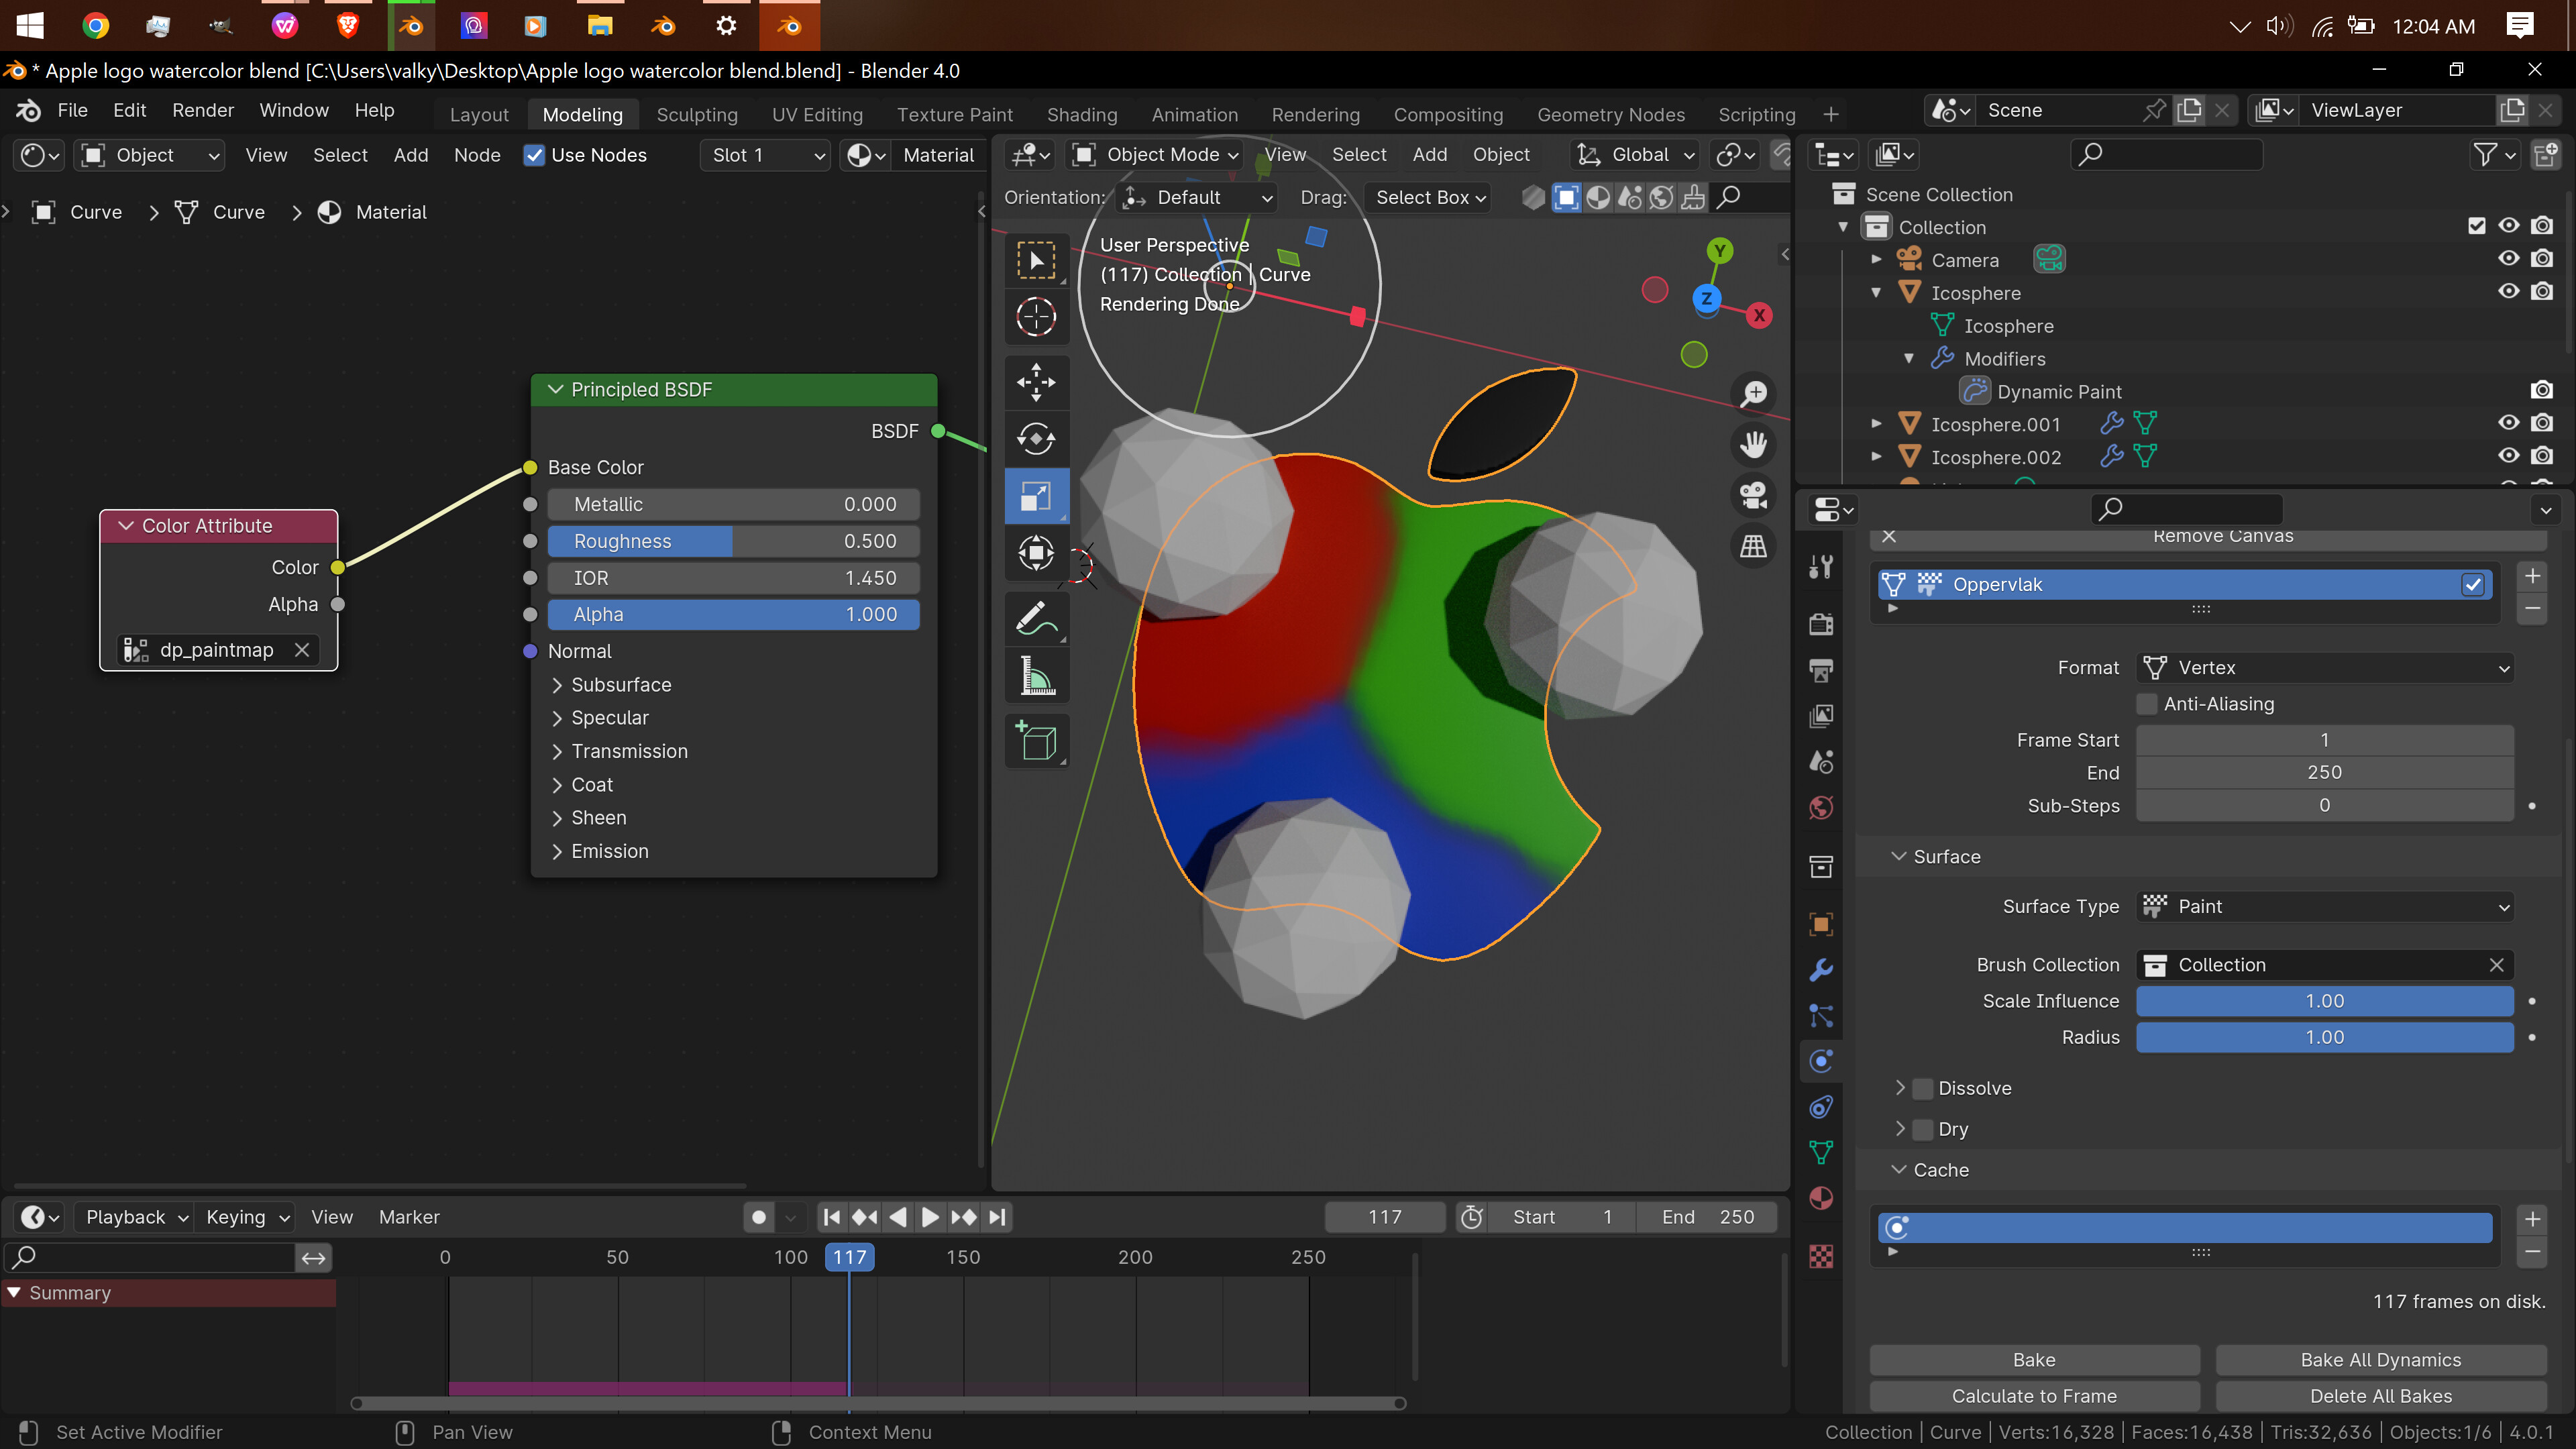
I loaded in a color attribute node in the shader editor (material on the apple) and put dp_paintmap in the slot. I tested it in real time, and it seems to work. Once I got the red one working, I duplicated it twice and changed the color around, and added “Collection” into the “Brush Collection” slot on the apple.
I did this in Blender 4.0, the other version I have downloaded wouldn’t open your file.
The tutorial also talks about it in step 7:
What version are you using?
Blender 4. Thanks, now i’m 1 step closer to finish it!
Anybody knows step 7?
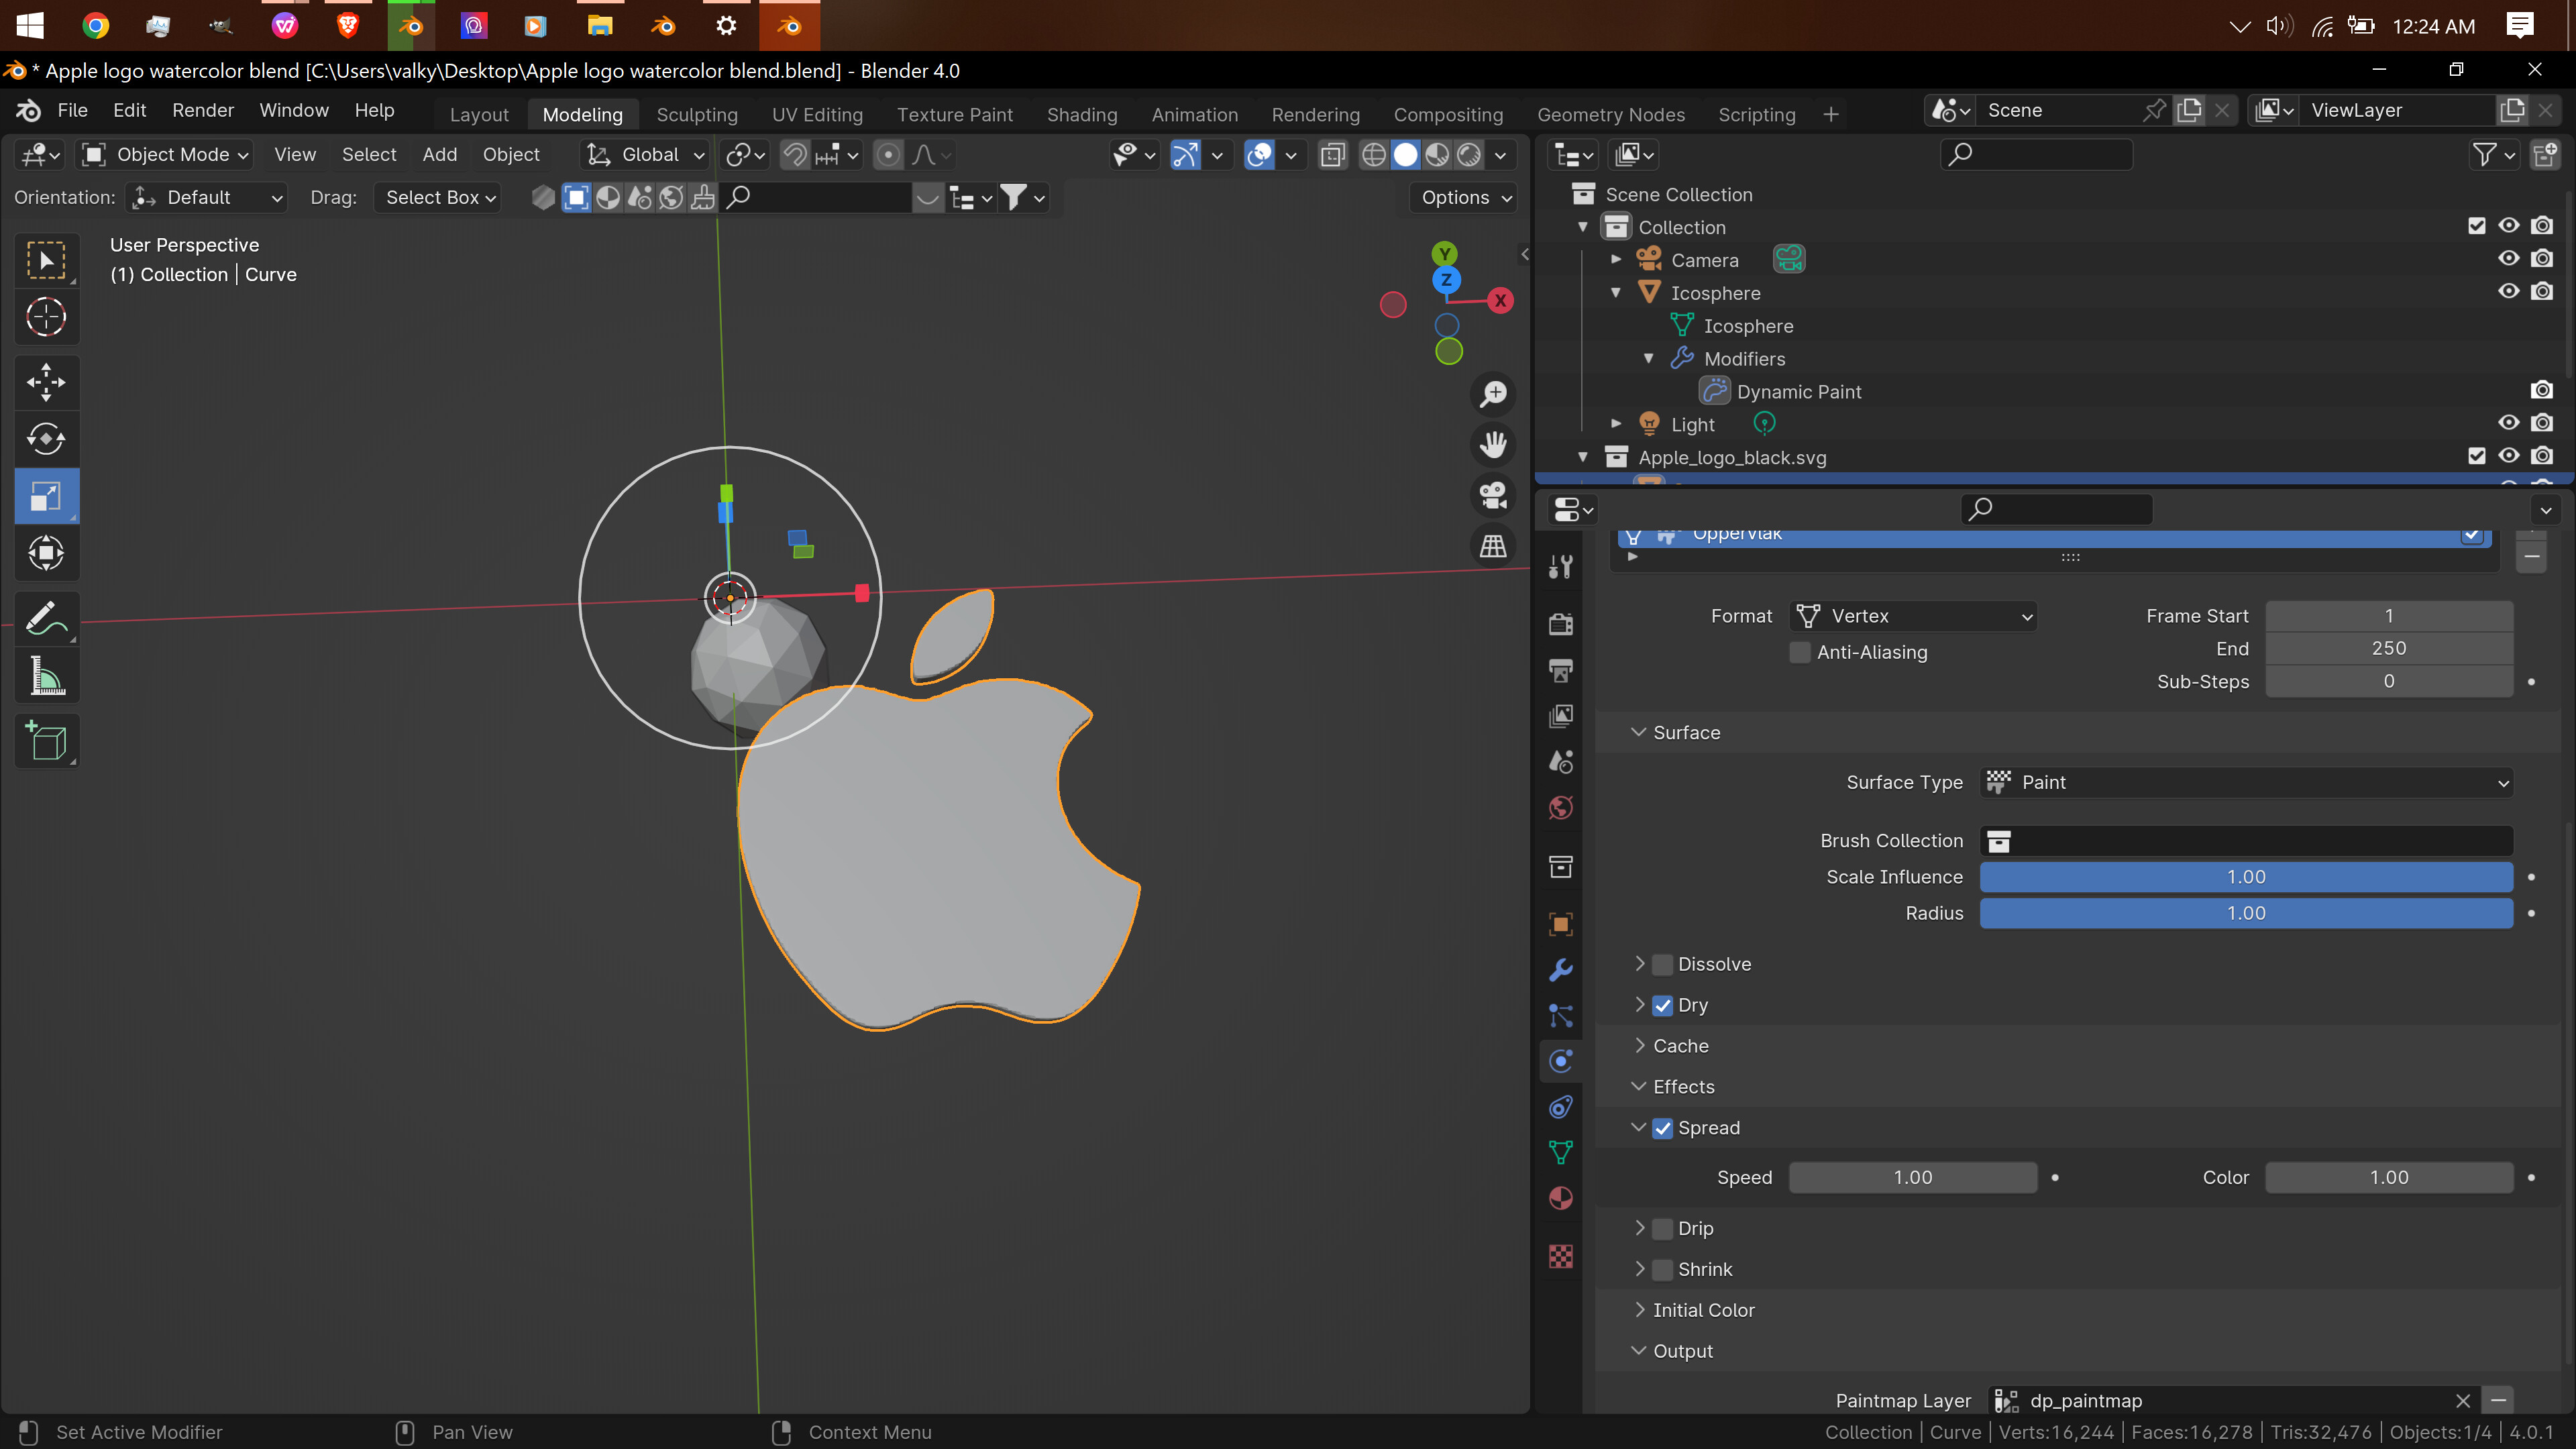
I also turned on “Spread” under effects, forgot to mention that, sorry.
Where is this?
On the apple:
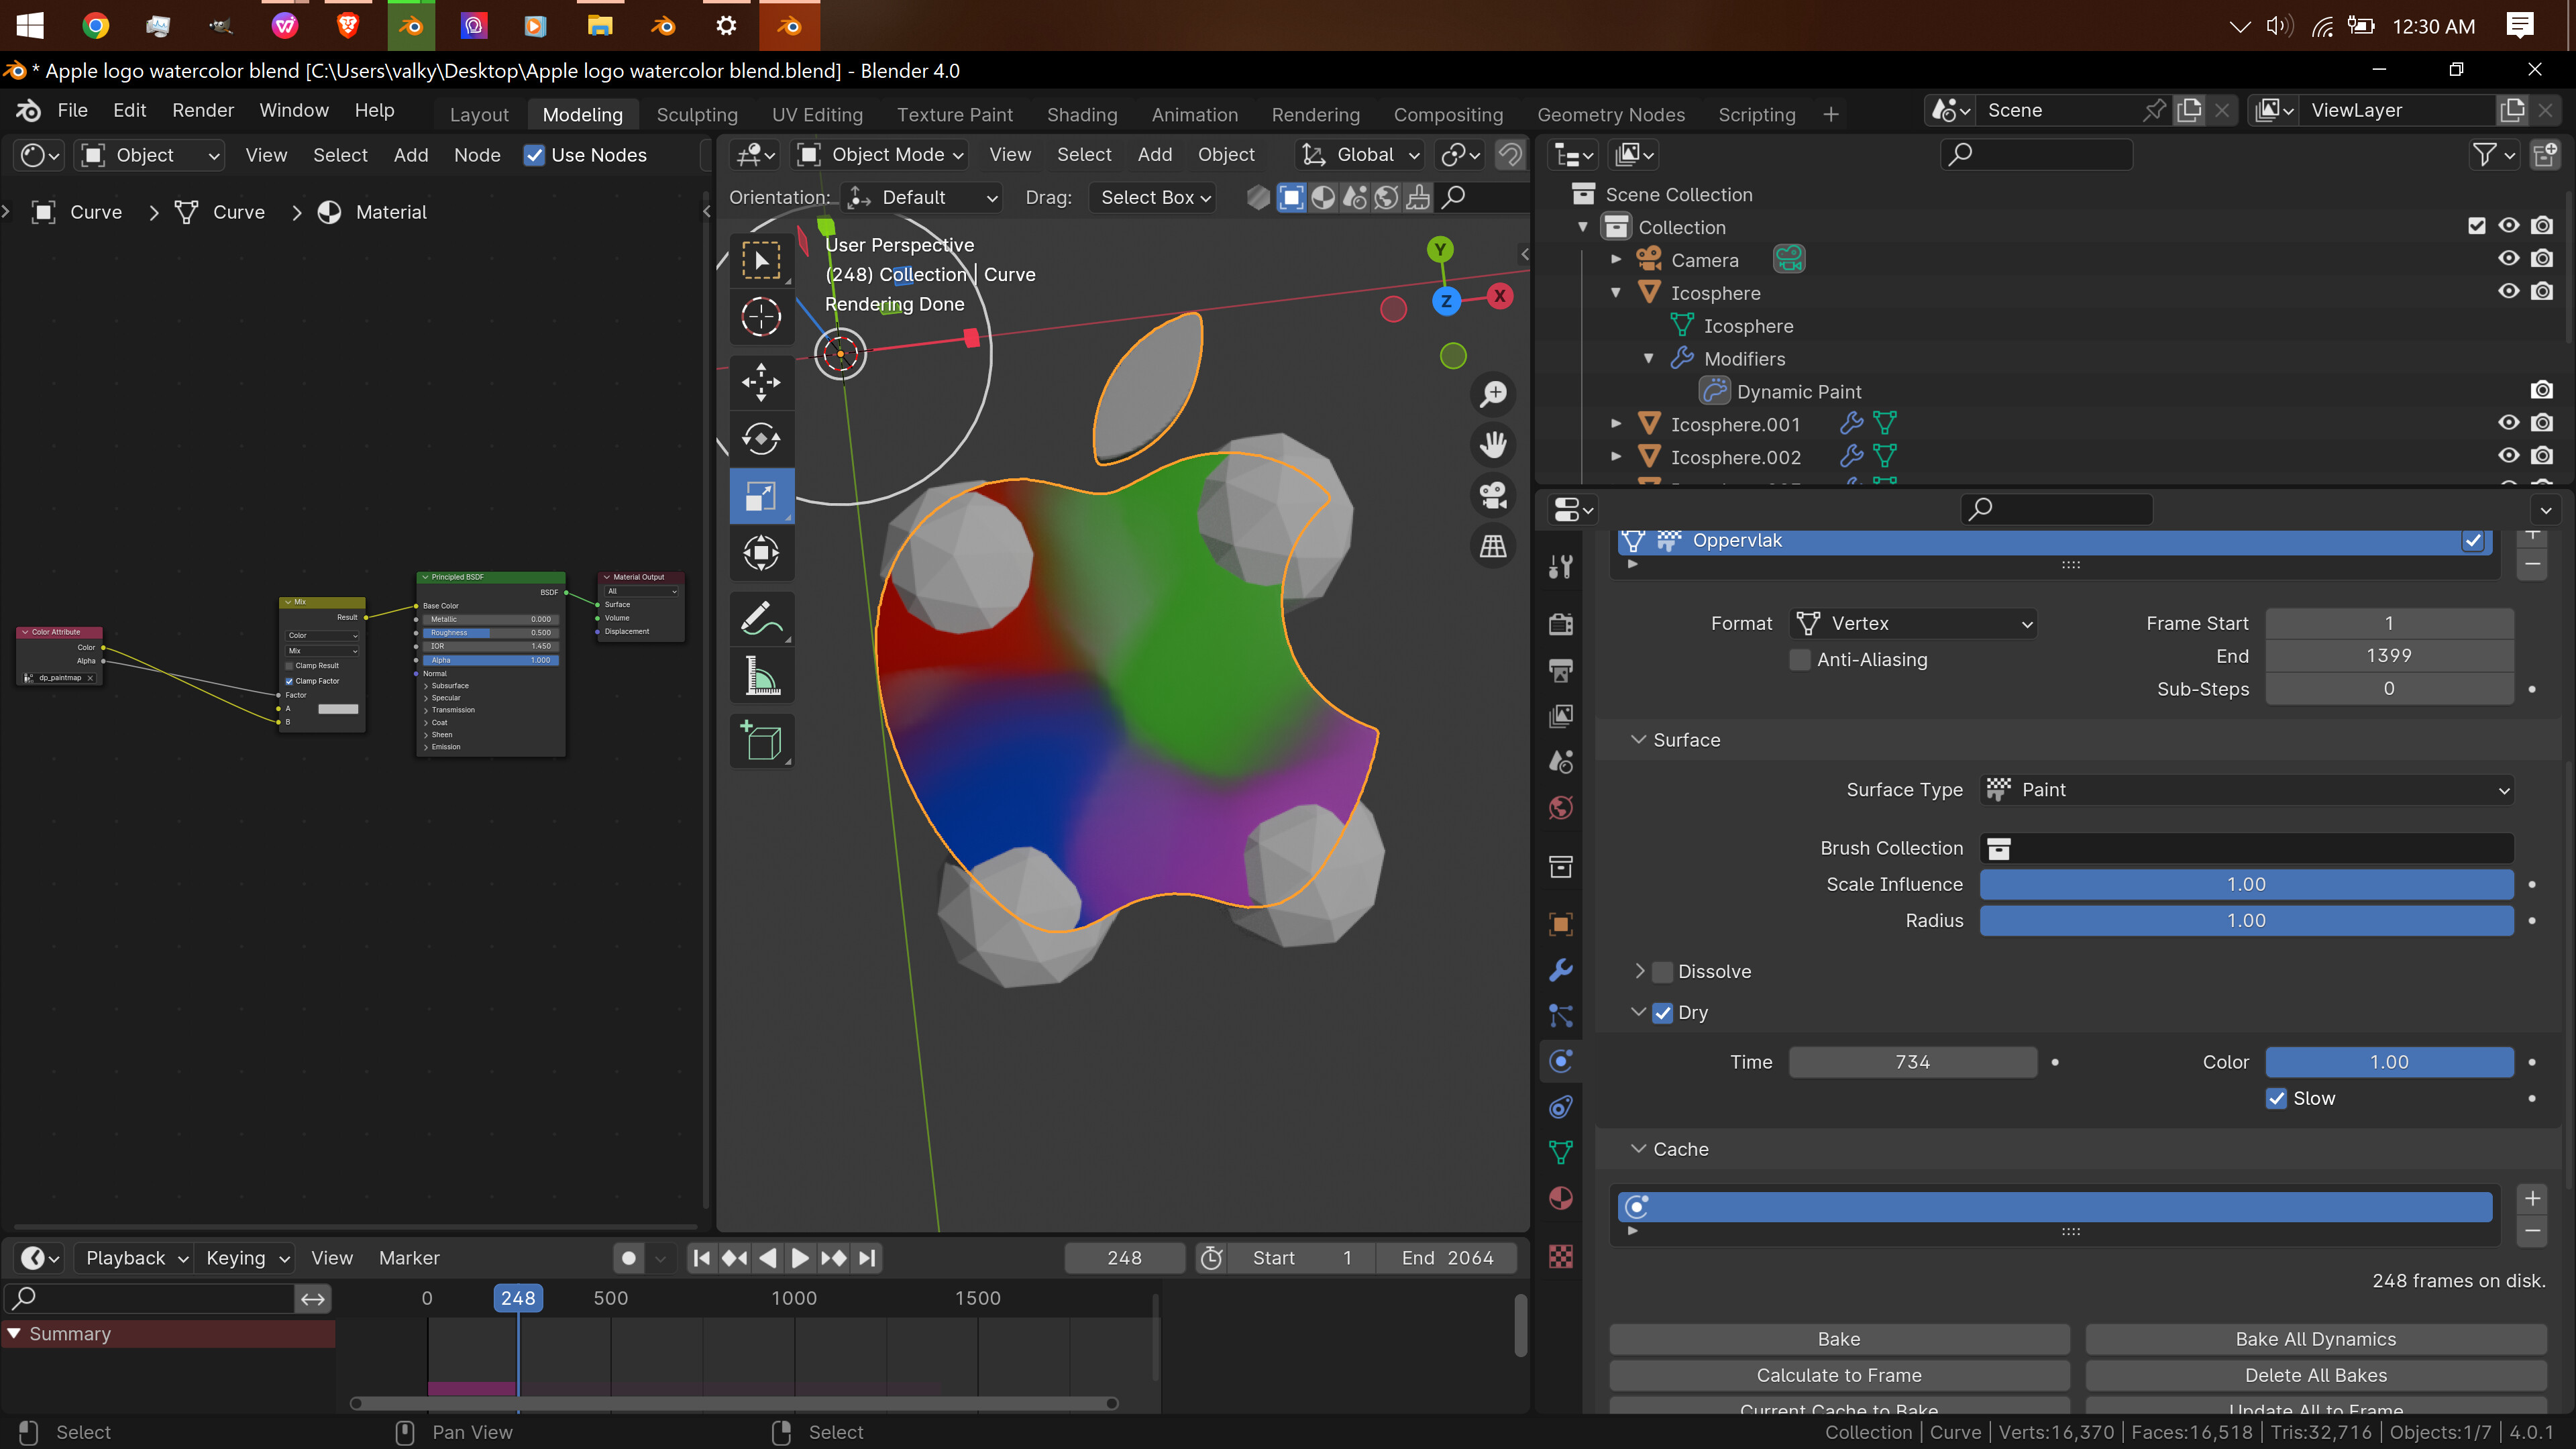
You can try playing around with a material set up like this:
To get rid of the thing where the apple turns black.
I’m reasonably sure step 7 is a different way of doing what you just did here.
Can you make the material screenshot bigger? I don’t see it ![]()
You can also click the image to bring it up, and then click it again to enlarge it, if that’s still not big enough.
I added a color ramp to up the contrast on the alpha map. More black = more apple color, more white = more paint color
Thanks a lot!!!
I’m still wondering where the original settings for step 7 are or if they are gone in blender 4?
If anybody knows, please let me know!
You’re welcome. ![]()
I can’t make it work. blender 4.0.2
Can you see in my file what i am doing wrong?
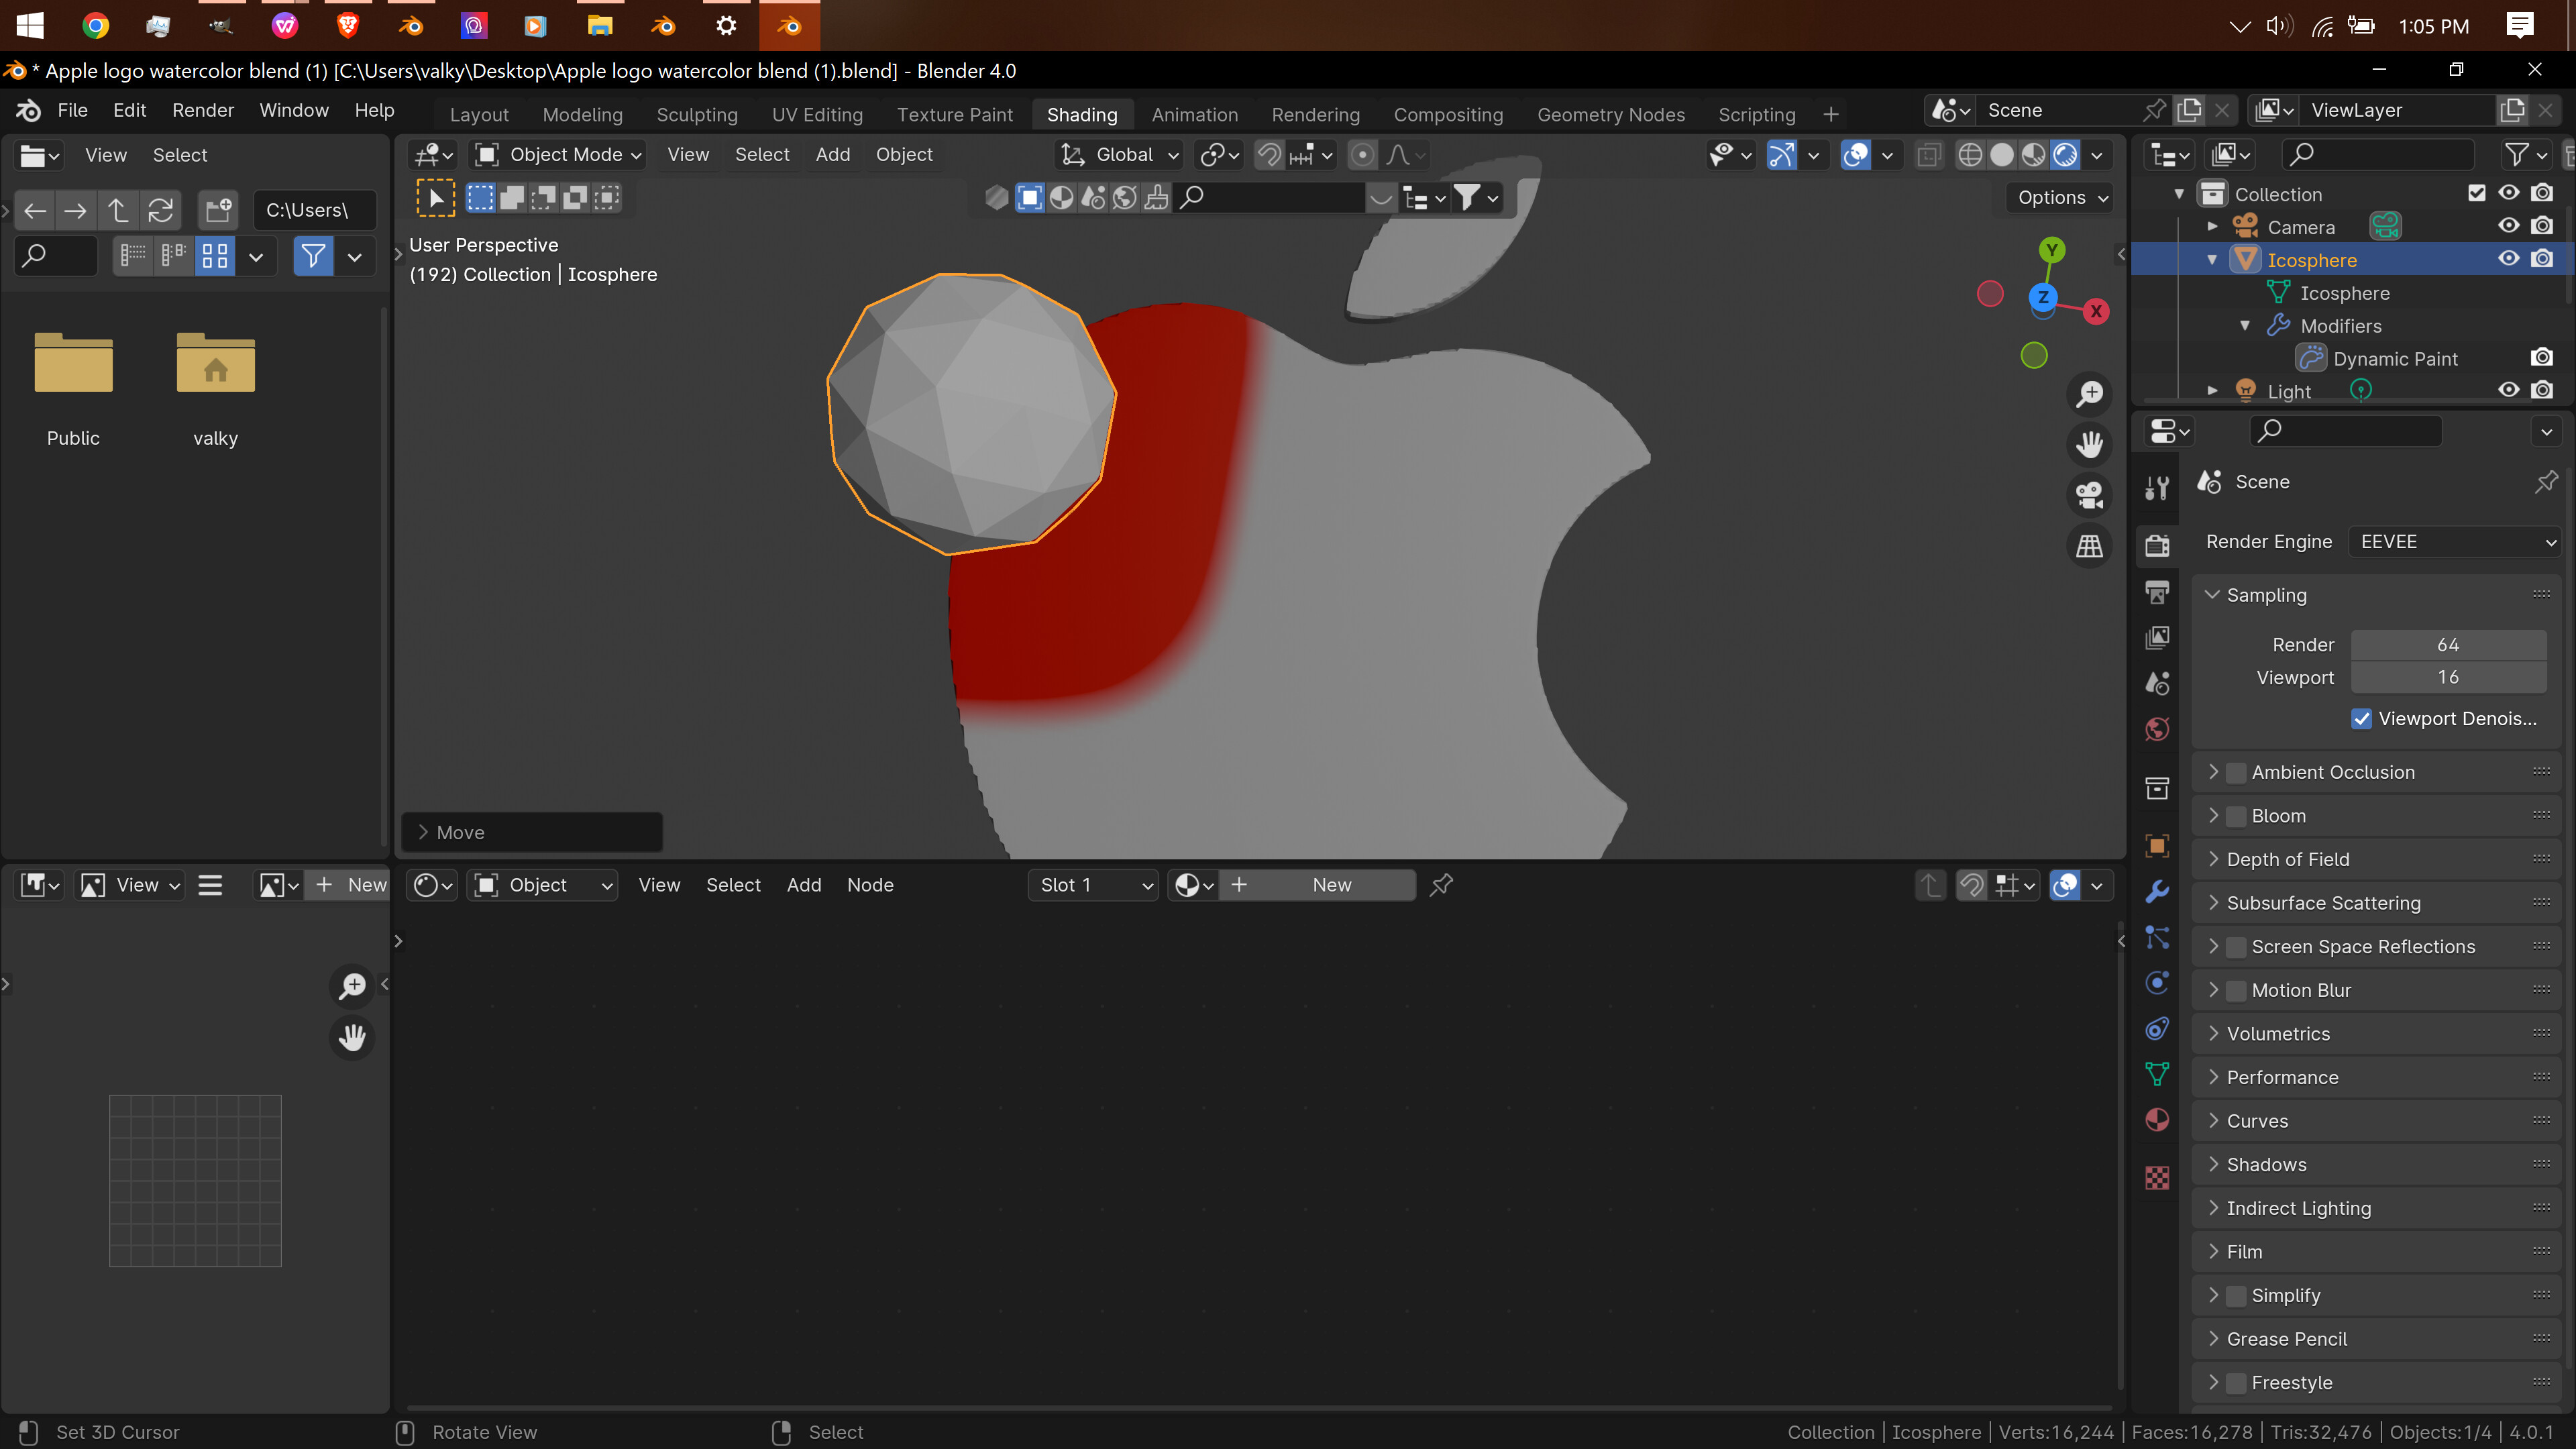
Works fine on my computer. The only thing I changed about your file was bringing the sphere into contact with the apple. It won’t work if the icospheres aren’t in contact with the apple. You do have to press play to see the effects.
I believe you will find that Vertex Color Paint is the Color Attribute Node now.
I am not certain but the Vettex Color Light may be adding them to an emissive Node ( or dot in the Principled-shader node) as they did in Special update Using Blender Cycles ( that is the whole step 7)
What does this mean to add to the current file? Feel free to change it and upload it here.
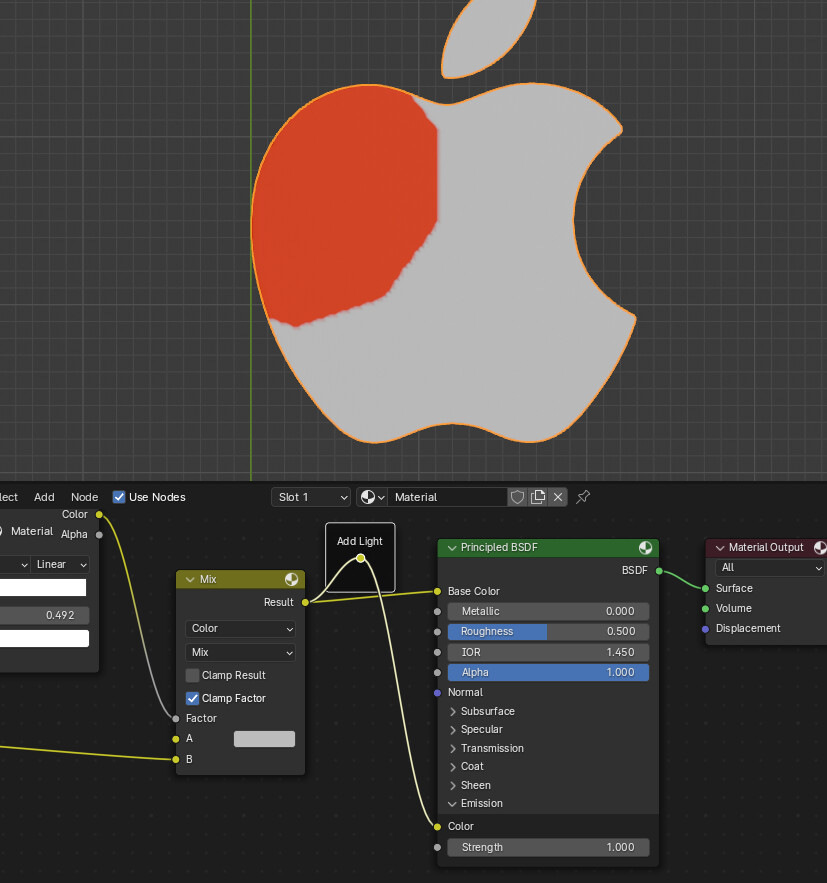
Since you had everything I just made the same changes to your file as @G_De did and to finish off the steps in Step 7 for Vertex Color Light, you just have to add the Color to the emissive dot as well…then it would be following the Update for Principled Shader with Cycles Render…
( That is what it means “To add to the Current File”)
sorry, i’m a beginner.
I nevrer saw ‘add light’ node. what is it?
That’s not a node, it’s a point in the wire with a label added to it.
The wire it’s labeling is plugged into the color slot of emissions, so it’s telling your apple that it needs to (simply put) glow in the colors that are coming out of your mix node.
and to add, it was an option on Vertex Paint back in the 2.xx days, it doesn’t exist in 2.8 ++
how to make step 7 in blender 4.0?
You don’t. You’ve already done step seven, using the tools that blender 4 has, at least so far as I understand it.