can I apply hair dynamics at a particular frame so that the start frame is in fallen position? and so that it is in the correct position when I activate the grooming tools?
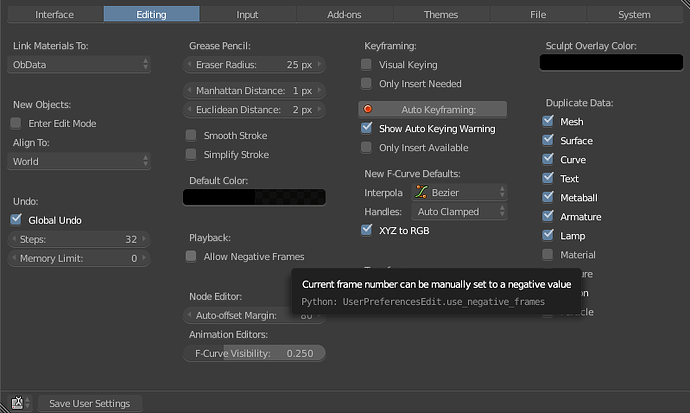
thanks Richard, I tried that but there seem to be some problems with negative frames and particles. I set both frames and cache range from a negative value to 1, and for some reason it either remains static, or leaps forward to frame 1. could just be that it hasn’t been developed.
(edit) looks like I am not able to select frames in the negative range at all…could be something wrong with the file…i’ll make a test setup and see if I can figure it out.
(edit) started a fresh file…with or without a particle system, the negative frames seem broken. trying now with an older version…
(edit) same behavior in an earlier version…not quite sure what the deal is.
(edit) ok, here’s something…it works with the play buttons, but not the arrow keys.
(edit) also, using the play button, the hair dynamics still begin at frame 1.
that must be it. thank you.
better, but I am still experiencing glitches. I will try again later.
(edit) yep, further problems when attempting to groom…I think I’ll put this aside for the time being, and focus on other ways.
I have concluded that the best solution ( that I am aware of ) is simply to start with just a couple of hairs, then patiently place individual guide hairs using the add brush in particle edit mode, combing them one or two at a time in vertex edit mode as you go, coming as close as possible to the desired shape that way. trying to use physics as a short cut just cost me time.
It’s generally best I think to create the “rest pose” of the hair by hand rather than trying to get physics to do it. Like a real hairdresser does 

