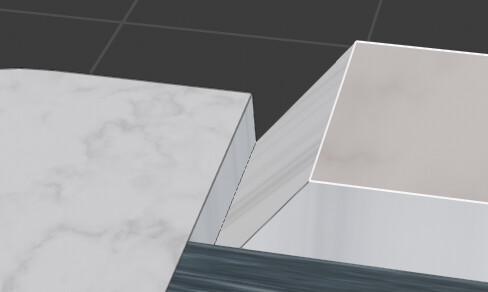
As you can see in the picture on points 1 and 3 the texture is correctly applied to say so, but at points 2 it isn’t. It acts like they are separate objects. I would want it to be applied like it is only one object, so a continued texture on all of those points. I can achieve that effect by modifying texture coordinates from UV to generated, but that distorts other parts of the object. How can i solve this?
The blender file and textures can be downloaded from here: https://easyupload.io/x4wtyw
The geometry is not contiguous so what do you expect?
You can always manually edit the UVs to make the texture appear continuous. Alternatively, you can make the geometry itself continuous and then auto-unwrap the UVs again.
The geometry? Start by deleting the faces that are not seen on the outside, then join overlapping vertices, finally add new vertices with the knife tool.
I have tried doing that to a super simple geometry and i’m still not doing it right… It works well on a cuboid but when i bevel the corner, because of the edges that are created i get a distortion
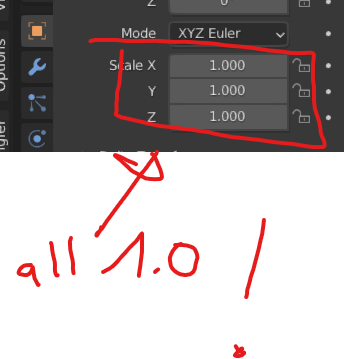
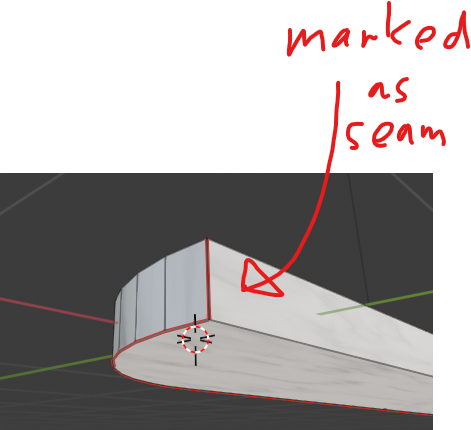
I applied the scale of the object (always do this, especially do not work with non-uniformly scaled objects), marked certain edges as seams and then UV unwrapped:
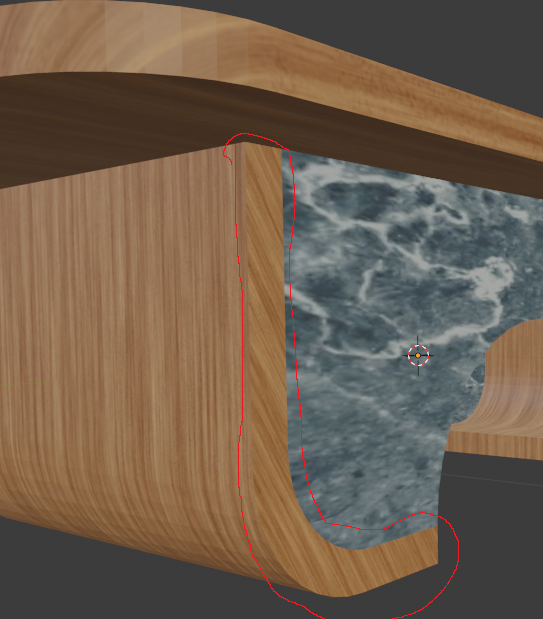
Final result (from this side at least the texture is continuous. obviously, it cannot look continuous from every side, because of the necessary seams):