It does take a lot of time, bu for me it was worthy it  Mine took about 2-3 days or so
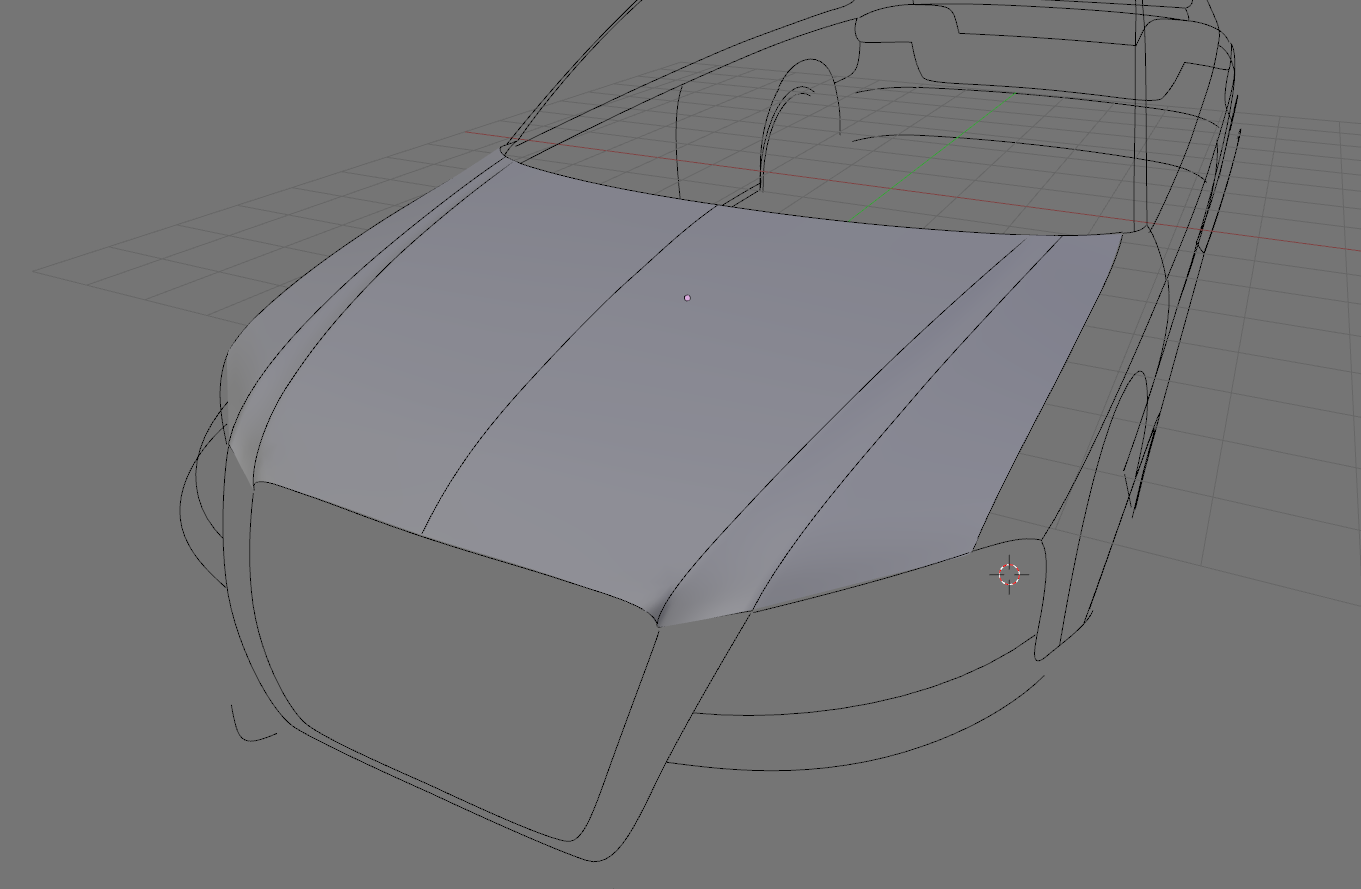
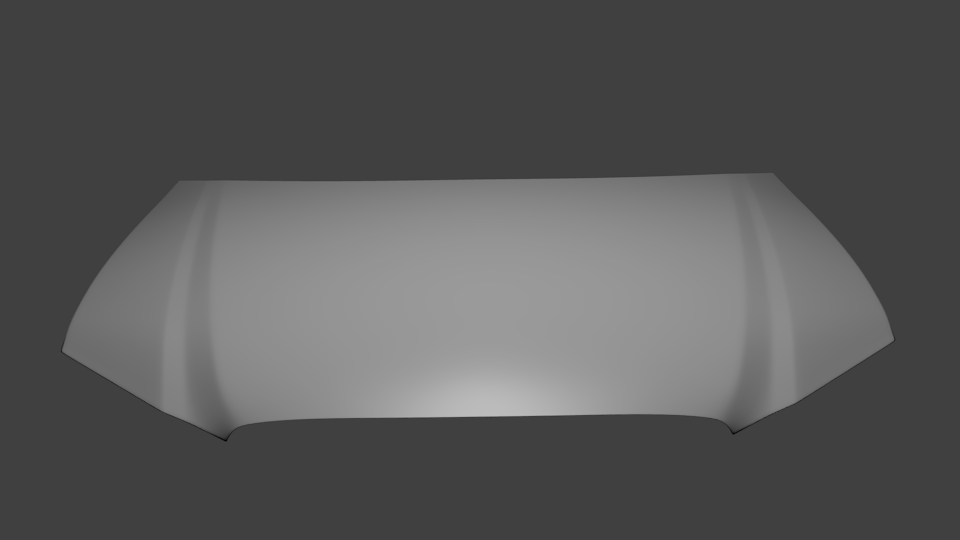
Got tired of doing the cage so I decided to make a start on the bonnet. The mesh still needs to be sorted out at the very front of it but it’s starting to look like the Audi one.
Attachments
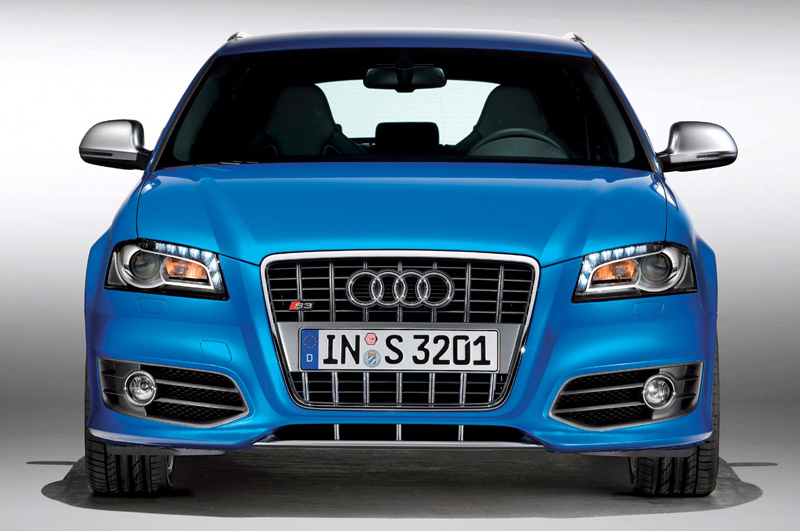
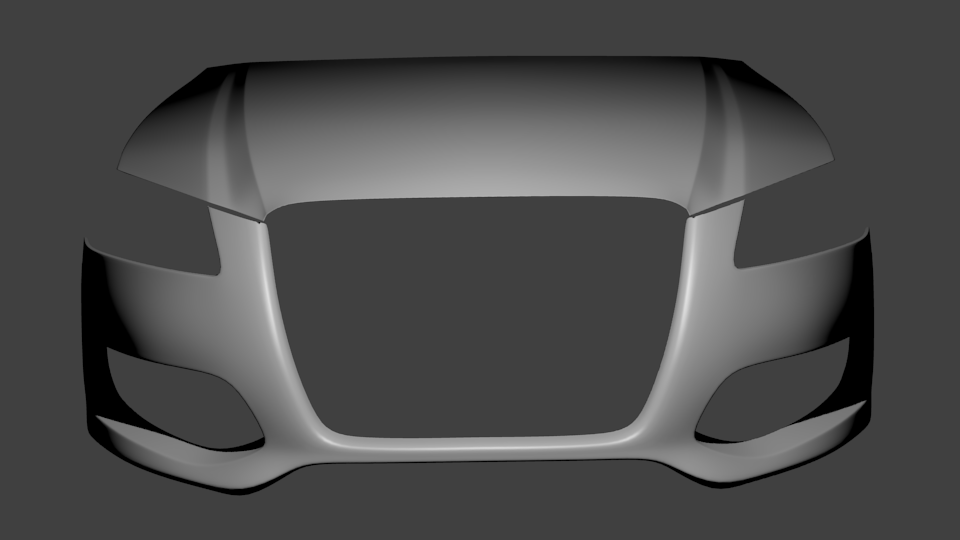
Hmm…you probably know this already, but I’d say be careful with the topology in that area, on the A5 it gave me quite a bit of trouble initially - it was a bit tricky trying to get a smooth-yet-sharp combination of those three surface features (the front of the main bonnet shape, the curve into the headlight area and the transition to the bumper). Okay, not the same model or year, but the features look quite similar.
Anyway, looks good so far! I really have to try out the cage-outline method on my next car model… Think you could post some wire-shots on your next update? Everyone loves wire shots 
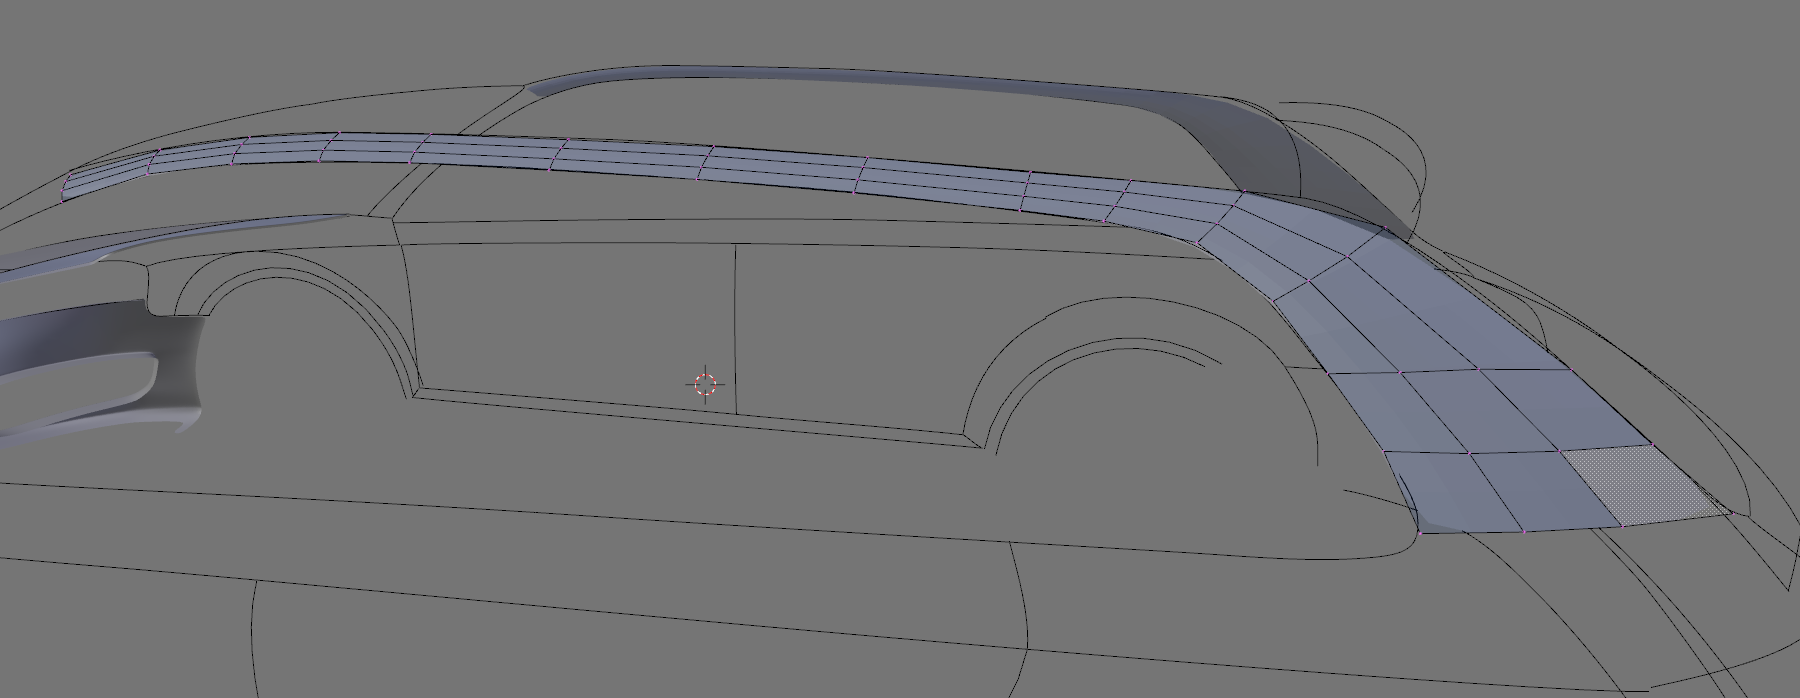
I think the tricky bit will be where the sharp line ends at the end of the bonnet (right where it curves).
As shown here:
I think I’m getting there. It still needs more polys but overall the shape is looking sehr gut!!
Attachments
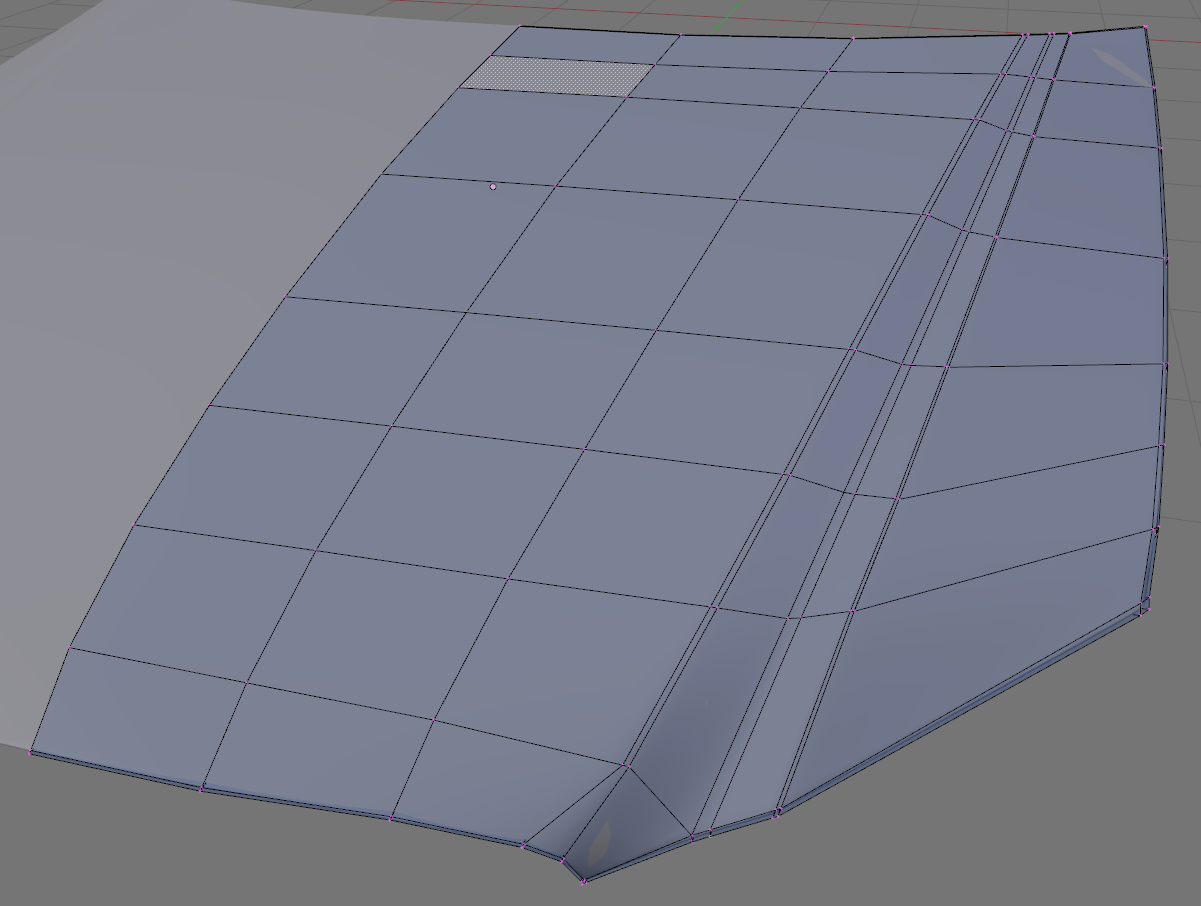
That’s actually the area I meant :yes: Topology looks good!
EDIT - I’ve been meaning to ask though, I’ve seen quite a few car modellers around here say that they apply a Lvl1 Subsurf once they get the base topology down… I haven’t used this process yet, so I was wondering what the pros&cons are…?
I don’t really use the Level 1 sub surf method to be honest so I don’t know what the pros and cons are. You’re better off asking them instead, however the way I see it you can model a car in numerous ways depending on what is comfortable to you. 
What method do you use? I usually start with subsurf lvl.2 from the very beginning.
I only know of two, myself and Tyrant Monkey, who apply a sub-surf lvl 1;
There aren’t any cons as long as you keep a copy of the mesh before you apply the subsurf.
Applying a subsurf won’t fix problems; it might even highlight some and will certainly make it more difficult to fix any issues. It’s a great method for getting the mesh density required for fine details; modern cars have shed loads of tiny crap all over 'em. 
I don’t use a sub-urf at all until I’m some way into the modelling process. Neither do I shade smoth straight away.
It’s a fairly common practice with the guys over at, I think, SMCars.
Find a method you like, and hone it; always check out other methods, after all we continually learn.
+10 to that!
Thanks for the info WB ![]()
I hope you don’t mind the slight thread highjack GrandeP…Philippe its not really a technique I see a lot of here on BA a few 3dmax guys do it but I think they would call it collapsing a 1lv turbo smooth. The one thing I have noticed at smcars and cg-cars is that the advanced and highend cars can be pretty dense but how do you get that density. Density is good because it takes away a lot of pinching problems.
Doing it by edge extrusion is not the way to go, with high density from the get go, you will be fighting your mesh from the get go. So you create your basemesh first and here people tend to split into two groups one camp will increase density by loop cutting and smoothing(vertex smooth) and the other camp will apply sub-d in Blender I would advise using creasing to keep key edges sharp.
…A guy who does the whole apply sub-d/collapse turbo smooth thing real nicely http://www.smcars.net/forums/wip-critique-3d-stills/38166-daa-bmw-m6-f13.html . I think there is another excellent modeller called Erik S on both sites who I think goes the other route but both these guys start with a base mesh.
I am not a fun of starting really high. On BA I think this is where most car modellers go wrong the start really high poly than they have inaccurate monster meshes that are a real pain to smooth out. The more vertices you have the more you tweak. so you want to add vertices when when the ones that are there are already clean and tweaked.
Looking good.
BTW, I only ever seem to see posts about you modelling, very little texturing or mats; you prefer modelling, right?
I don’t have a clue about texturing, so that’s another hurdle to jump over when I reach it.
EDIT: Sometimes in life you just have to have more polys! 
Attachments
More often than sometimes /nod. Yeh I’ve been having to learn some as I’ve been doing Christine; And still more to do.
On a brighter note, currently modelling items for the scene she’s going to be causing trouble in. ![]() Well no trouble, I hope.
Well no trouble, I hope.
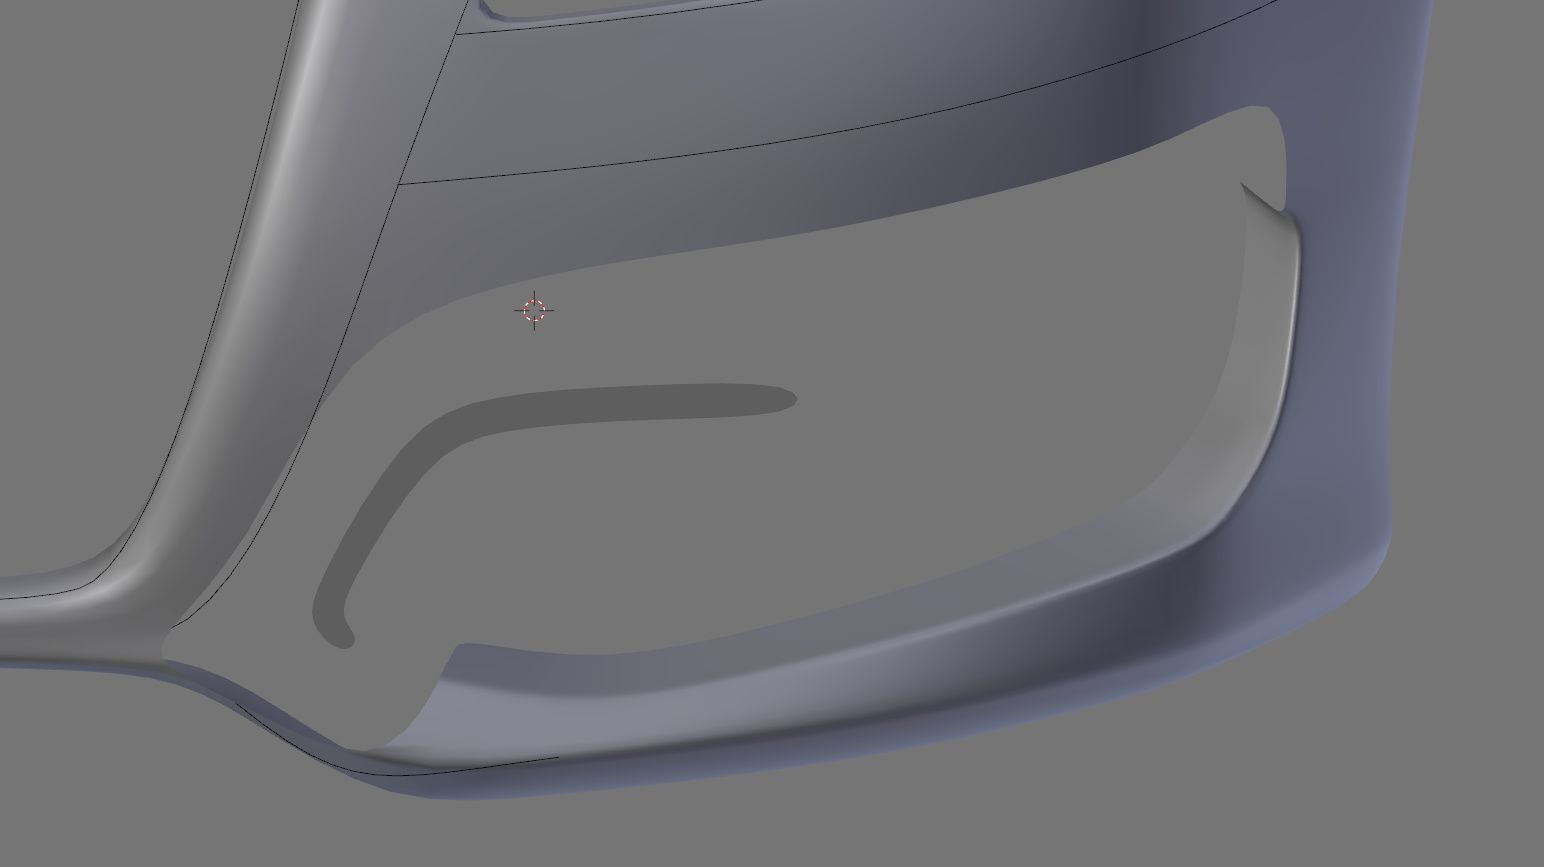
Well I must say that I have officially hit a brick wall with the front bumper… goes away and thinks
Bit of both. The topology is there for me to create the shape but then I get stuck wondering what the topology should look like. The area above both fog lights (where it juts out similar to your A5) is the area that is causing me to scratch my head.
Hmm…I could give it a look if you like. I just recently remodelled that whole bit so I have most of the topology I used still in my mind
That last snapshot looks pretty good, btw!
EDIT - +1 to what Writer’s Block just wrote below :yes:
Watch out for splinters.
Model it; after that, look at ways to improve it and as you’ve already modelled it you’ll be able to make a better shape and with better topology. Well it works for me.