I created a anime character girl by sculpting.
I made it with sculpting, made it with a material made with a color lamp and made it an anime style with Freestyle, and retouched it with CLIP STUDIO.
I’ve always posted add-on topics to Blender Artists, but this is my first time posting a work.
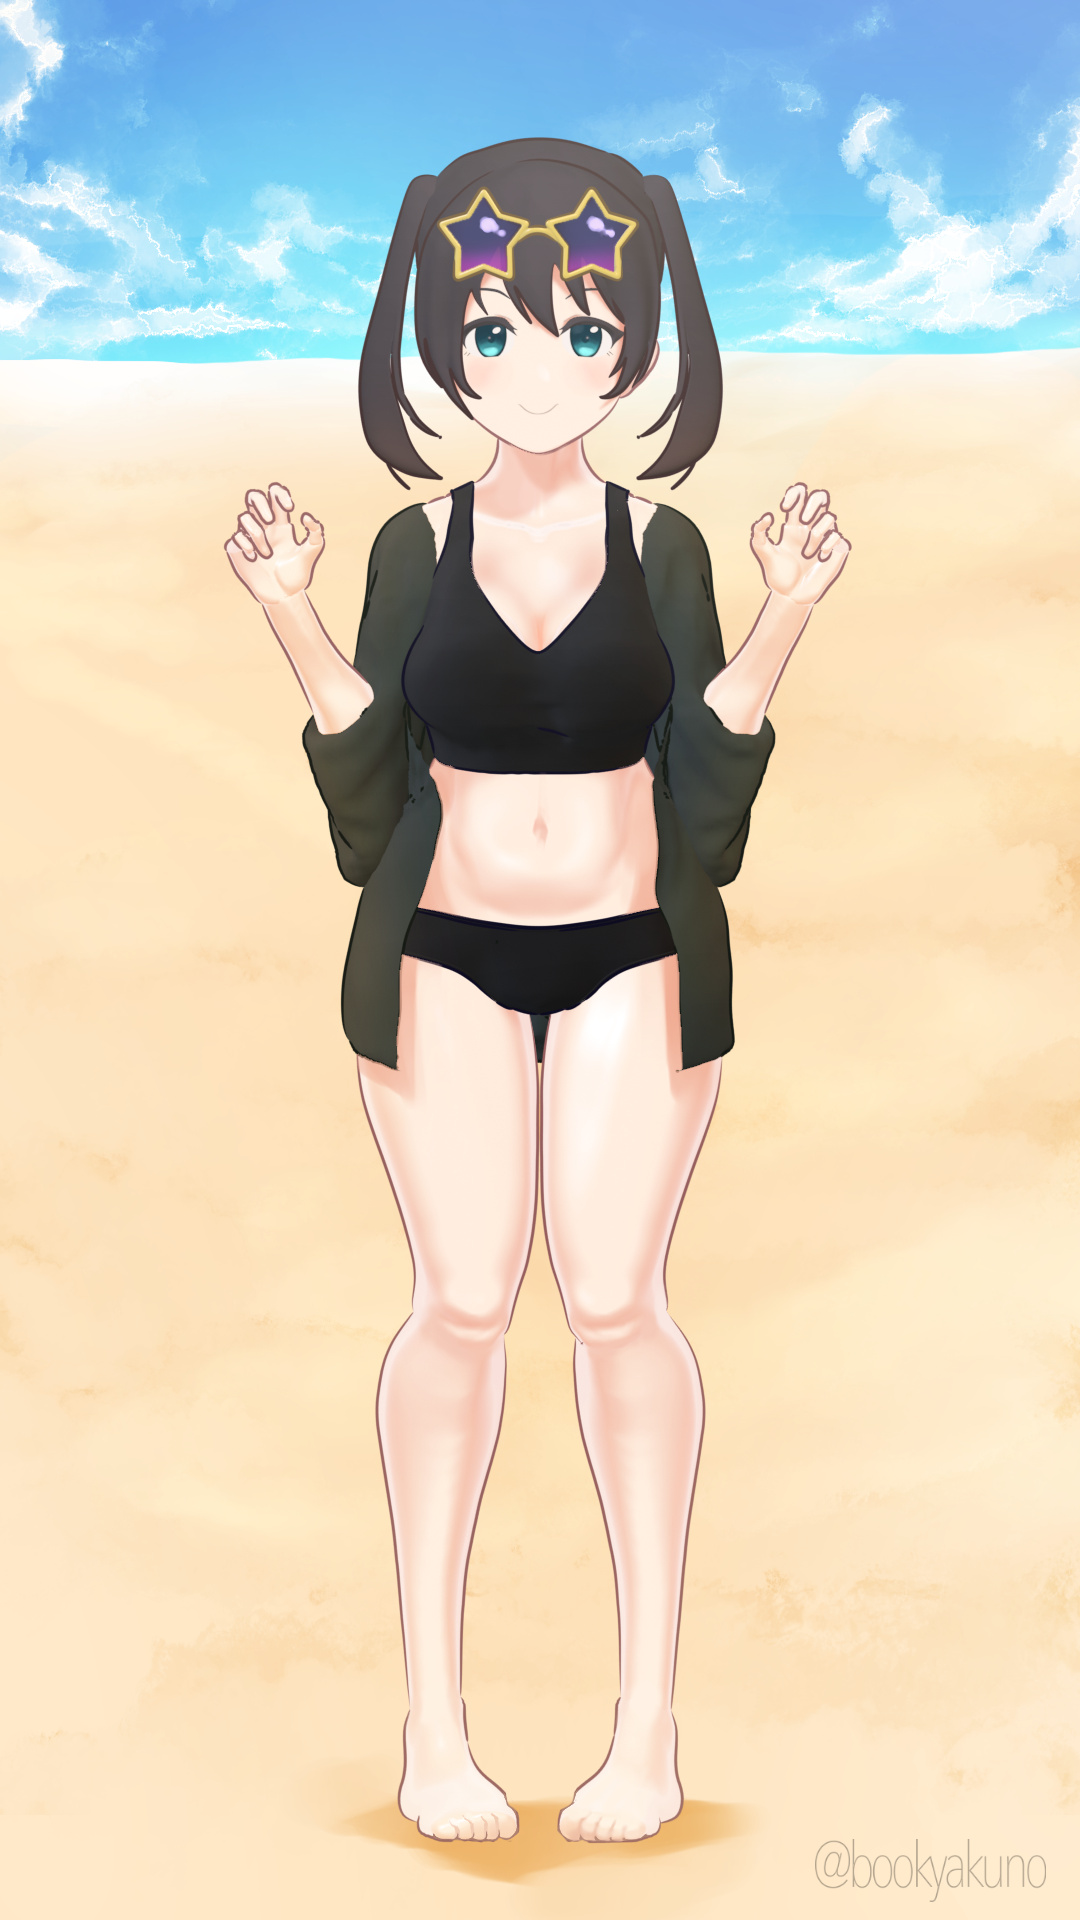
Completion image
Download
ArtStation
https://www.artstation.com/marketplace/p/Od9p/beach-girl-blend-file
The blend file can be downloaded from above.
Modeling

- Sculpting in Blender for each joint
- Very comfortable to use thanks to sculpt major improvements updates
- Parts on the other side such as arms and legs are created by setting the target object of the mirror modifier
- G-Lasso Draw add-on’s subtractive Boolean function using grease pencil strokes was treated as ZBrush clipping
Swimwear

- Mask the fuselage mesh
- W key → Set mask part to face set
- Smooth Face Set Boundary with “Relax Face Set” of Mesh Filter Tool
- Create as another object by “extract mask”

The head retopoed to create a facial texture.For
fine adjustment, polygon modeling is easier to adjust.
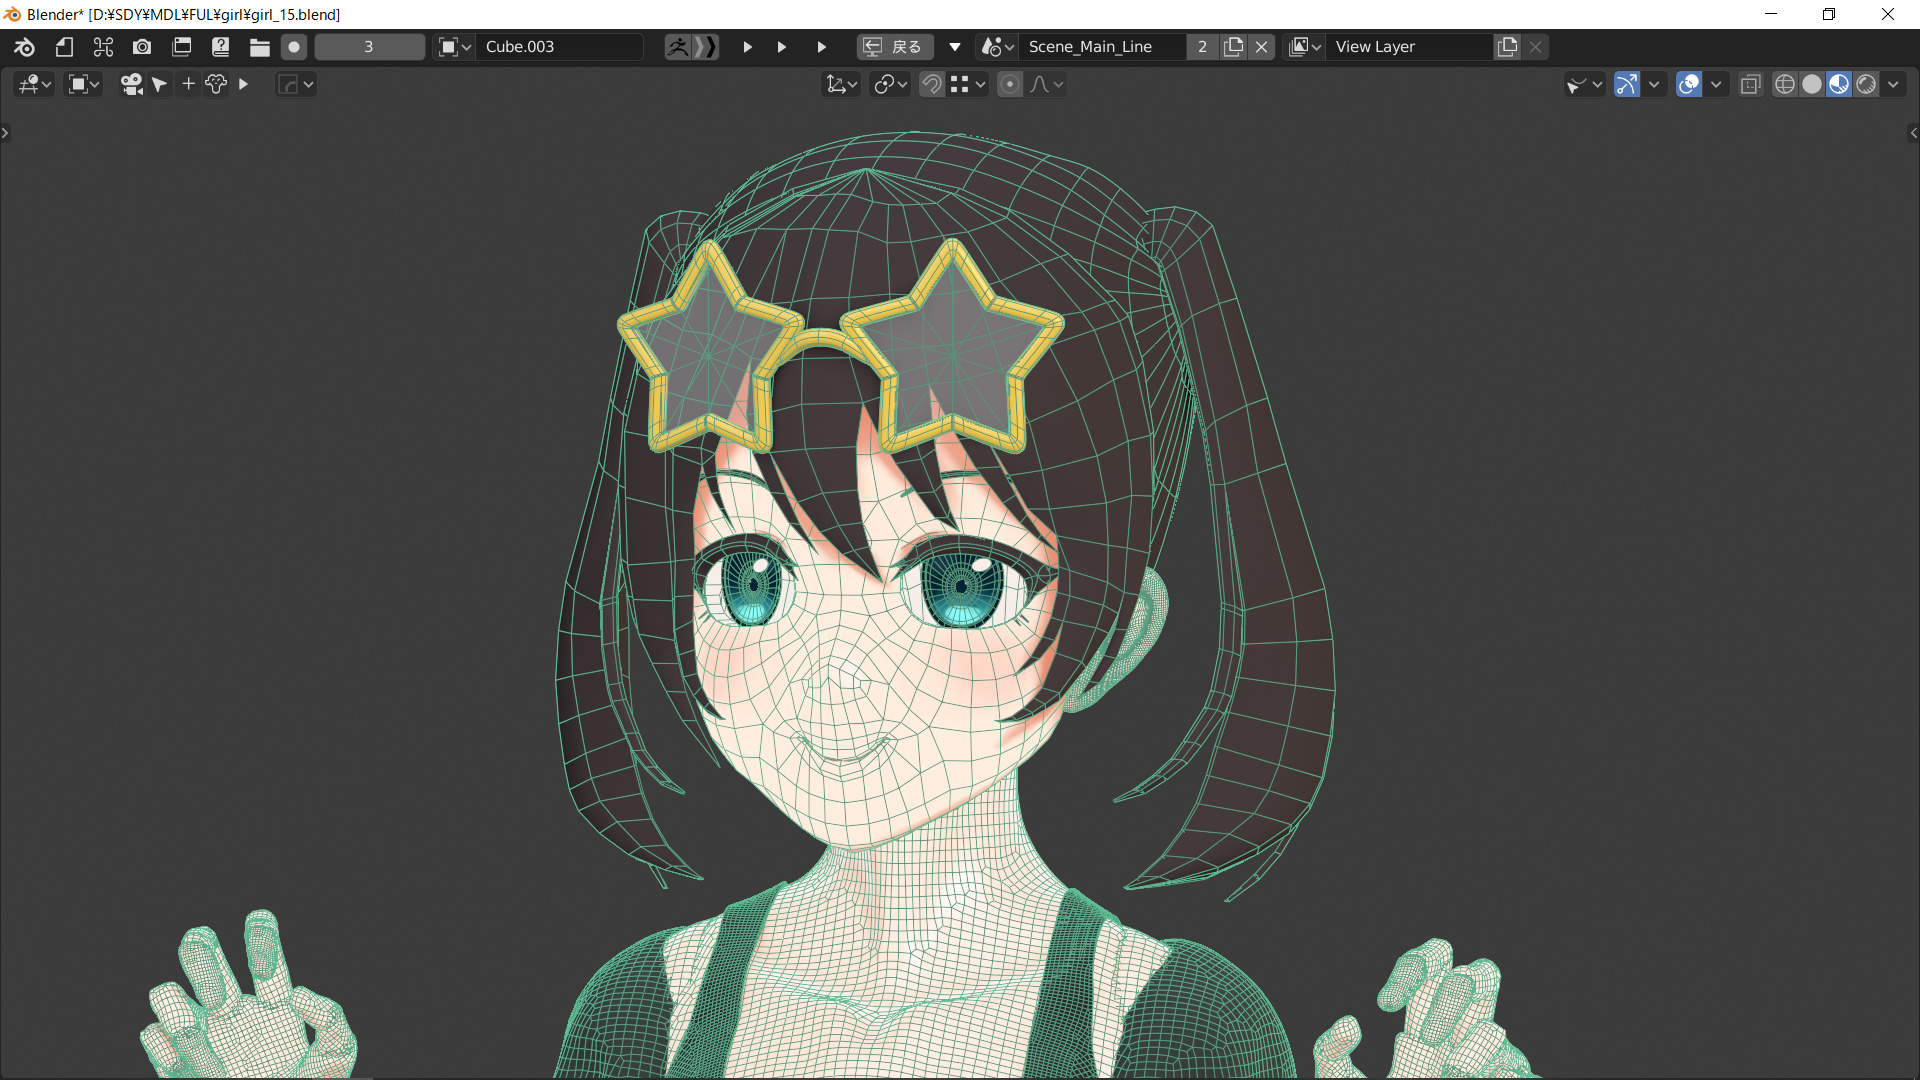
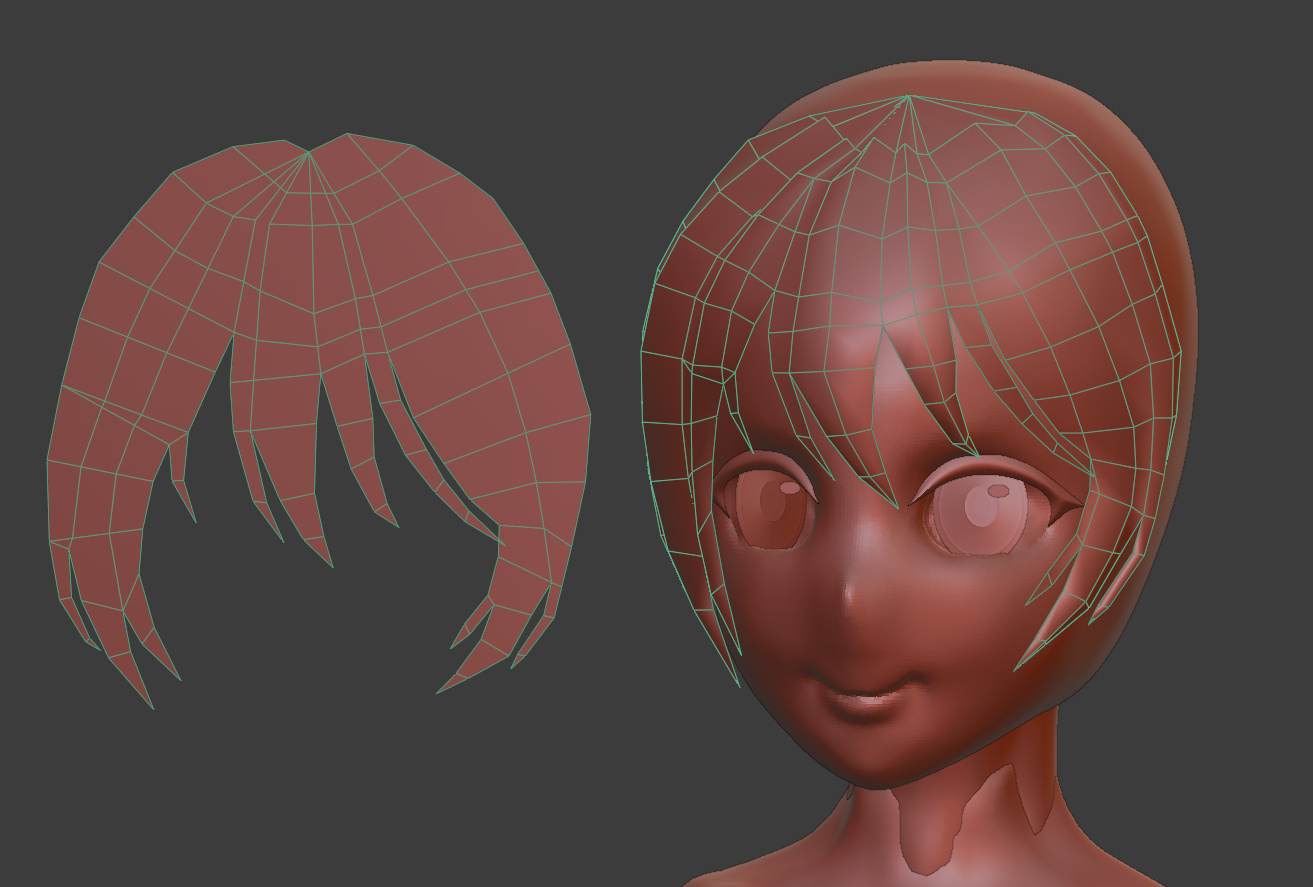
The bangs were shaped flat and deformed with a lattice to fit the head.
Material
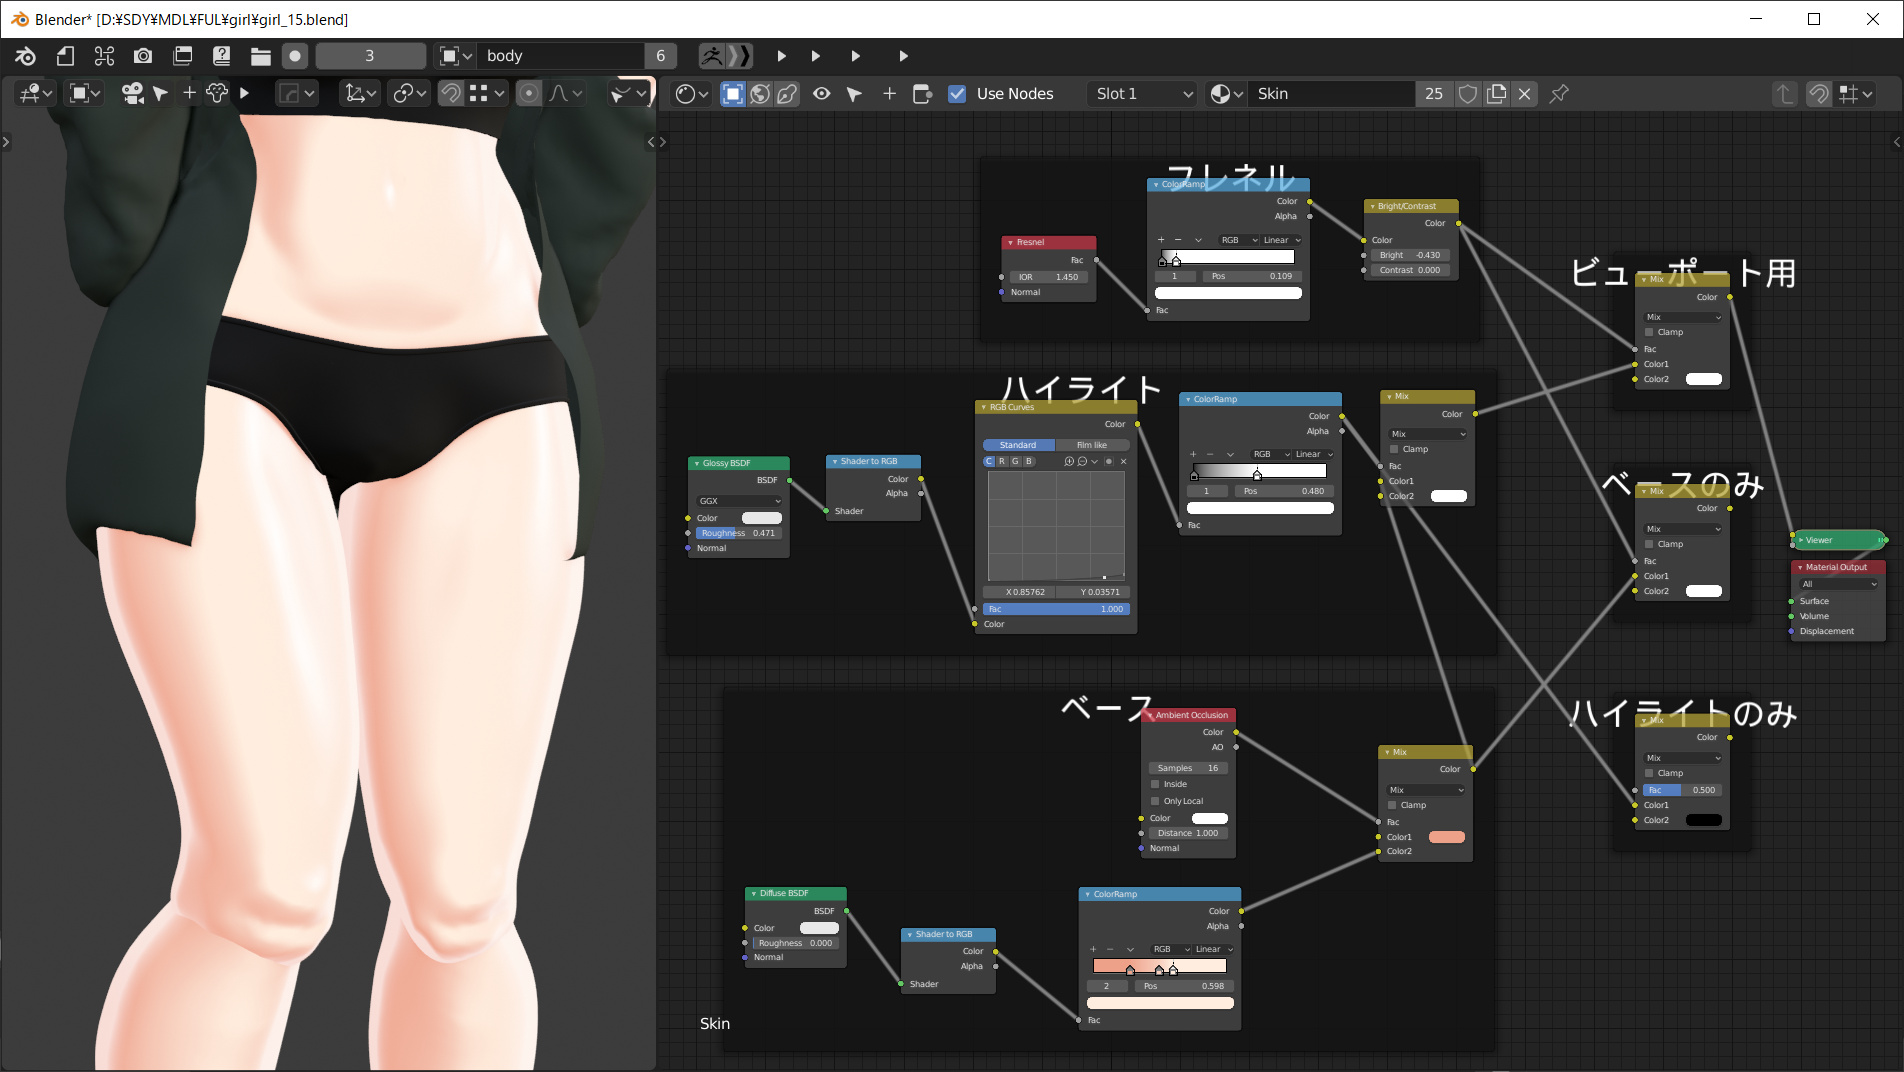
Create a base highlight fresnel.
Nodes are generally arranged in a horizontally long layout, but when creating a layered image, it is easy to understand the layout like an
image.Arrange them by texture, and mix RGB by arranging them on the right edge.
Base
- Convert diffuse BSDF shadow to RGB
- Color change with color lamp
- Synthesized with AO
Highlight
- Convert glossy BSDF to RGB
- Since it is too strong as it is, lower it considerably with RGB curve and color ramp
It is better to mask it because the hands, feet and neck do not need gloss.This
time I fixed it with a retouch.
Other methods include rendering the base and highlight as separate materials and masking them when compositing, or UV developing to create a masking texture.
Fresnel
- Make a rim light with Fresnel
- Fresnel can get the contours of a model of an object
- As it is too strong, drop it with the color lamp and brightness/contrast
Easy to understand classification by frame
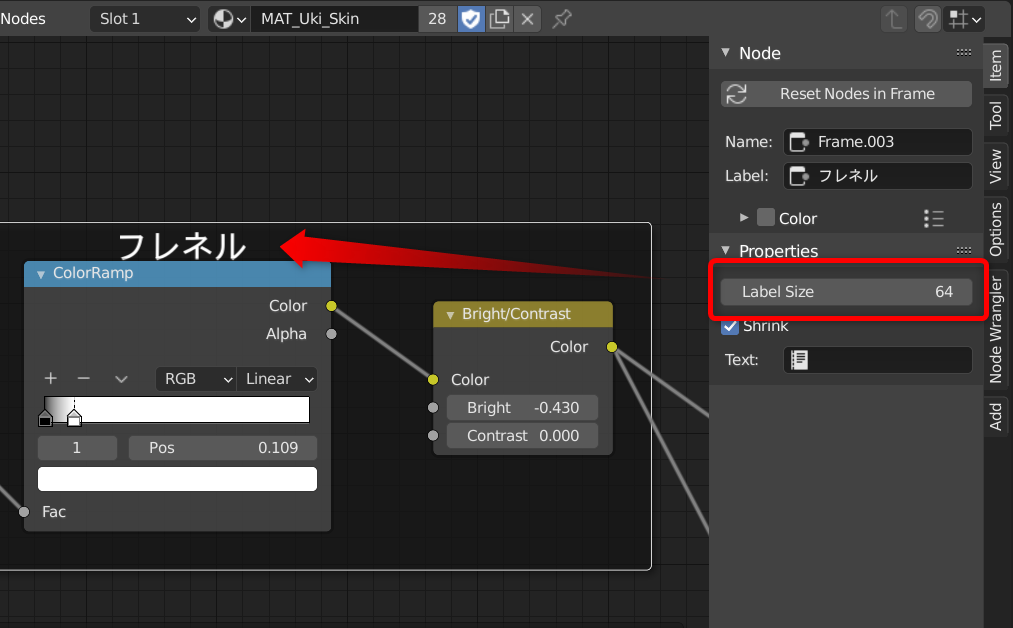
You can group multiple nodes into a frame with Shift + G to make the classification easier to understand.
By increasing the frame label size as in the above image, the frame name will be easier to understand when you look at the entire node tree.
- Shader editor → Sidebar (N) → Item → Properties → Label size
- Note that the frame text is “label” rather than “name”
Rendering material

I wrote out the base, Freestyle, and pseudo object IDs and retouched them in Clip Studio.
Added toe, chest, shadow, background, etc.
Freestyle
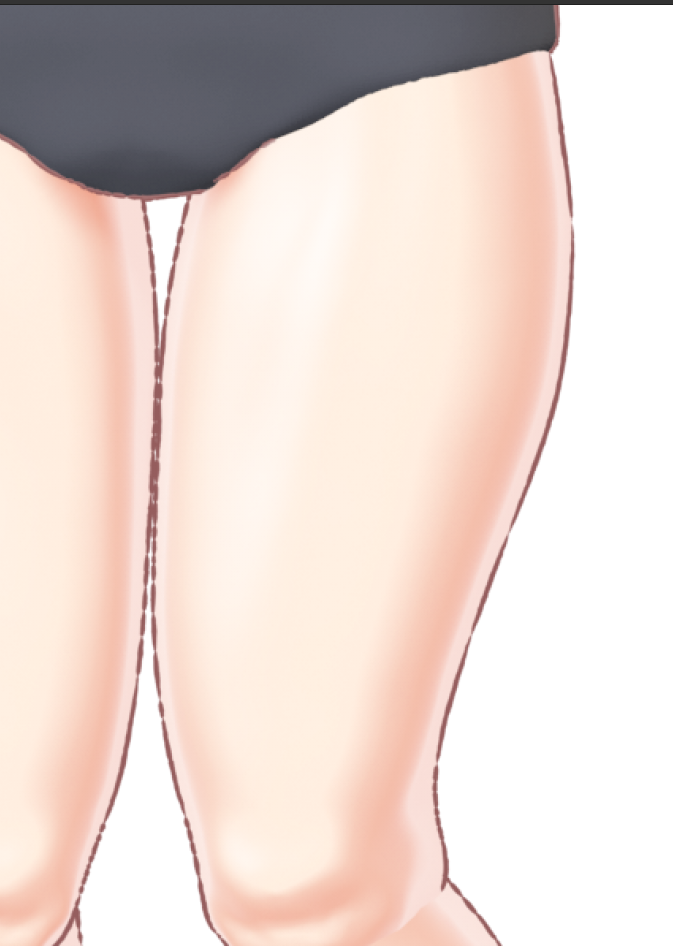
A line color is set for each material, and a line follow-up expression is added with a stroke tracking modifier.
There was a problem that the line was broken finely during the work as in the above image, but it was improved by enabling “Smoothness of surface” in the setting.

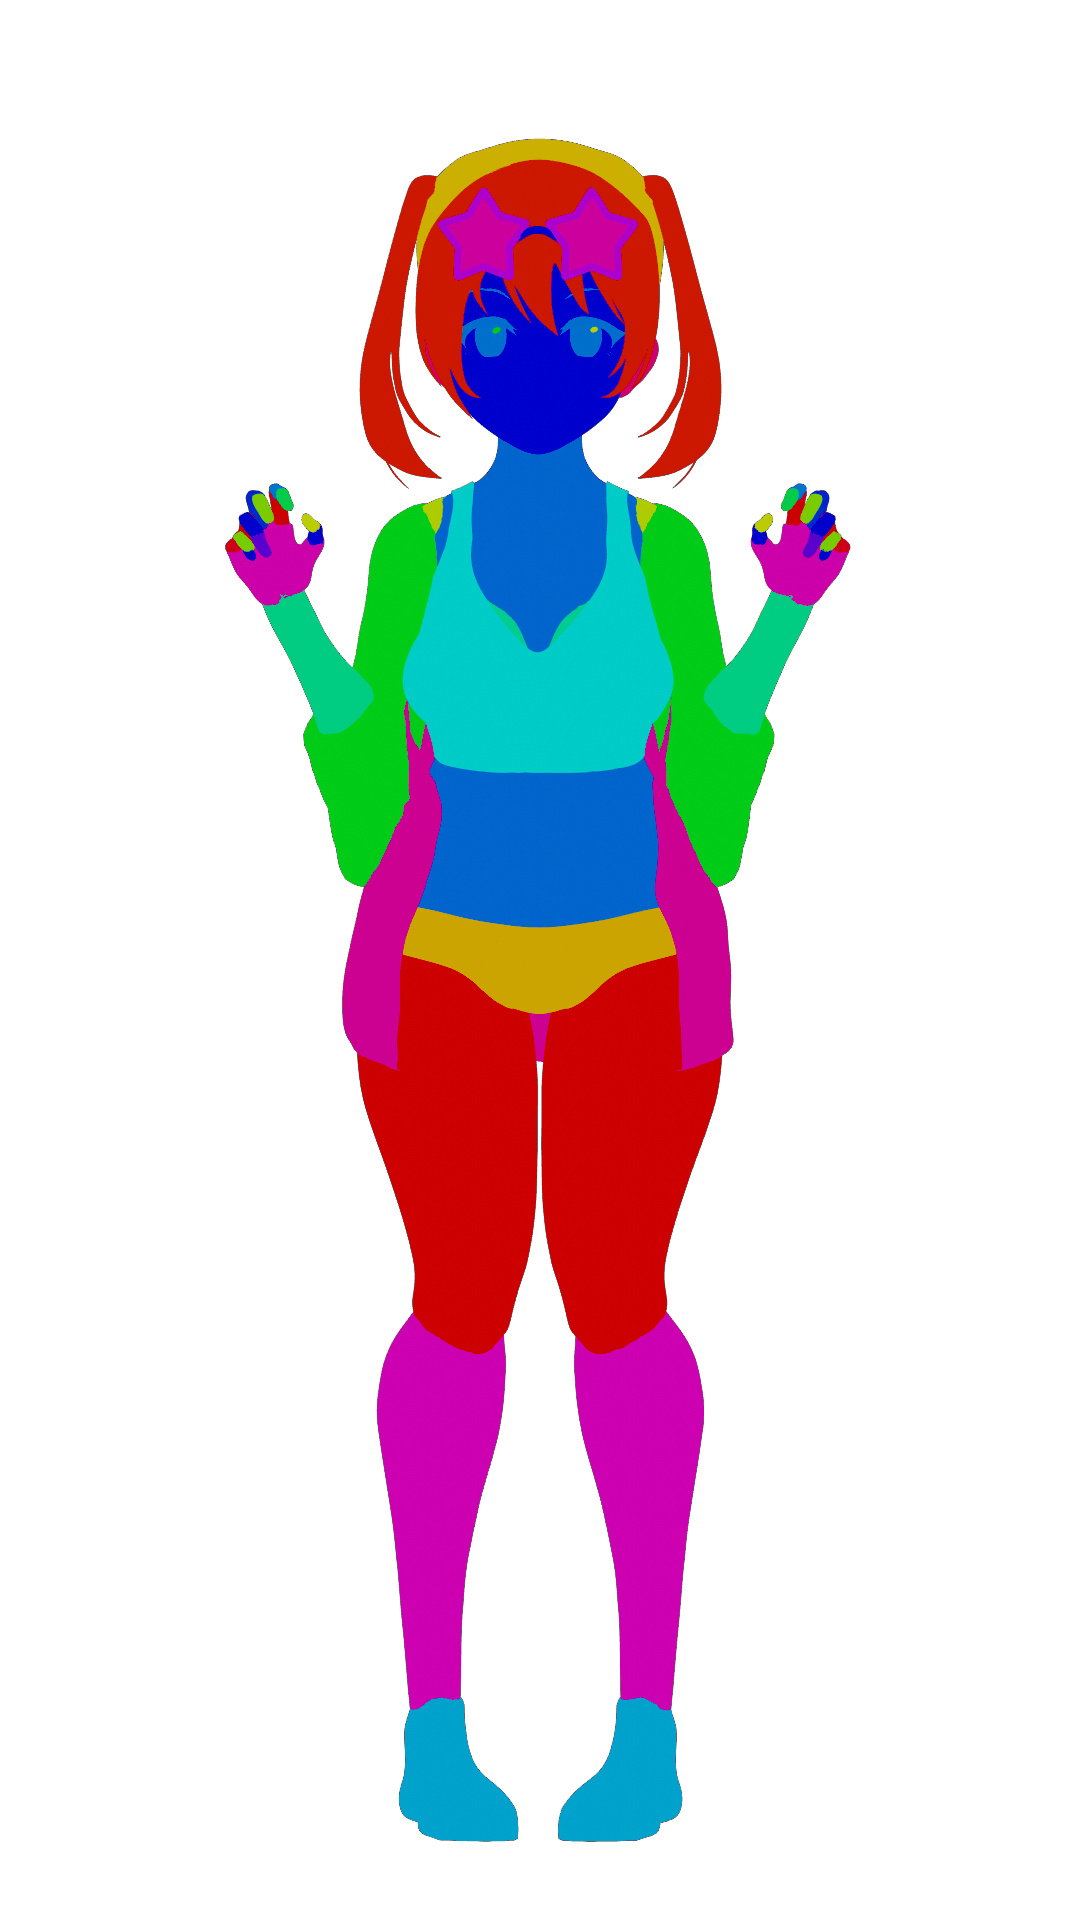
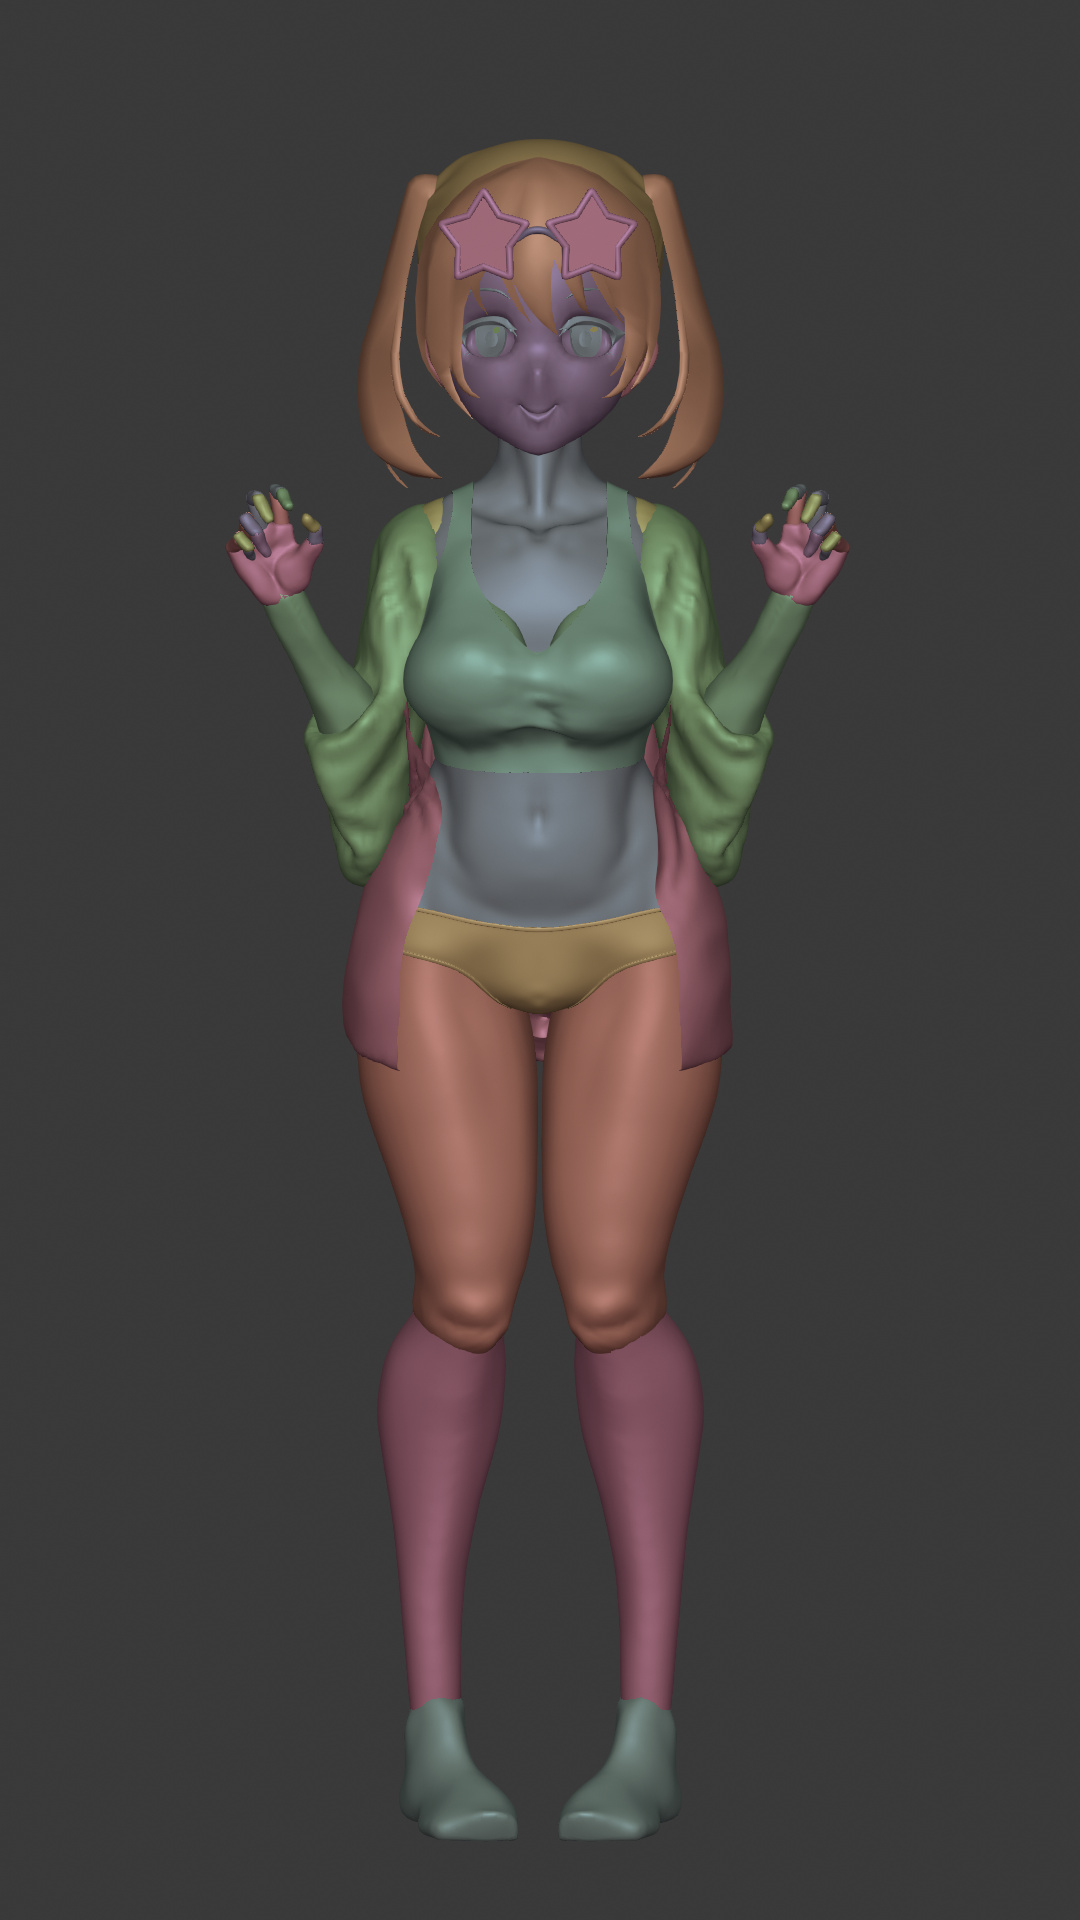
Pseudo object ID

The material for the mask in retouching wrote the object ID by rendering a random color display in the viewport.Use
the Workbench renderer of another scene that is linked and duplicated.Use the RGB curve to make the color darker, and use the color key to remove the black pixels in the contour that would otherwise be too small.
This time I used random colors for the objects, but it is easier to use different colors for each material.