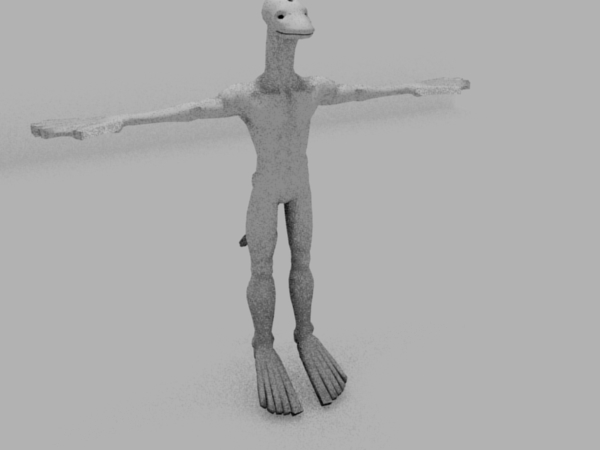
What’s the best way to get a quality render like the one shown here? I have Yafaray, but it doesn’t really do anything.
I do a lot of 3D modeling and I use this method every time on my models.
- Under the AO tab choose “Raytraced” as the gather method.
- Choose “Adaptive QMC” as the sampling method.
- Set the max distance to 4, this varies with the scene size, bigger scenes will need bigger values
- Set the energy to 1.1.
- Set Samples to 18, this will take a long time to render but it is the only way to get realistic results.
This method produces high quality images but it will take quite a while to render, hours for large images. You could use Approximate sampling, this would be faster, but it would not look realistic at all for this type of scene.
Thanks, I havent tried it at 18 passes yet, but it looks like it will work. Also, I noticed that in the example that I posted, the background stars out somewhat dark at the top, then it gets a little lighter further down, then there’s a thin dark band, followed by a lighter shade. What sort of lighting setup should I use to creat that effect?
Funny “realistic results” was mentioned, in that AO is purely a CG only technique- it doesn’t actually happen in the real world!
So how would I go about getting that light-dark-light-dark effect that I mentioned?
That can practically be done with the default AO settings, in 2.49, you’d have a low level of light provided by the lamps and have the AO add light.
In 2.5, you’d have a brighter level of light and use the AO in multiply mode.
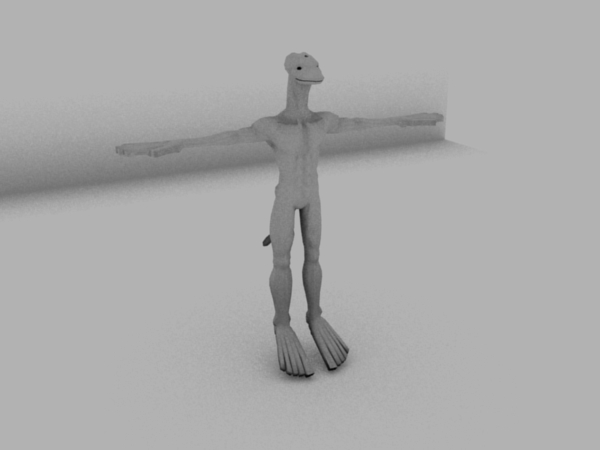
I tried what you suggested, and this is what I got… any advice?
Attachments
Increase the number of samples and you got a decent use of AO to show a model.
It looks better with more samples, however there’s still the the problem of the shadow underneath the character being too small and faded. Also, there’s only one dark “pass” when there should be two.
Attachments
Any ideas, anyone?
AO is a ‘cheat’ to solve the render time problems attached to good lighting setups. It does not really create realistic lighting, just a quick and dirty fix, which works in many cases to let people get by without any real knowledge of how to light things correctly.
Don’t get me wrong, it can be useful to provide a bit of fill in light/shadow, but you should not rely on it to give you good shadows and realism.
There are many ways to light a scene. You can use AO and GI lighting in 2.5, but you will end up with they type of results you are getting.
You can use shadow buffer lights, which can work, and give soft shadows. However, after extensive testing, I have found that shadow buffer lights have serious limitations: Because the shadowbuff process breaks the 3d region it lights into a finite number of sections, if you have a small object in a large scene, or a small detail on a large object, it will not cast the right shaped shadow. (In fact, it may not cast a shadow at all!) Increasing the shadowbuffer size helps, but eventually you cannot increase the buffer any further without pushing your render time to infinity.
You can use raytraced shadows. These, used with area lights and soft values of 10 or more, will give superior results to either of the other methods. It is always said to be slower, but any AO or shadowbuffer settings that would give comparable results are going to be horrendously slow anyway.
The trick is to think where light is coming from and how it behaves. (The other is not to render tests with your main lights, but keep your softness settings low for test renders!)
For outside, make a half-sphere of points and duplivert a low power blueish area light to every point, all pointing in. Sit your model in the middle of this. Now add a single, less blurry spot to be your ‘sun’ if you want one. This would be slightly yellow.
Any area which is highly coloured and brightly lit, you can place another area light over it set to the percieved colour of the area. This acts to imitate the reflected light from that area onto the side/bottom of other objects. Thus you might have a white light to imitate reflection off the side of a house, and a green one to imitate the reflection from the grass, or p[erhaps a red one to imitate the reflection off a car.
2.5 is supposed to be able to do indirect lighting, but it currently only works with emitted light, in the main releases.
Matt
That was very informative, thank you for your time.