Well, the most annoying thing with rigify is that you pretty much forced to generate this outdated basic human rig (or other generic presets from the armature menu). That means any custom changes you make will be ignored or result in errors should you ever wish to re-generate the rig. For example, i’m using my own facial rig and my own limb rigs that are not part of the Metarig. If, for any reason, i need to re-generate the rig(like recently after the 3.6 update) i have to split my custom changes into new armatures, re-generate the metarig and then join my custom rigs to the new generated rigify rig. It’s just super annoying and cost lots of time. And from what i read from Demeter Dzadik it should be easier in the future to implement custom rigs. Thats what i’m hoping for at least. BUT i admit i have not tested Cloud Rig yet, as it is in early beta stage last time i checked, so i can’t talk to how he plans to implement all that. My understanding is that his plan is to make it independant as stand-alone from rigify once it’s finished. If you know more please enlighten me.
Hey wasup, can you elaborate what fan bones are? I know what helper bones are, but I don’t know this fan bone terminology.
Yeah, I’ve done that a bit myself. Some minor changes I’ve just added to the metarig, so it gets re-generated anyway. While at the moment something like controls to drive shapekeys are it’s own rig, that I just join to the Rigify rig.
Even so, it’s faster then manually creating the whole rig.
No, don’t really know any more, other then what i said, that Cloud Rig is a feature set of Rigify (so adds new/different rig types) but still totally built around Rigify. Didn’t know he had plans to make it all stand alone.
In fact I almost expect it to go the other way, this has already started to happen, where Cloud Rig had an Actions option, which was then removed and added as a panel in the standard Rigify addon.
Not that I’m really sure how it all works and any old Cloud Rig demos, etc and locked behind the Blender Studio.
Thanks for the clarification.
And for remembering the Action Bone Constraints. In the case of creating Automation for Helper Bones, for example, I think they would be considered what I’m calling an ‘Output-based’ Automation tool; as opposed to Drivers and other Bone Constraints, notably Transformation Bone Constraint which is analogue to Driver for the Automation purpose, which are all ‘Input-based’ Automation tools.
Output-based is so much more intuitive, while Input-based is too analytic and sometimes it becomes limited (an issue that often occurs in the ‘diagonals’ of the Model, during the set up of Corrective methods: either with Corrective Shape Keys or Corrective Armature Deform with Transformation Bone Constraints). There is an Addon called RBF Nodes that can generate Drivers automatically, so that it becomes an Output-based Automation tool as well… problem is, Drivers can lag the Rig on Pose Mode, and this is exactly what happened on my project. Thus, Action Bone Constraint now sounds interesting, if I want to have more control over the Automation.
I can imagine the CG-software transition problematics. But, the good point is that you get direct understanding of advantages and disadvantages of each software. I’d love to have a ‘solution’ to that ‘always’ displaying 0.000 Transforms… for Bones that were actually Transformed! 
You forgot to reply mine lol…
Sure;
Apparently, many riggers who have been on the field for longer amount of years, use the method [Fan Bones] to some extend, or have at least heard about the method. I’m still exploring the possibilities, and I’m astonished at, and fail to understand, how there is so little information and content available online, for a Corrective Armature Deform method that is so effective at, specifically, countering, in a very analytic way, the generated algorithms’ Artifacts. This is the kind of technique I’ve been looking for, for the past 2 years or so, in which I’ve been engaged with learning Organic Rigging in Blender.
I believe the guy that invented the Fan Bones method, is Shaun Freeman; the information I have gathered, suggest he is an Australian rigger, animator and professor, and that in 2005 there was an event publication (which I cannot find reference online), 3D World, page 72-75 on a Q&A section, “How do I make the mesh over my character’s joints deform correctly during movement?”; it was based on a CG software called Animation:Master (in which I guess “Smartskinning” is the analogue for Weight Paint [PS: correction: wait, maybe it was Shape Keys] in Blender).
Basically, it’s analytic, Corrective Armature Deform method in which a DEF Limb Bone, such as a Thigh Bone, which usually suffers big Rotations on all directions, has its Weight Paint, on the Joint Region that suffers the most, shared (Blended Weights), with very specific Helper Bones in very specific ways. I’m not sure, but after further investigation, I think there is a simple, ‘reduced’ Fan Bone thecnique, and there is an advanced, ‘full’ Fan Bones technique.
The simple technique, is limited to a single DEF Fan Bone, that starts out exactly the same on Rest Position (Full Alignment) as the DEF Thigh Bone, and is meant to follow all of its Rotations, except that it must then De-Rotates automatically, slightly (5º-30º). Such DEF Fan Bone would have Blended Weights with the DEF Thigh Bone, but around the Joint Region where the Artifact appears strong (near the Hips); the more the Ratios favor the DEF Fan Bone in relation to the DEF Thigh Bone, the less De-Rotation it requires. There might be some shared Weights with the Pelvis Region, but for simplification of the explanation, the main point is the upper Thigh and the beggining of the Hips-Thigh Joint and perhaps a bit beyond, depends.
The advanced technique, I believe should include the original Fan Bone mentioned previously, but it would become a MCH Bone instead of a DEF Bone, and there will be an entire set of Fan Bones, on a circular pattern near and around the Joint of the Limb, that will: 1) follow exactly the De-Rotation of the MCH Fan Bone; 2) perhaps may have their own, secondary motion in an Automated manner, to solve problems and shapes locally, but at their Transforms are already built up on top of the original MCH Fan Bone; it’s just that now these are De-Rotating PLUS extra bonuses if the rigger wants. I’m not 100% sure this is how it works, but before the last link, I developed more information, and on that link, I’m trying to build my own alternative version, based on such findings.
In the link below, there is a video that is didactic, for the first approach on the Fan Bone method:
https://forums.hash.com/topic/43850-cp-weighting-vs-fan-boning/#comment-377584
Link below is an older thread in here, but there are some interesting examples and discussion:
Link below is a less old thread, but not all links are working… might be interesting discussion, but because I was part in it and barely starting to grasp the concept of Fan Bones, might not be very clarifying:
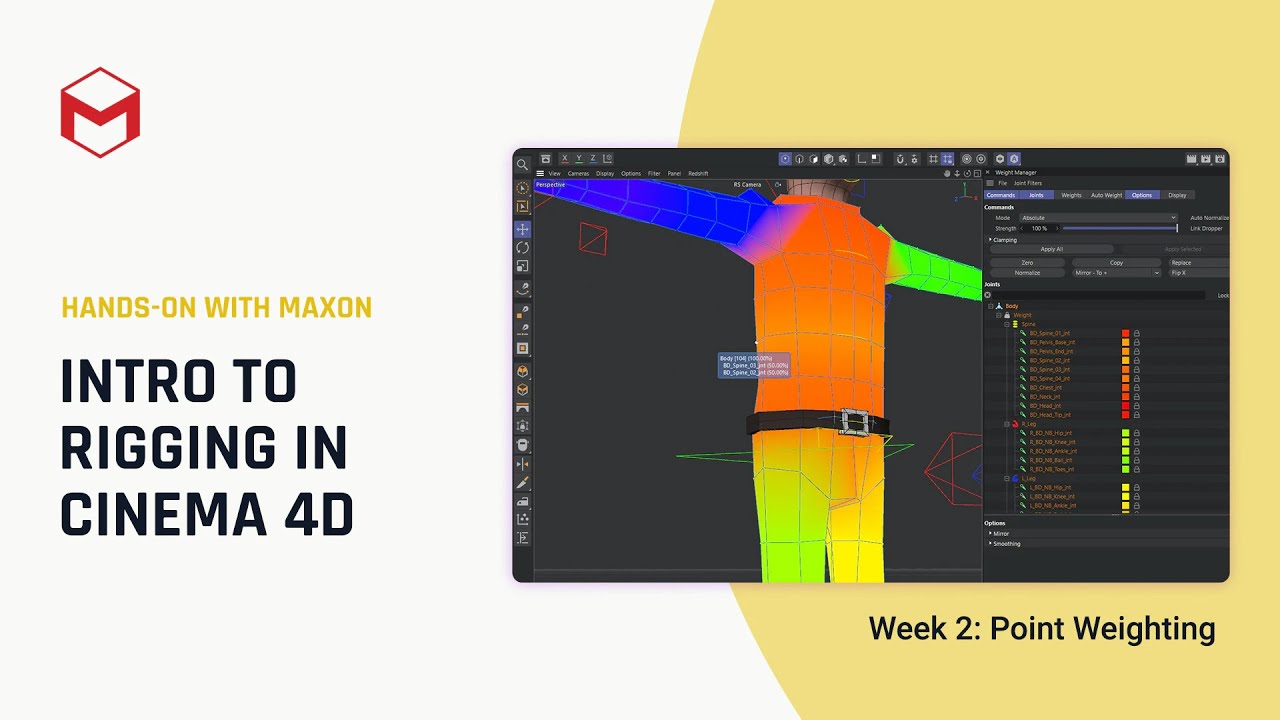
In this timestamp below, there is a small example of the simplest Fan Bone technique:
In this timestamp below, I was on a Live today, I was approaching the problematic of the more advanced Fan Bones technique. One thing is to have a unique DEF Fan Bone for slight De-Rotation of the Joint Mesh Region of a Limb; in this sense, we can visualize the setup as an oriental fan. Another thing is to have DEF Fan Bones working in synch (maybe with their own secondary subtle motions on top of the main De-Rotation motion) for the same Joint Mesh Region of a Limb; in this sense, we can visualize the setup as a household appliance fan, because it may look like an 8-Bones star made out of Bones pointing outwards, probably with the main Fan Bone in the center for main De-Rotation (on my case, in that Live, I’m attempting to mix two concepts: the Fan Bones method and the ‘Profile Bendy Bone Splines’, which relates the concept of “Profile Curves” and “Curve Net” (related to ‘Cage Rig’) that I’ve seen on a supposed Pixar Youtube video. Note: the Profile stuff don’t need to become a Cage which covers all the Mesh Body, they can be used locally whenever it might be advantageous; but, the problem with Profile stuff ONLY, is that they aren’t meant to solve Artifacts on their own! but, more likely, just to give good anatomical shapes because of the easiness of Smoothing out the Mesh, since it can be easily control with Splines.
https://youtu.be/LtNIuZsopcw?t=6048
Don’t worry; I was replying in order. Sorry folks for the delays, I was kind of busy.
Yours is ready now. 
If you don’t mind me stepping in, I can illustrate with simple pics:
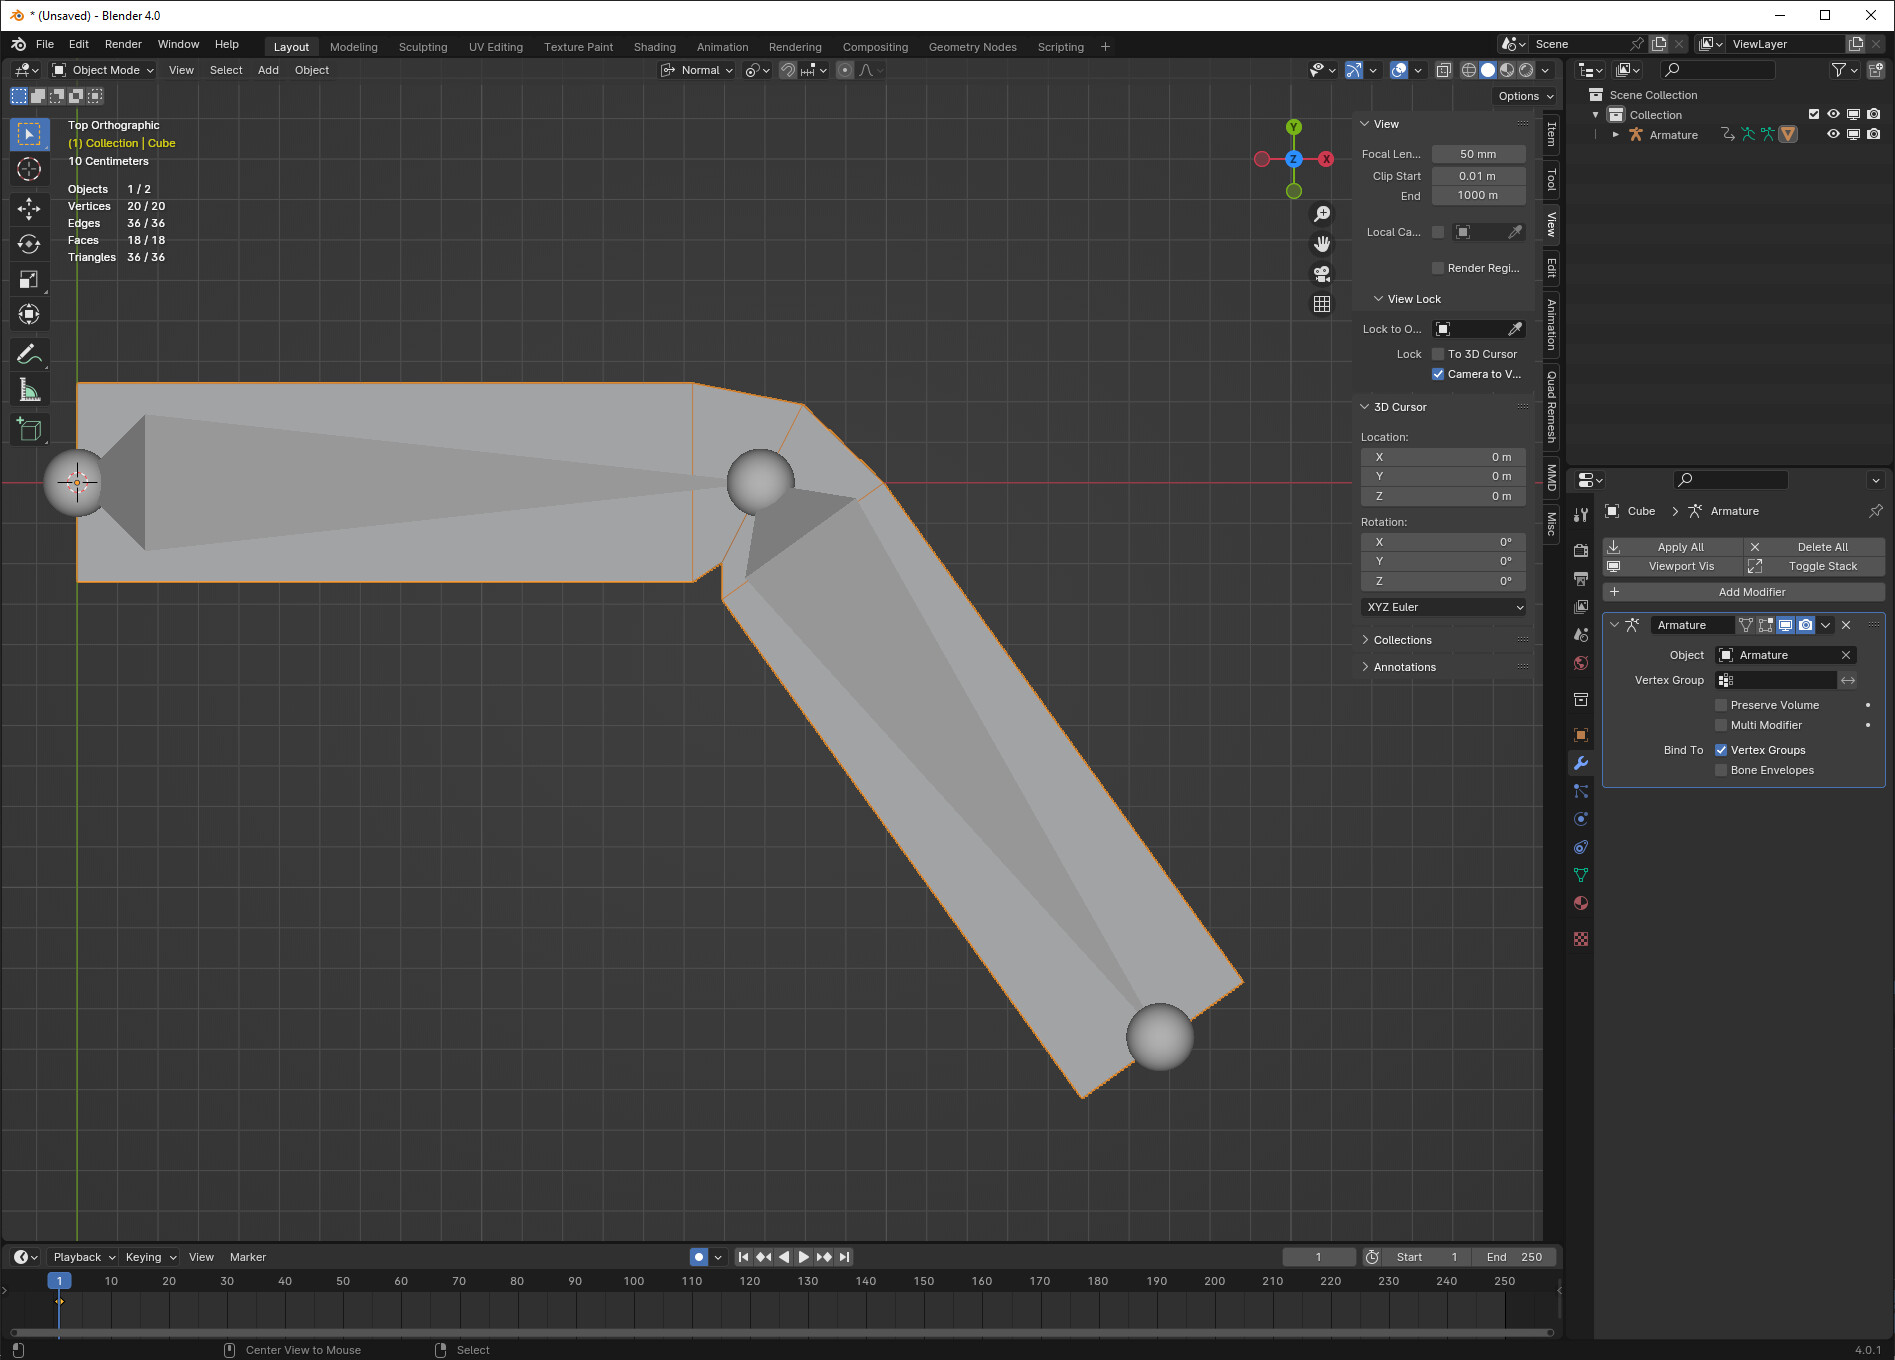
Very simply elbow, middle loop weighted half and half. We suffer volume loss.
Add one fan bone, that splits the rotation, and weight fully to it instead of half-and-half:

No volume loss. Shown over original as proof.
Could use “volume preservation” but the fan bone lets us have tunable volume preservation, without discontinuity when mixing from volume preservation to no volume preservation. We can do whatever we want with these joint bones, rotating them differently, weighting only the inside or only the outside of the elbow to them, etc.
On a higher poly mesh, we might use more bones:

Spitting rotation between more bones, we see the inspiration for the name: it opens up like a fan.
This is essentially what we’re doing with bendy bone or spline IK fixes for joint problems. Not 100% the same, but we’re doing the same kind of thing, for the same kind of reasons.

We’re doing the same thing, spreading out that deformation along the joint into many small deformations, and using more bones so that vertices can be weighted more strongly to individual bones.
I tend not to use Fan bones for limbs. Instead i’m using a technique that Helmut described (3rd Post from the top) in combination with cast spheres. Specially helpful to avoid cloth collision problems in extrem poses. If you interested, Danpro describes something similar on his youtube channel (along with a couple of other nifty ideas).
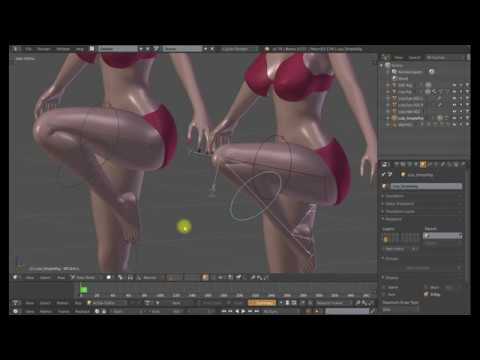
I still use a fan for the jaw bone. Altough not for deformation purposes.
@bandages
Your last example looks interesting.
The last example is just using a spline IK bridge. It’s what you’d get with bendy bones as well, except with bendy bones, I wouldn’t be able to parent bones in different axes to the bendy bone segments to demonstrate how it looks with different bone axes.