Just a quick test, im sure you can get much better arch viz poolside renderings with tweaking and post work.
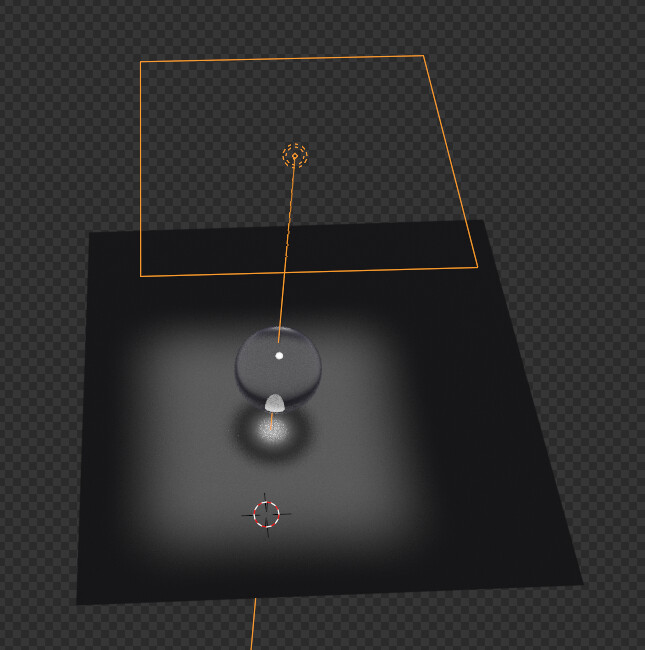
To get the caustics to work you have to go to the object properties panel for each object and set whether its a caustic caster or receiver. And you have to set your light settings to be a caustic light, even if you use say a sky texture like this demo you need to go into world settings and tick caustic light.
My settings, GTX 1070 with CUDA.
No caustics = 50 sec render
Caustics = 4min 55 sec.
Note my adaptive sampling settings and i had filter glossy to .50
And plenty of light bounces.
If the filter glossy is set really low like 0.1 or zero it would cast way more detailed caustics and take way longer to clean up and take way longer to render.
Also if i took off light clamping it would also be caustics galore.
Also note that by default using the sky texture your scene will be very over exposed so you will have to pull down the exposure to stop the highlights blowing out, check it with the false color mode.
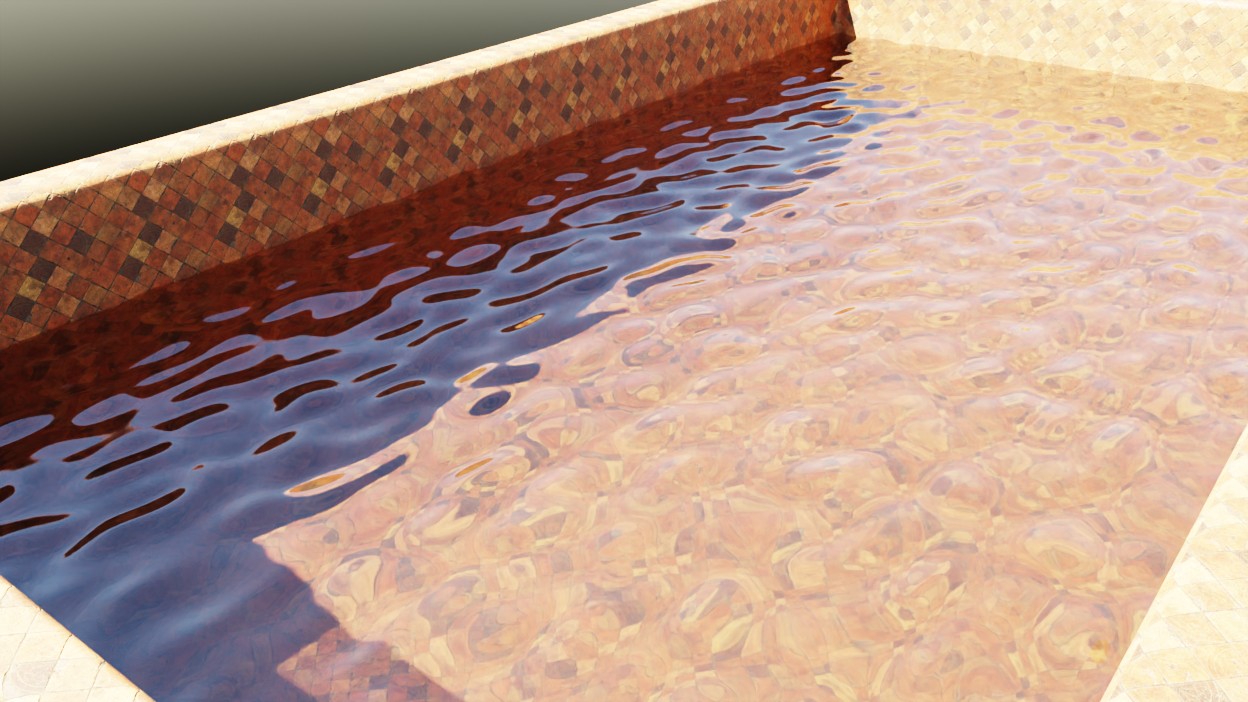
The material settings for the water matter, i set it to .9 alpha to let some light through and make the caustics show up, if the alpha is decreased to .8 it seems to make the caustics show up even more.
Textured the pool, added some metallic to the water material and set the alpha to 0.8
With indirect light clamping set to 1000 and time limit to 4 mins it managed 500 samples.
With indirect light clamping set to 10 it completed 4096 samples in 3 mins.
Denoiser is OIDN.
I think its worth setting the light clamping to a high value and letting the denoiser do a lot of work.
(New Caustics off but standard Cylces Caustics on)
Instead of rendering with the new caustics system and the native relective and refractive caustics turned on, I tried rendering with native caustics off but the new system on.
Filter Glossy set to .25 and indirect light clamping set to 2000
It looks like it needed more samples even though it had 4096 and finished in 3min 20.
But these high settings are bound to keep giving it new noisy pixels.
Keep in mind this is early Alpha so no idea what the correct way to use it is and its not in a finished state.
But so far its a massive boost in realism we could not get before.
Above render i set the water to cast and receive caustics. All other caustics on. Adaptive sampling threshold was 0.0400, Indirect light clamp 1500. Filter glossy 1.00, pixel filter blackman-harris width 1.20px
You can still get some reflective caustics by using Filter Glossy (at a value of 0.10 at the minimum), though like usual they will be noisy and will take a lot of samples to converge.
There are in fact papers that extend this type of manifold exploration to include reflective caustics, but like many other times this is planned to be the initial ‘foot-in-the-door’ implementation so as to avoid scope creep.
It’s definitely a good start a noticeable boost in realism. Getting the filter glossy and adaptive sampling threshold settings just right seems to be the key unless you have really powerful hardware.
What also helps is that MNEE works with adaptive sampling enabled as well (from my own tests), this will actually speed up the convergence of reflected caustics because the sampler won’t spend near as much time sampling the ones that are from refractions (because your pool bottom for instance will fall below the noise threshold).
Would be nice to have some kind of automatic system that finds the best balance between adaptive sampling, filter glossy and light clamping. It’s beyond my understanding but i heard there was some kind of AI that can compare against a reference image of how something should look in order to tweak the settings to get closer to the desired output. If it could be ran by the user before render it could configure the exact best settings to get the best looking caustics and save all the manual tweaking time.
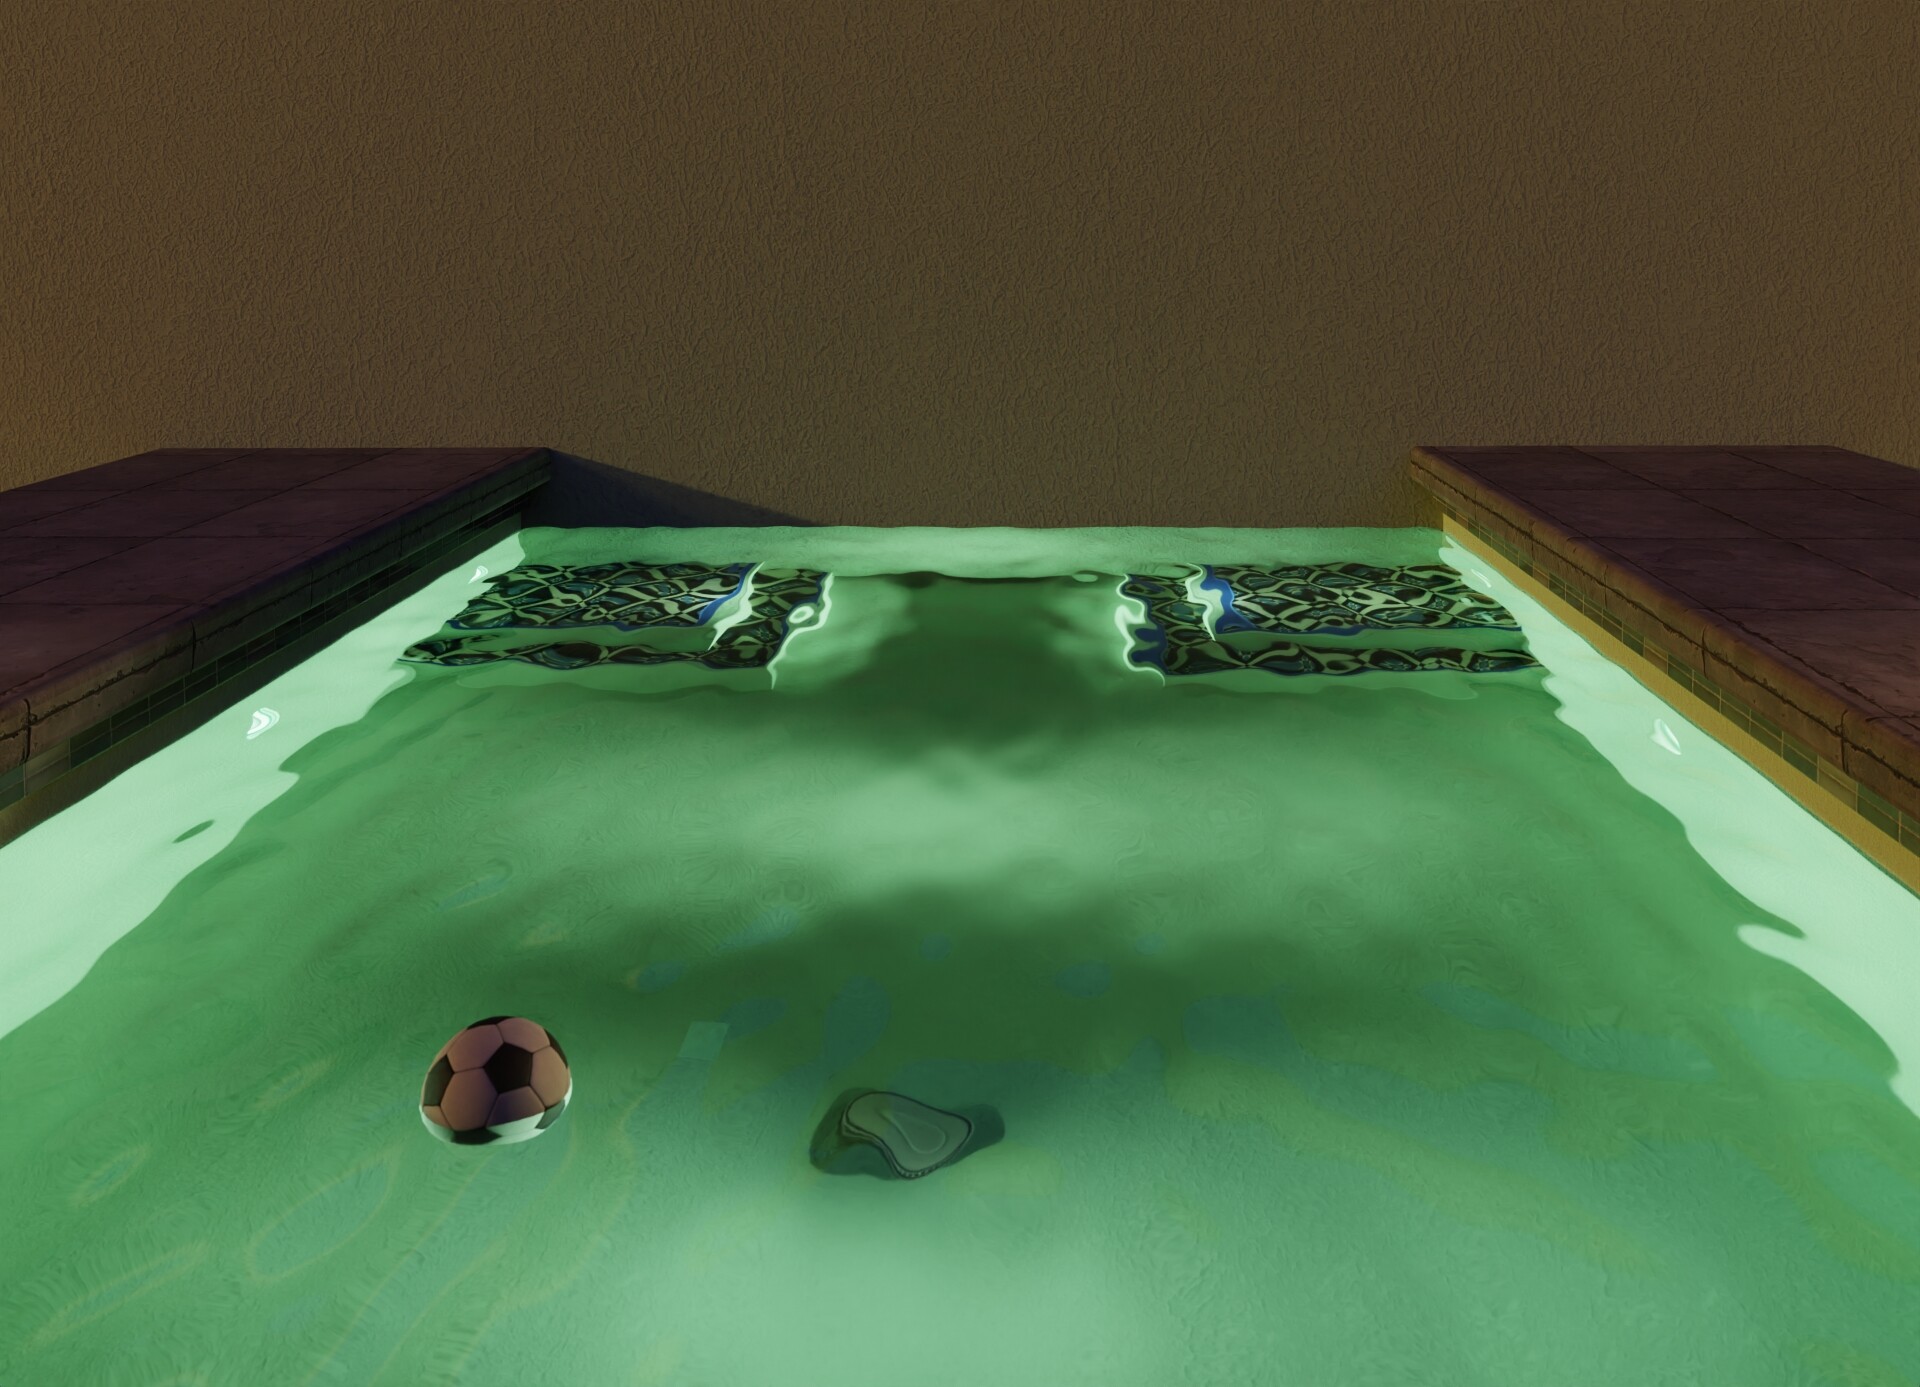
Here is a render i did over night, same pool different texture, underwater and some post work.
Cranked up the sky texture intensity to bring out the caustics.
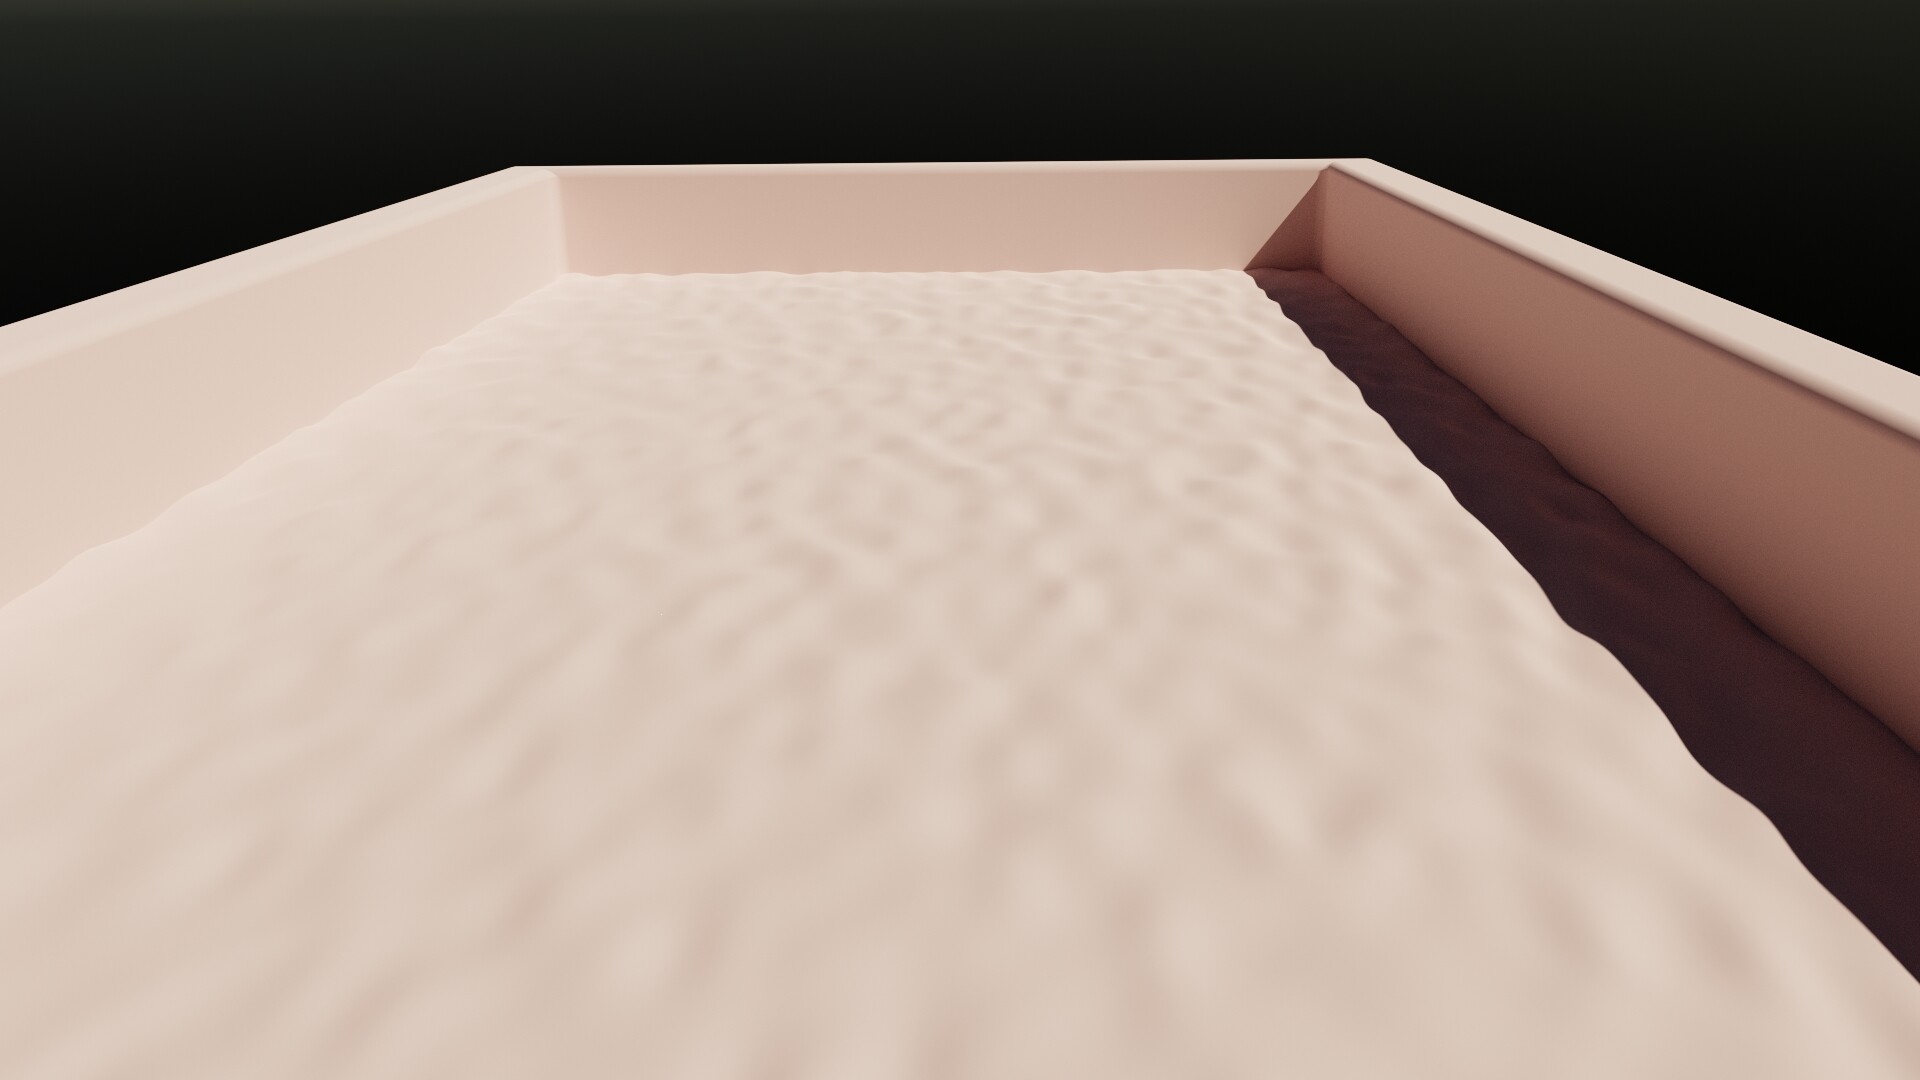
All those caustics were coming from just this 131K plane with a displacement modifier applied to it to give it a bit of geometry. Same as in the original file.
Caustics take way too long to render, but hopefully once all planned additions to cycles are finished and optimized it should not add significant time to the renders. Caustics are well worth having.
Real although only one type of caustics initially, we can render underwater scenes or things like eyes with caustics inside, but no reflective caustics so in arc viz you wont see caustic patterns on walls from water below…