Could I use this to only do the face rigging?
Also…
What if my model has parts coming off of it, like a collar, or jacket tails?
John, nothing in the rig itself is programmed or has weird python stuff, it’s just bones, constraints and drivers, that means that you can do whatever you want with some rigging knowledge, like adding bones or different deformation techniques.
So, the rig will give you a basic starting point, and if you need to add things like a collar, you should add more bones and have the technical knowledge to make the deformation of those objects work with the rest of the body.
As an example, you can see Victor from Cosmos Laundromat, that character has a jacket on him, and well, the techniques I used for making the jacket work with the model are quite complicated, hehe.
The rig runs great. Shame it’s for film at the moment, but there are ways around this. 
FWIW, actual technical content like BlenRig 5 & the tutorial vids to go with it were what I was hoping for from the Blender Cloud. More of this please BF!
The rig is very cool and fun to use! The upgrades from the early blenrig 5 to the latest is out standing! It is a very versitle and complex but awesome to understand.
If one is curious about the early version of blenrig 5 I recommend looking at the Baker rig from Cgcookie.com resources. Just in case if they didn’t see the Victor rig anyway ;).
Looks awesome, but what i have to do to link this rig to a mesh ? Is it really an “Auto” rig system ?
There´s a difference between rigging and skinning. It´s not a magical click and make your character dance the funky dance right away solution - some assembly required;)
http://wiki.blender.org/index.php/Doc:2.4/Manual/Rigging/Skinning
Today I subscribed to the Blender cloud, partly in anticipation of Blenrig tutorials  But also because of the awesome content that´s already there (The new Track, Match and Blend by Sebastian König is something I´ve wanted to watch for a while). I feel the Blender cloud is starting to deliver what it promised, finally. I love the short movie projects lately (can´t wait for the Caminandes 3 premiere tomorrow), and a cloud subscription also pays Dr. Sharybins´s salary! Furthermore, before embarking on the next movie project, Hjalti told me on Twitter that they will work on more cloud content.
Good times, ahead - so subscribe already! ;D
After so many years of using Blender without giving back, feels good to contribute in some way
Right on! I thought the exact same thing when I subscribed:)
The post explains how the beta BlenRig was used to rig a penguin, so essentially here’s the process:
- Armature tab >> RIGGING & BAKING >> Reproportion Mode
- Fit armature to mesh (Pose Mode) >> (select cage mesh) >> Bake Mesh >> (select armature) Bake Armature
- Edit cage mesh to fit model
- Add Mesh Deform modifier of cage mesh to model
- Here’s a video of this with BlenRig 4
The end result is that the model will deform without any weights with the cage mesh (which does have weights).
Now I don’t know how much “performance” impact an armature ever has but if the performance thing mentioned is only because of the deform modifier, I have a solution that will also allow you to export the animation to a program without a mesh deform modifier (IE game engines).
- Select cage mesh >> Shift+Select model
- Enter Weight Paint >> Go to Weights/Weight Tools >> Transfer Weights
- In the options panel:
[LIST] - Vertex Mapping: Projected Face Interpolated
- Source Layers Selection: By Name (don’t know if this matters)
- Destination Layers Matching: All Layers
[/LIST]
I’m just testing this but with these settings, I got the weights painted with minor cleanup remaining. Not sure if it’s just the results of the auto-weight transfer but while the mesh can deform mostly the same with the armature, the deformation is smoother/better with the mesh deform.
edit: after attempting to export a simple 600 frame animation, I conclude that unless I can separate and bake all the def bones, exporting is highly improbable (233mb with just animation and rig)
finally found an excuse to start moving from 3dsmax BLENDRIG5 !! only thing it needs now is some kind of full body ik built into it like in BEPUik , of some kind of motion walk run controls like in 3dsmax cat rig… great work!
Hola Juan 
Muchas gracias para tu increible nuevo Blenrig
Conoces mas o menos la fecha de tu proximo video tutorial ?
For one of my character I hesitate to wait for your tuto, or rather do the rig myself (depending on the time).
Saludos
Hi guys!!
Sorry for the long absence!! I took some nice vacations!
The first tutorial series is already recorded (I did that before my vacations). This week I’ll start editing it. Basically it will be a series of videos showing how to rig a character from scratch. So it will cover all the thing from the pdf manual and more.
this will be excellent, thank you!
Hope you had a great one! looking forward to those tutorials ![]()
It’s really good, just about got my head around the basics for it and got my current project rigged + face, very much wip need to texture properly etc. but works great with chr’s with multiple meshes.
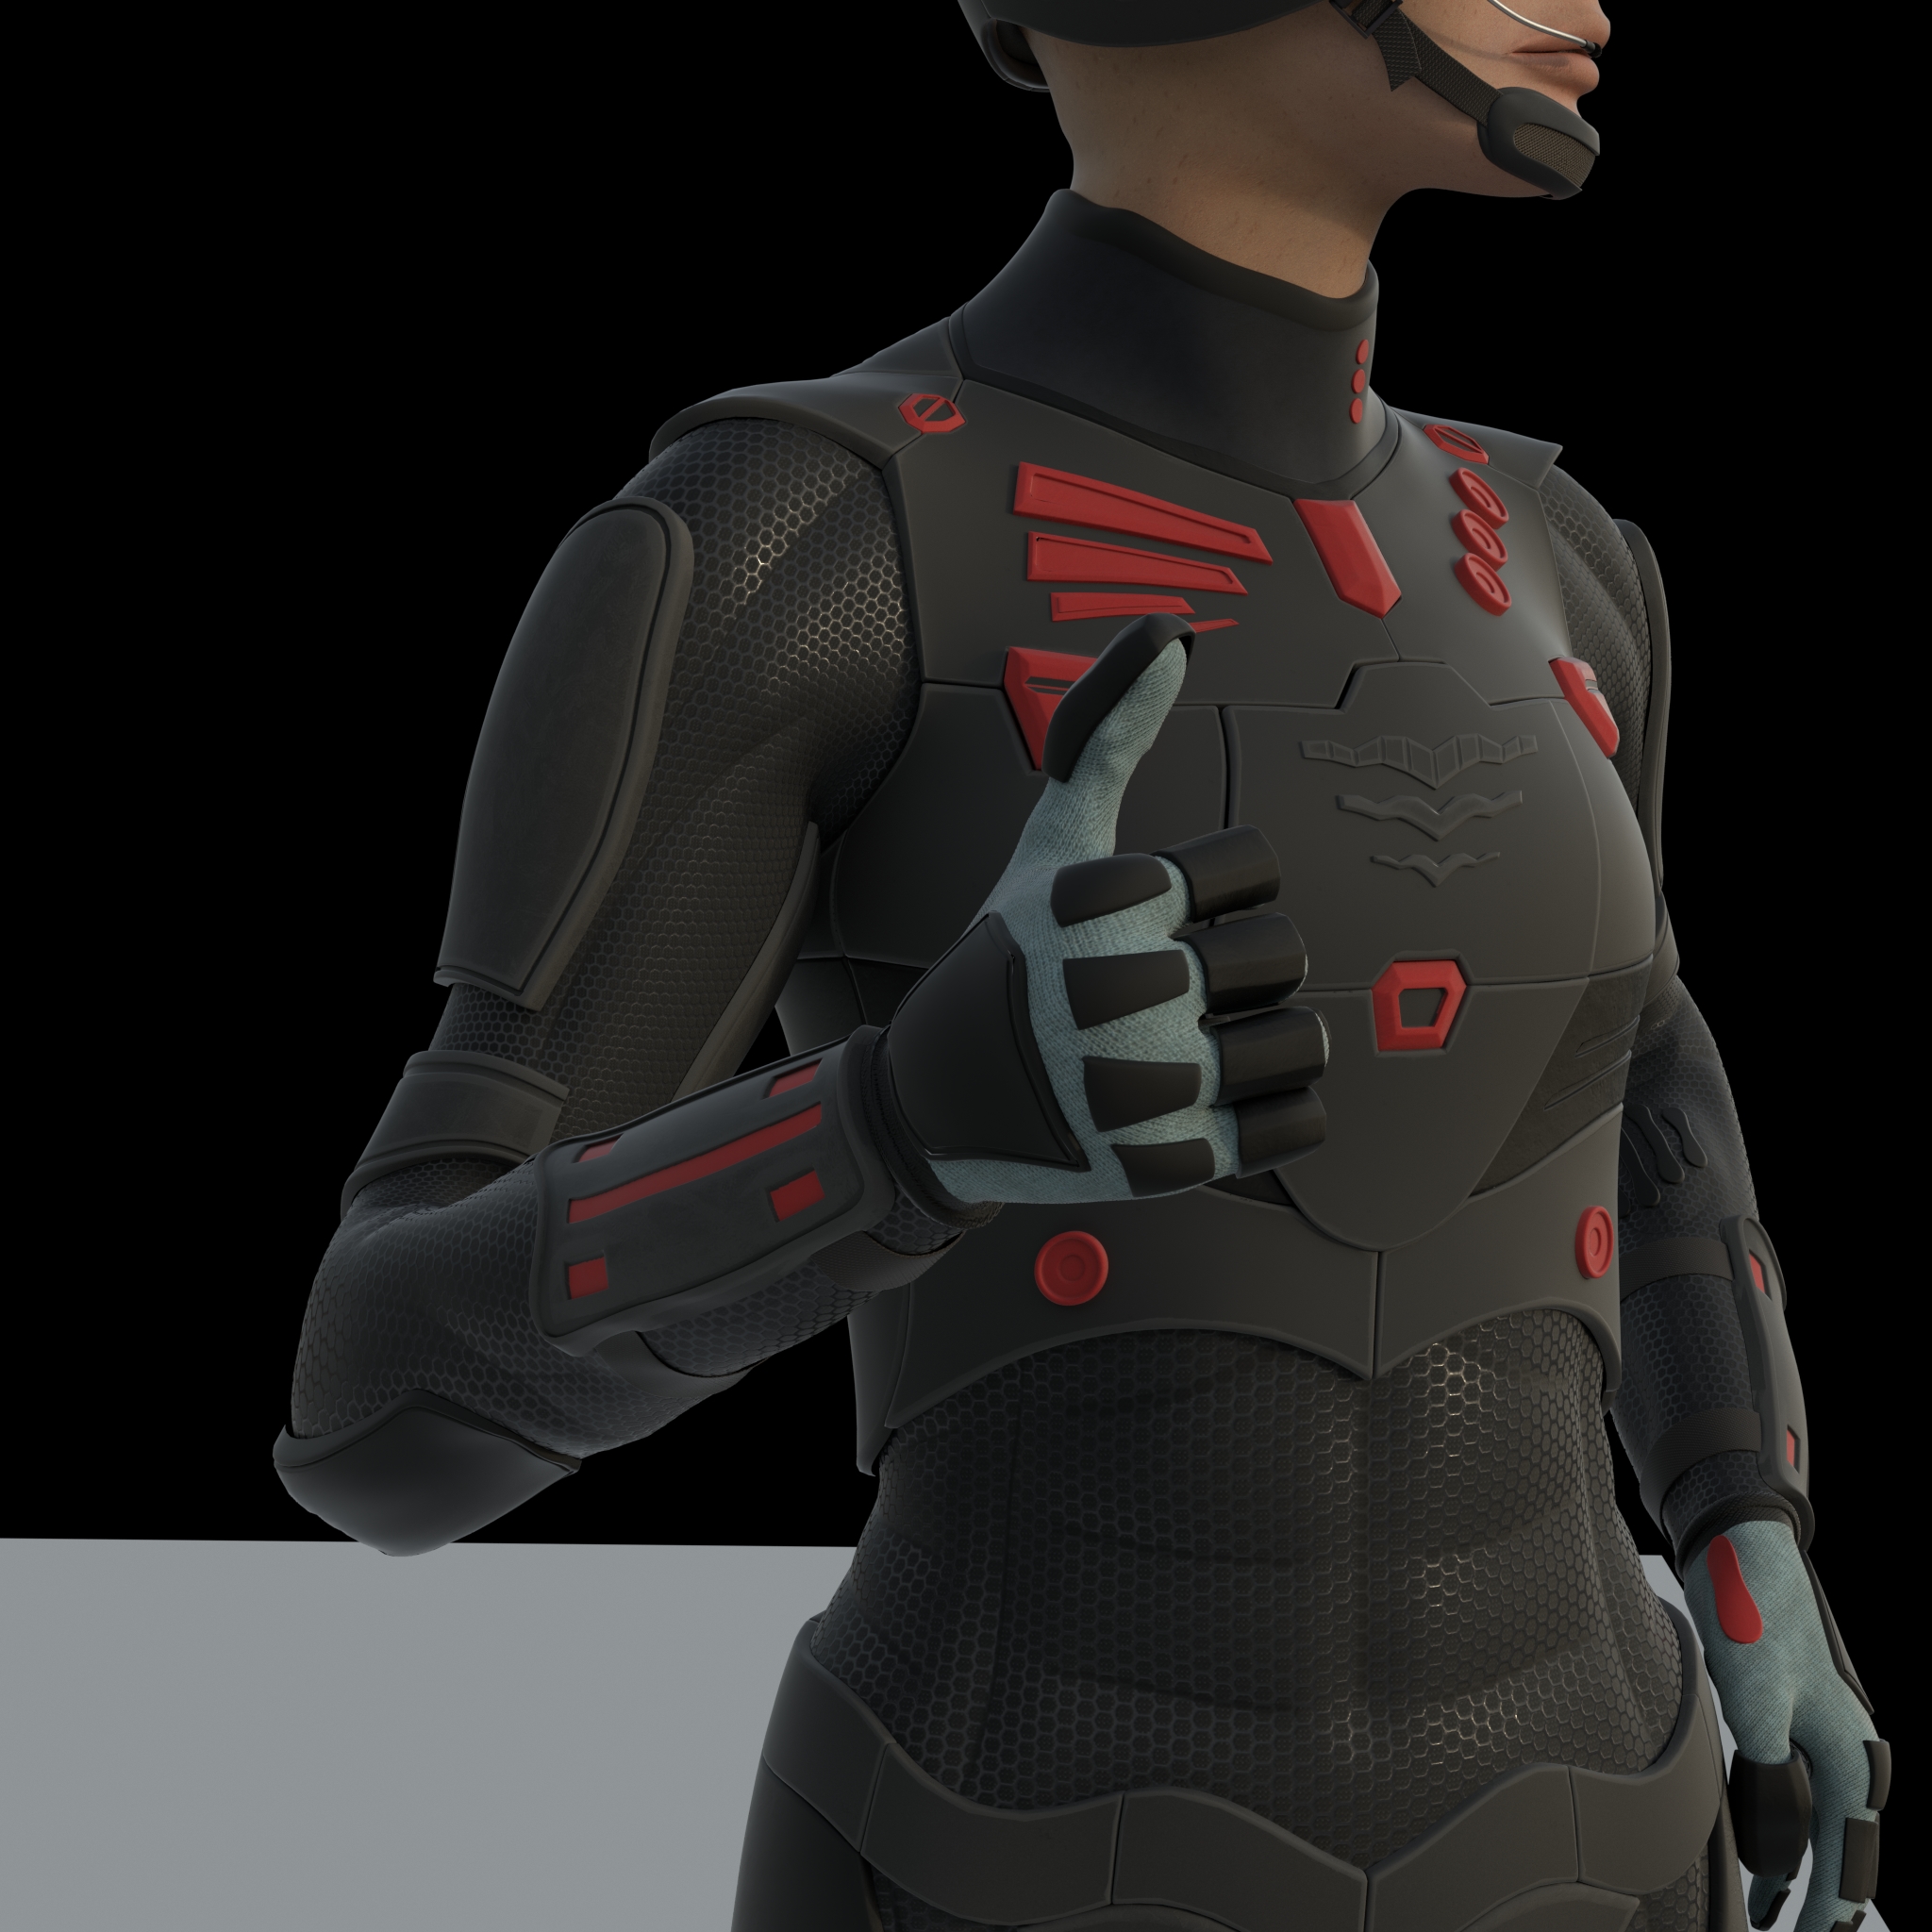
Attachments

Thanks for the answer, i’ll try it when i’ve got free time.
Great work Umil!
Thanks for showing!
How to get rid of this “bone heat weighting failed to find solution for one or more bones”?
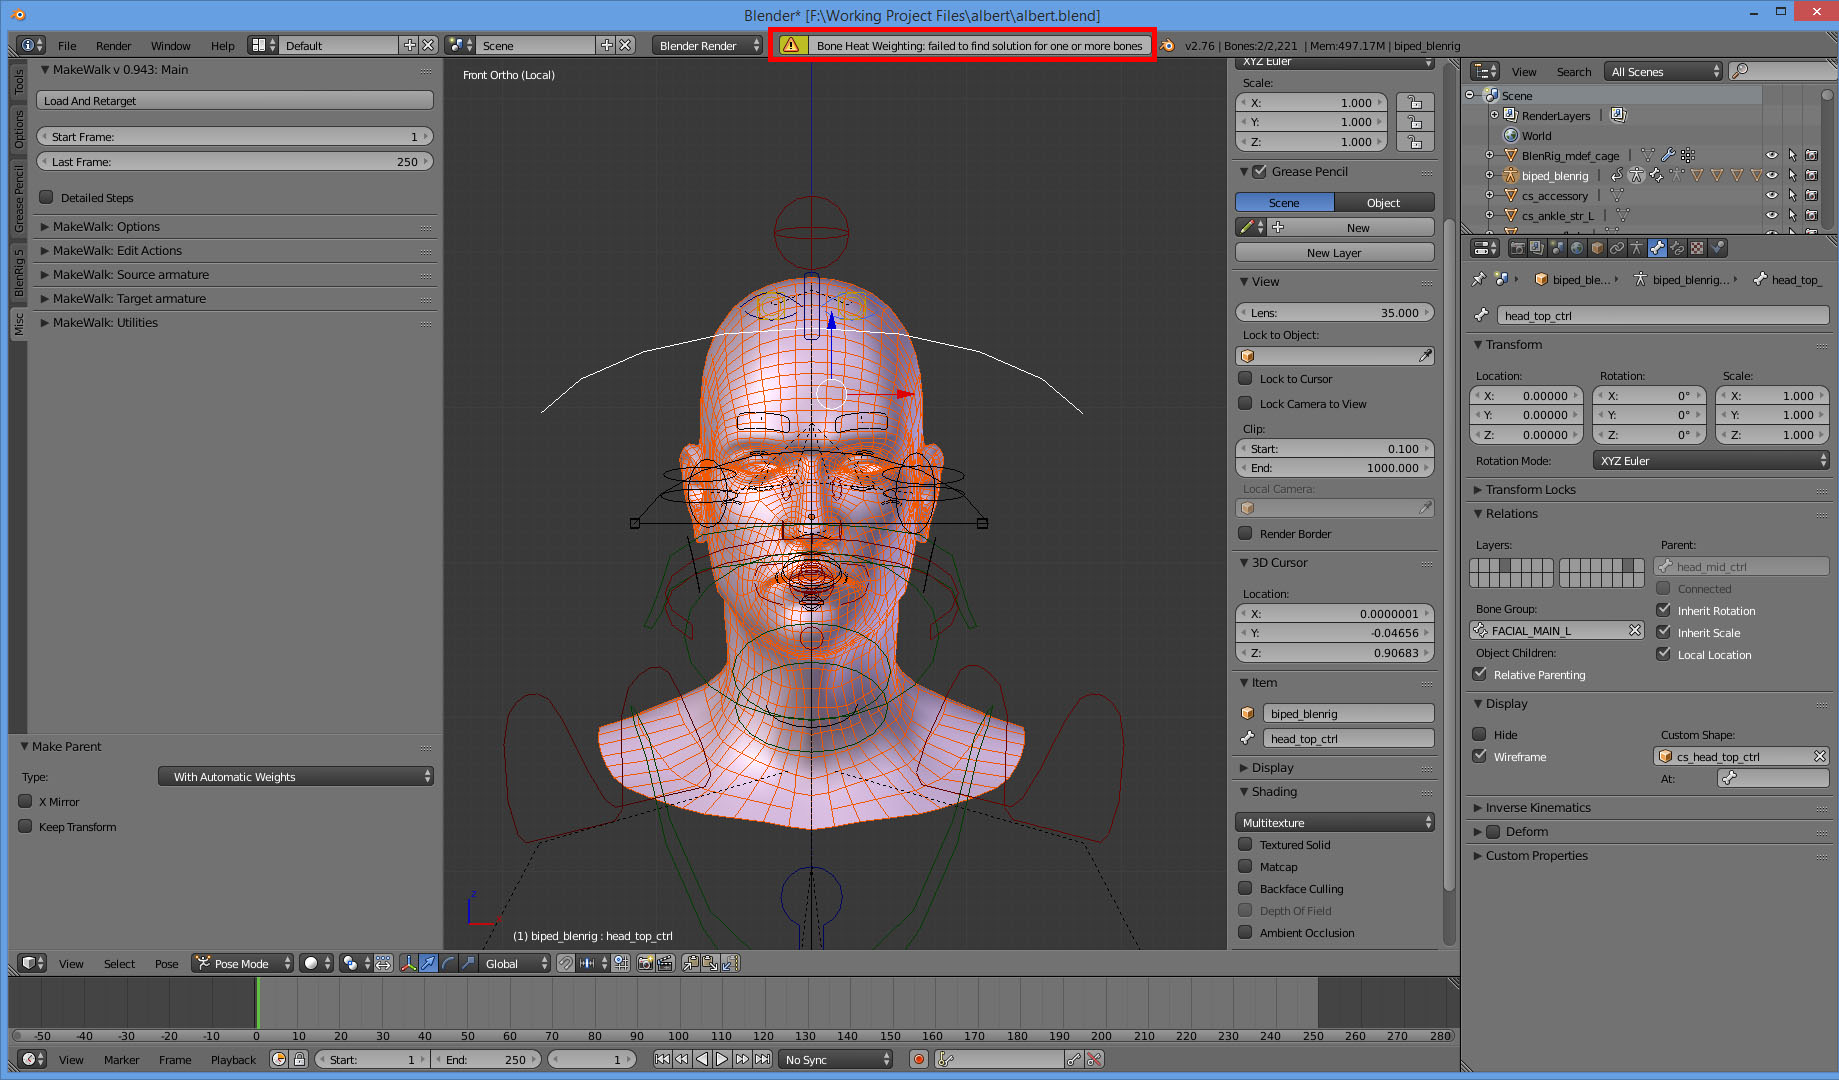
mesh is simple and symmetrical without modifiers, no dupli verticles
It usually happens when you have a few face’s normals inverted, check that out
I hope Looch’s solution works
By the way, this week I might start uploading the tutorials, so stay tuned! I’m currently editing, doing voice overs, intros, etc etc, a lot of work to do